
How to Read Florida Metal Roof Wind Load Tables
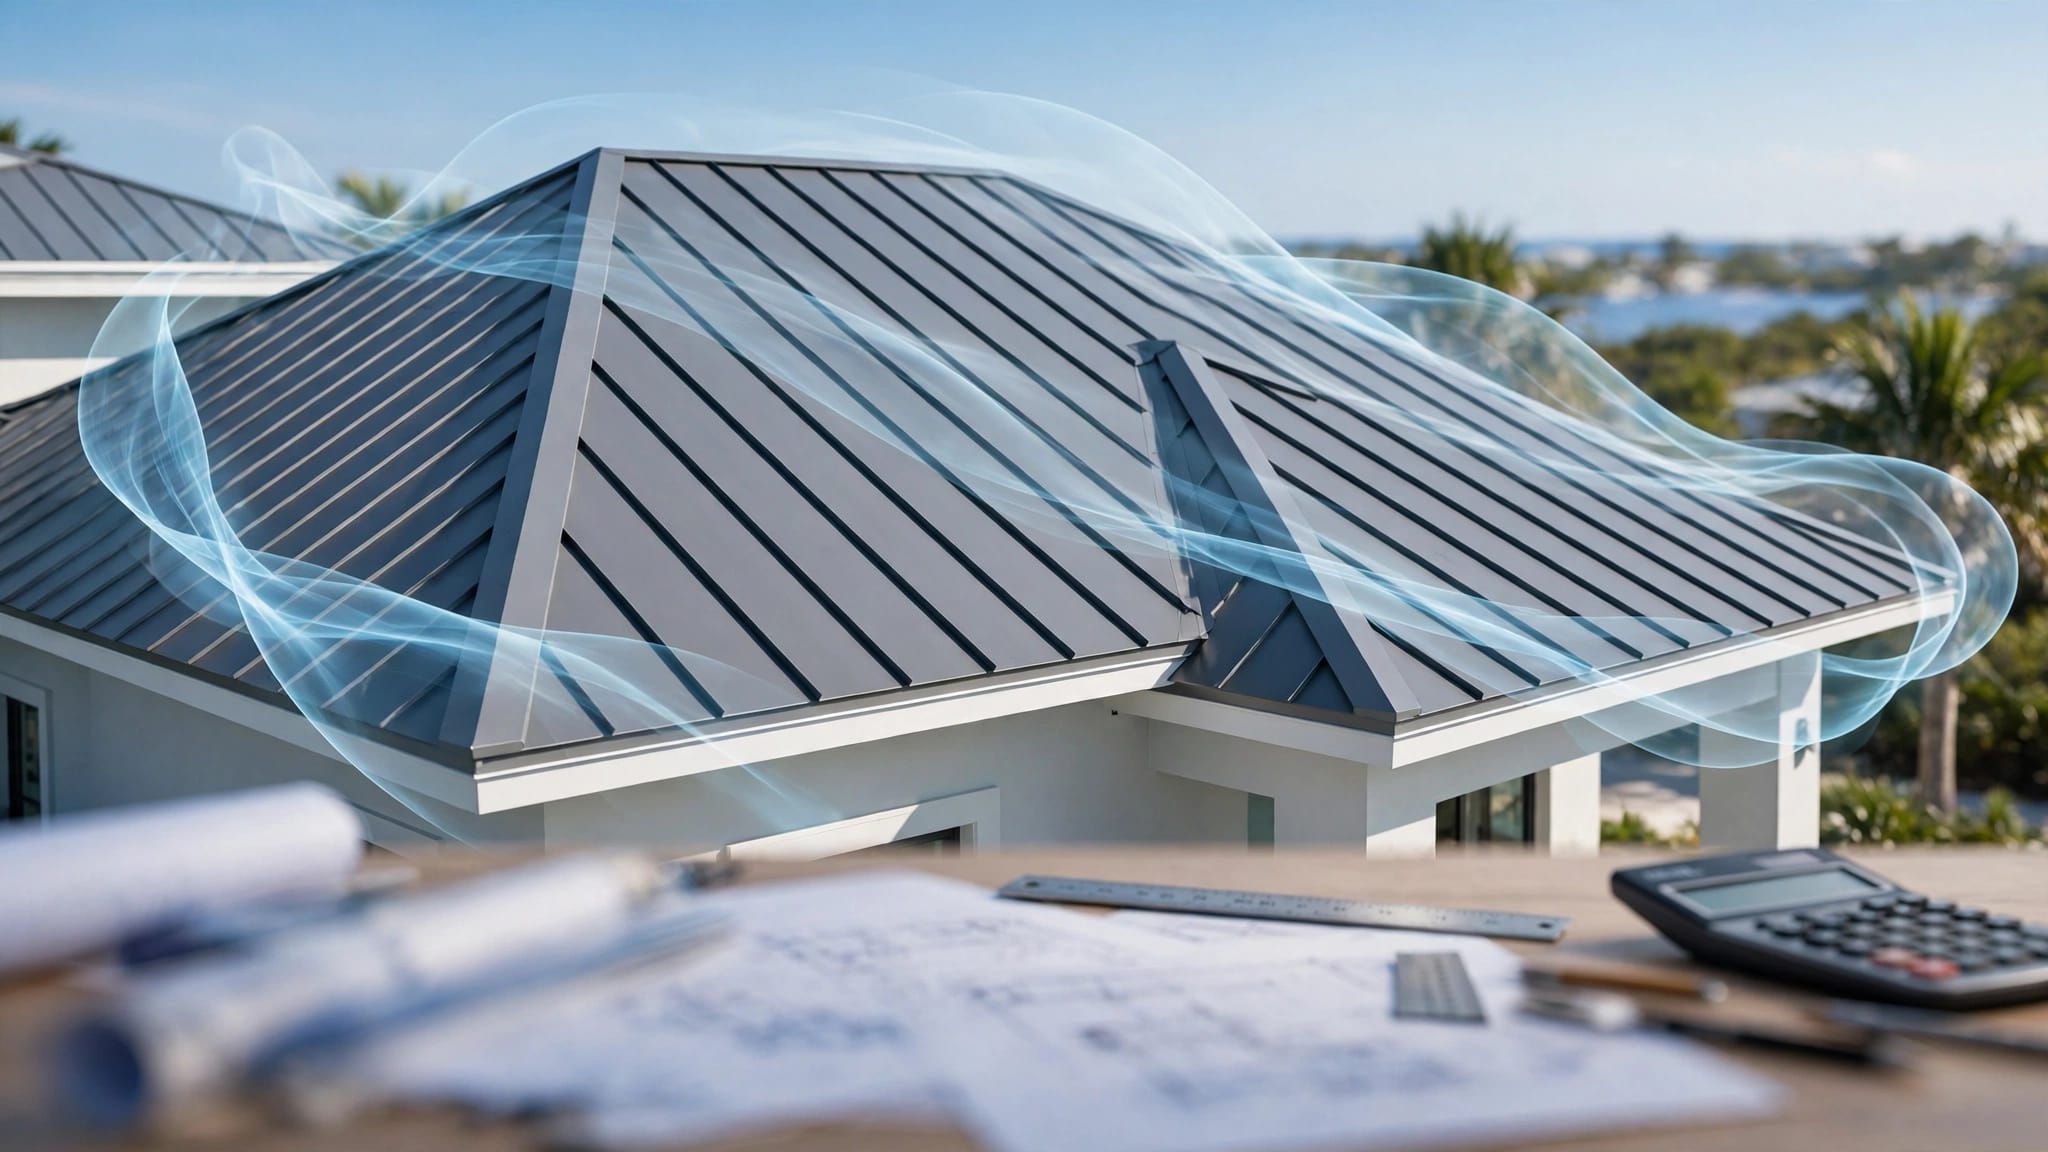
A metal roof can look straightforward on a quote sheet, then become complicated when wind pressures enter the permit review. Florida wind load tables turn site conditions and roof geometry into numbers that determine whether a tested roof assembly can stay attached.
For contractors, estimators, officials, and property owners, the goal is not to find the highest number in a table. It is to match the correct table entry to the exact building, roof zone, panel system, and approval documents. That process starts with the code basis.
Start With the Current Code and Product Documents
Florida projects fall under the Florida Building Code, 8th Edition (2023), unless a local amendment or later change applies. This edition took effect on December 31, 2023, and its wind provisions correlate with ASCE 7-22.
A panel manufacturer's older test report may reference ASCE 7-16 or an earlier code edition. That does not automatically make the panel unusable. However, the design professional and permitting authority must confirm that the current project requirements and the product documentation are compatible.
Identify the pressure basis before comparing numbers
Wind pressure tables often use either ultimate-strength design pressure, shown as Pult
, or allowable-stress design pressure, shown as Pasd
. These are not interchangeable numbers.
A familiar relationship is Pasd = 0.6 Pult
, but only use that conversion when the governing documents allow it and the pressure basis is clear. A roof system rated for negative 75 psf ASD cannot be compared directly with a calculated negative 75 psf ultimate pressure.
The minus sign matters, too. Negative pressure means uplift. Wind is trying to pull the roof assembly away from the structure.
Pull the full approval, not a single table page
A wind-load table is usually only one part of an approval package. The complete document can set limits for panel gauge, roof slope, deck type, framing spacing, clip model, fasteners, underlayment, and edge conditions.
For permit work, use the current approval number and installation instructions. Review Florida product approval for metal roofing before treating a panel profile as an approved roof system.
A tested panel is not automatically a tested assembly. The listed attachment, substrate, and spacing must match what will be installed.
How Florida Wind Load Tables Are Organized
Most metal roof tables arrange their values around a set of project inputs. The headings may look dense, but each one narrows the conditions under which the listed uplift value applies.
Florida wind load tables commonly include wind speed, exposure category, mean roof height, roof slope, effective wind area, and roof zone. Some tables list the required design pressure. Others list the system's maximum allowable pressure or a span and fastening schedule that corresponds to a pressure range.
| Table item | What it tells you |
|---|---|
| Wind speed | The design wind speed assigned to the property |
| Exposure | The terrain condition around the building |
| Mean roof height | The average height used for wind calculations |
| Roof zone | Field, perimeter, or corner location |
| Effective wind area | The loaded area used by the table or test |
| Pressure basis | Whether values are Pult or Pasd |
| Attachment schedule | The clips, screws, spacing, and substrate required |
The heading row often carries as much weight as the numbers below it. A value that looks adequate can fail the project once you notice the table only applies to a lower roof height or a different exposure.
Separate wind demand from roof capacity
The project engineer or code-based calculation produces the design pressure , which is the wind demand. The product approval, evaluation report, or Miami-Dade Notice of Acceptance states the allowable capacity or maximum design pressure limitation for the tested assembly.
The assembly must resist the demand in every applicable zone. If the corner pressure is more severe than the field pressure, a field rating does not control the decision.
For a quick overview of these comparisons, review Florida metal roof wind uplift ratings. It is a useful reminder that the panel profile alone does not establish a roof's wind rating.
Establish the Site Conditions Before Opening the Table
A proper table lookup begins with project data. Using a county-wide wind speed from memory or copying a prior job can send the entire submittal in the wrong direction.
Confirm Vult and the building risk category
The drawings should identify the ultimate design wind speed, or Vult
, along with the building's risk category. Risk Category II covers many homes and ordinary commercial buildings. Categories III and IV apply to buildings with greater public-safety responsibilities or essential functions.
Under the Florida Building Code, wind is assumed to come from any horizontal direction. Therefore, a location may need review for more than one wind direction, especially when terrain changes around the site.
Use a location-specific source that matches the current code. Florida's wind-load guidance identifies the ASCE Wind Design Geodatabase and ASCE 7 Hazard Tool for 8th Edition wind-speed determinations.
Determine exposure based on the actual surroundings
Exposure categories describe the terrain that wind travels across before reaching the building. Exposure B generally involves urban, suburban, wooded, or closely built-up areas. Exposure C is open terrain with scattered obstructions. Exposure D applies near large unobstructed water surfaces and is often the most demanding condition.
A home may sit in a developed subdivision yet face an open lake, coastal water, pasture, or airport approach in a critical direction. Site photos, aerial views, and the criteria in ASCE 7 help establish the correct exposure.
Florida roof exposure categories show why an Exposure B assumption should never be a default.
Check height, slope, and enclosure assumptions
Mean roof height is not the eave height or ridge height alone. It is the average roof elevation above grade used for wind design. A taller building can require higher uplift resistance even with the same panel and wind speed.
Roof slope also affects table eligibility. Some tested systems only cover a narrow slope range, such as low-slope roofs between 2:12 and 6:12. Internal pressure coefficients matter as well. A partially enclosed building, or one with an unprotected dominant opening, can have higher net roof pressures.
Read Roof Zones and Effective Wind Area Correctly
A roof does not experience one uniform pressure. Wind accelerates around edges and corners, which is why tables and engineered calculations divide the roof into zones.
Field, perimeter, and corner values differ
The field is the broad central roof area. The perimeter runs along roof edges. Corner zones occur where two roof edges meet and usually see the highest uplift pressures.
The zone dimensions come from the applicable wind-design method, roof geometry, and building dimensions. Do not estimate them by drawing a narrow strip around the roof edge. The plans or engineering must identify the applicable zones.
A table may offer a single maximum pressure that applies in all roof zones. More often, it provides separate values or requires tighter fastening at the perimeter and corners.
Effective wind area is not the whole roof
Effective wind area is the loaded area used to derive pressure on the roof component or attachment. It may relate to panel span, panel width, clip tributary area, or the area defined in the testing standard.
For residential wind provisions, effective wind area is commonly based on span length multiplied by an effective width, with limits on the minimum width. If the project falls between tabulated areas, the governing instructions may require interpolation or use of the lower effective wind-area value.
A narrow standing seam panel and a wide exposed-fastener panel can therefore have different table paths, even on the same building. Do not substitute the total roof square footage for the effective wind area shown in the approval.
Match the Table to the Installed Roof Assembly
Once the required zone pressures are known, compare each zone with an approval that matches the proposed build-up. That means every layer and attachment point matters.
Verify the panel, substrate, and attachment schedule
A metal roof table can limit panel width, steel thickness, seam type, purlin spacing, deck thickness, clip spacing, fastener diameter, and fastener penetration. Changing a screw from wood to steel framing, or moving clips farther apart, can invalidate the listed capacity.
Standing seam systems require close attention because clips transfer uplift from the panel to the deck or framing. The correct clip type and spacing can change between field and edge zones. Use the approved schedule, not a familiar spacing from another project.
For systems with concealed fasteners, standing seam clip spacing for Florida winds provides useful context on why clips, screws, and substrate must be treated as one assembly.
Account for HVHZ requirements early
Miami-Dade and Broward counties are in Florida's High-Velocity Hurricane Zone, or HVHZ. Projects there may require a Miami-Dade Notice of Acceptance, along with the exact system details stated in that NOA.
A Florida Product Approval may apply statewide or may have restrictions outside the HVHZ. Check the approval's scope, not only the product name. Trim, ridge details, closures, and edge metal also need to follow the approved installation method.
The distinction between HVHZ and non-HVHZ roof systems should be resolved before material is fabricated or ordered.
Work Through a Table Review in the Right Order
A disciplined sequence prevents a common error: selecting a panel first and trying to make the wind data fit later. Start with the code-required demand, then find an assembly that meets it.
Use a zone-by-zone comparison sheet
A practical submittal review can follow this order:
- Confirm the Florida Building Code edition,
Vult, risk category, exposure, mean roof height, roof slope, and enclosure classification. - Obtain the design pressures for the field, perimeter, and corner zones, with their pressure basis clearly labeled.
- Open the current product approval or NOA and locate the exact panel profile, gauge, substrate, slope, and attachment condition.
- Compare the listed capacity with the required pressure in each roof zone.
- Put the required fastening pattern, trim details, and approval pages in the permit package.
For example, a panel schedule may pass in the field but require closer screws or clips at the perimeter. If the corner uplift demand exceeds the approval's listed capacity, changing fastener spacing alone may not solve the problem. The project may need a different approved assembly or site-specific engineering.
Watch for these table-reading mistakes
The most frequent errors are easy to recognize during review:
- Comparing
Pultdemand withPasdcapacity without a permitted conversion. - Using one field-zone number for the entire roof.
- Selecting a table row for the wrong exposure or building height.
- Ignoring limits on slope, effective wind area, deck, or framing.
- Treating a Florida approval as automatic HVHZ acceptance.
- Installing a different clip, screw, sealant, or trim detail than the approval calls for.
A complete Florida metal roofing submittal checklist helps catch documentation gaps before they delay a permit or inspection.
Final Checks Before Fabrication and Installation
Reading a table correctly means connecting code demand to a tested, approved roof assembly. Wind speed, exposure, roof height, effective wind area, zone pressures, and attachment details all have to agree.
The safest reading of Florida wind load tables is also the most disciplined one: verify every assumption against the applicable Florida Building Code edition, current product approval or NOA, project documents, and the authority having jurisdiction.
A wind-load table supports a project decision, but it does not replace site-specific engineering or approve a roof assembly on its own.
Share Our Metal Roofing News Articles
Related Posts




