Roofing Pre-Installation Meeting: Decisions to Make First

A roof crew shouldn't discover an unapproved panel or a missing pipe boot after the old roof comes off. A roofing pre-installation meeting gives the homeowner, contractor, and supplier a chance to compare the plans with the materials arriving on site.
The goal is a written plan for the roof system, site access, inspections, and decisions that might change the job. Start with the people who can confirm those details.
Who should attend the roofing pre-installation meeting?
The homeowner or property manager and the roofing contractor's project lead should attend. The lead installer is useful when roof layout, access, or unusual flashing details need a field decision. Include the builder or general contractor if other trades control decking, electrical work, HVAC equipment, or gutters.
The material supplier doesn't need to visit every site, but someone must confirm the order against the approved plans. An engineer or design professional should resolve questions about structural changes or details under their responsibility.
Before the meeting, the contractor should bring the contract, roof measurements, drawings, product documents, and proposed schedule. The owner should identify access limits, known leaks, planned equipment changes, and any HOA requirements. Record who attended, which decisions are final, and who will answer each open question.
Confirm the approved roof system before ordering
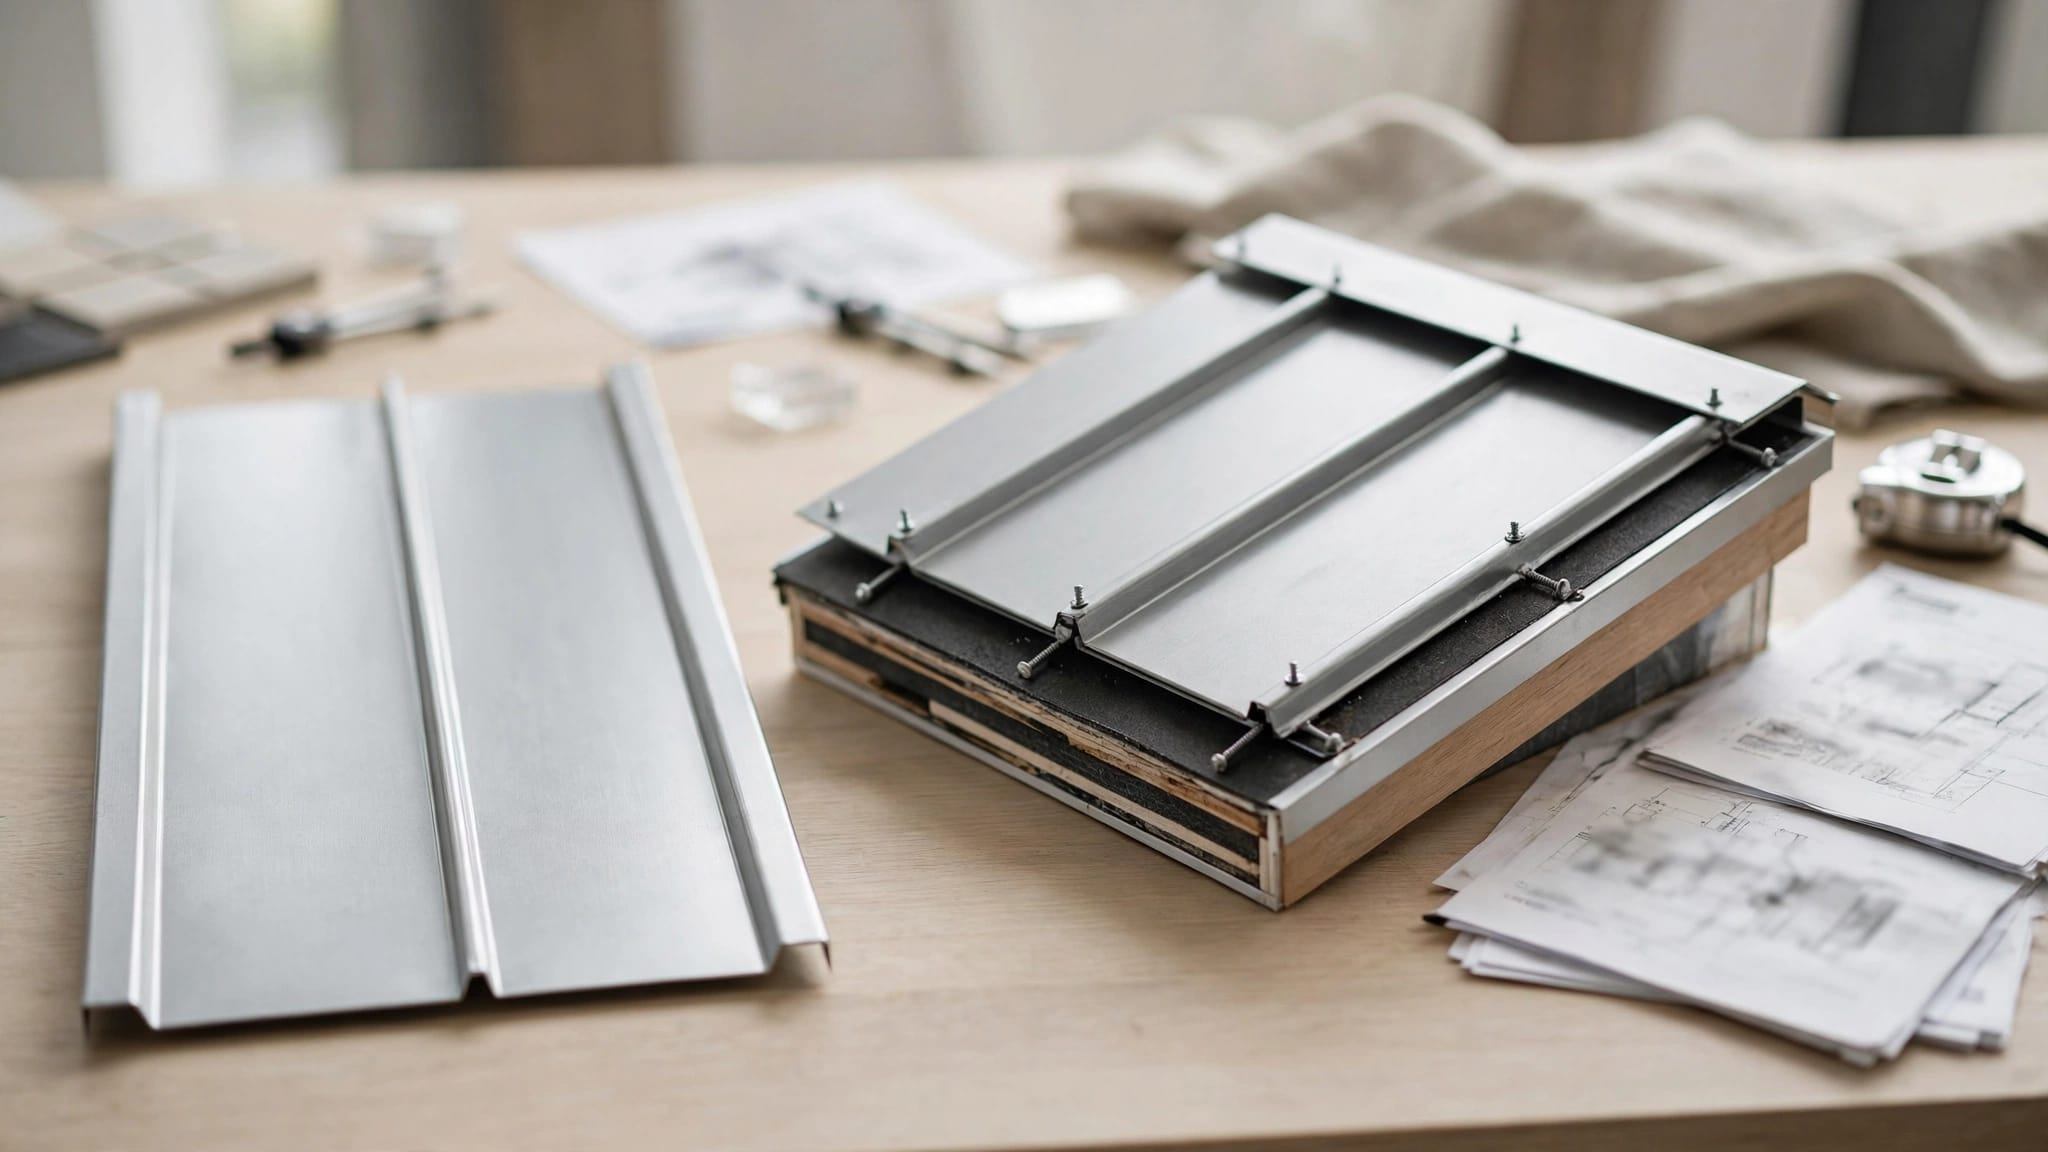
A roofing pre-installation meeting should identify one specific roof assembly , rather than treating a panel profile as a complete specification. The permit documents, product approval, installation instructions, and purchase order need to describe the same system.
Match panels to the deck and attachment method
Confirm the panel profile, metal type, gauge, finish, roof slope, underlayment, and substrate. AG or Multi-Rib, PBR/R, 5V, and standing seam panels have different laps, closures, trim, and attachment methods. A similar-looking panel isn't an automatic substitute.
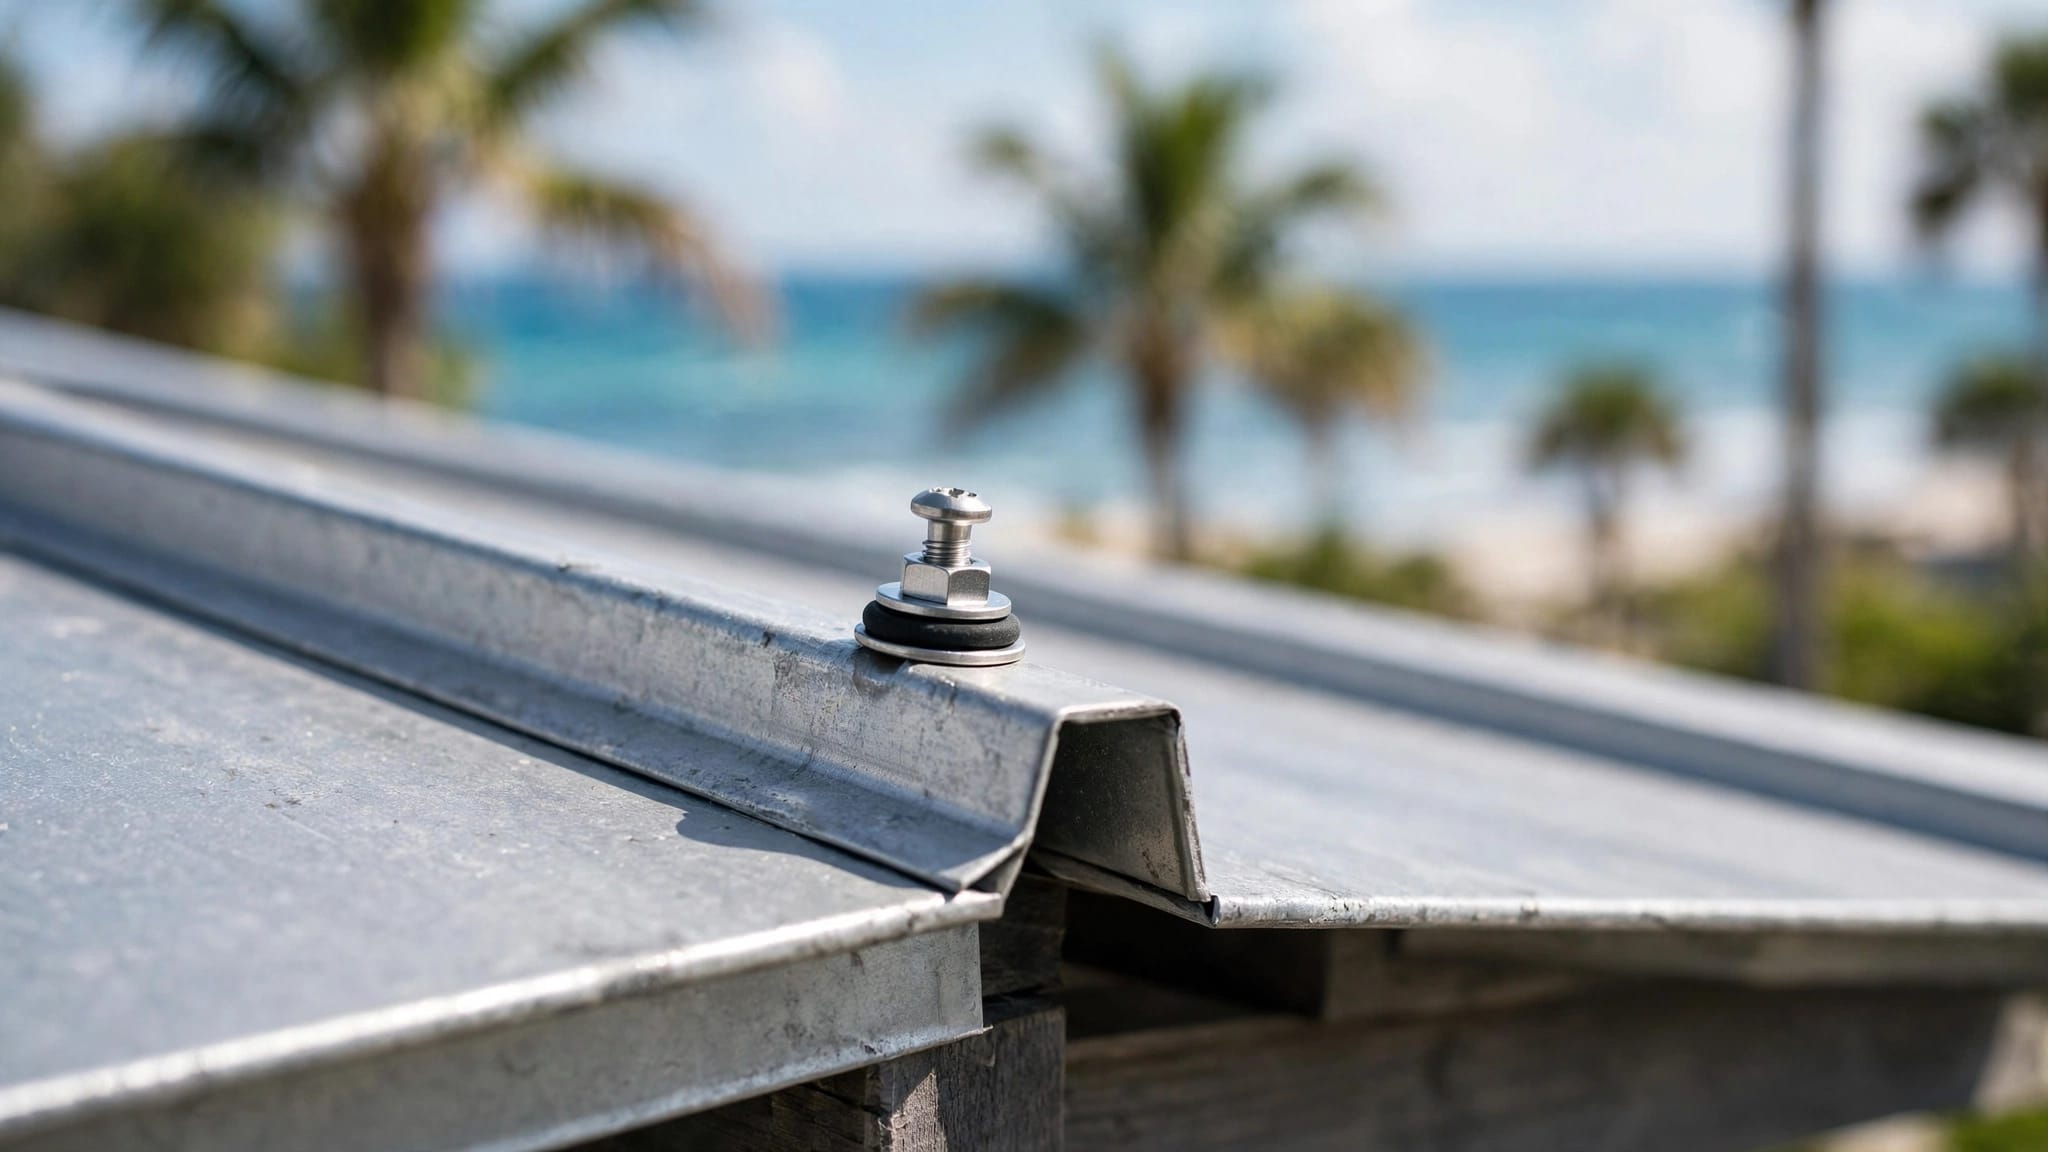
Next, identify the approved fastener or clip, its spacing, and its connection to the deck or framing. Field, perimeter, and corner zones may have different attachment patterns. The contractor should mark those patterns on the working roof plan so the installer doesn't rely on a general note.
Check the approval for this address
Florida product paperwork may limit the substrates, design pressures, details, and locations where an assembly can be used. Miami-Dade and Broward properties fall within the High-Velocity Hurricane Zone, where applicable approval requirements differ. Check the Florida metal roof product approvals and Miami-Dade NOAs against the actual project, including its fasteners and edge details.
Assign the contractor or design professional to settle approval questions before fabrication. Document the approval identifier and any restrictions that affect the order.
Set a plan for the existing roof and substrate
Existing conditions can change the installation plan once tear-off begins. Agree on what the crew will inspect, who can approve repairs, and how those repairs will affect the schedule.
Inspect what can be checked before tear-off
Walk the property and identify leaks, damaged fascia, suspect decking, roof-to-wall connections, and areas where equipment or pipes pass through the roof. Confirm whether the scope includes removing the existing covering and who handles any equipment that must be moved.
Ask the contractor to identify the known deck or framing type and thickness. If those details can't be verified until removal, mark them as open. The proposed attachment must work with the substrate the crew finds, not only the substrate assumed on the estimate.
Agree on the hidden-damage process
The contract should say who photographs concealed damage, who prices the repair, and who authorizes it before work continues. Set a clear contact method for urgent decisions while the roof is open.
If deck or fastener performance is uncertain, the contractor should ask the engineer, building official, or project documents whether field verification is needed. A pullout test isn't a substitute for an approved roof assembly. Also decide how the crew will protect exposed areas if repairs or weather delay installation.
Review shop drawings and water-management details
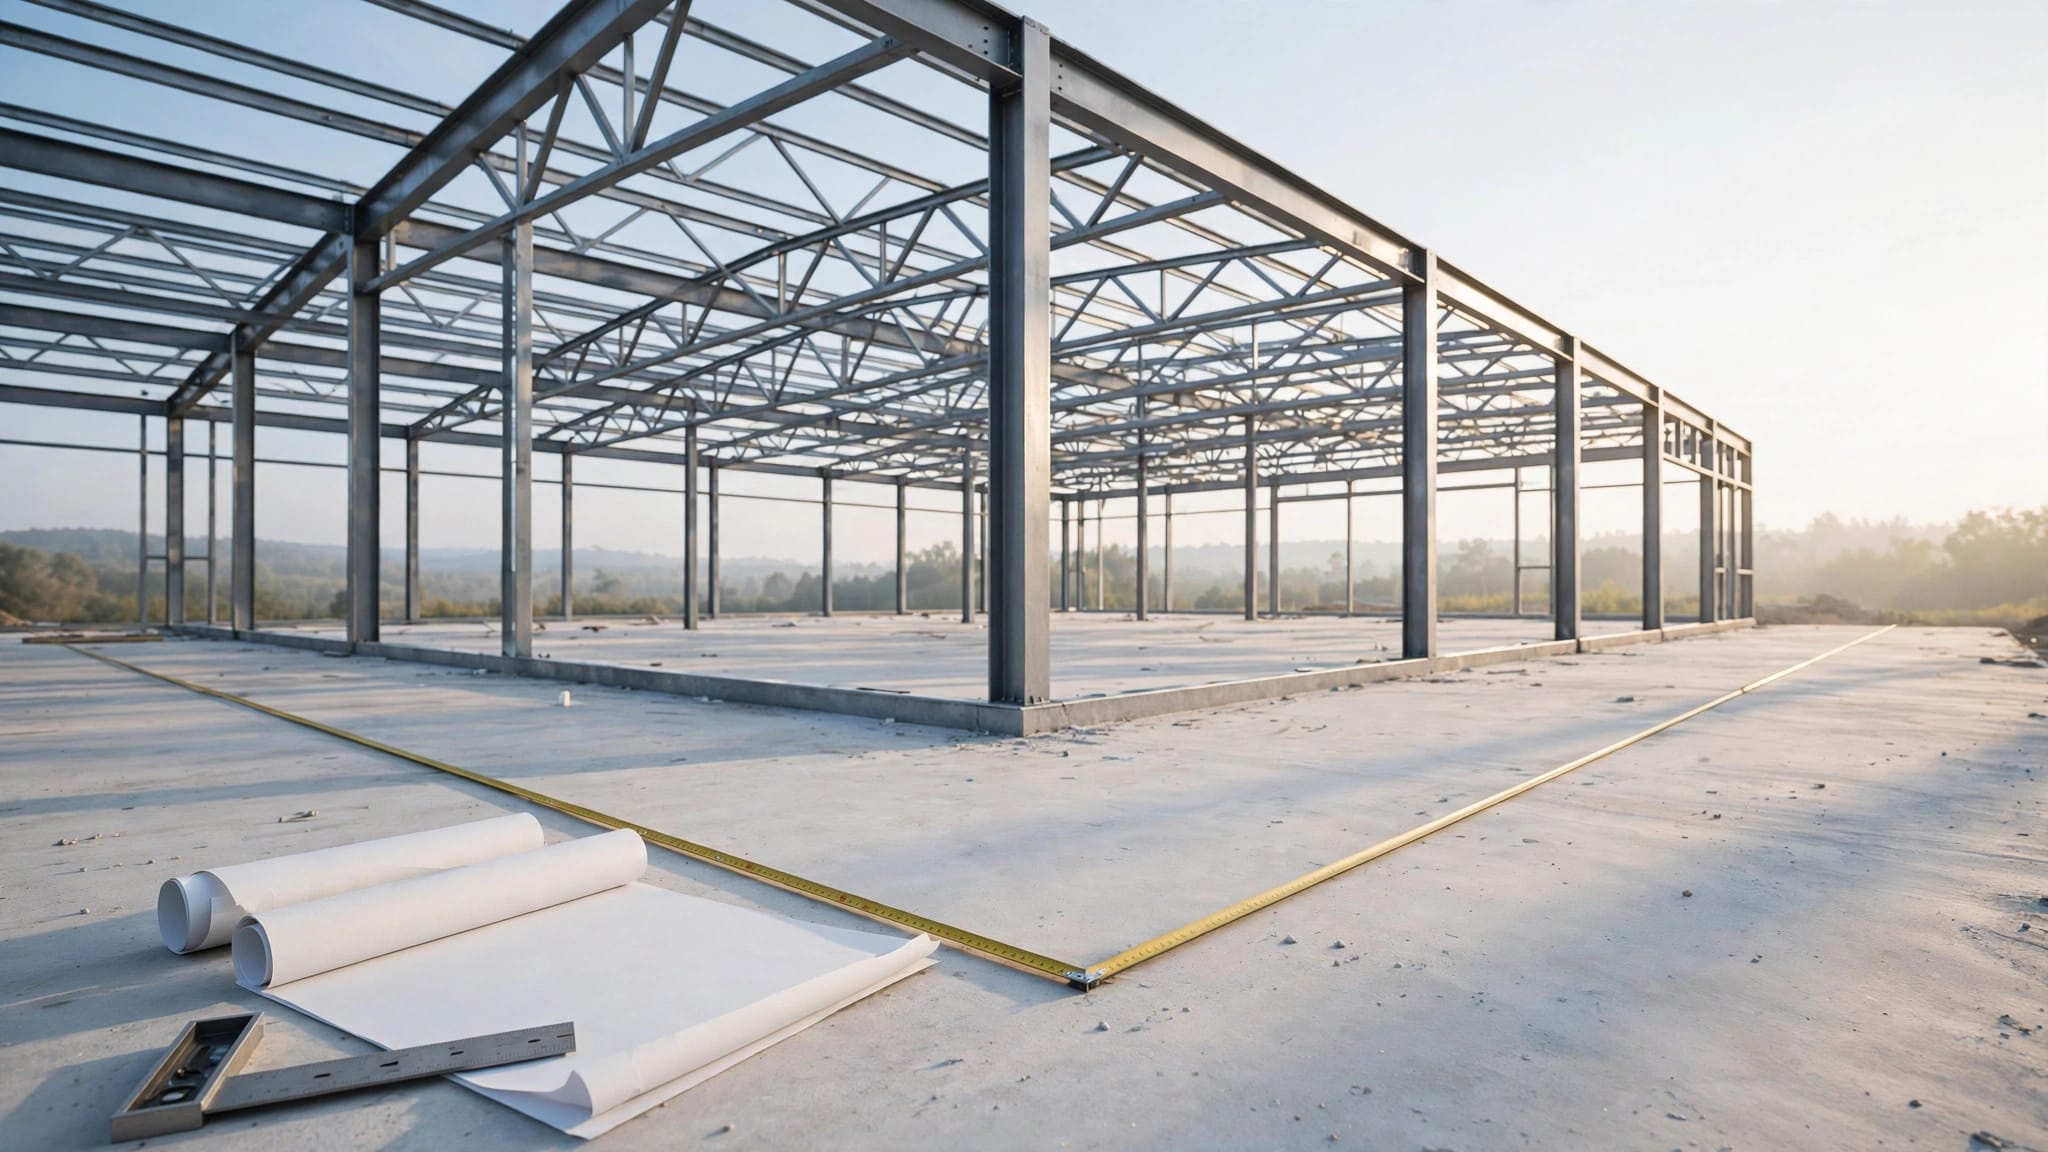
Panel lengths and trim shapes become expensive mistakes once metal is cut. Compare roof measurements and drawings with field conditions before approving fabrication. The contractor's metal roofing shop drawing review should cover layout, attachment, and each change in roof geometry.
Confirm layout and custom pieces
Check every roof plane, slope, ridge length, valley, overhang, and panel direction. Identify where panels start, where they end, and how the layout handles hips or uneven edges. Record the final panel lengths and coverage widths used for the takeoff.
Then review eave, rake, ridge, hip, valley, and wall-transition trim. Mid Florida Metal Roofing Supply offers custom flashing and trim up to 21 feet, but the order still needs the exact dimensions and shapes. Assign one person to approve measured custom pieces before production.
Resolve penetrations and drainage paths
Mark vents, pipe boots, skylights, curbs, service masts, and roof-mounted equipment on the plan. Determine which trade supplies or moves each component and who completes its flashing. Also confirm how gutters, closures, end dams, and ridge ventilation fit the approved detail.
A panel approval alone doesn't settle a roof edge. The installed trim, fasteners, and attachment method must match the applicable system details.
Photograph unusual junctions before tear-off and record the agreed detail while everyone can still see the condition.
Reconcile the material order with the installation plan
A crew can have every panel it needs and still stop for lack of closures or an approved fastener. At the meeting, compare the takeoff, purchase order, drawings, and Florida metal roofing procurement schedule.
Count the parts that don't show up in roof area
Check panels and trim by profile, length, gauge, color, and finish. Then count underlayment, screws or clips, rivets, closures, sealants, tape, pipe boots, ridge vents, and any required EPDM components.
Count penetrations and ventilation openings individually. Fastener quantities depend on the approved pattern, substrate, and roof zones. A range of 80 to 100 fasteners per roofing square may help with early estimating, but it mustn't replace the project's attachment schedule.
Confirm availability and receiving responsibility
Ask the supplier to confirm fabrication status, pickup or delivery arrangements, and any items still on order. The contractor should name the person who will check quantities and inspect packaging when materials arrive.
Decide where panels will be unloaded and stored without blocking access or exposing them to avoidable damage. Keep finish names and order information with the delivery record. If a product changes, review its approval and compatibility before accepting the substitution.
Prepare the site and the daily work sequence
The homeowner needs to know which spaces the crew will use. The contractor needs a site that supports safe unloading, tear-off, and installation. Put both expectations in the same schedule.
Set access, protection, and safety boundaries
Identify the delivery route, parking, material storage, dumpster location, and areas that must stay clear. Discuss landscaping, patios, vehicles, pets, and access to doors or businesses during work.
The contractor should set the crew's fall-protection and ladder plan, establish ground-level work boundaries, and coordinate any required trade access. Homeowners shouldn't climb onto a metal roof to monitor progress; agree on a safe way to review photos and raise concerns instead.
Plan for weather and an open roof
Set the expected start date, daily work hours, and sequence for tear-off, deck repairs, dry-in, panels, and trim. Florida rain can interrupt that sequence, so the contractor should explain how exposed areas will be protected and who will make a weather call.
Confirm how schedule changes will reach the owner and supplier. If the job includes other trades, agree on when their work must finish so the roofer isn't asked to cut new penetrations into completed panels.
Assign permits, inspections, changes, and records
The meeting should end with named owners for paperwork and decisions. A Florida metal roof permit checklist can help the contractor compare the planned installation with the documents submitted for review.
Keep approvals and inspections aligned
Confirm who obtains the permit, posts required information, schedules inspections, and meets the inspector. Ask which stages need review before they are covered. The contractor should keep approved drawings and installation instructions available to the crew.
The submittal should identify the proposed assembly and its actual trim, penetrations, and attachment details. Use the Florida metal roofing submittal checklist to check for missing system pages or drawings. If a field change affects the approved work, the contractor should resolve it with the appropriate reviewer before installing a replacement detail.
Decide how changes and warranties will be recorded
Agree on who can approve a change, how its price is presented, and whether it affects the schedule. Put approvals in writing before ordering different materials or closing a concealed condition.
The contractor and owner should also confirm which warranties apply, who submits any required registration, and what documents the owner will receive. Keep product data, coating and color information, installation photos, inspection records, and maintenance guidance together. Photograph underlayment and flashing before panels hide them. For future repairs, record who accessed the roof and what they changed.
Key takeaways
Before work begins, the homeowner and contractor should be able to point to the same approved plan:
- The roof assembly matches the permit documents, order, and installation details.
- Unknown deck conditions have an inspection and written-approval process.
- Drawings account for panel layout, trim, drainage, and every penetration.
- Materials, delivery, site access, weather protection, and inspections have assigned owners.
Any unresolved item should have a name and a due date. A vague promise to settle it on installation day leaves too much to chance.
Frequently asked questions
When should the meeting happen?
Hold it after the project has enough detail to review the proposed system, but before custom panels and trim are released for fabrication. Recheck the plan if tear-off exposes a different substrate or a field measurement changes the order.
Does a homeowner need to understand every fastener detail?
No. The contractor is responsible for explaining which approved documents control the work and confirming that the crew has them. The homeowner should understand which decisions are settled, which conditions remain unknown, and how changes will be approved.
Conclusion
The first day on the roof goes better when nobody has to guess what was ordered or approved. A shared written plan connects the roof system, site conditions, materials, and responsible people before the crew starts removing the old roof.
Keep that plan current when conditions change. It gives both the homeowner and contractor a clear basis for the next decision.
Share Our Metal Roofing News Articles
Related Posts