
Metal Roof Fascia and Soffit Details for Florida
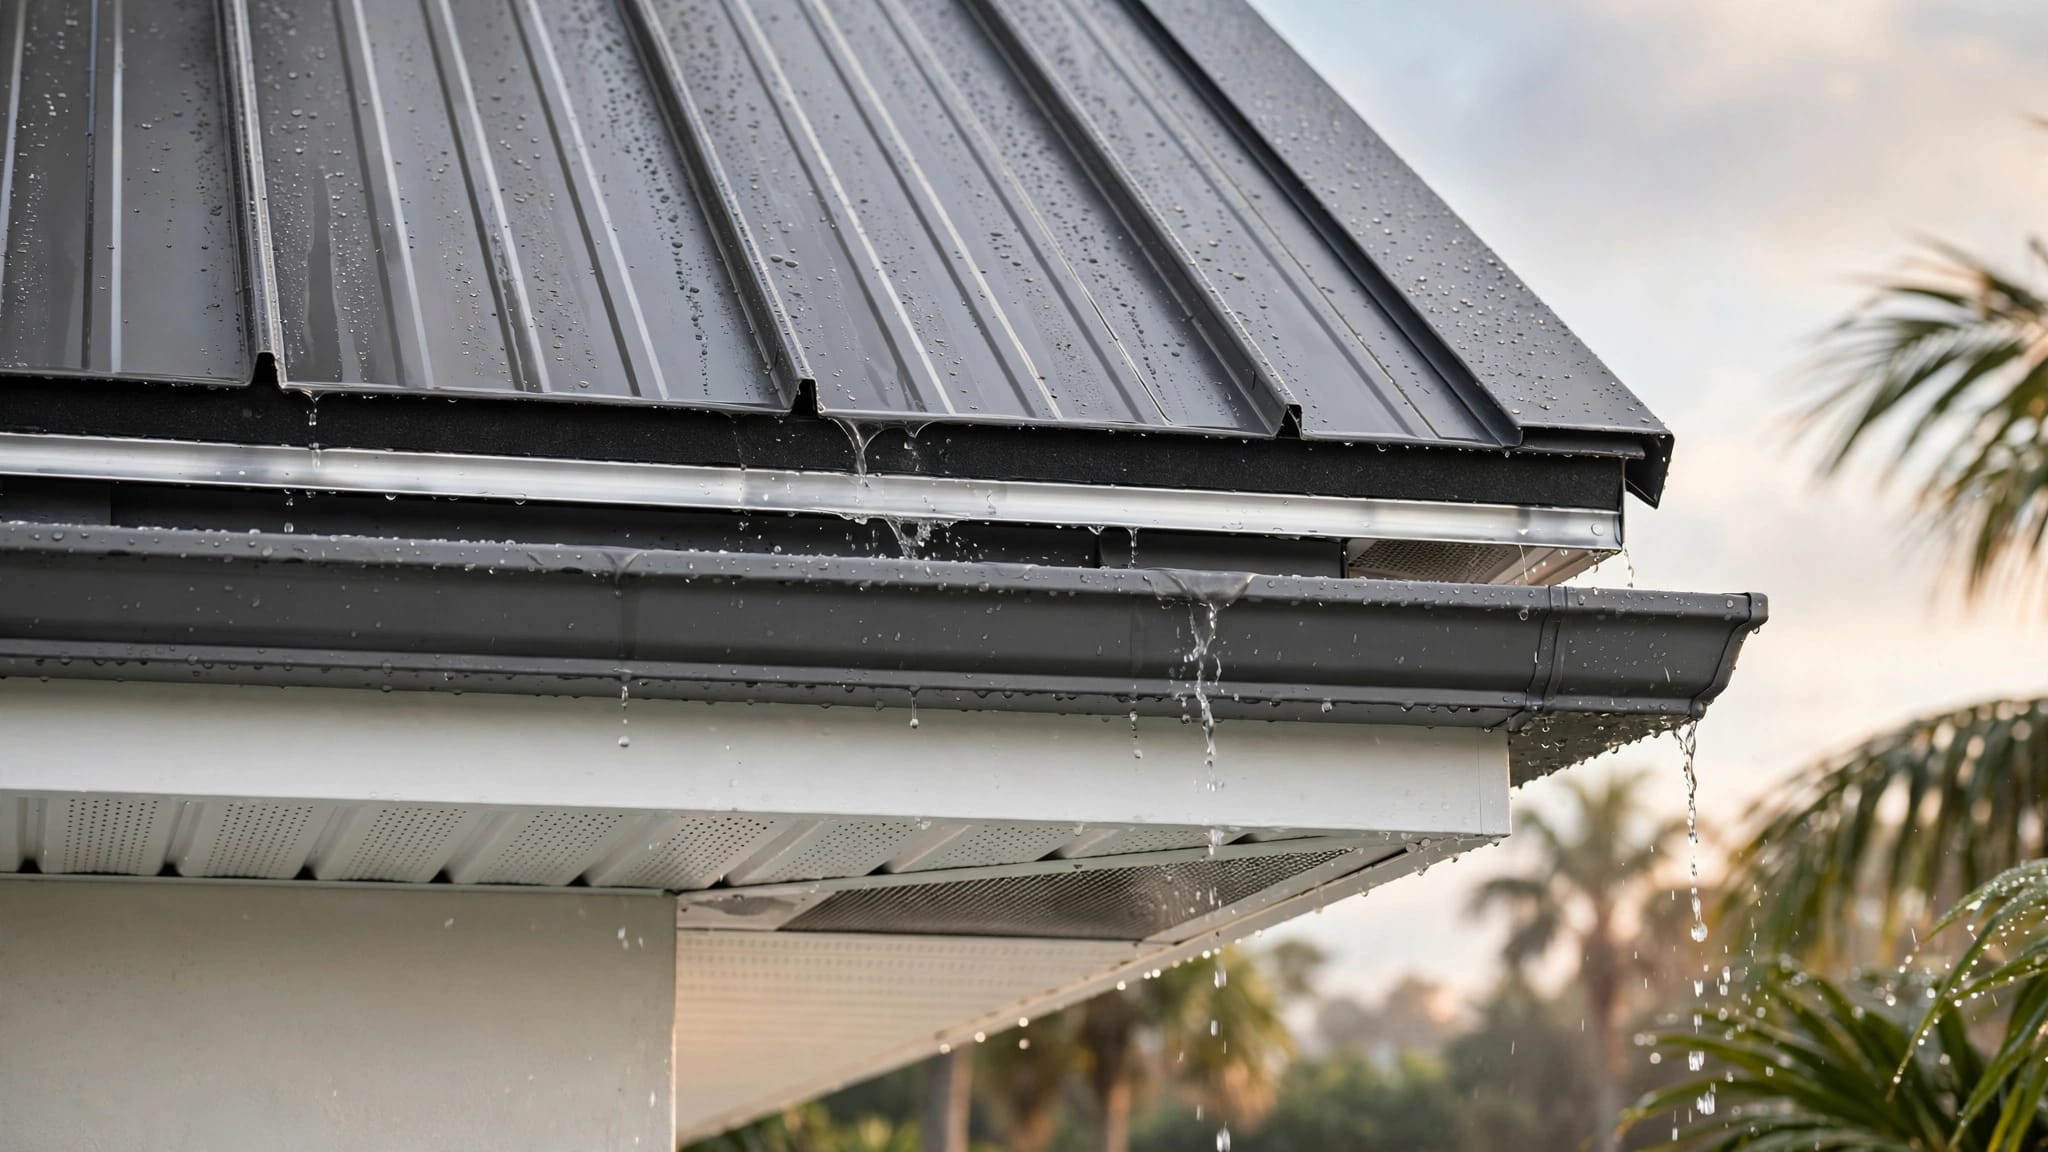
Most edge leaks begin where the roof appears simplest, at the eave. A properly detailed metal roof fascia soffit transition moves rain off the panels, past the fascia, and away from the wall without blocking attic intake.
Florida's heavy rain, salt air, high humidity, and wind loads leave little room for improvised trim. The eave must work as one connected assembly, from underlayment to drip edge, panel, fascia, soffit, and ventilation path.
Metal Roof Fascia Soffit: Build the Water Path First
A roof edge should shed water by gravity at every layer. Water that reaches the panel surface needs a clear route over the eave trim and into the gutter, or beyond the fascia when no gutter is present. It must not reach raw wood, the soffit cavity, or the wall finish.
Start by drawing the section before ordering trim. Include the roof deck, underlayment, drip edge, panel profile, closure, fascia board, soffit material, and gutter position. A small mismatch in leg length can put the drip line behind the gutter.
Layer components so upper pieces drain over lower pieces
Underlayment must terminate according to the approved roof system detail. The drip edge then directs runoff beyond the deck edge. Panels and eave trim need to discharge onto, not behind, that edge.
Trim laps also matter. Place the upslope piece over the downslope piece so water cannot work into the joint. Use the specified butyl tape at sealed overlaps, then fasten where the trim profile calls for it.
For a closer look at fascia-leg dimensions, drip control, and edge conditions, review this guide to choosing eave drip edge for metal roofs.
Match the trim to the panel profile
AG or Multi-Rib, PBR/R, 5V, and standing seam panels do not terminate the same way. Rib height, rib spacing, and fastening methods change the needed closure and trim shape.
Use profile-matched closures where the approved detail requires them. A closure that misses the rib valleys can admit wind-driven rain, insects, and debris. Standing seam systems may use a cleat or concealed clip arrangement instead of exposed panel screws, so don't transfer exposed-fastener details to a standing seam roof.
Confirm Florida Code, Product Approval, and Wind Design
The 2023 Florida Building Code, 8th Edition, addresses roof coverings in Chapter 15 and soffit and fascia work in Chapter 14. However, the approved assembly and local permitting requirements control the work at a particular address.
Metal roofing in Florida is not only a panel selection. The roof covering, underlayment, edge metal, fasteners, closures, and accessories must work together as an approved waterproof system.
Keep the approved assembly on the job site
Before installation, confirm the panel system's Florida Product Approval, installation instructions, limitations of use, and applicable engineering. Local permit reviewers may also request roof plans, design pressures, fastening details, and product-approval documents.
This matters most near corners, ridges, eaves, and open coastal exposures. Those areas often see greater wind pressure than the roof field. The panel fastener pattern, trim attachment, and substrate must match the approved design.
A trim detail can look neat and still fail inspection if its fasteners, substrate, or wind rating differ from the approved roof assembly.
Treat fascia and soffit as structural attachments
Florida code provisions for aluminum fascia include a minimum 0.019-inch thickness and require aluminum or stainless steel fasteners. Fascia overlap requirements also apply. Adjacent fascia pieces need at least a 3-inch overlap, while wrapped corner tabs extend at least 1 inch beyond the corner.
For vinyl or aluminum soffit panels, both ends need support. When the soffit span exceeds 12 inches, add intermediate nailers as required by the applicable detail and product instructions. Don't expect thin soffit material to bridge an unsupported span through hurricane-season winds.
Materials and Tools for a Buildable Eave Detail
Gather materials after the profile, dimensions, and approved fastening schedule are confirmed. Buying generic trim before measuring the actual eave usually causes field modifications that weaken the water path.
A typical metal roof fascia soffit detail needs:
- Panel-matched eave trim or drip-edge flashing with adequate roof-leg and fascia-leg dimensions.
- Profile-matched closures, approved butyl tape, and compatible sealant where the system detail calls for them.
- Corrosion-resistant fasteners with bonded EPDM washers for exposed locations, plus specified stitch screws or rivets for trim laps.
- Fascia board or subfascia in sound condition, along with soffit panels, channels, receiving trim, and required nailers.
- Underlayment, self-adhered membrane where the approved detail requires it, and compatible gutter hangers.
- A tape measure, chalk line, metal snips, hand seamer, drill-driver, nut-setters, crimpers, and a screw gauge.
Do not substitute screws because they are the same color. The fastener must suit the panel coating, metal type, substrate, and approved wind schedule. A #10 metal-to-wood screw and a larger #12 screw may have different pullout and spacing requirements.
Install the Fascia and Soffit Transition in Order
Good sequencing prevents one component from trapping the next. Work from the structure outward, then from lower water-shedding pieces toward upper pieces.
Prepare the edge before installing metal
Inspect the rafter tails, subfascia, roof deck, and fascia board for rot, loose fasteners, uneven edges, or old flashing that blocks drainage. Replace damaged wood first. A straight chalk line at the eave helps reveal a crowned or wavy fascia before metal makes the defect more visible.
Install the underlayment and any specified edge membrane according to the approved roof detail. Keep the deck edge clean and dry. Metal filings, old sealant lumps, and protruding nails can hold trim off the substrate.
Set components in a drainage-friendly sequence
- Install the specified drip edge or eave flashing over the prepared edge, using the approved fastener type and spacing.
- Fit fascia trim so the drip edge covers the required portion of its return. Keep the lower hem straight and clear of the future gutter line.
- Lap fascia sections in the direction water travels. Seal lap joints only where the detail requires a seal, then fasten through approved attachment points.
- Install the panel-specific eave closure if the roof system calls for one. Do not crush the closure or leave open rib valleys.
- Set roof panels to the correct eave overhang. Follow the panel supplier's fastening pattern and avoid driving exposed fasteners through the trim hem.
- Install soffit receiving channels, intermediate nailers when needed, and soffit panels with the required ventilation openings.
- Add guttering only after confirming it catches the runoff without covering soffit intake or puncturing a concealed drainage path.
Exposed-fastener assemblies depend heavily on order. This metal roof trim installation sequence gives added guidance for lapping, fastening, and sealing panel-edge trim.
Preserve Ventilation, Thermal Movement, and Metal Compatibility
The eave has two jobs that can conflict. It must block bulk water and wind-driven rain, while still allowing the attic to draw intake air through the soffit where the ventilation design requires it.
Keep intake air separate from roof-edge leakage paths
Use vented soffit products that meet the project's required net free area. Net free ventilation varies by product. For example, certain 12 to 24-inch vented HardieSoffit panels list 5 square inches of net free ventilation per linear foot, but that number does not apply to every soffit product.
Keep insulation from blocking the intake at the exterior wall line. Baffles can hold insulation back and preserve an open path into the attic. Pair soffit intake with compatible exhaust ventilation at the ridge or roof high point.
For profile-specific planning, see this resource on balanced attic airflow for metal roofs.
Allow metal parts to move without opening a lap
Florida heat makes long metal runs expand and contract. Follow the panel and trim manufacturer's instructions for clip locations, slotted holes, splice conditions, and fastener placement. Do not lock a moving standing seam panel to fascia trim with an extra screw.
Keep dissimilar metals apart unless the approved system permits direct contact. Copper runoff onto galvanized steel can cause staining and corrosion. Coastal projects also need careful attention to fastener finish, cut edges, aluminum-to-steel contact, and salt exposure.
Remove metal shavings as work progresses. Unremoved filings can rust on painted panels and leave brown streaks that look like a coating failure.
Quality-Control Checks Before the Crew Leaves
Inspect the completed edge from the roof, ground, attic, and gutter line. A flashlight in the attic can reveal missing closures, open gaps, damp sheathing, and blocked soffit intake before the next storm finds them.
Check the detail at every change in direction
At seams, corners, porch returns, valley ends, and roof-to-wall intersections, verify that each upper piece laps over the lower piece. Fascia should sit consistently behind the drip edge. Confirm every trim lap has its required overlap, tape, sealant, and fasteners.
Look for exposed fasteners that are crooked, under-driven, or over-driven. An EPDM washer should sit evenly against the metal. A washer squeezed hard enough to bulge can split early, while a loose washer leaves a water path.
Before installing custom bends, use this checklist for inspecting custom metal roof trim. Verify lengths, hems, finish, bends, and profile fit while corrections are still easy.
Diagnose leaks and staining by tracing uphill
Water stains at a soffit or ceiling may start well above the visible stain. During investigation, inspect the panel laps, underlayment termination, eave closure, drip edge, fascia joint, and any nearby wall flashing. Water can travel under metal before it drops into the building.
Brown streaks at the roof edge often point to loose metal filings, damaged cut edges, incompatible fasteners, or runoff from a dissimilar metal. Clean loose debris with methods allowed by the panel manufacturer. Replace corroded fasteners and repair damaged trim instead of burying the problem under sealant.
Safety, Permits, and Project Records
Metal edges are sharp, and roof panels become slippery when wet. Wear cut-resistant gloves, eye protection, soft-soled footwear, and fall protection suited to the roof pitch and height. Secure ladders, keep cords away from the eave, and never work near overhead electrical service without proper clearance.
Verify project-specific engineering, permits, current Florida Building Code requirements, local amendments, and product approvals before work begins. High-wind zones, coastal exposure, reroof conditions, and unusual framing may require details beyond a standard installation guide.
Keep approved documents, photographs of concealed work, panel and fastener information, and inspection records with the property file. That record helps during warranty questions, future repairs, and permit closeout.
A Roof Edge That Drains, Vents, and Holds Fast
A sound metal roof fascia soffit transition depends on order and compatibility. Water must pass over every lower component, ventilation must remain open, and each fastener must match the approved wind design.
The most dependable eaves are planned before trim is bent or panels are cut. Continuous drainage paths and disciplined installation keep Florida rain outside, where it belongs.
Share Our Metal Roofing News Articles
Related Posts




