
Screw Gun Settings for Metal Roofing That Protect the Seal
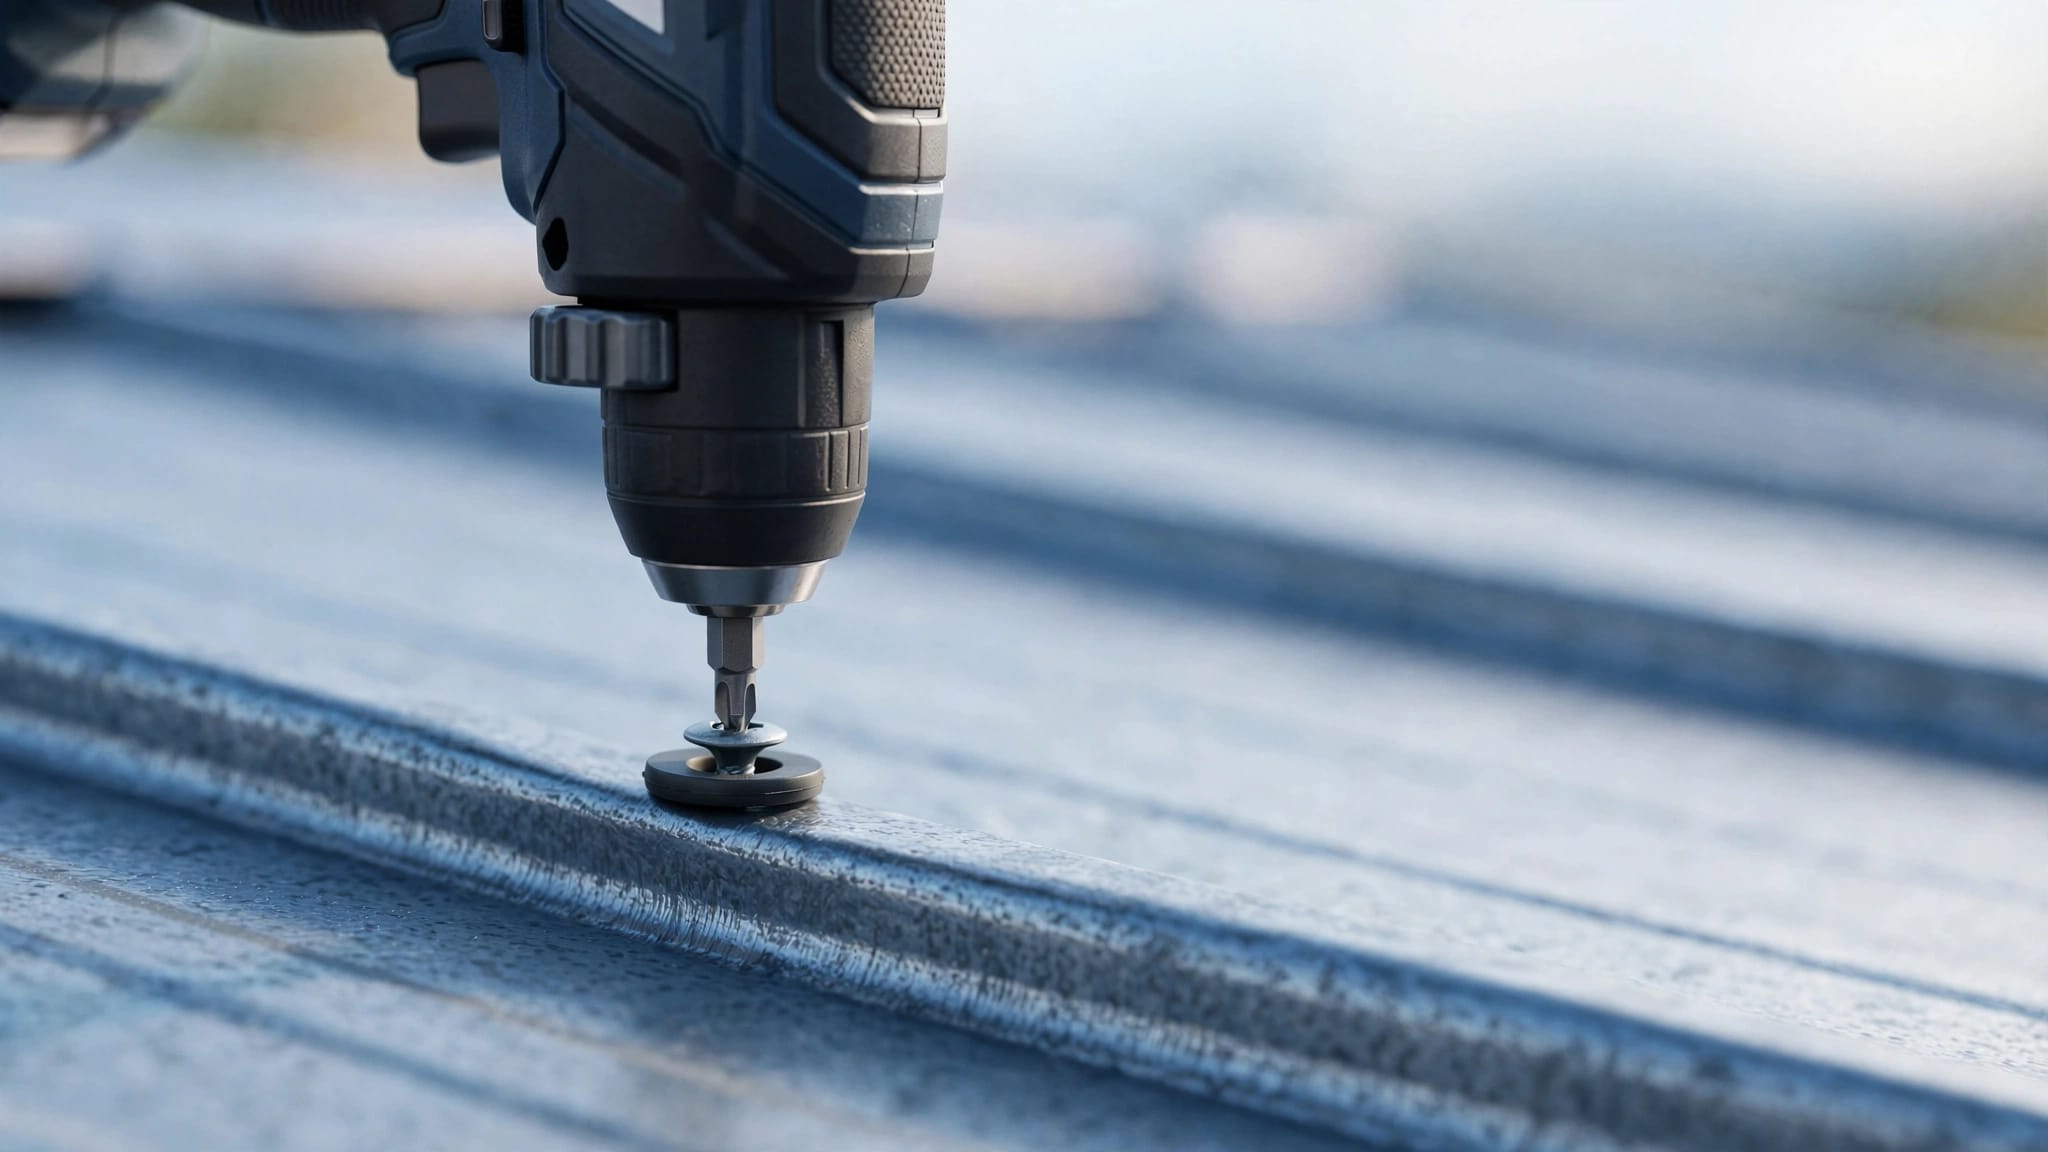
A metal roof screw can look tight and still create a leak path. The right screw gun settings seat the washer evenly without crushing it, stripping the substrate, or dimpling the panel.
There is no universal RPM, torque number, clutch setting, or depth-stop position for metal roofing. Your tool, fastener, panel profile, substrate, and approved fastening schedule all affect the correct adjustment.
Start With the Approved Roofing Assembly
Screw gun setup begins before the first panel goes on the roof. Confirm the panel profile, screw type, screw length, washer, and supporting material. Then check the manufacturer's installation instructions and the project's approved fastening details.
For Florida jobs, the fastener schedule can change with roof height, slope, wind exposure, deck type, and location on the roof. Field, perimeter, and corner zones may not use the same pattern.
Match the fastener to the material below
Wood and steel need different screw points and thread designs. A wood-grip fastener needs sound lumber to bite into, while a self-drilling fastener needs the proper drill point for steel framing or metal-to-metal attachment.
Review metal roof screws for wood or steel purlins before setting up the driver. Using the wrong fastener can cause spinning, weak holding power, or damage to the support.
Don't chase a single clutch number
Clutch numbers differ by tool, so a setting that works on one driver doesn't translate to another. Start below the setting you expect to need, then raise it only after a test screw fails to seat fully.
If your screw gun uses an adjustable depth nosepiece instead of a clutch, adjust it in small increments. The target stays the same: a square screw head and a washer that compresses slightly and evenly.
Use Controlled Speed and Firm Alignment
A fast trigger and a tilted driver create most seating problems. Keep the driver square to the panel, hold steady pressure, and slow down as the washer approaches the metal.
For self-drilling screws, the tool needs enough speed to let the point cut cleanly through the material. However, the final seating phase needs control. Avoid driving at full speed until the head abruptly stops.
Watch the washer, not the tool setting
The washer gives the clearest answer about whether your screw gun settings are correct. A properly seated washer lies flat against the panel and shows a small, even amount of compression around the screw head.
A washer can seal only when pressure is even. A tilted head or crushed edge leaves a weak spot for wind-driven rain.
Stop and replace the fastener if the washer is split, cut, twisted, hardened, or flattened beyond recovery. Don't reuse a damaged washer on a new installation.
Recognize overdriving and underdriving
An overdriven screw can make the washer bulge outward, flatten excessively, or squeeze out around the head. It may also pucker the panel, enlarge the hole, or strip the threads in wood or steel.
An underdriven screw leaves a visible gap beneath the washer. The head may rock when touched, and the panel can move around the fastener. That movement can wear the hole larger through heat cycles, wind, and rain.
Test-Fit Every Screw and Panel Combination
Use a panel offcut or hidden test area with the same panel profile, fastener, and substrate as the roof. A test in thin scrap metal alone won't confirm how the screw will behave once it reaches plywood, purlins, or steel framing.
Follow this process before installing a full run of panels:
- Install one screw square to the panel at a controlled trigger speed.
- Inspect the washer from all sides with good light, then check that the head sits straight.
- Back off the clutch or depth stop if the rubber bulges, the panel dimples, or the screw strips.
- Increase the setting slightly if the washer remains loose or the head rocks.
- Drive several more test screws, because one clean result doesn't prove a repeatable setup.
Keep the driver bit or nut setter in good condition. A worn bit slips on the head, chews the coating, and makes it easier to drive a screw crooked.
Choose Hardware That Fits the Roof System
The screw gun cannot correct a mismatched fastener. Fastener diameter, length, point style, washer material, and corrosion protection must match the panel and substrate.
Mid Florida Metal Roofing Supply carries fasteners in several lengths, including 1-inch through 3-inch options for premium #12 self-drilling screws. Those choices matter because the screw must reach and grip the support without using excessive force.
For new installations, metal roofing fasteners and accessories can help you match screws, rivets, sealants, and related parts to the roofing system.
Protect the panel finish
Metal filings, scratched coatings, and torn washers create avoidable maintenance issues. Clear drilling debris as you work, especially near laps and trim. Also avoid forcing a wandering screw back and forth through the same hole.
If a screw spins without tightening, stop. Repeated driving can enlarge the hole and damage the panel. Use the approved repair method or replace the affected component rather than relying on extra torque.
Treat coastal exposure seriously
Florida's heat, humidity, rain, and salt air can be hard on exposed fasteners. Use corrosion-resistant hardware approved for the roof system, particularly near the coast.
The washer must also remain flexible enough to keep pressure against the panel. A clean, correctly seated washer does more for long-term sealing than a heavily tightened screw.
Follow the Fastener Schedule by Roof Zone
Correct screw gun settings won't help if screws go in the wrong location. PBR, AG, 5V Crimp, and standing seam systems each have their own attachment details.
For example, a source-specific PBR or AG installation over wood may call for 12-inch field spacing. That example is not a rule for every roof. Roof geometry, wind zone, substrate, and product approval can require a different schedule.
Use the PBR panel fastener placement guide with the current Florida Building Code, local requirements, and panel instructions. Florida Product Approval or Miami-Dade NOA documents may also identify fastener type, spacing, and attachment details by field, edge, and corner zone.
Key Takeaways
- Set the tool through test screws, not a borrowed RPM or clutch number.
- Drive each screw square and stop when the washer is flat with slight, even compression.
- Replace screws with damaged washers, stripped heads, worn threads, or poor holding power.
- Match every fastener to the panel profile, substrate, and approved fastening schedule.
- Check settings again when the crew changes tools, fastener sizes, or support materials.
FAQ
Should metal roofing screws be driven tight?
They should be snug enough to lightly compress the washer, but not so tight that the rubber bulges or the panel puckers. A crushed washer and distorted panel can lose their seal.
Can I use the same screw gun setting on every panel?
No. Changes in screw type, panel thickness, profile, substrate, and tool condition can change how the screw seats. Test the setup again whenever one of those factors changes.
Final Thoughts
The best screw gun settings produce a flat, lightly compressed washer and a panel with no distortion. Set the tool cautiously, confirm the result with test screws, and follow the approved fastening details for the exact roof system.
A controlled installation protects both the fastener seal and the panel beneath it.
Share Our Metal Roofing News Articles
Related Posts




