How to Inspect Custom Metal Trim Before Installation
A small mistake in custom metal trim can stop an entire roof detail before the first screw goes in. A bent corner, wrong profile, or swapped left and right piece can create fit problems that are harder to fix on the roof.
Florida projects also face strong sun, heavy rain, and coastal air, so careful receiving and handling matter. Use the checklist below to verify each piece, record problems, and resolve them before installation begins.
Start the inspection before opening the package
Set aside a clean, dry inspection area before the delivery arrives. You need enough room to lay out long trim without dragging it across concrete, gravel, or the ground. For long pieces, arrange enough people to carry the material without bending it.
Wear cut-resistant gloves, long sleeves, and eye protection. Trim edges can be sharp, especially around hems, notches, and cut ends. Lift each piece by its edges with support along its length. Don't bend, twist, or slide finished trim across another piece.
Keep the order documents nearby. You may need the packing slip, roof plan, approved drawing, color information, and original measurements during the inspection.
A piece can look correct in a bundle and still have the wrong location, orientation, or bend. Inspect every item against its order information.
Check the packaging and shipping condition
Begin with the outside of the package. Photograph the bundle before removing bands, wrap, or corner protection. These photos create a record if the carrier or supplier needs proof of shipping damage.
Look for crushed corners, punctured wrapping, broken straps, torn cardboard, wet packaging, and exposed metal. Water stains or trapped moisture deserve attention, even when the metal doesn't show rust. Mark the affected bundle so it doesn't get mixed with material that arrived in good condition.
After opening the package, inspect the trim one piece at a time. Check both faces, the ends, the bends, and the edges. Watch for:
- Dents, kinks, flattened hems, and twisted legs.
- Scratches, coating chips, scuffs, or exposed base metal.
- Bent corners caused by dropped bundles.
- Damage around pre-cut notches, holes, or returns.
- Pieces that are stuck together because of moisture or debris.
- Missing, short, or extra pieces compared with the packing slip.
Don't pull stuck pieces apart with force. Separate them slowly and support the metal near the bend. If the finish has bonded or the pieces show damage, stop and document the condition before continuing.
Match each piece to its location and orientation
Custom trim often looks similar from one piece to the next. Labels prevent a rake trim, eave trim, transition, or sidewall flashing from being installed in the wrong area.
Compare the labels with the roof plan or trim schedule. Each piece should have a clear location, building elevation, and orientation when needed. Mark left-hand and right-hand pieces, especially when the bend or notch isn't symmetrical.
A useful label can identify the building side, roof section, trim type, sequence, and orientation. Use removable labels or tape rather than writing directly on the finished face. Keep the markings visible until the piece reaches its installation location.
Check the quantity for each location before installation. Include pieces needed for laps, corners, end conditions, transitions, and field splices. If the trim schedule calls for different lengths, verify those lengths rather than assuming similar pieces are interchangeable.
The custom metal trim ordering guide covers profile details, orientation, lengths, hems, returns, notches, and cutouts that should appear in the order information.
Verify measurements, bends, and tolerances
Lay the trim on a clean, flat surface. Don't force a bowed or twisted piece flat while measuring it, because that can hide a shipping problem or change the apparent bend.
Compare the finished piece with the approved sketch or order confirmation. Measure the items that control fit:
- Overall length and each individual leg.
- Hem, drip edge, return, and kick-out dimensions.
- Bend locations and the distance between bends.
- Notches, cutouts, and splice points.
- Pre-punched holes, if the order includes them.
- Bend angles and the face used as the reference point.
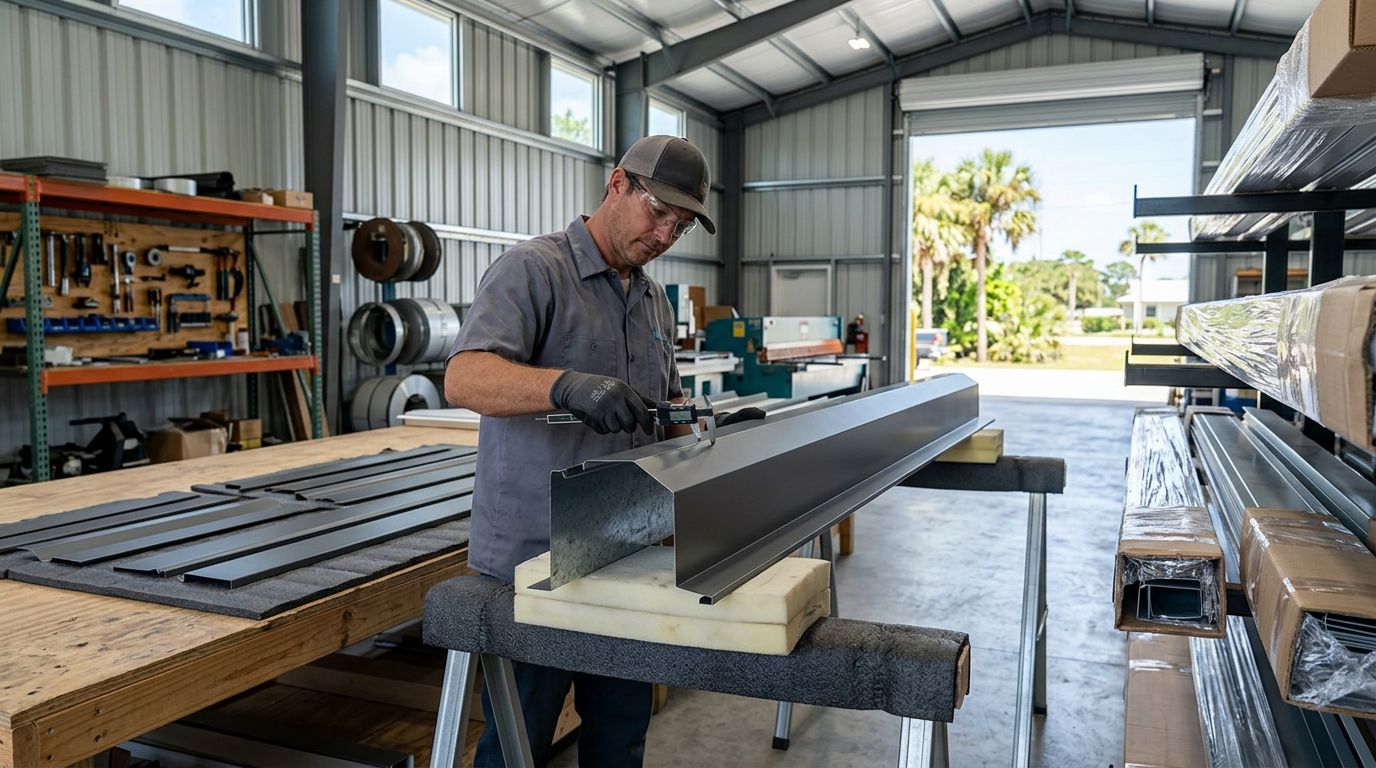
Use a tape measure for length, a straightedge for edge alignment, and an angle finder or protractor for bends. A caliper can help confirm small returns or hem dimensions. Record the actual measurement instead of writing only "good" on the inspection sheet.
Don't rely on a universal tolerance for every trim order. The acceptable range depends on the profile, material, gauge, fabrication method, and approved shop drawing. Compare the piece with the supplier's stated tolerance and ask for approval when a measurement falls outside it.
A bend angle without an orientation is incomplete information. The same angle can face inward or outward, which changes how the trim sits against the panel or wall. For more detail, review this guide to measuring bend angles for custom flashing.
Inspect long pieces for a gradual bow as well as sharp bends. A slight visual variation may be acceptable for a particular profile, but a kink, twisted hem, or inconsistent leg can prevent a straight installation.
Protect the finish during inspection
Handle painted and coated trim by the edges whenever practical. Don't place tools, screws, scrap metal, or other trim on the finished face. Fine debris can scratch the coating when pieces move against each other.
If the trim has protective film, leave it in place during inspection unless the supplier's instructions say otherwise. Check the film for tears, trapped water, lifted edges, and signs that it has pulled the coating. Remove it according to the supplier's timing because heat and sunlight can make film harder to remove later.
Store trim under cover in a dry, ventilated area. Keep pieces off the ground and support them so water can drain. Don't seal damp trim inside plastic for long periods. Before installation, sweep away metal shavings and dirt with a soft cloth. Avoid grinding or cutting near stored finished pieces because hot particles can burn the coating.
Small scratches may qualify for an approved touch-up repair, but don't apply a random paint color. The coating, gloss, and color can differ even when two products look similar in a can.
Confirm compatibility with the roofing system
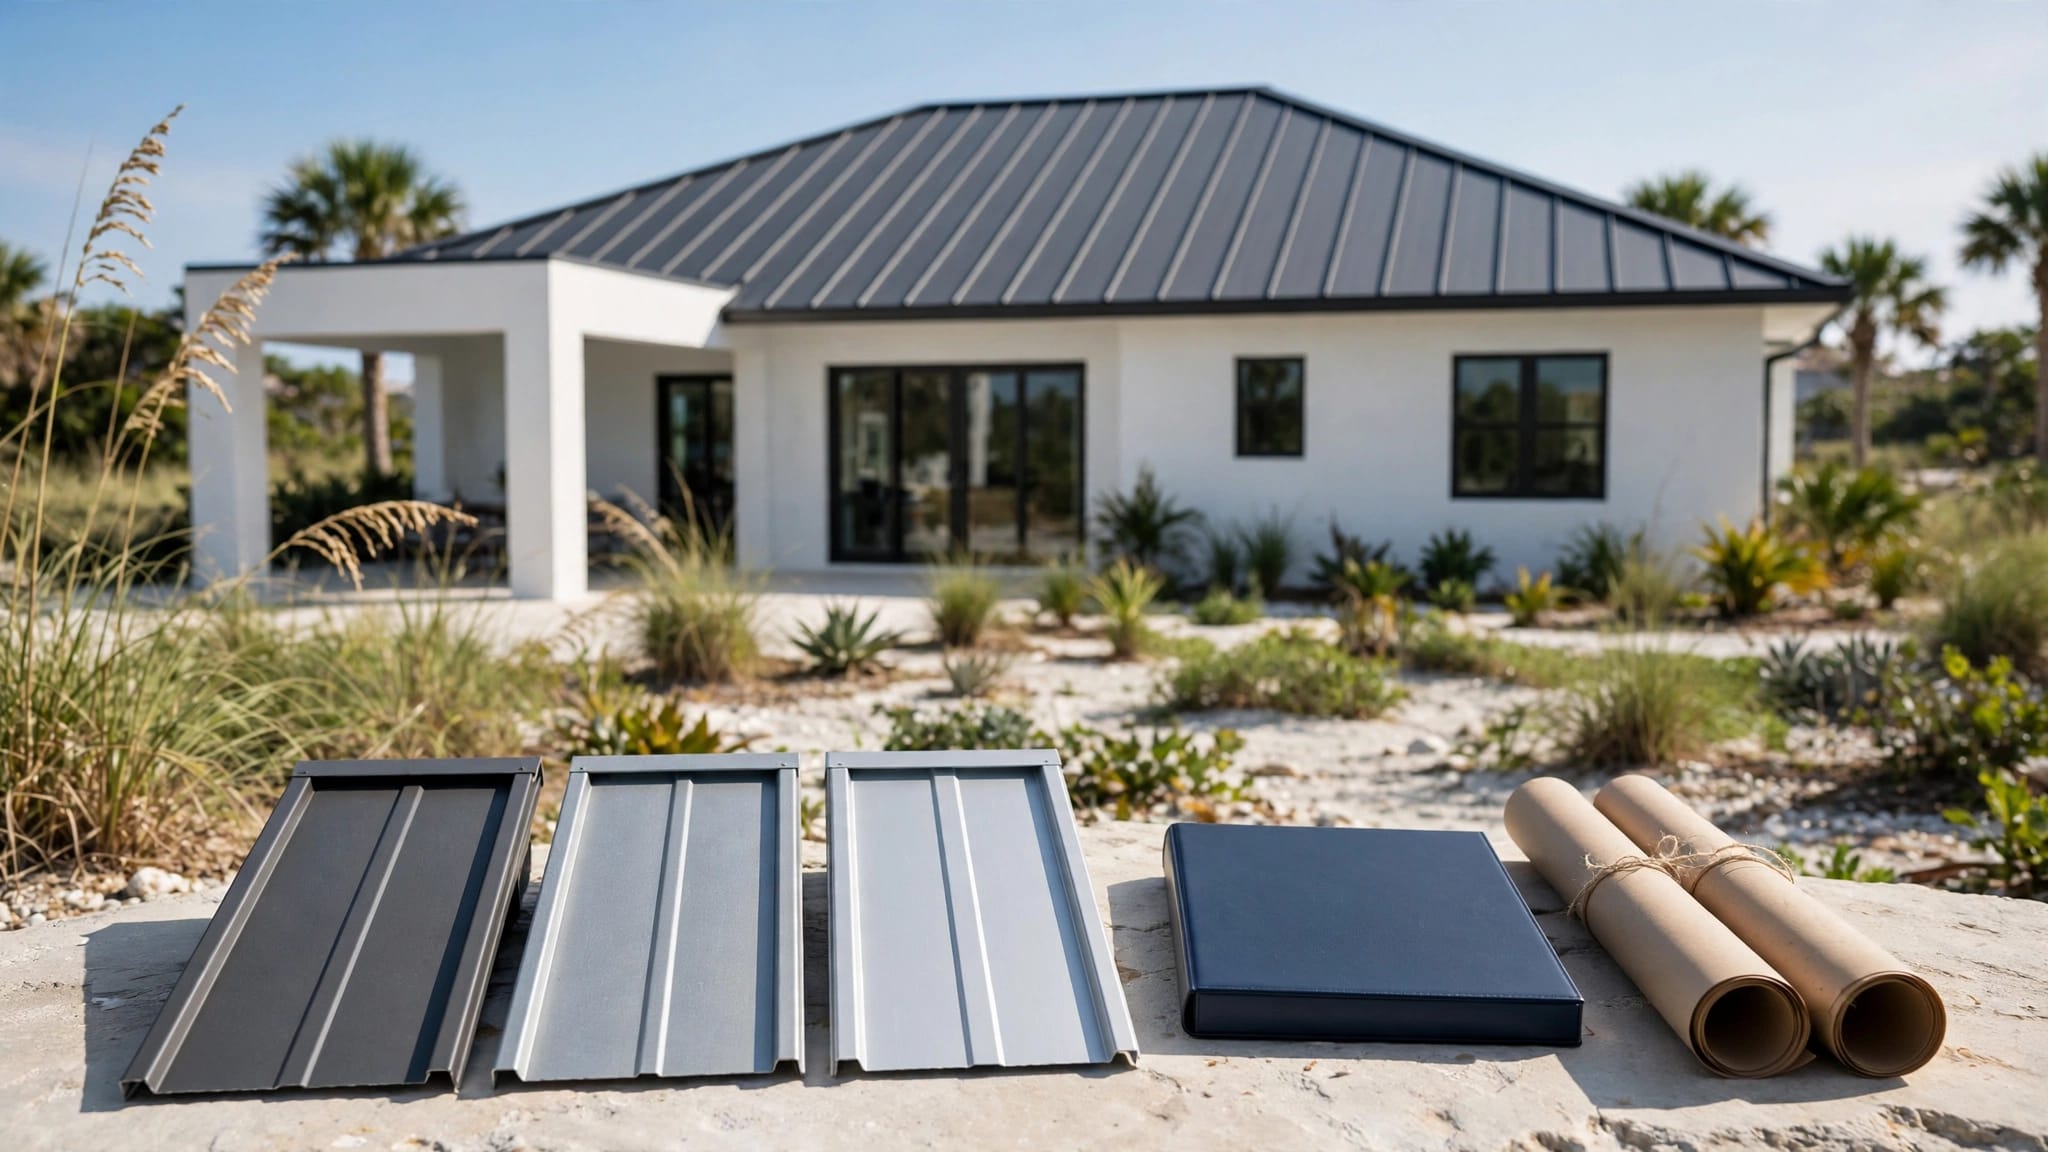
A trim shape that fits one panel profile may fail on another. Match the piece to the exact roofing system, such as AG or Multi-Rib, PBR/R, 5V, or standing seam. Rib height, panel spacing, seam shape, and closure placement all affect the trim profile.
Check the order for the following details:
- Panel profile and manufacturer or supplier system.
- Metal type, gauge, color, and coating.
- Ridge, rake, eave, valley, transition, or wall-flashing location.
- Closure strips, sealants, fasteners, rivets, and EPDM components.
- Required laps, sealant pockets, hems, and clearance areas.
Don't judge compatibility by color alone. Two pieces may share a color name but have different panel geometry or coating specifications. The guide to matching trim to metal roof panels can help compare profile, pitch, orientation, length, and accessory requirements before a piece reaches the roof.
Adjacent materials also need review. Check how the trim will meet fascia, gutters, wall panels, siding, stucco, masonry, concrete, skylights, and treated wood. Dissimilar metals can corrode when they touch in a wet environment, so follow the approved detail for separation or protective materials.
Confirm that the planned sealant is approved for the metal coating and nearby surface. Some sealants can stain finishes or fail to bond to certain materials. Fasteners should also match the panel system and substrate. Don't replace a specified screw or rivet with a visually similar product without approval.
Look at the water-shedding path before installation. A return, hem, or transition should direct water away from the wall or roof assembly. A reversed piece can create a pocket that holds water even when its dimensions appear correct.
Record problems and correct them before installation
Use an inspection sheet for every bundle or trim group. Record the order number, delivery date, piece label, measured dimensions, condition, and final status. Take close-up photos of damage and wider photos that show the label and the full piece.
Separate questionable pieces from accepted material. Attach a clear "hold" label so a crew member doesn't install them by mistake. Don't straighten, drill, cut, repaint, or bend a disputed piece before the supplier reviews it. Field changes can remove evidence of the original problem and may make a replacement harder to match.
Contact the supplier with useful information:
- State the order or job number.
- Identify the profile, color, trim location, and piece label.
- Describe the problem in measurable terms.
- Include photos of the packaging, label, damage, and measurement.
- Explain whether the problem affects fit, finish, quantity, or orientation.
- Ask whether the piece needs replacement, repair, or written approval for field correction.
A replacement request should include the original sketch or dimensions. If the problem involves a profile mismatch, provide the panel name and a photo of the panel cross-section or rib pattern. If a piece is short, give the measured length and the required length.
Don't install a wrong or damaged piece to keep the crew moving. A replacement may take less time than removing a failed flashing after panels, sealant, and fasteners are already in place.
A final pre-installation check
Before the first piece goes up, walk the material with the installer or foreman. Confirm that each location has the correct trim, orientation, fasteners, closures, sealant, and access to the needed tools.
Check that all accepted pieces remain dry, clean, and supported. Confirm that held pieces are isolated and that open questions have a documented answer. Keep the final inspection record with the project documents.
Conclusion
Inspecting custom metal trim before installation protects the roof schedule and prevents avoidable fit problems. The most important checks are profile, orientation, dimensions, finish, compatibility, and documented condition.
Handle every piece carefully, compare it with the approved information, and stop questionable material before it reaches the roof. A short inspection on the ground is far easier than correcting a wrong bend or damaged finish after installation.
Share Our Metal Roofing News Articles
Related Posts