How to Measure Trim Bend Angles for Custom Flashing
A trim piece can miss the mark by a few degrees and still look fine on paper. On the roof, that same mistake can leave a gap, twist a leg, or throw off the whole fit.
Custom flashing works best when the angle, length, and bend direction are clear before the brake ever runs. If the part names still feel mixed up, roof flashing basics gives a clean starting point.
The real trick is simple. Measure the field condition, write down the right angle term, and send a labeled sketch that leaves little room for guesswork.
Know which angle you are measuring
People in sheet metal often use bend angle, open angle, inside angle, and outside angle as if they mean the same thing. Sometimes they do on a quick order. Other times they do not, and that is where custom flashing goes wrong.
The safest approach is to name the angle type every time you write it down. A number by itself is easy to misread, but a number with a label tells the shop how you measured it.
| Term | Plain meaning | How to note it |
|---|---|---|
| Bend angle | The amount of turn made in the brake | Write the angle and say which face you measured |
| Open angle | The angle the formed piece opens to | Label it as open angle, not just the number |
| Inside angle | The angle on the inside corner | Note the inside face or inside corner |
| Outside angle | The angle on the outer face of the bend | Use only if your shop asks for it |
Because shops do not always use these terms the same way, the best note includes both the number and the reference point. For example, "90 degree bend, measured on inside face" is much clearer than "90 degrees" alone.
That small habit saves time later. It also helps when you need the same detail repeated across multiple custom trim pieces.
Measure the flashing in the field, not from memory
A roof detail often looks square until you measure it. Then you find a wall that leans, a soffit that bows, or a panel line that shifts just enough to matter.
Start with the actual opening or edge, not the old plan set. Then check it in more than one place, because the first number is not always the whole story.
- Confirm what the piece does.
Is it a rake trim, wall flashing, chimney piece, curb cover, or drip edge? The part name helps define the bend and the return. - Measure the installed condition.
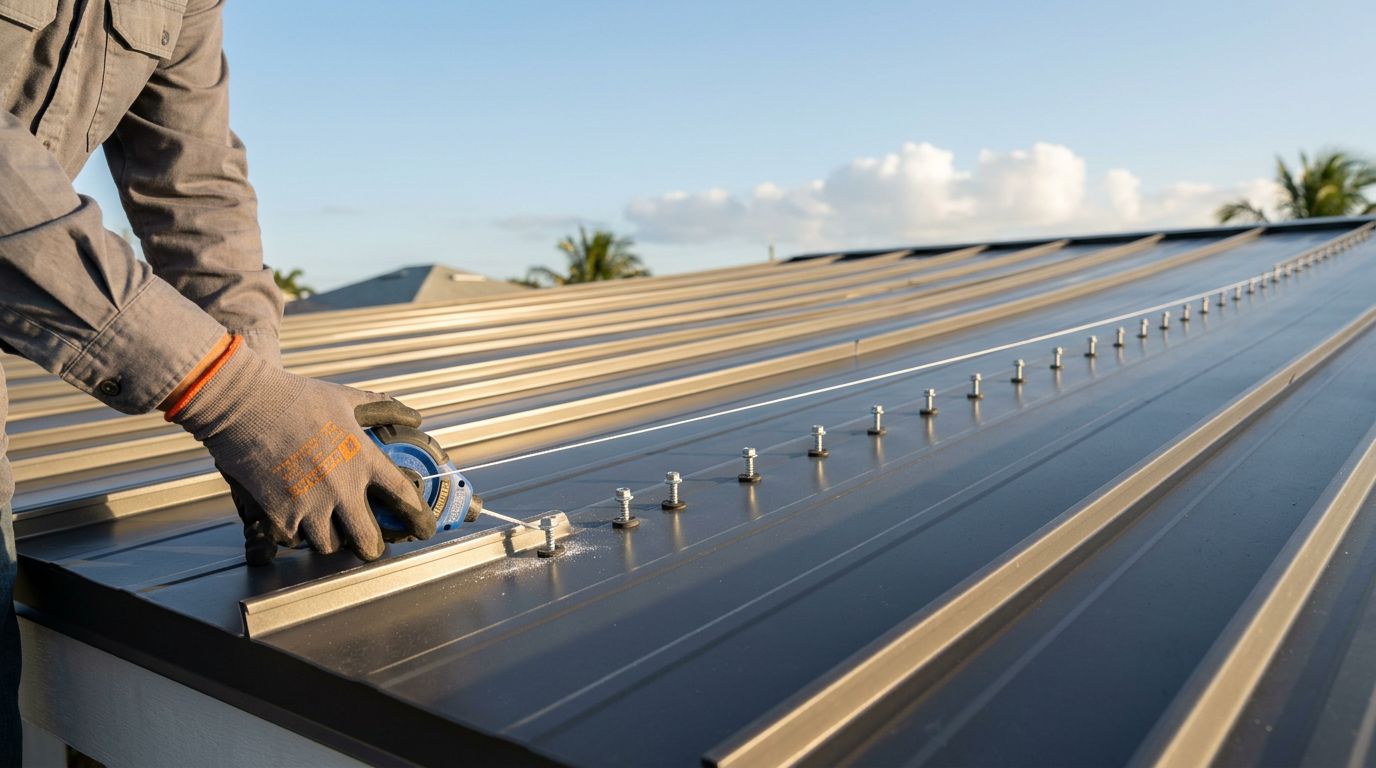
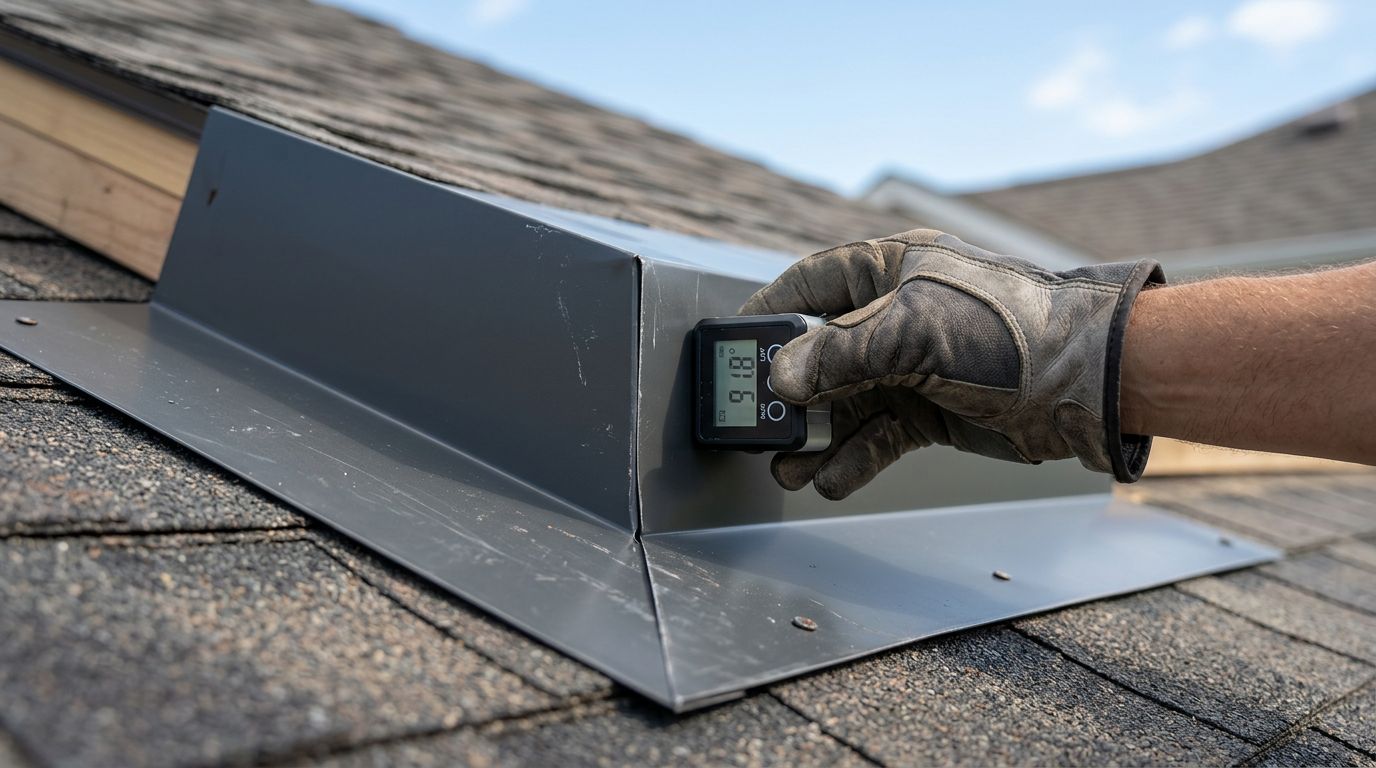
Use a tape for length, then use an angle finder, bevel gauge, or digital protractor for the bend. If the area is already framed, measure there. - Check more than one spot.
Walls, fascias, and roof edges are often out of square. A reading at one end may not match the other end. - Record slope and handedness.
Note which side faces up slope, which side faces down slope, and whether the piece is left-hand or right-hand. - Recheck for hems, returns, and laps.
A 1/2 inch hem or a short return changes the finished shape. So does any overlap needed at a joint.
Florida roofs add another reason to verify in the field. Wind-driven rain finds small openings fast, and a trim piece that is off by a little can become a leak path. If the roof edge or wall line is uneven, trust the actual measurement, not the best-looking one.
When you send those measurements, ordering custom roofing trim the right way helps keep the angle notes tied to the lengths and profile details.
Put the angle on a labeled sketch
A good sketch does more than show shape. It tells the shop how the piece sits, where the bend happens, and which face is inside or outside.
That matters because trim bend angles are only useful when the bend is tied to the right side of the part. A sketch with a few labels is often better than a long phone call.
Include these details on the drawing:
- Overall length of each leg
- Bend angle with the reference face named
- Hem, return, or drip edge size
- Left-hand or right-hand orientation
- Panel profile, seam height, or rib spacing if the trim wraps a roof panel
- Any lap, notch, or splice location
Example note: "Rake trim, 12' 8" long, 3" x 4" legs, 90 degree inside bend, 1/2" hem on long leg, right-hand piece, match exposed-fastener panel."
A note like that gives the shop a real picture of the part. It also helps when the trim must match a panel profile, a wall edge, or an opening.
If the piece ties into a wall or roof transition, draw the water direction too. A small arrow that shows upslope and downslope can clear up a lot of confusion.
Common mistakes that cause bad fits
Most bad flashing orders do not fail because of one giant error. They fail because of a few small misses that stack up.
The most common problems are easy to avoid once you know what to look for.
- Measuring only the length and skipping the bend angle
- Using open angle, bend angle, and inside angle without naming the reference
- Forgetting hems, returns, or notches
- Measuring one end of a crooked opening and assuming the other end matches
- Sending dimensions without a sketch or photo
- Assuming a standard piece will fit a custom roof edge or wall detail
Those mistakes matter more on metal roofs because the parts fit tight by design. A gap that looks tiny on the ground can be obvious from the ladder. It can also leave the edge exposed to water and wind.
Field verification fixes most of these issues. Measure the real opening, check the angle again, and compare the part against the actual panel or substrate before you order.
What to send with the order
A clean order package keeps the shop, the installer, and the jobsite on the same page. It should read like a short field note, not a guess.
Include the following:
- A labeled sketch with all bend angles marked
- Exact lengths for each leg
- The inside or outside face used for the measurement
- Material, gauge, and finish
- Quantity and handedness
- Photos of the area or the old part, if available
- Any profile match notes for the panel, seam, or rib
If the trim needs to match an existing roof edge, say so plainly. If the opening is out of square, mention that too. If a return or hem has to clear a panel rib, write that on the sketch.
Clear notes matter because custom flashing is not one-size-fits-all. The same bend can work in one spot and fail in another if the face, profile, or slope changes.
Conclusion
Trim bend angles look simple until the piece has to fit a real roof. That is when the details start to matter, especially the difference between the angle itself and the way it is measured.
The best results come from field verification, a clear angle label, and a sketch that shows dimensions and reference points. When those three things line up, custom flashing is much easier to order and much easier to install.
A roof edge leaves little room for guesswork. Clear notes give the metal a better chance to follow the plan.
Share Our Metal Roofing News Articles
Related Posts