How To Order Custom Metal Roof Trim The Right Way
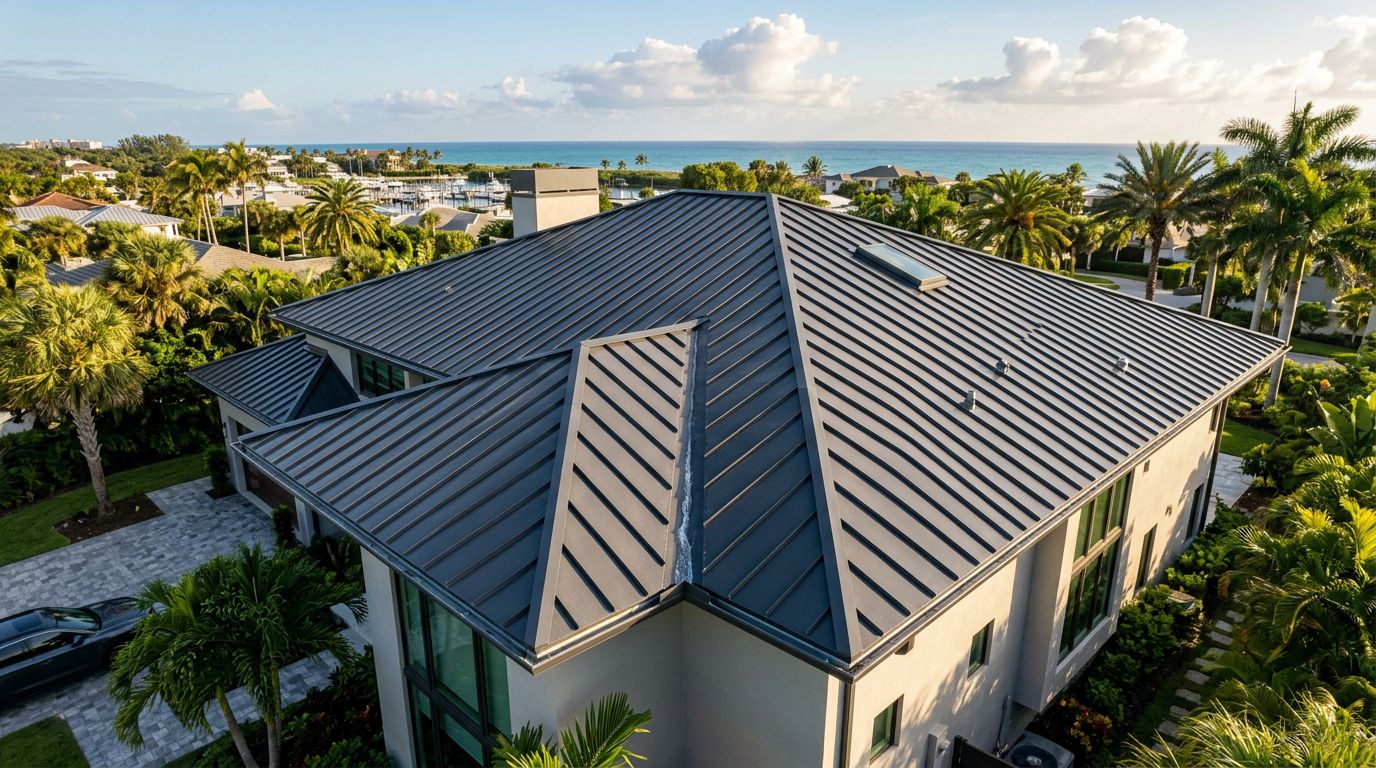
Order the wrong trim once, and the roof reminds you at every edge. Water misses the gutter, ribs don't seat, or the ridge cap looks close but not right. The good news is that custom metal roof trim is easy to order when you break it into profile, measurements, and clear notes.
For homeowners, builders, and installers, the goal is simple: give the supplier enough exact information that nobody has to guess. That means knowing the trim name, the panel profile, the bend sizes, the angle, the finish, and any special details before the order goes in.
Start with the right trim names and roof details
Trim is the bridge between roof parts. It closes gaps, directs water, and finishes edges. Still, people often use different names for the same piece. For example, gable trim and rake trim may mean the same thing on one job, but not on another. If the terms feel fuzzy, review these roof flashing terms and common components before you place an order.
Next, match the trim to the panel profile . That part matters more than many buyers think. A trim shape that works on AG or Multi-Rib may not fit PBR/R, 5V, or standing seam. Rib height, panel shape, and attachment method all affect the trim.
Here's a quick reference for common pieces and the measurement that usually matters most:
| Trim type | Where it goes | Measurement to confirm |
|---|---|---|
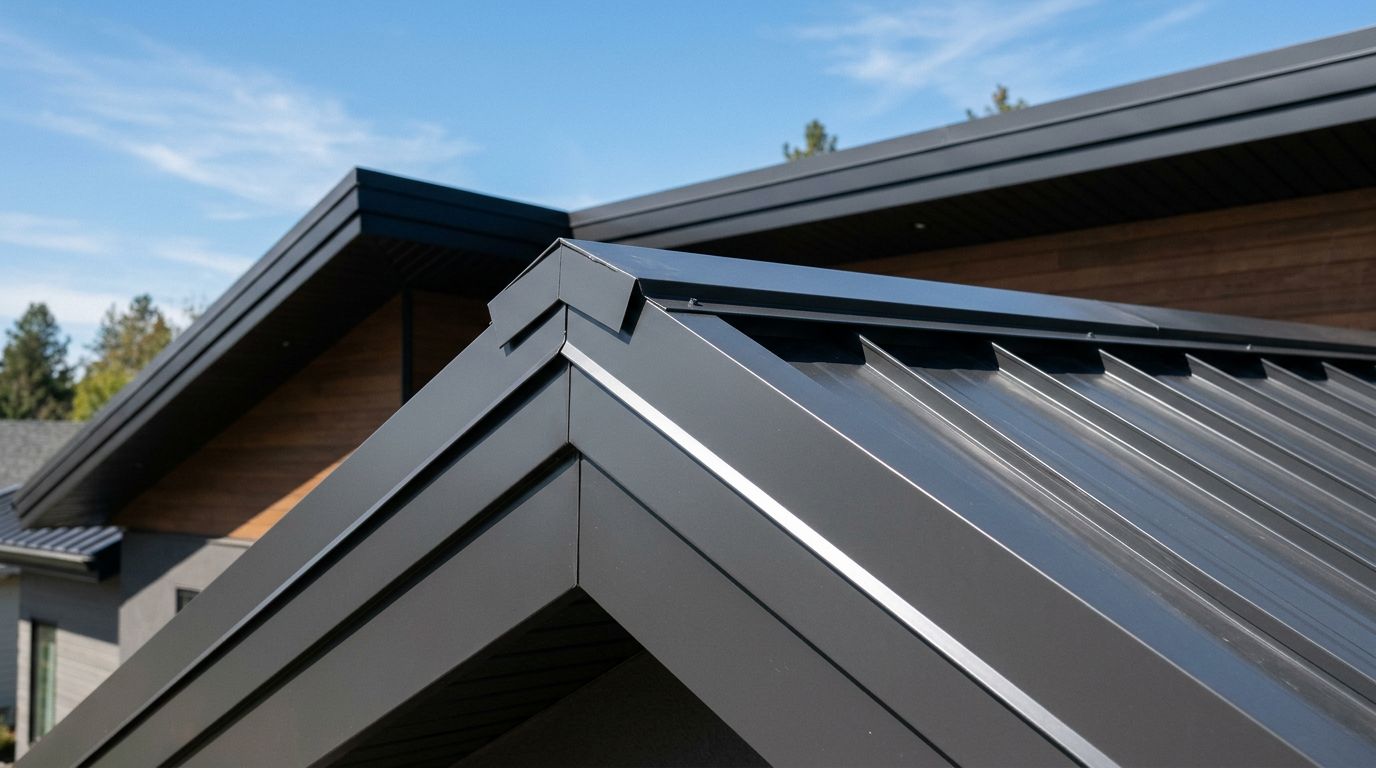
| Ridge cap | Peak where two roof slopes meet | Roof pitch or bend angle |
| Gable or rake trim | Sloped edge at the gable | Roof leg, fascia leg, rib clearance |
| Eave or drip trim | Lower roof edge above fascia or gutter | Fascia leg height, drip kick, panel overhang |
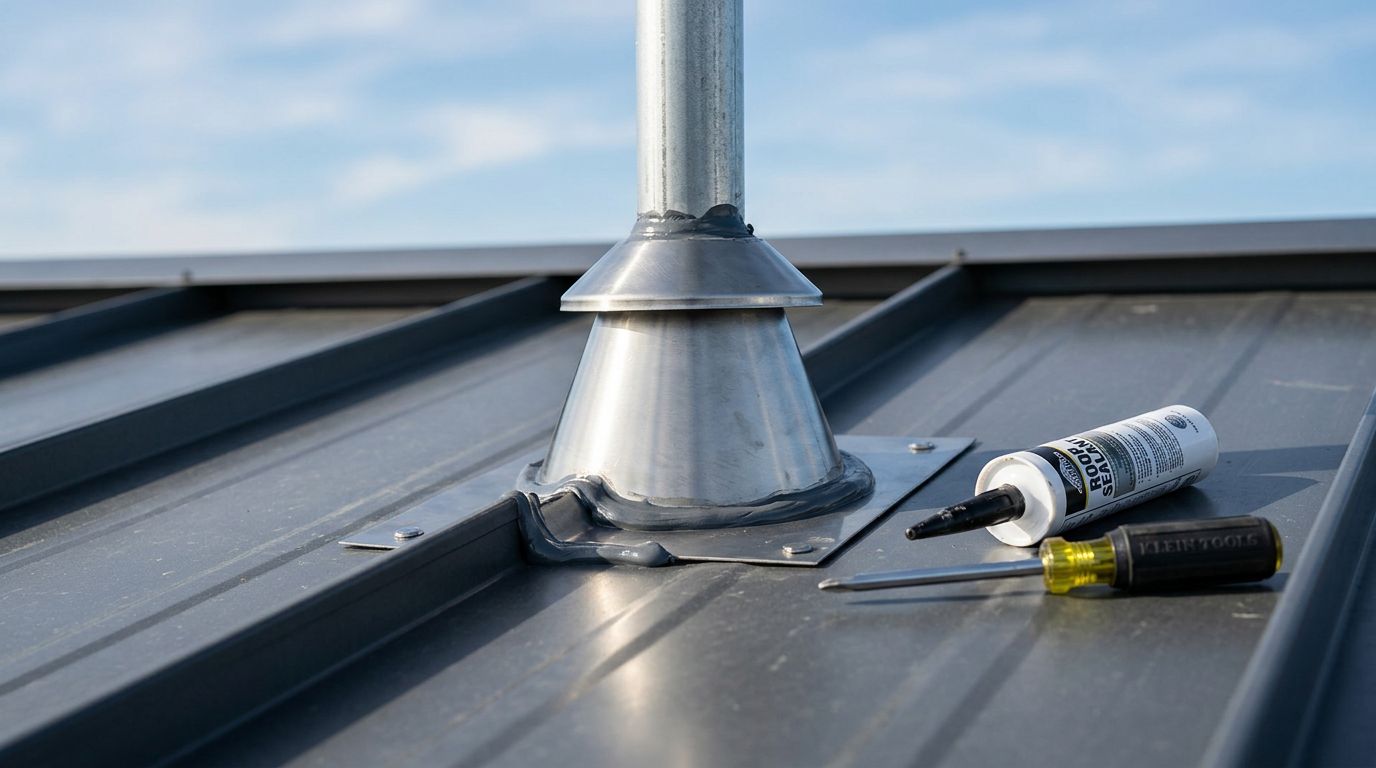
| Sidewall trim | Where roof meets a side wall | Wall leg height, closure location |
| Endwall trim | Where roof runs into a wall | Roof leg, wall leg, seal path |
| Valley trim | Inside roof angle between slopes | Overall width, center opening, hems |
| Transition trim | Change from one roof pitch to another | Both roof pitches and bend layout |
That table gives you the names, but the roof decides the final shape. A sidewall trim on one house may need a tall wall leg because of stucco. A valley on a porch tie-in may need a wider center than a simple garage roof. In other words, order by actual condition , not by what a similar job used last year.
Measure for fit, not just for footage
Many trim orders go wrong because the buyer only sends lineal feet. Length matters, but it's only the start. Custom trim also depends on bend sizes, angles, hems, overlap plans, and how the piece sits against the panel or wall.
Use this process before you submit the order:
- Identify the panel exactly : Write down the panel name, profile, rib height, and whether it's exposed-fastener or standing seam.
- Sketch the trim shape : A simple hand drawing works fine. Label each leg and note which side faces the roof or wall.
- Measure the finished condition : Don't measure bare framing if underlayment, fascia wrap, wall finish, or gutters change the fit.
- Note the angle or pitch : Ridge cap, transition trim, and some wall flashings depend on angle, not guesswork.
- Plan lengths and laps : Decide if pieces will overlap, butt together, or need special ends.
- Record material and finish : Color, gauge, and metal type should match the roof system unless the supplier says otherwise.
This is where a lot of people save or lose a job. For example, a valley trim order may need the full width, hem detail, and the open center size. A transition trim order needs both roof pitches, plus which side sits high. Sidewall and endwall trims often need room for closures and sealant, not just a bend and a length.
If you need help naming a shape, looking at standard trim profiles can speed up the conversation. Even when you need a custom bend, a standard profile often gives you the closest starting point.
If the trim shop has to guess at the shape, the roof may pay for it later.
Most importantly, confirm exact specs with the panel manufacturer, supplier, or trim shop before the order is cut. Profiles, clearances, and install details vary from one system to another.
Submit a clean order, then check it once more
A good trim order reads like a clear recipe. It should include the trim type, quantity, exact lengths, bend sizes, angle if needed, material, gauge, finish, and any edge treatments such as hems or notches. Add photos of the area too. A phone photo with arrows and notes can prevent a bad assumption.
Keep the instructions plain. For example, "Eave trim, 12 pieces, 10 feet 2 inches each, 3-inch roof leg, 4-inch fascia leg, 1/2-inch hem, white, 26 gauge steel" is far better than "drip edge for front roof." The first tells the shop what to make. The second starts a guessing game.
Before you approve the order, stop and verify these points:
- Profile match : The trim matches the panel profile and roof detail.
- Orientation : Left-hand and right-hand pieces are marked when needed.
- Length plan : Laps, corners, and waste are included in the count.
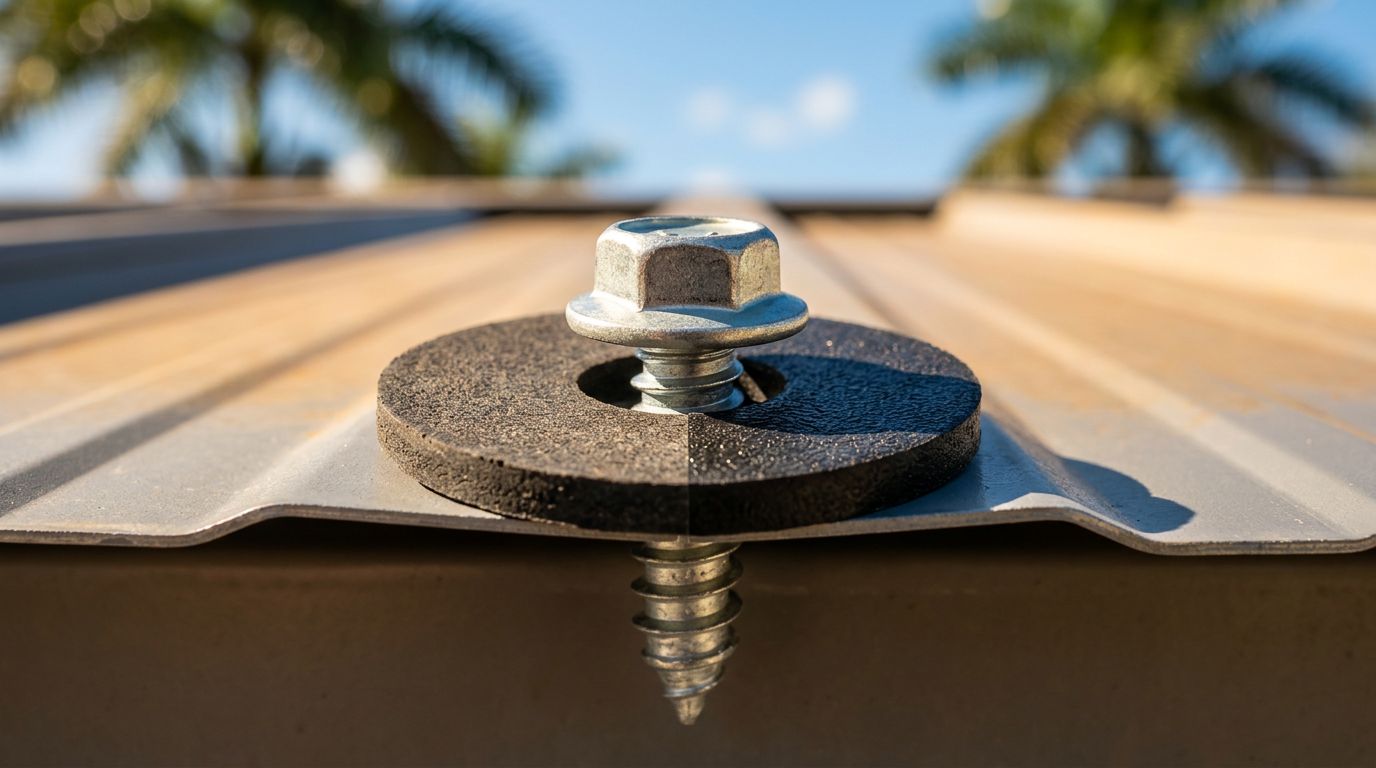
- Accessories : Closures, fasteners, rivets, and sealants are on the same order if the detail needs them.
- Color and metal : Finish, gauge, and metal type match the rest of the system.
Pay extra attention to eave and wall details. A short eave leg can send water behind the gutter. A wall trim with the wrong bend can leave a gap you won't notice until the first hard rain. If you're sorting out that lower edge, this eave drip edge guide is a helpful cross-check.
One last tip helps on every project: ask for approval before fabrication if the piece is unusual. A signed sketch or final drawing protects everyone. It also gives the installer one clear target in the field.
Conclusion
Ordering trim isn't about buying "some flashing." It's about ordering the right shape for the exact spot on the roof. When you match the trim to the panel, measure the finished condition, and submit clear notes, you cut down mistakes, delays, and call-backs. Close enough may work for a tape measure on framing, but it rarely works for metal roof trim.
Share Our Metal Roofing News Articles
Related Posts