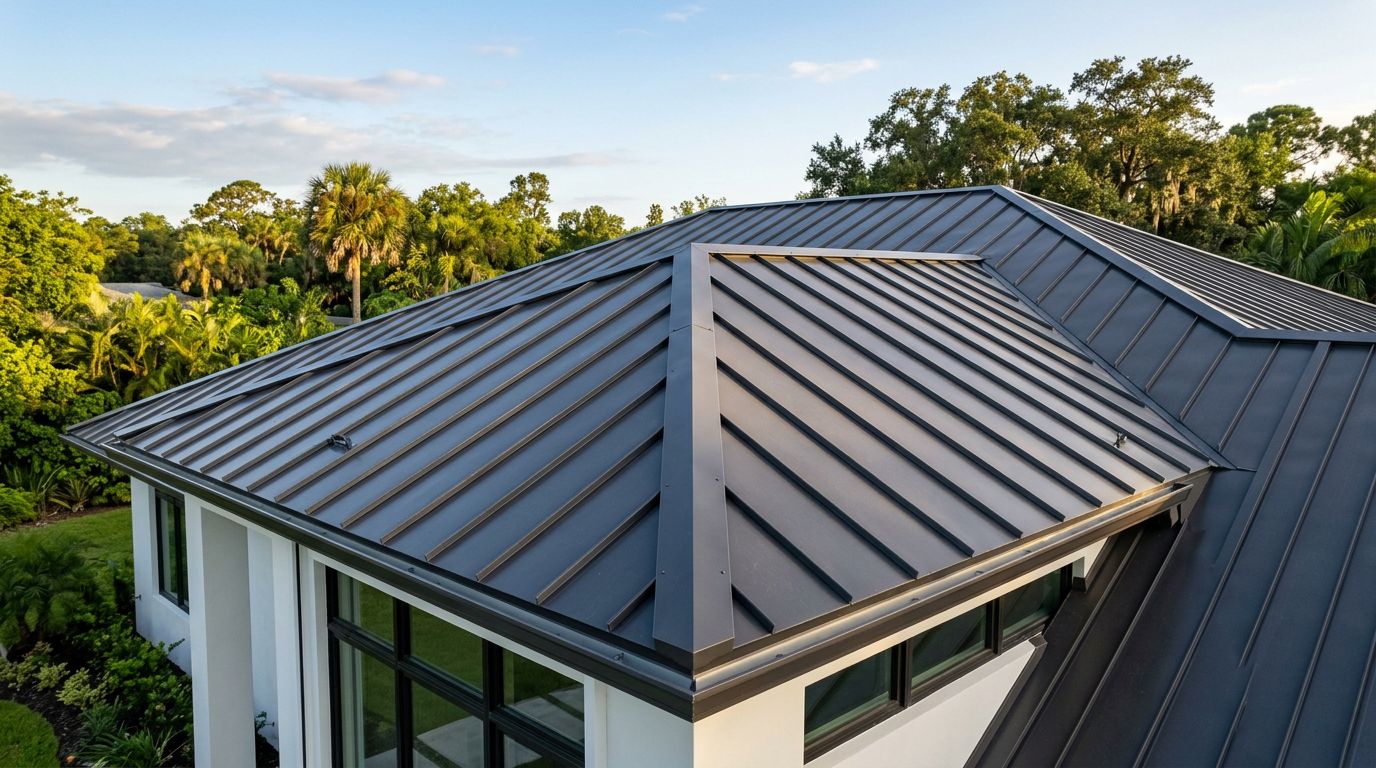
How to Flash a Metal Roof at a Parapet Wall
A parapet wall joint is one of the easiest places for a roof leak to start. Water does not need a big opening, it only needs a weak lap, a loose fastener, or a bad corner.
With metal roofing, parapet wall flashing has to match the panel profile, the wall build, and the climate. Florida heat, rain, and wind make that detail even more important.
The good news is that the job follows a clear sequence. Once you understand the parts and the order, the rest gets much easier.
Start with the right flashing plan
Before any metal is cut, look at the roof edge, the wall surface, and the panel type. Standing seam, PBR/R panel, ag panel, and 5V all meet the wall a little differently. The wall might be framed, masonry, or block, and each one changes the fastening method.
If you want a quick refresher on the pieces that make up a roof system, start with roof flashing basics. That helps you separate base flashing, counterflashing, trim, and sealant jobs.
A simple parapet detail usually includes these parts:
| Component | What it does | Why it matters |
|---|---|---|
| Base flashing | Runs up the wall from the roof | Catches water at the joint |
| Counterflashing | Covers the top edge of the base flashing | Adds a second water line |
| Termination bar | Locks membrane or flashing at the wall | Helps keep the edge secure |
| Sealant | Seals laps and fasteners | Helps block wind-driven rain |
| Coping cap | Covers the top of the parapet | Protects the wall from above |
The takeaway is simple, the roof edge needs more than one layer of defense. A single piece of metal is rarely enough.
Install the parapet wall flashing in the right order
Most good details start at the roof and work upward. That keeps water moving away from the building instead of into a seam.
- Inspect the wall and roof edge. Check for rot, cracked masonry, loose fasteners, and damaged decking. Fix those problems first, because flashing will not cover them up for long.
- Install the underlayment or membrane. Many roof systems need a waterproof layer under the metal flashing. Follow the roof manufacturer's directions and local code. The exact lapping and height depend on the assembly.
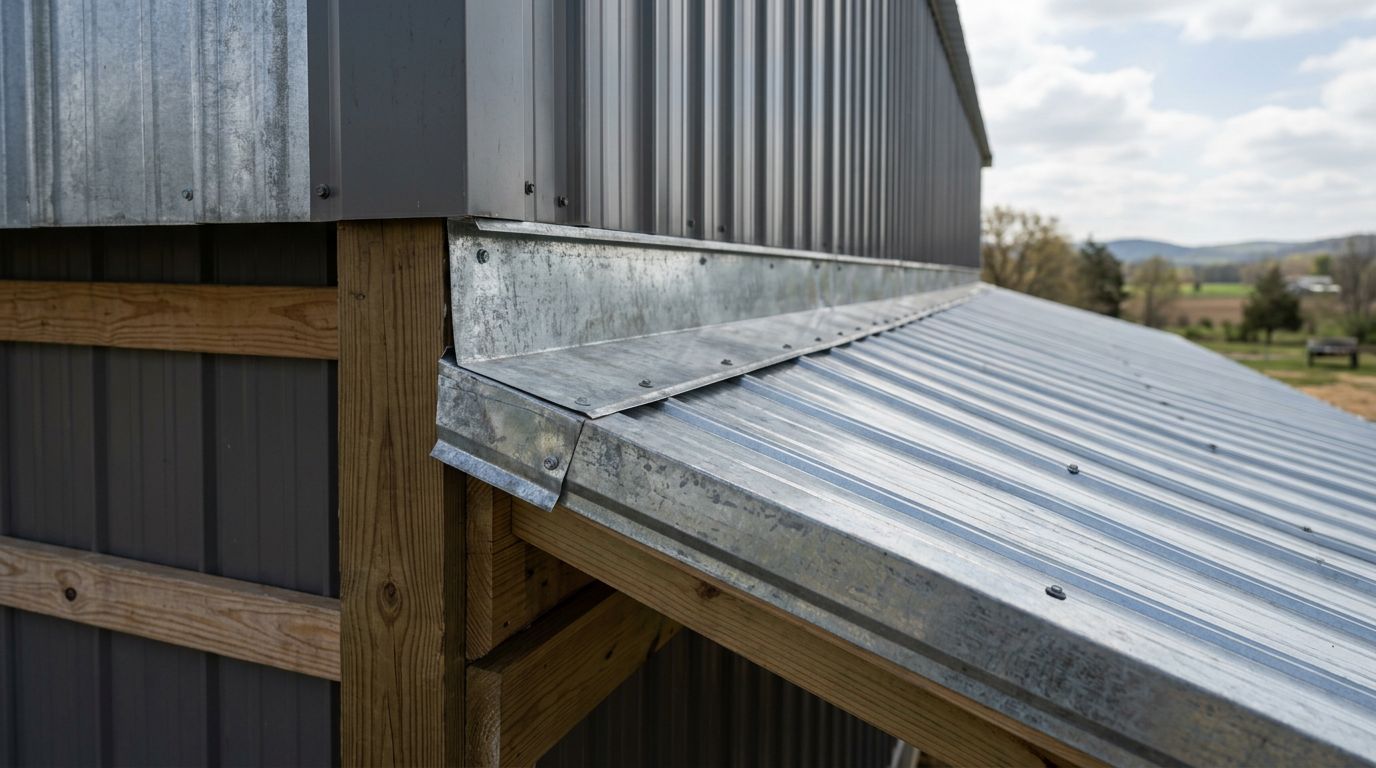
- Fit the base flashing to the roof profile. The lower leg should sit flat and the vertical leg should rise high enough up the wall. For some panels, that means a simple bend. For others, it means a custom piece. If the wall shape or panel profile does not match stock trim, ordering custom metal roof trim is usually the cleaner path.
- Fasten the flashing correctly. Use the fastener type the system calls for. Keep fasteners high enough to stay out of standing water, and do not overdrive them. A crushed washer or bent flange can create a leak path.
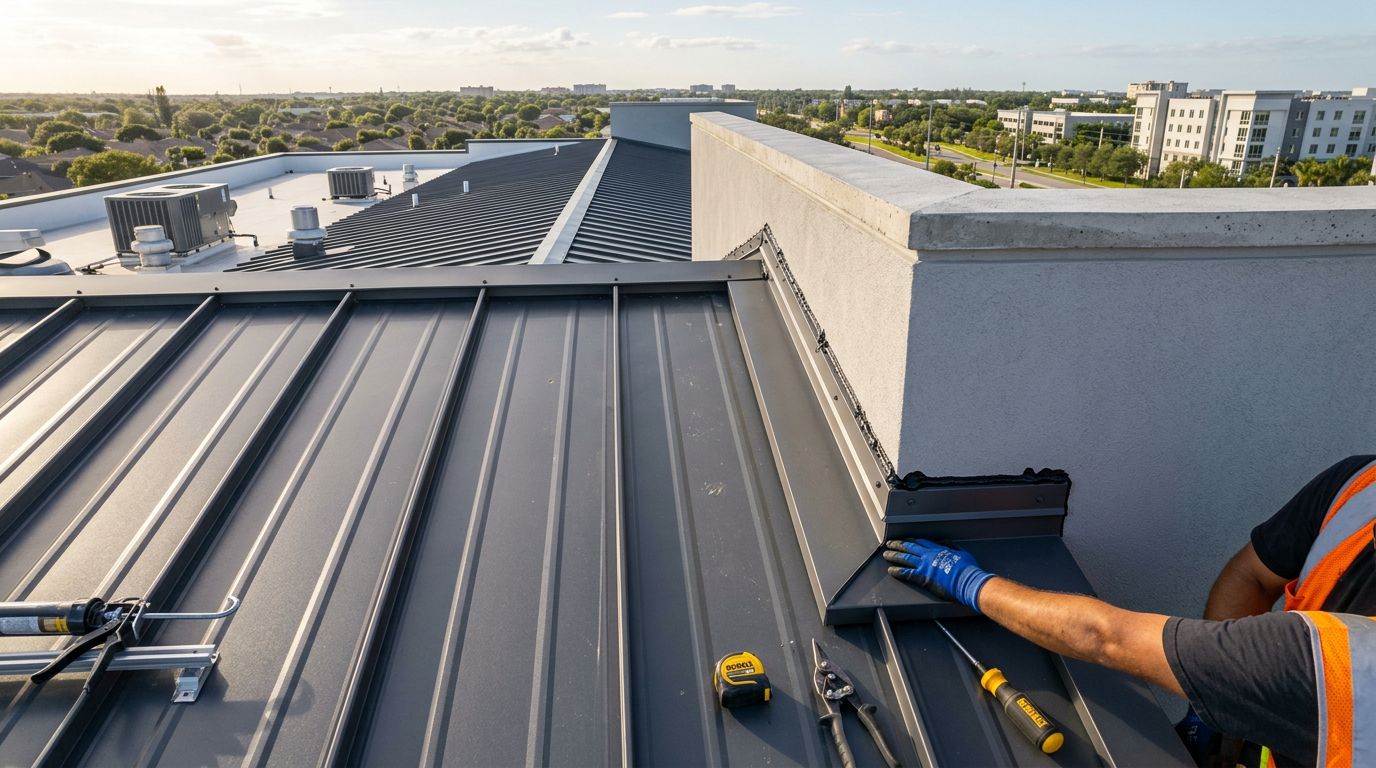
- Add the counterflashing or receiver. This upper piece covers the top of the base flashing. On some jobs, a termination bar holds the membrane while the metal cap overlaps it. On others, the wall detail uses a reglet cut or a formed receiver.
- Seal laps, corners, and cut edges. Use sealant only where the assembly calls for it. Corners need extra care because water often pushes into those spots first. Make sure the sealant is compatible with the metal and the finish.
- Finish with coping or wall cap. The top of the parapet must shed water. A good coping cap protects the wall and keeps water from getting behind the flashing from above.
The fastest way to create a leak is to trap water behind the flashing. Every overlap should shed water downhill.
Pay close attention to corners and terminations
Corners are where good jobs separate from expensive callbacks. Inside corners collect water, and outside corners take wind and movement.
Cut and fold the flashing so water can keep moving. Avoid small scraps patched together at the corner unless the system is designed for that. A longer formed piece is often cleaner and safer.
Termination points need the same care. If the flashing ends at a side wall, curb, or roof transition, make sure the lap direction still pushes water away from the opening. A backward lap can fail fast during a heavy storm.
In Florida, that matters even more because wind-driven rain can push into tiny gaps. A detail that looks fine in dry weather may fail in a hard rain.
Common parapet flashing problems and what they usually mean
A leak rarely starts at the most visible spot. Water often travels before it shows up inside.
| Problem | Likely cause | What to check first |
|---|---|---|
| Drip at an inside corner | Short lap or weak corner seal | Corner cuts, sealant, and overlap direction |
| Rust near fasteners | Wrong fastener or damaged coating | Fastener type and surface protection |
| Stain on the wall face | Failed coping or upper edge | Wall cap, upper seal, and receiver |
| Water after wind-driven rain | Opening at the top edge | Counterflashing and termination bar |
| Panel stress near the wall | Flashing too tight | Expansion space and panel attachment |
If the leak appears after storms, start high and work down. That helps you find the first failure point, not the last place water dripped.
How panel type and wall construction change the detail
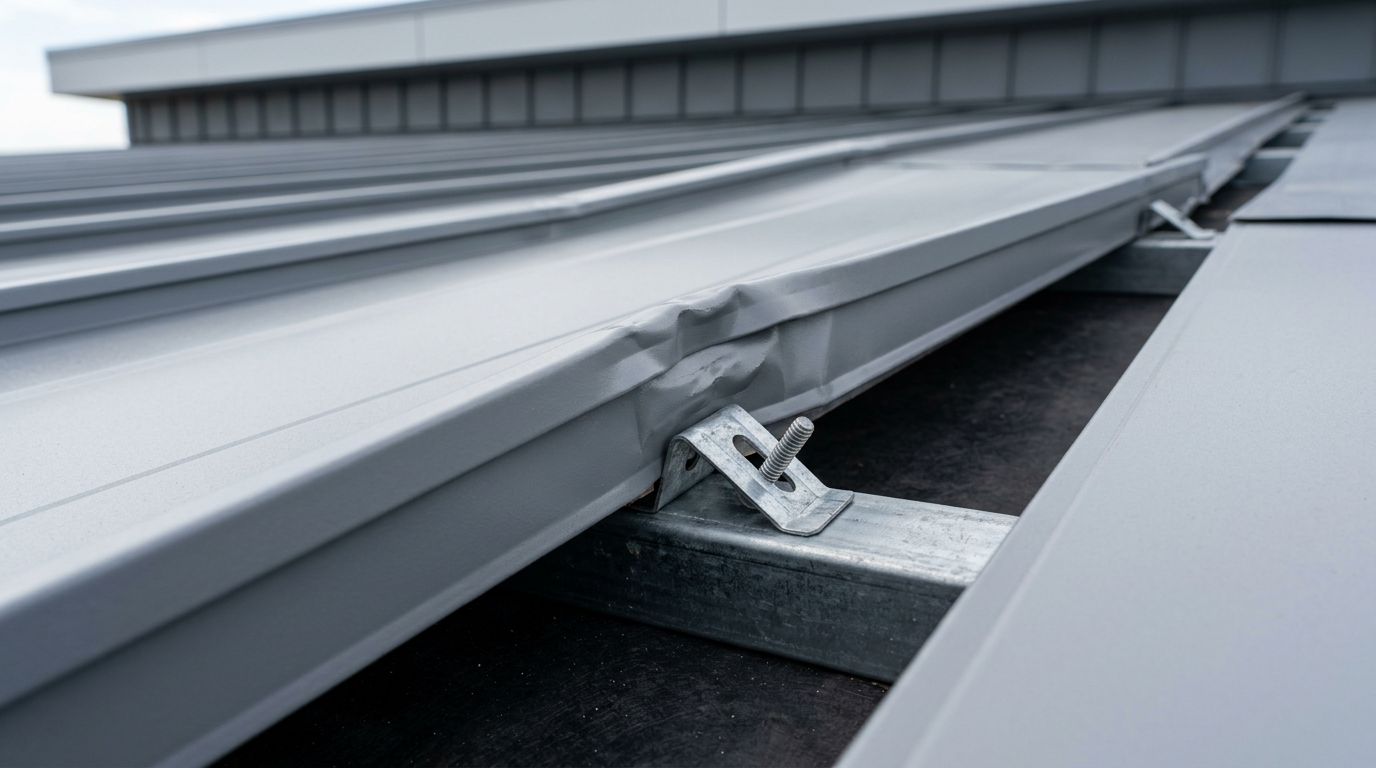
No two parapet walls are exactly alike. Standing seam systems often need a cleaner transition because the panels move with temperature changes. Ribbed panels may need different trim bends and closures. Masonry walls often call for different anchors than framed walls.
That is why exact instructions vary by metal profile, wall construction, climate, and manufacturer. A detail that works on one roof can fail on another if the parts do not match.
Also, follow the panel maker's instructions for fasteners, sealants, and laps. Local code matters too, especially where wind loads are high. A well-made flashing detail still has to meet the rules that govern the job.
Conclusion
Parapet wall flashing works best when every part has a clear job. The base flashing catches water, the upper detail locks it out, and the coping keeps rain from entering from above.
When you match the flashing to the roof panel, the wall type, and the local requirements, the joint lasts longer and leaks are far less likely. That is the whole point, a clean path for water away from the building, even when the weather turns rough.
Share Our Metal Roofing News Articles
Related Posts