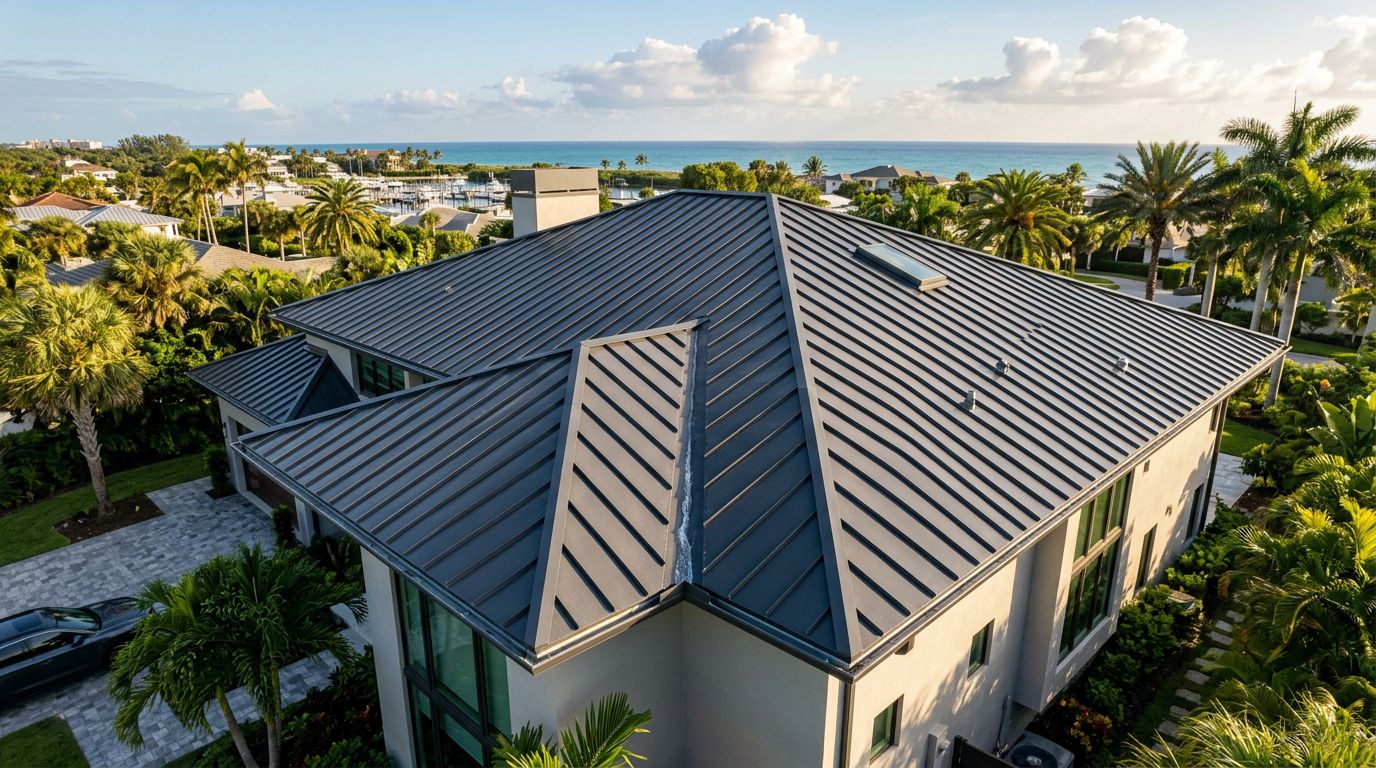
How to Measure Roof Pitch for Metal Roofing in Florida
Florida roof work starts with one number: pitch. Get it wrong, and the panel profile, underlayment, and fastening plan can all be off. On a state where rain can hit hard and wind can shift fast, that matters more than it does in mild weather.
A roof that looks steep from the driveway can still be a bad fit for the wrong metal panel. It may need a low-slope standing seam system, or it may be too shallow for exposed-fastener panels like PBR or 5V crimp.
The good news is that you can measure roof pitch with basic tools and a careful eye. Once you know the number, you can match the roof to the right panel system with far less guesswork.
What roof pitch means before you order metal panels
Roof pitch is usually written as rise over run . The run is almost always 12 inches. So a roof with a pitch of 6:12 rises 6 inches for every 12 inches across.
People use the words pitch and slope in the same conversation. For ordering metal roofing, the X:12 number is the part that matters most.
Here is a quick way to read the number:
| Measured rise over 12 inches | Written pitch | What it usually means for metal roofing |
|---|---|---|
| 1/4 inch | 1/4:12 | Very low slope, only certain standing seam systems |
| 1/2 inch | 1/2:12 | Low slope, only approved sealed systems |
| 3 inches | 3:12 | Common target for many exposed-fastener panels |
| 6 inches | 6:12 | Steeper roof, quick drainage and broad panel choice |
If you are comparing profiles, a minimum roof slope for Central Florida metal panels chart is a helpful cross-check. It keeps the roof pitch tied to the panel type, which is where a lot of mistakes begin.
A simple example helps. If the roof rises 4 inches over 12 inches of run, the pitch is 4:12. If it rises 6 inches, the pitch is 6:12. If you use a 24-inch level and the roof rises 10 inches over that span, divide by two. The pitch is 5:12.
If two readings don't match, take a third. A half-inch mistake can change the panel you should use.
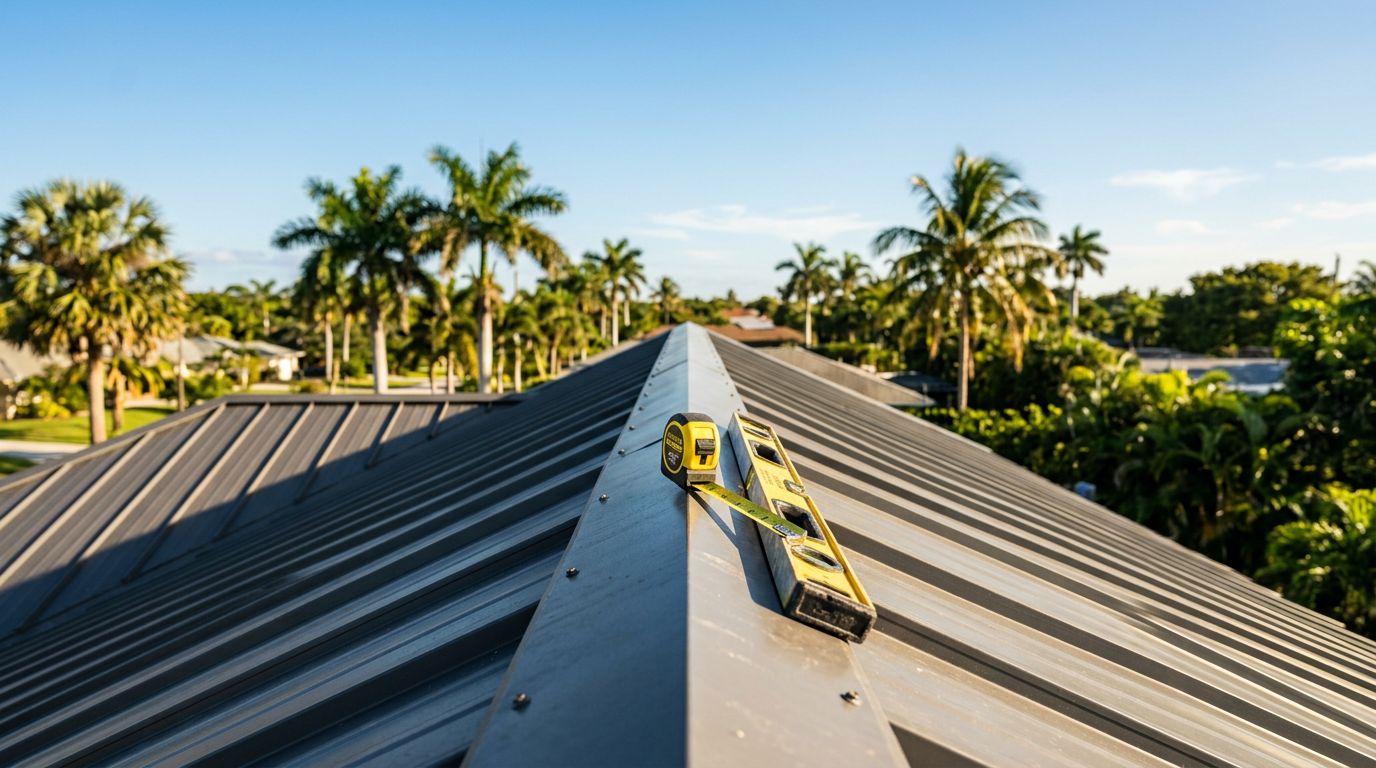
A simple way to measure roof pitch
You do not need special gear to get a reliable reading. A tape measure, a 12-inch or 24-inch level, and a pencil are enough for most roofs.
- Pick a safe measuring point.
Use an attic rafter, a roof edge, or a low and stable spot. If the roof is slick, steep, or damaged, stay off it. - Place the level flat against the roof slope.
Hold one end on the roof surface or rafter. Keep the level straight, not tilted to one side. - Measure the rise.
From the 12-inch mark on the level, measure straight up or down to the roof surface. That distance is the rise. - Write the pitch as X:12.
If the rise is 3 inches, the pitch is 3:12. If the rise is 8 inches on a 24-inch level, divide by two and write 4:12. - Check more than one place.
Roofs can change pitch where a porch, dormer, or addition ties in. Measure each plane on its own.
A smartphone pitch app or digital angle finder can help, but treat it as a second reading. The tape and level are still the simplest way to verify the number.
If the roof has hips, valleys, or several slopes, sketch it before you measure. That keeps each reading attached to the right plane. A full roof measurement guide, like this step-by-step roof takeoff for Central Florida homes , is useful when pitch is only one part of the job.
Matching pitch to the right metal roof profile
Once you know the pitch, the next step is choosing a panel that fits it. That decision matters because not every metal roof profile sheds water the same way.
Standing seam systems often work on lower slopes than exposed-fastener panels. Some are approved for very low pitches when installed exactly as the product sheet calls for. Others need more slope, especially snap-lock styles that depend on the panel shape and the approved assembly.
Exposed-fastener panels, including PBR/R-panel and 5V crimp , usually want a steeper roof. They rely more on gravity and correct lap details to keep water moving away from the seams and screws. On Florida roofs, that matters because heavy rain can load the roof fast.
If you are still comparing profiles, comparing metal roof panel types makes the differences easier to see. It helps you match the look, slope, and fastening method before you price materials.
A simple rule helps here. The lower the pitch, the more the installation depends on the approved assembly. That means sealant, side laps, clips, trim, and underlayment matter more. A panel can be metal and still be wrong for a shallow roof.
Always confirm the exact minimum slope for the exact panel profile. The answer can change with the product, finish, clip system, and manufacturer instructions. Do not guess based on a similar roof next door.
Florida rain, wind, and heat change the details
Florida roofs deal with sudden rain, high humidity, heat, and strong wind. That means pitch is only part of the job.
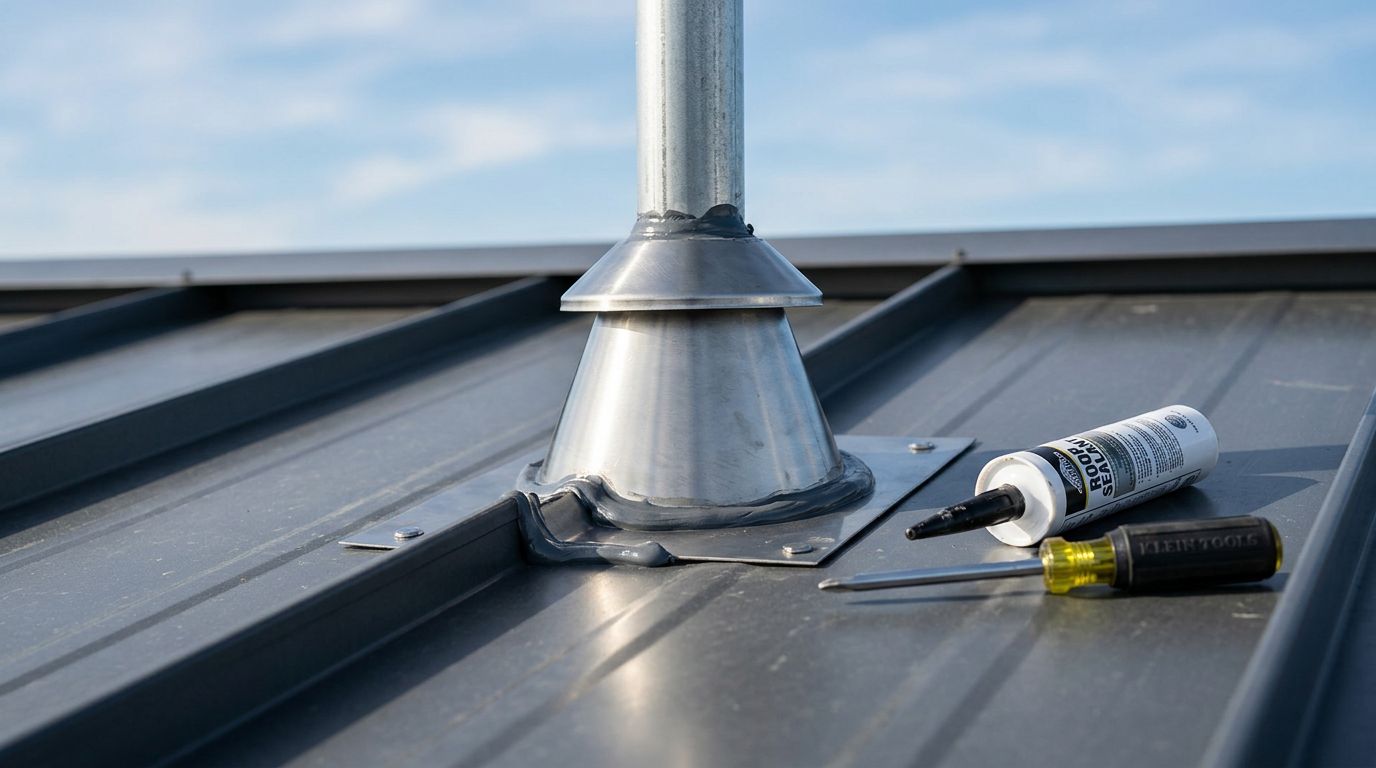
On a low-slope roof, drainage becomes a bigger issue. Water has less time to leave the roof, so the underlayment, side laps, end laps, and flashing details need to be right. A tiny flaw can stay wet longer and become a leak path.
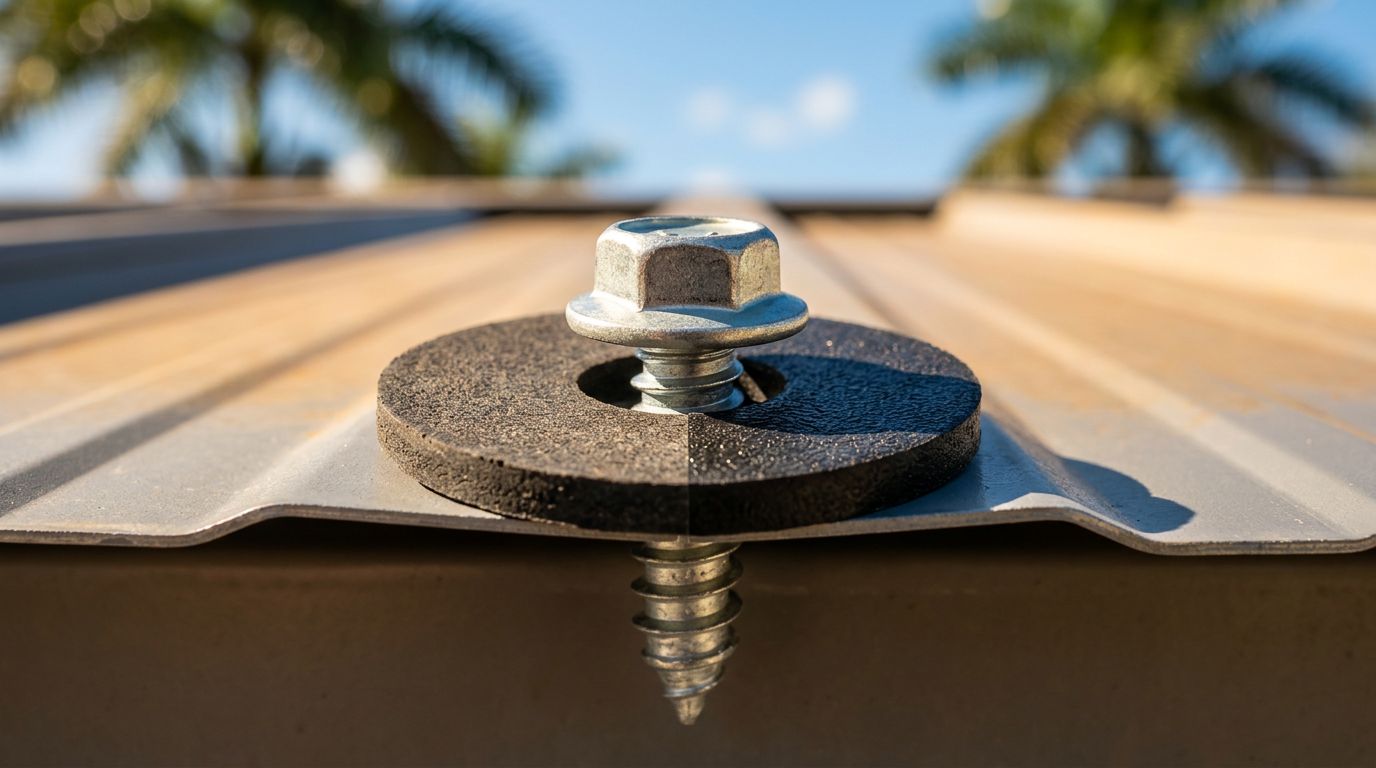
Fastening matters too. Screw type, clip spacing, and edge details should match the approved panel assembly. The same roof pitch can perform very differently if the fastening pattern is off.
Thermal movement matters in Florida as well. Metal expands and contracts in the sun. Long runs, dark colors, and wide temperature swings can all affect the way panels move. Standing seam systems often handle movement better when the right clip setup is used.
For code and product questions, start with the current Florida building codes for metal roofing , then check the product approval for the exact panel you plan to install. The roof pitch has to work with the approval, not around it.
Wind is part of the picture too. Edge zones and corners take more stress, so the wind uplift ratings for Florida metal roofs should line up with the roof shape and fastening plan. A roof with the right slope can still fail if the assembly is not rated for the site.
The safest approach is simple. Measure the pitch, match the panel, then verify the installation details with the manufacturer or a licensed contractor who knows current Florida and local requirements.
Common pitch mistakes that cost time and money
A few small errors show up again and again on Florida metal roof jobs:
- Measuring only one roof plane when the roof has several pitches.
- Using the wrong run, then forgetting to normalize the number to 12 inches.
- Reading a smartphone angle and treating it like an X:12 pitch without converting it.
- Choosing a panel before checking the exact minimum slope in the product sheet.
- Ignoring valleys, dormers, and low spots that change how water moves.
The fix is usually simple. Measure each plane, label your sketch, and write the pitch beside every section. That gives you a cleaner material list and a better panel match.
Pitch also affects order size. A steeper roof has more true surface area than its footprint suggests. That changes panel length, trim counts, and waste. If you are building a full list, pitch belongs on the sketch before anything is ordered.
Conclusion
The cleanest metal roof projects start with one accurate pitch reading. Once you know the rise over 12 inches, you can narrow the panel choice, check the minimum slope for that profile, and plan the right underlayment and fastening details.
Florida roofs leave little room for guesswork. Heavy rain, wind, and heat all punish poor slope choices and weak installation details.
Measure twice, compare the result to the exact product instructions, and confirm current local requirements before you buy. A correct pitch reading protects the whole job.
Share Our Metal Roofing News Articles
Related Posts