How to Measure Your Roof for Metal Panels in Central Florida, a step-by-step takeoff example (hips, valleys, waste)

Ordering metal panels feels a little like buying flooring without a room sketch. If you're off by a small amount, you either overpay or you stop mid-job and wait on more material.
This guide walks through metal roof measurement the way new estimators and careful DIYers do it in Central Florida. You'll learn what to measure, how to break a hip roof into planes, and how to add waste for hips and valleys. You'll also see a worked takeoff example with realistic dimensions and a print-friendly checklist.
Before you climb anything, remember this: a roof is not a great place to "figure it out as you go."
What to gather first (and what to verify in Central Florida)
A good takeoff starts with two things: safe access and correct assumptions. If you can measure from the ground, attic, plans, or a drone, do that. Wet mornings, algae on shingles, and afternoon storms make Florida roofs slick fast.
Tools that help:
- Tape measure (or measuring wheel), notepad, chalk, and a basic calculator
- Laser measure for long eaves (helpful, not required)
- Pitch gauge, framing square, or a level and tape (to find roof pitch)
- Camera, because photos prevent "what was that angle?" later
If you're getting on the roof, use fall protection and stay off steep, wet, or windy surfaces. When in doubt, have a roofer verify measurements before you order.
Code, permits, and why they affect your takeoff
In Central Florida, local permit reviewers often want a roof system that matches tested approvals, including panel type, underlayment, and fastening pattern. Wind zones and edge zones can also change fastener spacing, which changes how many screws or clips you need.
For official background on how roofs behave in hurricanes, see the Florida Building Commission's PDF on residential roofing and hurricanes. For code sections tied to wind loads, the Commission also posts FBC-related code sections.
Coastal corrosion reality check
If you're within a few miles of saltwater (or you get salty air off Tampa Bay or the Space Coast), match the whole system to the exposure. That includes panels, trim, fasteners, and clips. Corrosion-resistant metals and coated fasteners matter as much as panel color.
If you're still choosing a profile, this internal comparison is a helpful primer: comparing metal roof panel types for Central Florida.
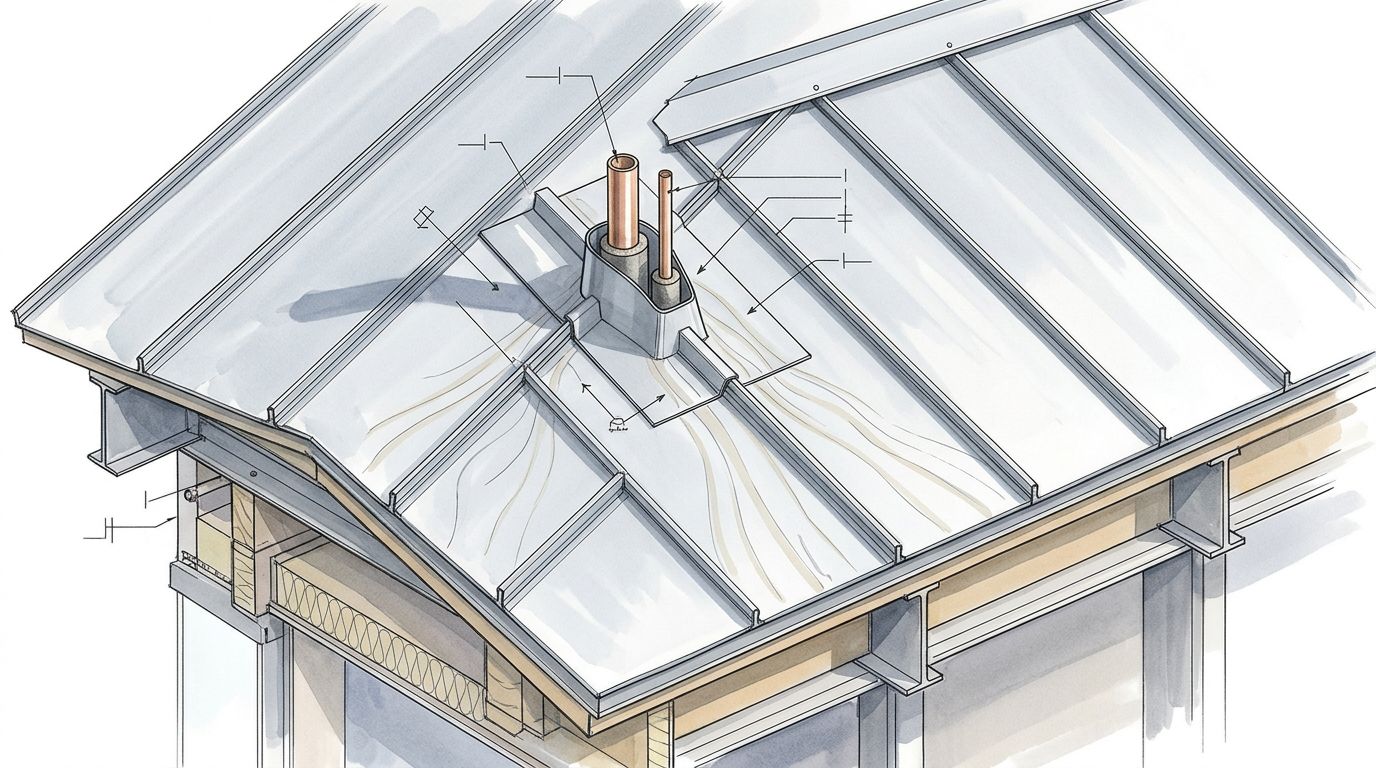
Step-by-step metal roof measurement (hips, valleys, and planes)
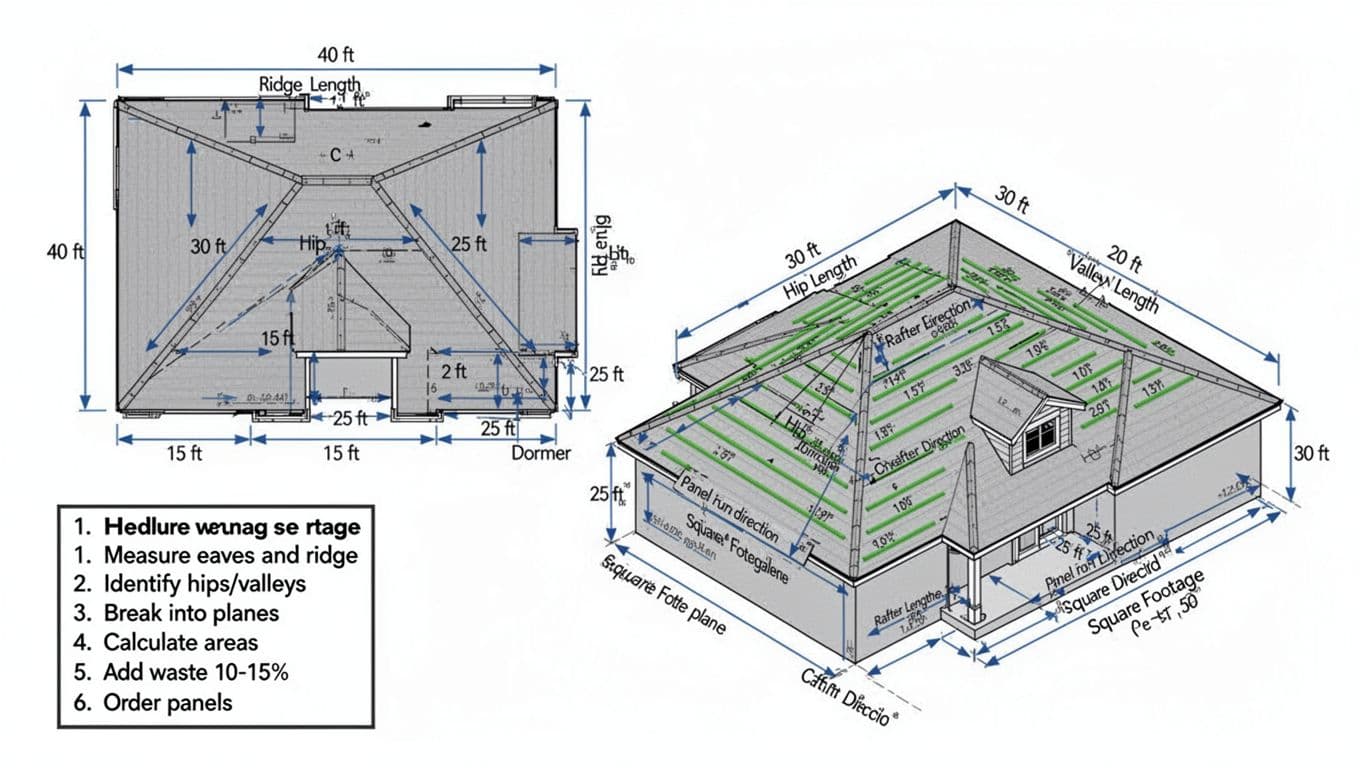 Diagram of a hip roof measurement layout with hips and a valley, created with AI.
The cleanest way to measure for metal panels is to work from a simple roof sketch. Think of it like slicing a pizza into triangles and rectangles so nothing gets missed.
Step 1: Sketch the roof from above
Draw the footprint and add these lines:
- Eaves (all drip edge runs)
- Ridge (high point)
- Hips (outside corners where planes meet)
- Valleys (inside corners where planes meet)
Write every length right on the sketch. If you're missing one, stop and re-check.
Step 2: Confirm pitch (because it changes panel length and area)
Pitch is "rise over run," like 5:12. You can measure it in the attic at a rafter, or on the roof with a level and tape.
You'll use pitch two ways:
- To estimate true roof area from a flat plan area
- To estimate slope length (eave to ridge) for panel lengths
A simple slope factor formula is:
Slope factor = √(1 + (rise/run)²)
Example for 5:12:
- (5/12)² = 0.1736
- √(1 + 0.1736) = √1.1736 = 1.083
Step 3: Break the roof into planes
Label each plane (A, B, C…). For a hip roof, you usually have:
- Two larger main planes (often trapezoids)
- Two hip end planes (often triangles)
- Extra planes for bump-outs or dormers
- Valleys that create more cutting
Step 4: Calculate roof area (then convert to panel quantity)
For each plane, calculate plan area (flat) first, then multiply by the slope factor for true area .
Common plan-area shapes:
- Rectangle: area = L × W
- Trapezoid: area = ((top + bottom) ÷ 2) × height
- Triangle: area = (base × height) ÷ 2
Finally: True area = Plan area × Slope factor
This gives you a solid base number before you deal with waste.
Worked takeoff example (hip roof with one valley, plus waste and trim)
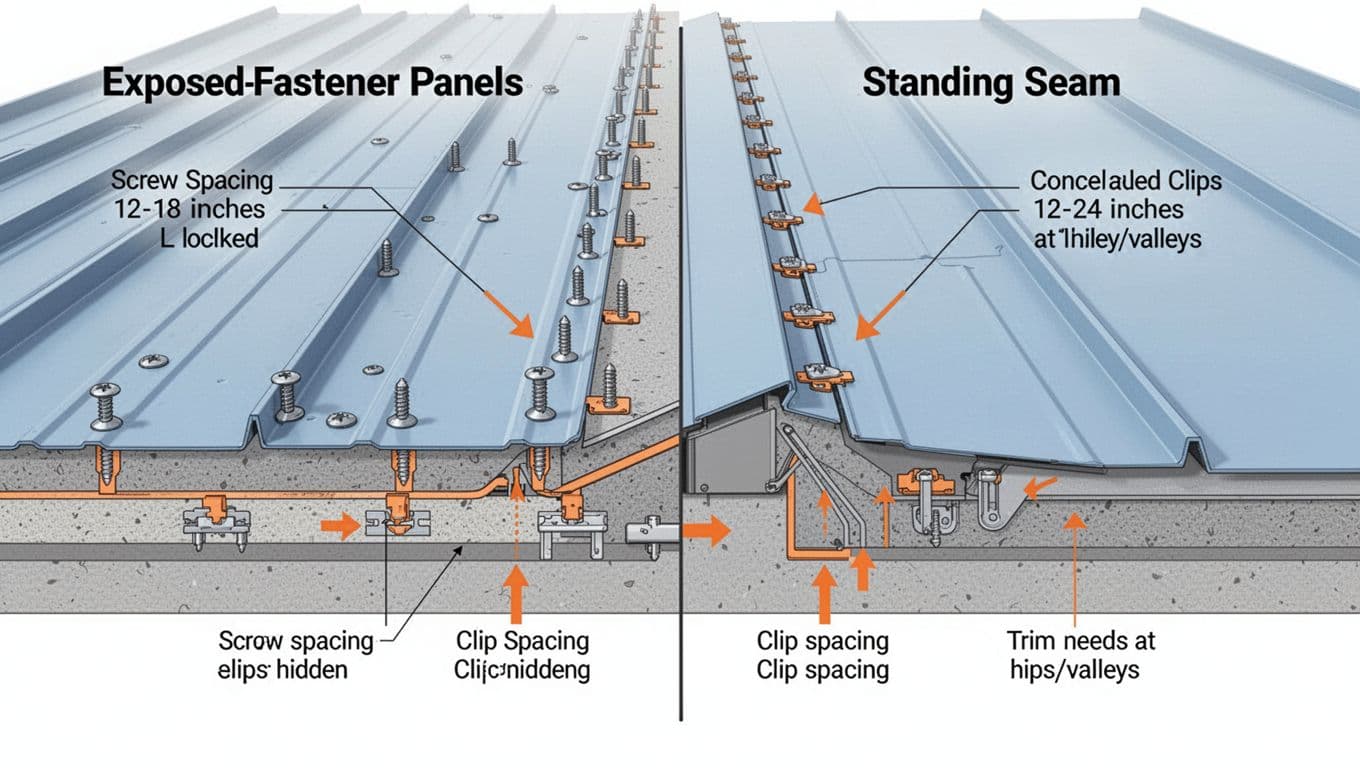 Comparison of exposed-fastener and standing seam takeoff factors, created with AI.
Example roof (Central Florida hip roof with a bump-out creating one valley):
- Main building footprint: 40 ft × 30 ft = 1,200 sq ft plan area
- Bump-out footprint: 20 ft × 10 ft = 200 sq ft plan area
- Total plan area: 1,400 sq ft
- Pitch: 5:12 , slope factor 1.083
- Measured linears (from your sketch): ridge 30 ft, (2) hips at 15 ft each, valley 25 ft
1) Base roof area (before waste)
True roof area = 1,400 × 1.083 = 1,516 sq ft (rounded)
That's your baseline coverage target.
2) Waste for hips and valleys (what's realistic)
Hips and valleys force angle cuts, and angle cuts create scrap. Waste also rises when the roof has short runs, bump-outs, and lots of transitions.
A practical range many crews start with is:
- 10% for simple gable roofs
- 12% to 15% for hips and valleys
- 15% to 20% for very cut-up roofs
For a quick reference, see this roof waste factor guide.
For our example, use 12% : Order area = 1,516 × 1.12 = 1,698 sq ft
3) Convert area to panels (exposed-fastener vs standing seam)
Panel ordering depends on coverage width and how you plan to run panels.
Here's a simple way to sanity-check quantities:
| System type | Common coverage width | Basic count formula (per eave) |
|---|---|---|
| Exposed-fastener (Ag, PBR, 5V) | 36 in (3 ft) | panels = eave length ÷ 3 |
| Standing seam | 16 in (1.33 ft) | panels = eave length ÷ 1.33 |
If one main eave is 40 ft:
- Exposed-fastener: 40 ÷ 3 = 13.3, round up = 14 panels along that eave line
- Standing seam: 40 ÷ 1.33 = 30.1, round up = 31 panels along that eave line
That doesn't finish your takeoff, but it catches "way off" orders fast.
Standing seam note: clips, z-closures, and seam-specific trims can add line items. Exposed-fastener orders usually lean heavier on screws and closures. This is also where roof slope matters. If your pitch is low, confirm the panel's minimum slope and details before you order. This internal reference helps: minimum roof slope for metal roofing in Central Florida.
4) Linear trim takeoff (ridge, hips, valleys)
Start with measured linears, then add overlaps and waste:
- Ridge cap: 30 ft, add 10% = 33 ft
- Hip cap: 2 × 15 = 30 ft, add 10% = 33 ft
- Valley metal: 25 ft, add at least 2 ft for end laps, then 10% (example)
25 + 2 = 27 ft; 27 × 1.10 = 30 ft (rounded)
If your supplier can make longer trim lengths (often up to 21 ft), fewer splices can mean fewer leak risks in Florida's heavy rain.
Print-friendly roof measuring checklist
- Sketch roof and label every plane, hip, ridge, and valley
- Measure all eaves and the ridge, then confirm hip and valley lengths
- Confirm pitch (rise/run), write it on the sketch
- Compute plan area by plane, then multiply by slope factor
- Add waste (typically 12% to 15% for hips and valleys)
- Convert area to panel count using coverage width, then verify with a layout
- Take off trim linears, add overlaps, then add 10% extra
- Verify permits, product approvals, and manufacturer details before ordering
Conclusion
Accurate metal roof measurement is mostly about discipline: sketch first, measure every line, then do the math in the same order every time. Once you account for hips, valleys, and a realistic waste factor, your panel and trim order stops being a guess.
If your roof has complex intersections or you're in a higher-wind or salt-air area, it's smart to have a pro confirm the takeoff before you buy. A careful re-check costs less than a missed valley detail in a Central Florida downpour.
Share Our Metal Roofing News Articles
Related Posts