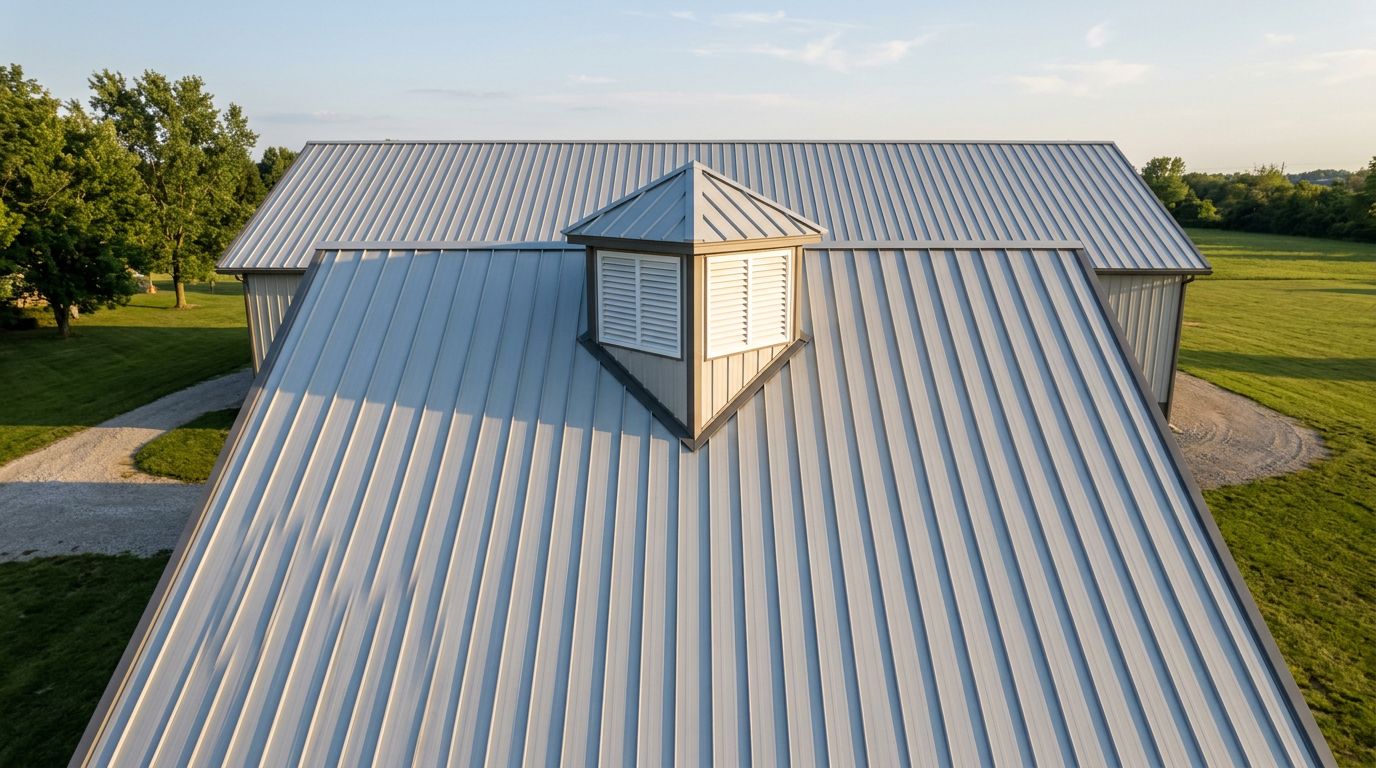
Metal Roof Trim Installation Sequence for Exposed-Fastener Panels
You install trim out of order on a metal roof, and water finds the weak spots fast. In Florida's heavy rains, one misplaced piece leads to leaks that stain ceilings and rot fascia. Exposed-fastener panels like PBR or AG rely on trim to seal edges and direct runoff.
This guide walks you through the exact sequence for metal roof trim installation . Follow it step by step. You'll shed water properly and avoid call-backs. Always check your panel manufacturer's manual first, because profiles vary.
Why Trim Sequence Follows Water Flow
Water always runs downhill. So does your trim install. Start low and work up. This logic keeps overlaps shedding outward, not trapping moisture.
Install bottom trim first. It supports panels and catches runoff. Upper pieces lap over lower ones. Fasteners go into flat spots, not hems. Use screws with neoprene washers. Space them 12 inches apart in high-wind zones.
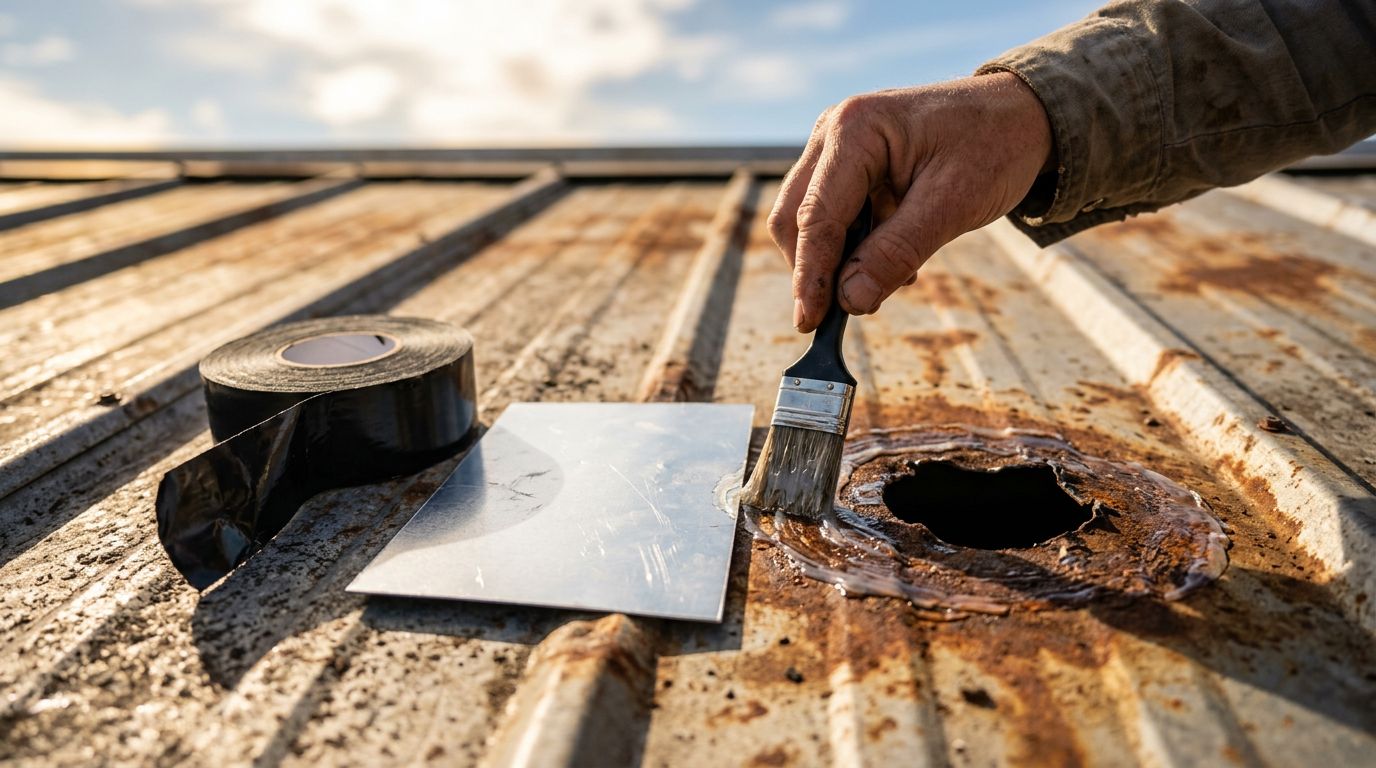
Skip this order, and overlaps reverse. Rain backs up under trim. Florida humidity makes seals fail quicker. Result? Rust and repairs.
Pros overlap trim 4 to 6 inches. Seal laps with butyl tape. Cut pieces square. Pre-drill if metal's thick.
Step 1: Eave and Drip Trim Goes Down First
Eave trim anchors the bottom edge. Hang it before panels. Align it flush with the deck edge. The drip leg points into the gutter.
Measure eave length. Cut trim to fit. Overlap ends 2 inches. Face the overlap downhill.
Fasten through the roof leg into decking. Keep the fascia leg vertical. This covers wood and breaks water tension.
For gutters, position so panels overhang 1 to 1.5 inches past the drip. Check how to choose the right eave drip edge for metal roofs for profile matches.
Panels sit on eave trim next. They overlap it slightly. This setup sheds water clean.
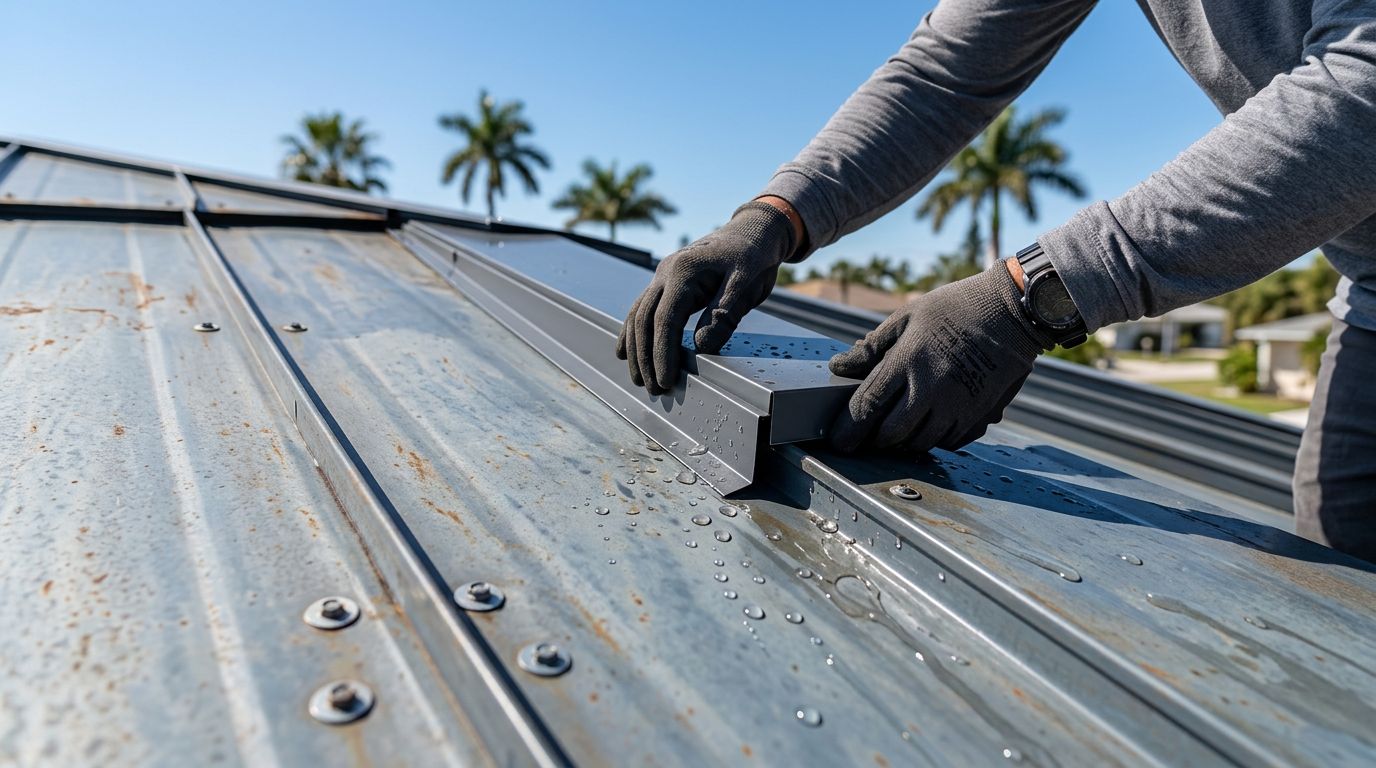
Step 2: Gable and Rake Trim Seals the Sides
With panels in place, add gable trim. It runs up the sloped ends. Start at the eave. Work toward the ridge.
The roof leg tucks under panel edges. Cut panels to match rake angle. Closures fill rib gaps.
Overlap rake pieces 4 inches. Seal with tape. Fasten 8 to 12 inches on center. Use pancake-head screws in flats.
Rakes face wind hard in Florida. Short overhangs here prevent lift. Trim hems stiffen the edge.
If your roof has hips, measure angles early. Custom rake fits tight.
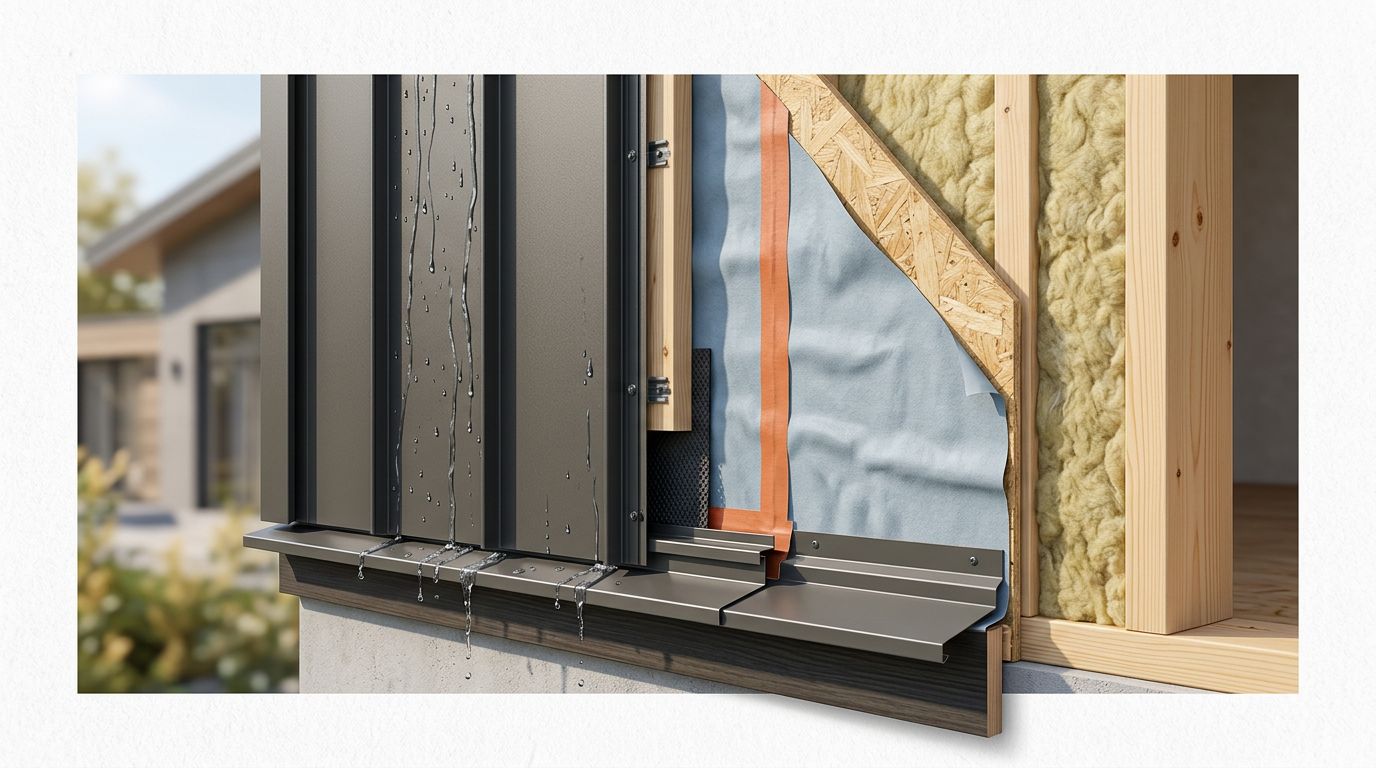
Step 3: Sidewall and Endwall Trim Handles Wall Ties
Walls meet roofs at sidewalls or endwalls. Install these after panels cover those zones.
Sidewall trim has a long wall leg. Bend it to match roof pitch. Tuck the roof leg under panels.
Endwall steps higher. The tall leg seals against wall sheathing. Crimp or rivet closures at ribs.
Always lap over lower trim. Water flows from roof to wall, not back. Apply sealant under the wall leg.
Fasten both legs securely. Space screws per code. In coastal areas, use coated fasteners.
Step 4: Valleys and Transition Trim Direct Heavy Flow
Valleys channel the most water. Install after panels on both sides.
Cut valley trim wide. Center it in the valley. Hem edges for stiffness. Overlap 12 inches at ends.
Panels lap onto valley metal 6 inches. Cut ribs to fit. Seal with butyl tape.
Transitions join pitch changes. Measure both angles. Bend trim accordingly. Install low piece first.
These spots leak if rushed. Test fit before final fasten. Learn how to order custom metal roof trim the right way for exact bends.
Step 5: Ridge Cap and Closures Cap It Off
Ridge comes last. It crowns the peak. Cut to match panel width.
Place foam closures at ribs. They block bugs and wind. Rivet or seal them in.
Snap ridge over panels. Overlap sections 6 to 12 inches. Fasten through flats into panel ribs.
Seal end laps heavy. Add screws every 12 inches. Hems prevent lift-off.
Peak trim sheds final runoff. Check overlaps point away from valleys.
Fastener Basics and Overlap Rules
Fasteners seal as much as hold. Use #10 or #12 wood screws with bonded washers. Drill pilot holes in thick trim.
Overlaps shed water. Lower piece under upper. Direction follows pitch.
In Florida, space tighter at edges: 6 inches. Field areas get 12 to 18.
Common Sequencing Mistakes to Dodge
Rush eave trim, and panels won't seat. Forget closures at ridges, and critters enter.
Reverse overlaps trap rain. Install ridge too soon, and valleys gap.
Vary by profile. PBR needs specific rib cuts. Always verify manual.
See common 5V crimp panel installation mistakes to avoid in Central Florida for related tips, even on exposed fasteners.
Sealants and Final Checks
Butyl tape beats caulk for laps. Run a bead under overlaps.
Inspect after first rain. Tighten loose screws. Patch any gaps.
Tools and Tips for Smooth Install
Level, snips, and pop riveter speed work. Wear gloves; edges cut.
Work in dry weather. Florida sun warps wet trim.
Wrap Up Right
Follow this metal roof trim installation sequence, and your exposed-fastener roof lasts decades. Start at eaves, end at ridge. Water sheds clean, wind holds firm.
Got a tricky roof? Measure linears first with how to measure your roof for metal panels in Central Florida. Order trim to fit.
Ready for panels or custom pieces? Contact Mid Florida Metal Roofing Supply. Your Florida roof deserves it.
(Word count: 982)
Share Our Metal Roofing News Articles
Related Posts