How To Estimate Metal Siding Panels For A Pole Barn
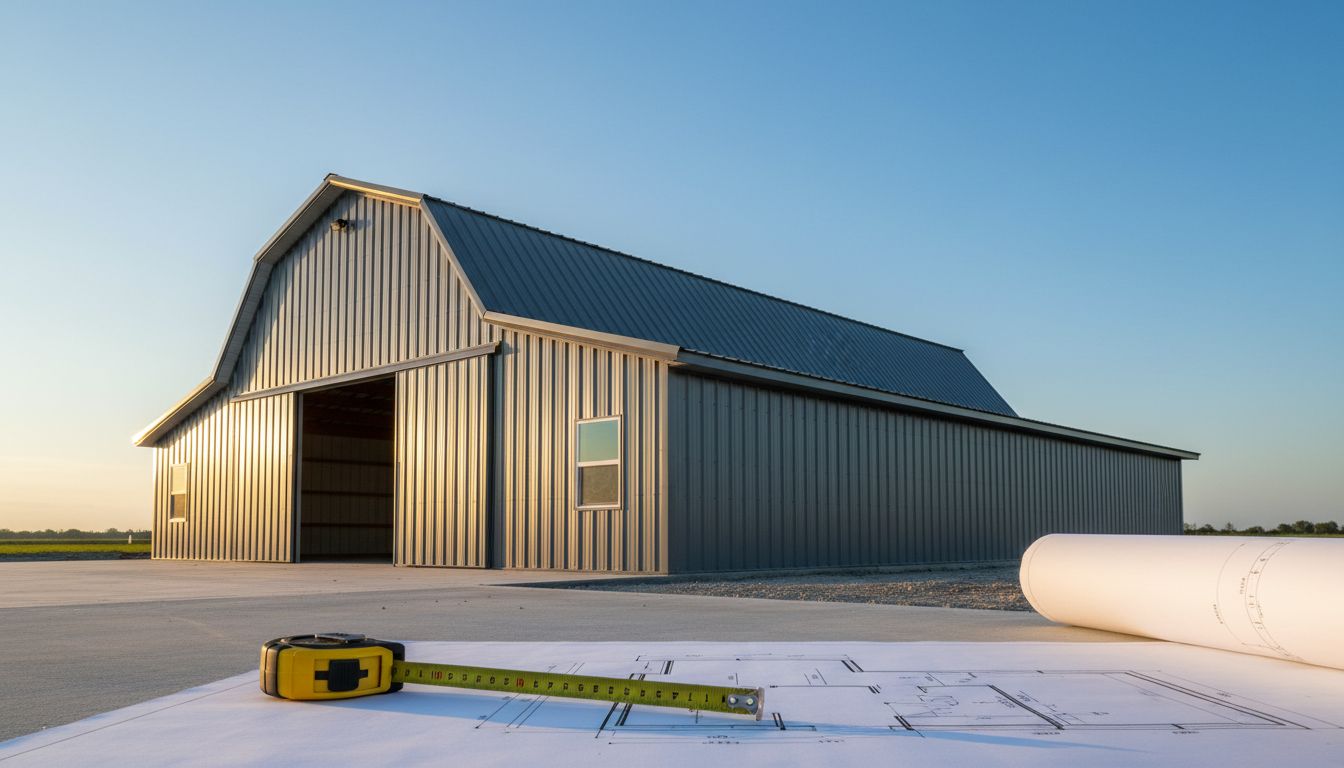
You're building a pole barn in Florida's humid climate. You need sturdy metal siding panels to protect your equipment or livestock. But guessing the quantity often leads to waste or shortages. This guide walks you through a precise estimating process. You'll use real measurements and simple math to order just right.
Overbuying panels ties up cash. Underbuying delays your project. Follow these steps, and you'll get accurate numbers fast. Start with your barn's basic dimensions.
Measure Your Pole Barn Dimensions First
Grab a tape measure and sketch your pole barn. Note the length, width, and height of each wall. Pole barns typically have four side walls and two end walls with gables.
For side walls, multiply barn length by eave height. Say your barn measures 40 feet long and 12 feet high at the eaves. Each side wall covers 40 feet by 12 feet. Do this for both sides, so 2 x (40 x 12) = 960 square feet.
End walls differ because of the roof pitch. Measure from ground to peak, but subtract the roof overhang if it covers part of the wall. A 40-foot-wide barn might have end walls at 45 feet tall at center. Average height becomes (eave height + peak height) / 2. For 12-foot eaves and 18-foot peak, average 15 feet. Then 2 end walls x (40 x 15) = 1,200 square feet.
Add it up. Total wall area hits about 2,160 square feet before adjustments. Always measure twice. Small errors multiply fast.
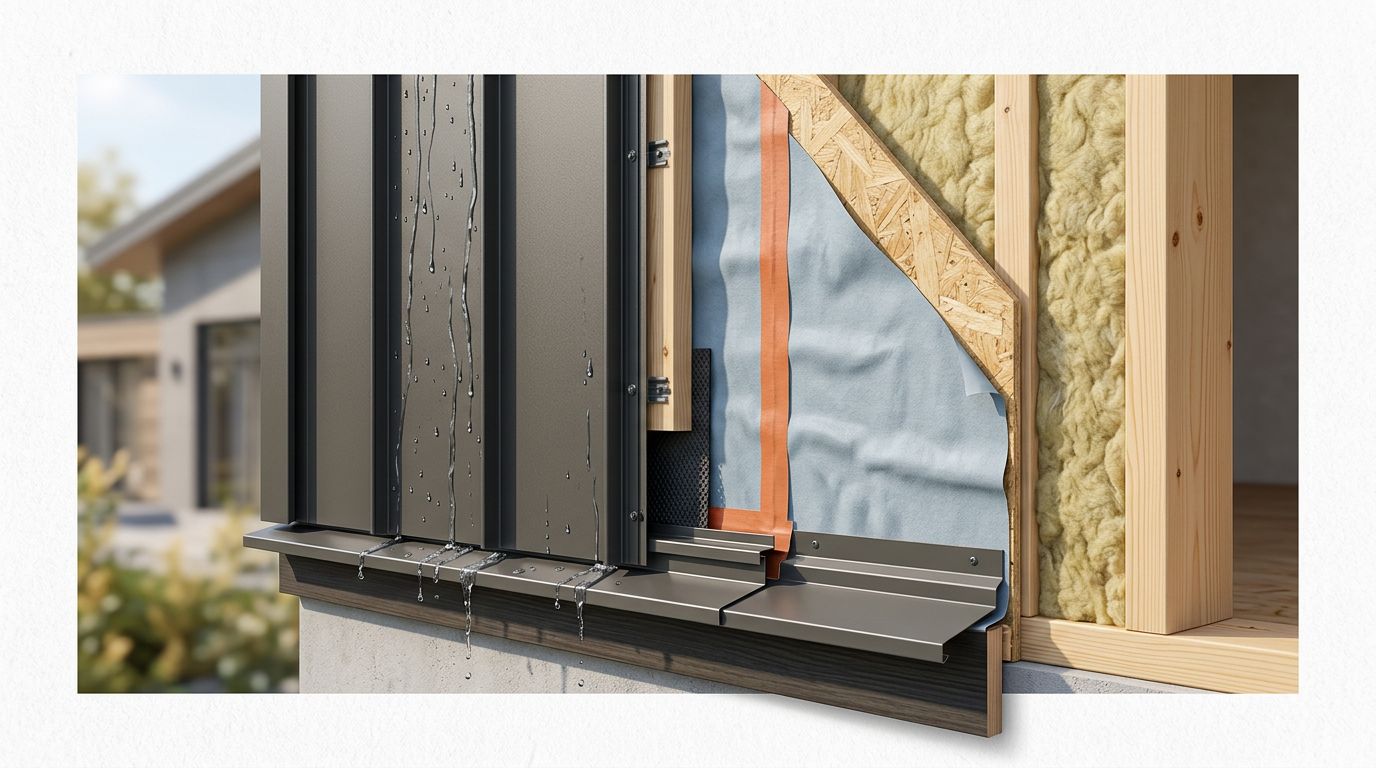
Florida builders often pick Ag multi-rib panels for pole barn siding because they handle wind and rain well.
Calculate Coverage Using Panel Specs
Don't just divide by square footage. Metal siding panels install with overlaps, so use coverage width instead. Common panels like multi-rib have a 36-inch panel width but cover 32 to 34 inches after lap.
Check your supplier's specs. For 29-gauge multi-rib, coverage might be 32.25 inches per panel. Convert to feet: 32.25 / 12 = 2.6875 feet wide.
For height, panels come in lengths like 3-foot increments up to 45 feet. Choose lengths that match your wall height minus trim. A 12-foot wall might use three 4-foot panels stacked.
Example: Side wall 40 feet long needs panels along the length. Divide 40 by 2.6875 = 14.88 panels. Round up to 15 per row. With three rows for 12 feet, you need 45 panels per side wall.
Do the same for ends. Adjust for gable slope later. This method beats rough math because it matches real installation.
Suppliers like those offering Florida pole barn kits with metal siding provide exact coverage charts.
Adjust for Gables and Roof Pitch
Gables add area on end walls. They form triangles above the eaves. Calculate triangle area with base (barn width) and height (peak rise).
For a 40-foot base and 6-foot rise (peak minus eaves), area = (base x height) / 2 = (40 x 6) / 2 = 120 square feet per gable. Double for both ends: 240 square feet.
Convert to panels. Gable slope means shorter panel lengths at edges. Use full panels and trim excess. Divide gable length by coverage width. 40 feet / 2.6875 = 14.88, so 15 panels per gable row. Slope needs varying row heights, often 4-6 rows total.
Add 10% extra for gables because cuts create waste. Total gable panels might hit 100 or so. Always sketch the gable profile first.
Subtract Openings and Add Waste Factor
Large doors or windows reduce panel needs. Measure their width and height, then subtract area. A 10x10-foot door cuts 100 square feet. Convert to panels: about four full ones.
Small openings like vents often don't save much. Cutting one panel wastes it anyway, so ignore them under 20 square feet.
Waste factor matters most. Plan 10-15% extra for overlaps, cuts, and damage. For our 2,160 square foot example minus 100 for door: 2,060 square feet. At 10% waste, order for 2,266 square feet.
Formula: Total panels = (adjusted area / (coverage width x length)) x 1.15. Panels end up around 250-300 depending on sizes.
Contractors compare options in PBR vs Ag panel for pole barns to pick coverage that fits best.
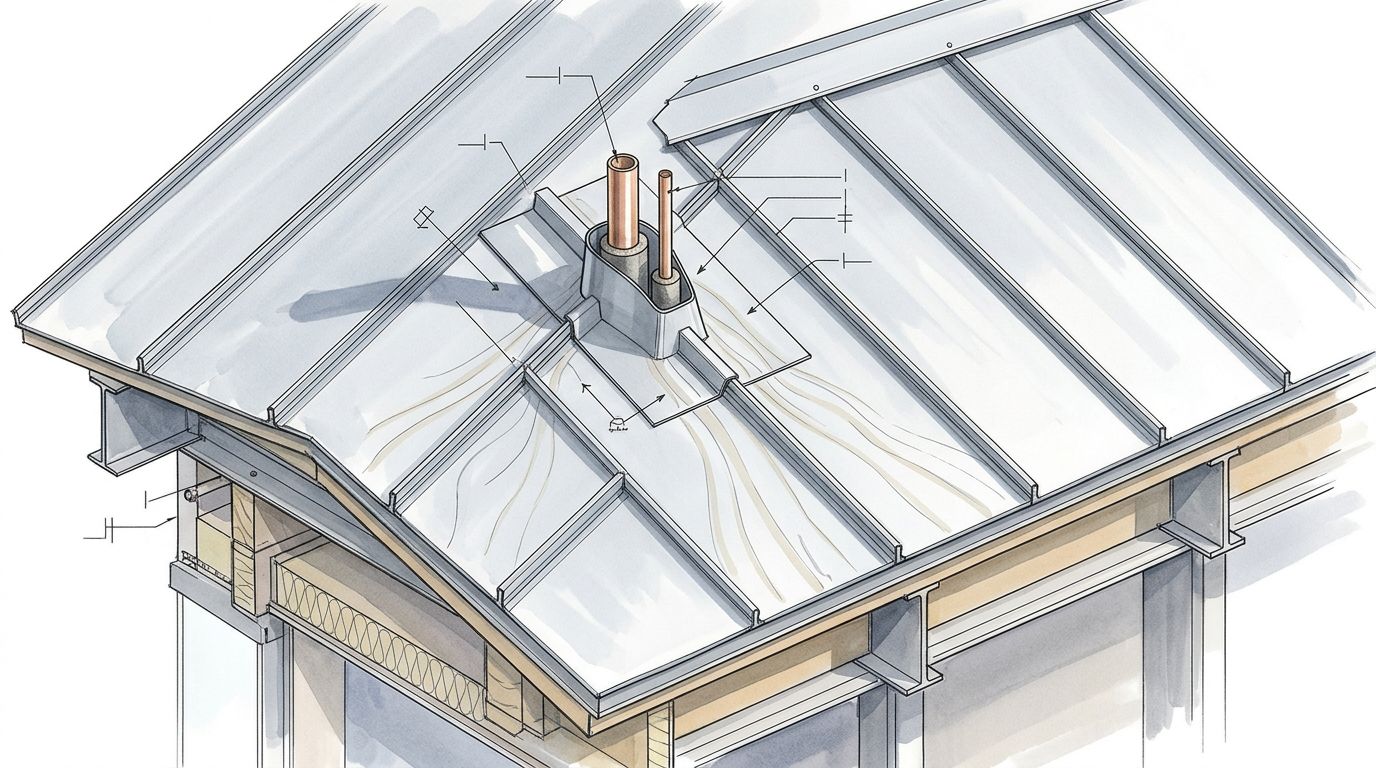
Estimate Trims, Closures, Screws, and Extras
Panels alone won't finish the job. Order trims for edges: ridge, rake, eave, corner, base. Measure each run. Eave trim matches wall length, say 80 feet total for sides. Buy in 10-20 foot pieces.
Closures seal ribs at base and peaks. Count panels and add one closure per panel end. Screws: one every 12-18 inches along ribs. For 2,000 square feet, expect 3,000-5,000 screws. Use warranted ones for Florida approvals.
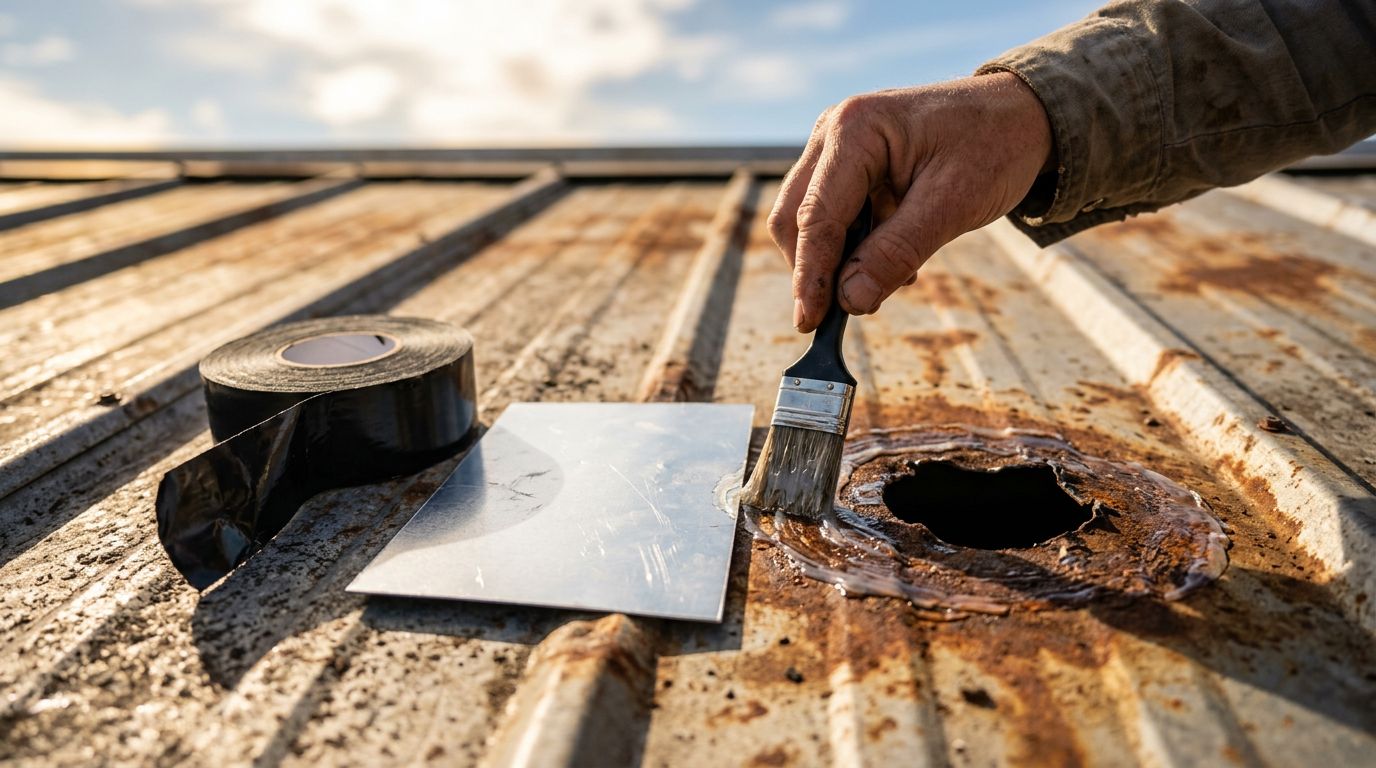
Add 5-10 extra panels for repairs. Florida storms dent siding, so stock spares.
| Material | Quantity Formula | Example for 40x60 Barn |
|---|---|---|
| Base/Rake Trim | Perimeter length + 10% | 200 linear feet |
| Closures | Panels x 2 ends | 500 pieces |
| Screws | 1 per 2 sq ft | 4,000 count |
| Extra Panels | 5-10% of total | 25 panels |
This table keeps orders tight. Check versatility of multi-rib metal panels for trim matches.
Dodge Common Estimating Mistakes
Many skip overlaps and order short. Always use installed coverage, not nominal width. Forgetting gables adds surprise costs later.
Poor waste planning leads to patchwork installs. Bump waste to 15% on complex barns. Measure openings precisely; guesswork bites.
Rely on supplier quotes after your math. They catch Florida code issues.
Nail Your Pole Barn Siding Order
Smart estimating saves time and money on metal siding panels . Measure walls, apply coverage math, adjust for gables and waste, then add trims and fasteners. Your 40x60 barn might need 280 panels plus extras.
Ready to build? Get a quote for Florida-approved panels today. What size barn are you tackling?
Share Our Metal Roofing News Articles
Related Posts