How to Remove Metal Shavings From a New Metal Roof Safely
Fresh metal roofing should look clean and sharp, not dotted with tiny shavings that can stain the finish. Those filings rust fast, especially in Florida heat and humidity, and once they settle into seams or scratches, they can leave marks that are hard to hide later.
If your roof was cut, drilled, or trimmed on site, cleanup matters as much as the install itself. The safest method is gentle, patient, and matched to the roof's pitch and condition. Start by checking the area from the ground, then work only where you can do it safely.
Why metal shavings need fast cleanup
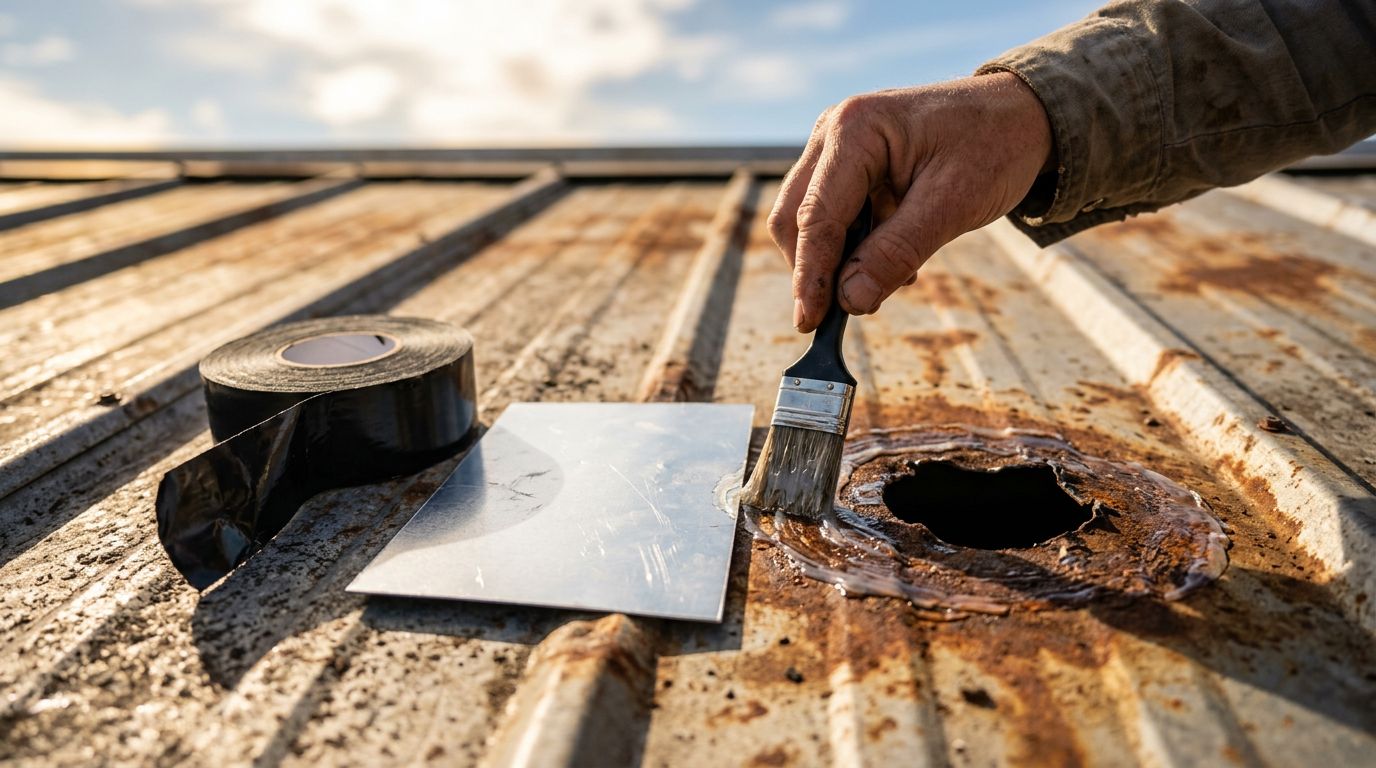
Metal shavings are small, but they cause outsized trouble. Once they land on painted panels or exposed fastener heads, moisture can turn them into rust spots in a short time. When those particles sit in one place, they can also leave brown streaks that run with rainwater.
That problem gets worse on a new roof because the finish is still clean and easy to stain. A tiny chip of steel can leave a trail across a panel after the first shower. On coastal or humid Florida properties, the risk climbs even higher.
A few minutes of cleanup can save you from permanent orange streaks later.
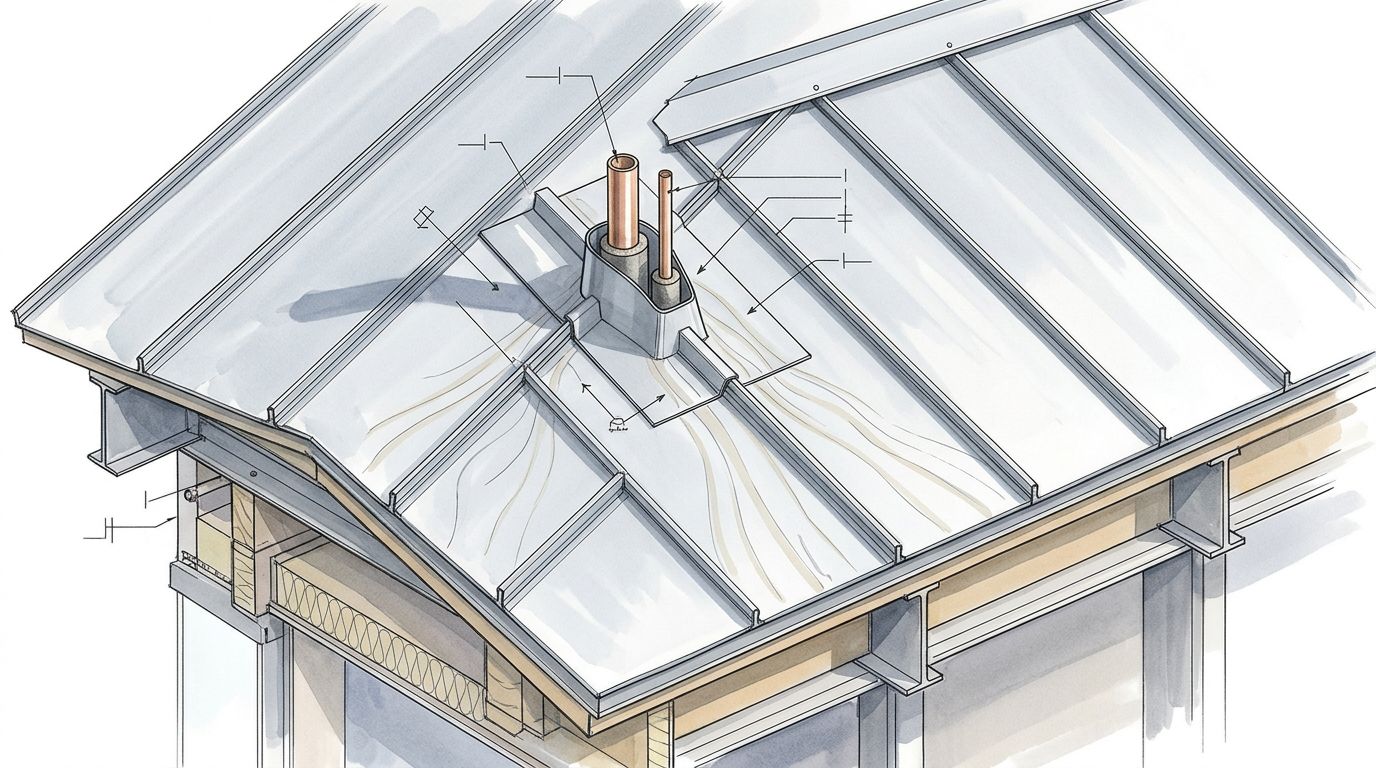
Shavings also collect in places that are easy to miss. Look at valleys, laps, gutters, trim edges, and around penetrations. Those areas hold debris after cutting and fastening work, so they need the most attention.
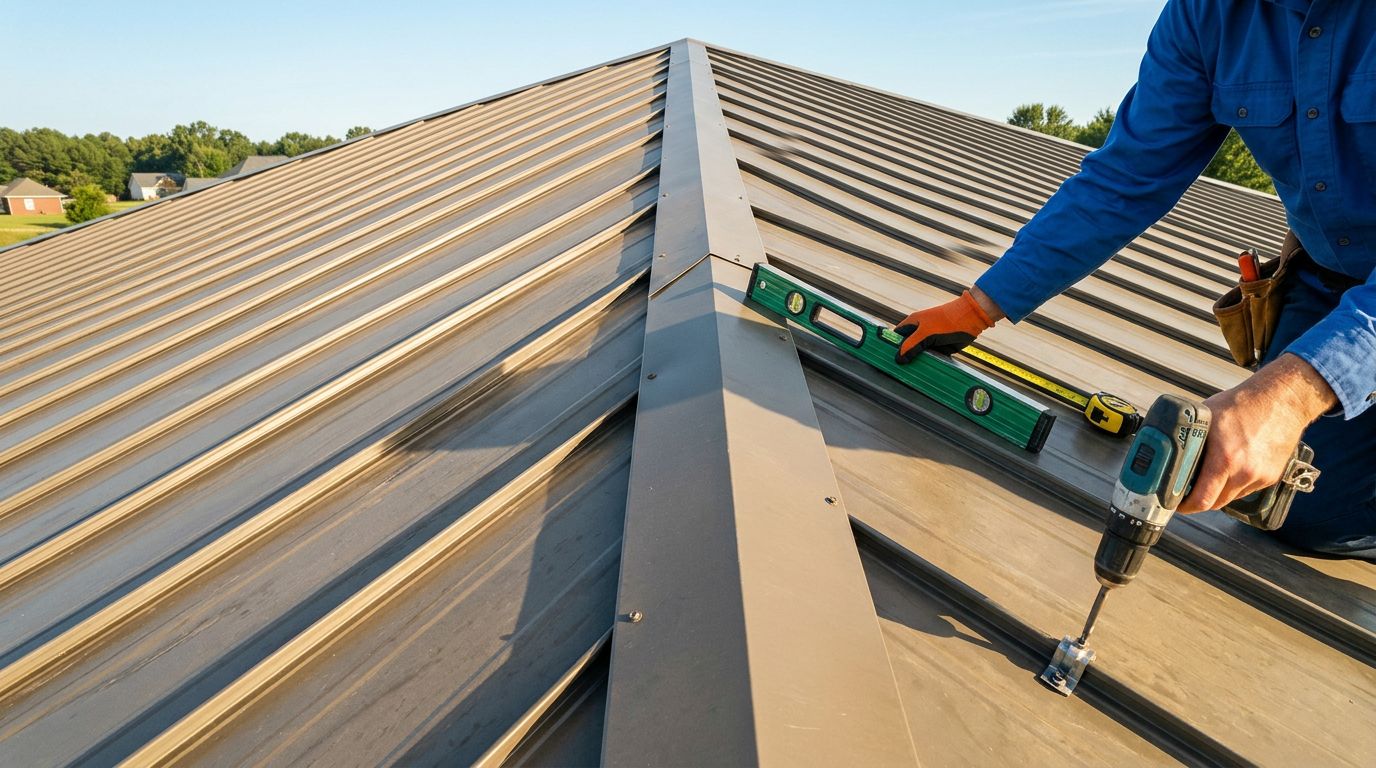
A clean install starts with good planning too. If you want to see what a well-organized job looks like, a metal roofing installation best practices guide can help you understand how proper panel work and trim layout reduce loose debris.
Start with safety and the right tools
Before you try to remove metal shavings, decide whether you should be on the roof at all. If the roof is steep, wet, dusty, hot, or high enough to feel unstable, stay off it. Work from the ground with telescoping tools, or hire a professional.
A ladder on soft ground, slick panels, or a windy afternoon is not the place to rush. Roof surfaces can be slick even when they look dry. In Florida, heat can also make panels harder to handle safely.
Gather tools that clean without scratching. A good kit usually includes:
- A soft-bristle broom or brush
- Microfiber cloths
- A covered magnetic sweeper or hand magnet
- A bucket of clean water
- Mild soap made for painted surfaces
- A garden hose with low pressure
- Gloves and non-marking shoes
If you already know the roof was built with the right parts, cleanup is easier to manage. The right panel layout, fasteners, and trim also help reduce loose scraps. For that side of the job, essential metal roofing accessories matter more than most people think.
Work in daylight when you can see the shavings clearly. Also, keep one section at a time in view. Small debris disappears fast once it mixes with dust, pollen, or leaf bits.
A gentle step-by-step cleanup process
Start dry, then move to a light wet wipe. That order keeps shavings from smearing rust across the panel finish.
- Inspect the roof from the ground first.
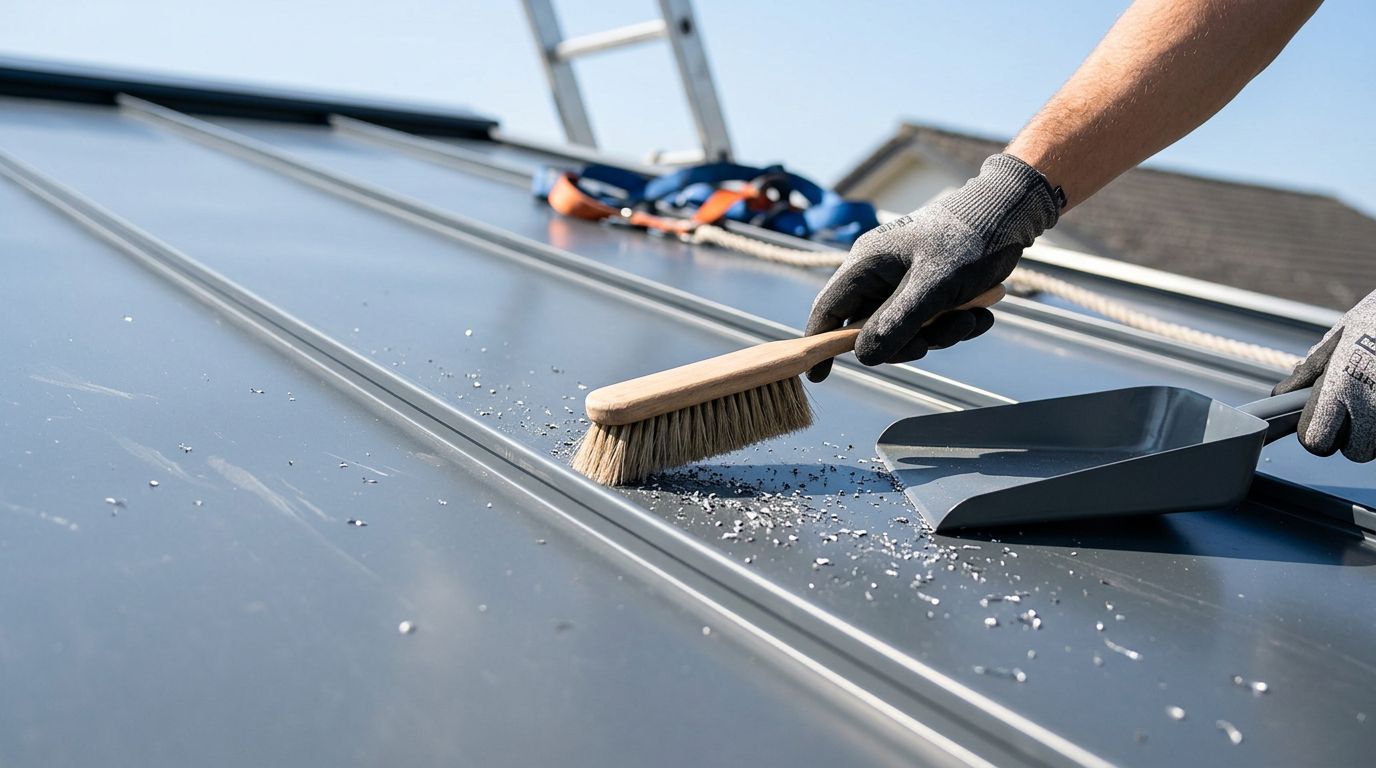
Use binoculars if needed. Look for shiny chips, streaks, and piles near cut edges, ridges, vents, and gutters. If you can spot the problem from below, you may be able to limit roof access. - Remove loose debris with a soft brush or magnetic tool.
Sweep in straight, light passes. Don't press hard. If you use a magnet, keep it covered with a soft cloth so it doesn't drag grit across the coating. - Clear seams and corners by hand only if you can reach them safely.
Microfiber cloths work well for small spots. Fold the cloth often so you're not rubbing filings back into the finish. Around ridges and trim, use short strokes instead of scrubbing. - Wipe cut edges and fastener areas with clean water and mild soap.
A damp cloth is enough for most spots. You're not trying to polish the roof. You're trying to lift the metal dust before it bonds to the surface. - Rinse lightly with a hose.
Keep the pressure low. A gentle rinse moves remaining dust without forcing water under laps or into flashings. Never aim a hard spray upward at seams. - Check the roof again after it dries.
Some shavings hide until the panel dries and the sunlight hits it. Walk the area only if conditions are safe, then do a final check for orange specks or streaks.
If you're cleaning from the ground, use extension poles and a safe angle. That setup works best for lower slopes, carports, sheds, and single-story homes. When the area is out of reach, stop there. A missed chip is better than a fall.
Mistakes that can scratch the finish
A new metal roof can take a lot of weather, but it doesn't need rough treatment during cleanup. The wrong tool can leave marks faster than the shavings themselves.
Avoid these common mistakes:
- Steel wool or abrasive pads can scuff painted coatings and leave dull spots.
- Wire brushes can scratch the panel finish and open the door to corrosion.
- Metal shovels or scrapers can gouge the surface, even if the debris looks stuck.
- High-pressure washing can push water into seams and trim joints.
- Dragging a magnet directly across the roof can pull grit over the coating and leave fine lines.
- Using harsh solvents can damage some painted finishes and sealants.
If a shaving is stuck in a tight spot, use a soft plastic tool or a cloth-wrapped edge. Never pry at it with a screwdriver or putty knife. That kind of force is where small cleanup jobs turn into permanent damage.
Also, don't wait for rain to wash the shavings away. Rain does not remove the problem. It usually spreads rust marks and makes the mess harder to track.
When to call a pro, and how to prevent more shavings
Some cleanup jobs are too risky for a homeowner. Call a roofer if the roof is steep, wet, hot, too tall to reach safely, or covered with a large amount of debris. The same goes for roofs with scratches, loose panels, or shavings trapped under trim and flashing.
Professional help also makes sense after a full install, especially if you want a final inspection and cleanup pass. An installer can check for hidden filings around fasteners, overlaps, and penetrations, then remove them before they stain the finish.
Prevention helps too. Ask the installer to clean as they go, collect cutoffs right away, and vacuum or brush the work area before they leave. Good trim details, proper fasteners, and tight fitting accessories cut down on leftover debris during the job. They also keep the roof looking cleaner over time.
If you're planning a roof project, think about the cleanup stage before the first panel goes up. That mindset saves time later and keeps the new roof looking the way it should.
Conclusion
A new metal roof should stay bright, smooth, and free of rust stains. The best way to remove metal shavings is with gentle tools, light pressure, and a safety-first approach.
If the roof is steep, wet, or hard to reach, stay on the ground and bring in a pro. Careful cleanup protects the finish, and that matters long after the install crew has gone home.
Share Our Metal Roofing News Articles
Related Posts