Comprehensive Guide to Metal Roofing Installation: Best Practices and Tips
The installation of a metal roof is a significant endeavor that requires careful planning, meticulous execution, and a clear understanding of best practices. While many property owners outsource this task to professionals, having a solid grasp of the principles and processes of metal roofing installation can contribute to a more successful outcome, whether or not you choose to do it yourself. This comprehensive guide aims to demystify the process of metal roofing installation, providing key insights, pro tips, and important considerations that can enhance the quality and longevity of your roofing project.
We will delve into each stage of the metal roofing installation process, highlighting best practices, common pitfalls to avoid, and expert tips to facilitate a smoother, more efficient installation. Additionally, we will discuss how to select the right metal roofing materials and tools and provide some maintenance tips to ensure your roof stays in excellent condition for decades to come. By the end of this guide, you’ll be well-equipped with the knowledge needed to embark on your metal roofing project with confidence and clarity.
1. Measuring and Ordering Materials: Getting the Basics Right
Accurate measurements are crucial for ensuring a seamless and successful metal roofing installation. Start by taking detailed measurements of your roof, including its length, width, and slope. Remember to account for the overhang of the roof edges when measuring, as this will affect the overall amount of roofing material required.
Once you have all your measurements, use them to calculate the number of metal panels, trim pieces, and fasteners needed for your project. It’s always a good idea to order slightly more material than your calculations suggest to accommodate cutting errors or damage during installation.
Also, select the right metal roofing material for your project based on factors such as the building’s location, desired aesthetics, and budget. Mid Florida Metal Roofing Supply offers a variety of high-quality metal roof and wall panels, ensuring a perfect match for your requirements.
2. Preparing the Roof Deck and Laying Underlayment: Setting the Foundation
After procuring the necessary materials, the next step is to prepare the roof deck for installation. Remove old roofing materials, such as shingles or tiles, and inspect the roof deck for any signs of damage. Repair or replace any damaged sections to guarantee a sturdy and level surface to build upon.
Next, lay down an appropriate roofing underlayment to create a barrier between the roof deck and the metal panels. This underlayment should meet the local building codes and be compatible with your chosen metal roofing material. Roofing underlayment helps protect the roof deck from moisture, provides an additional layer of insulation, and reduces the risk of condensation.
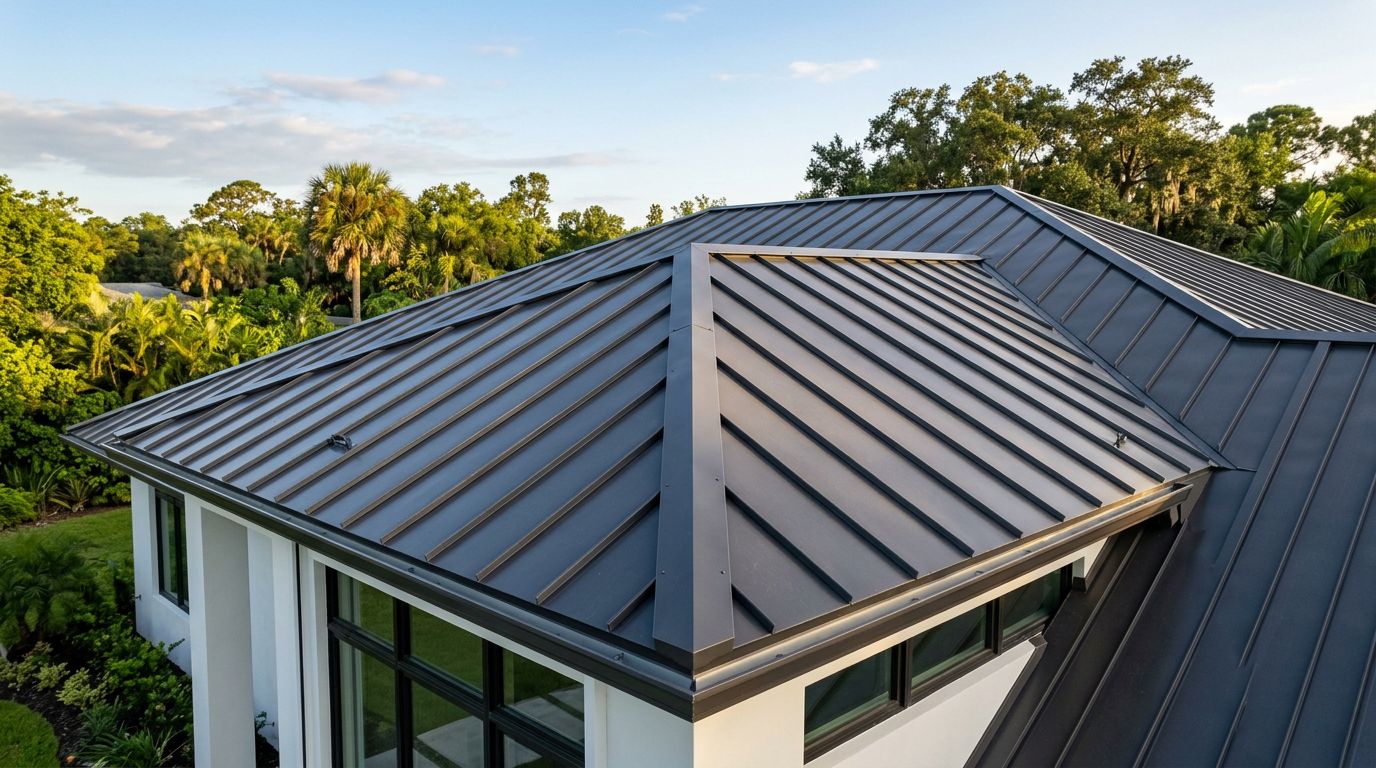
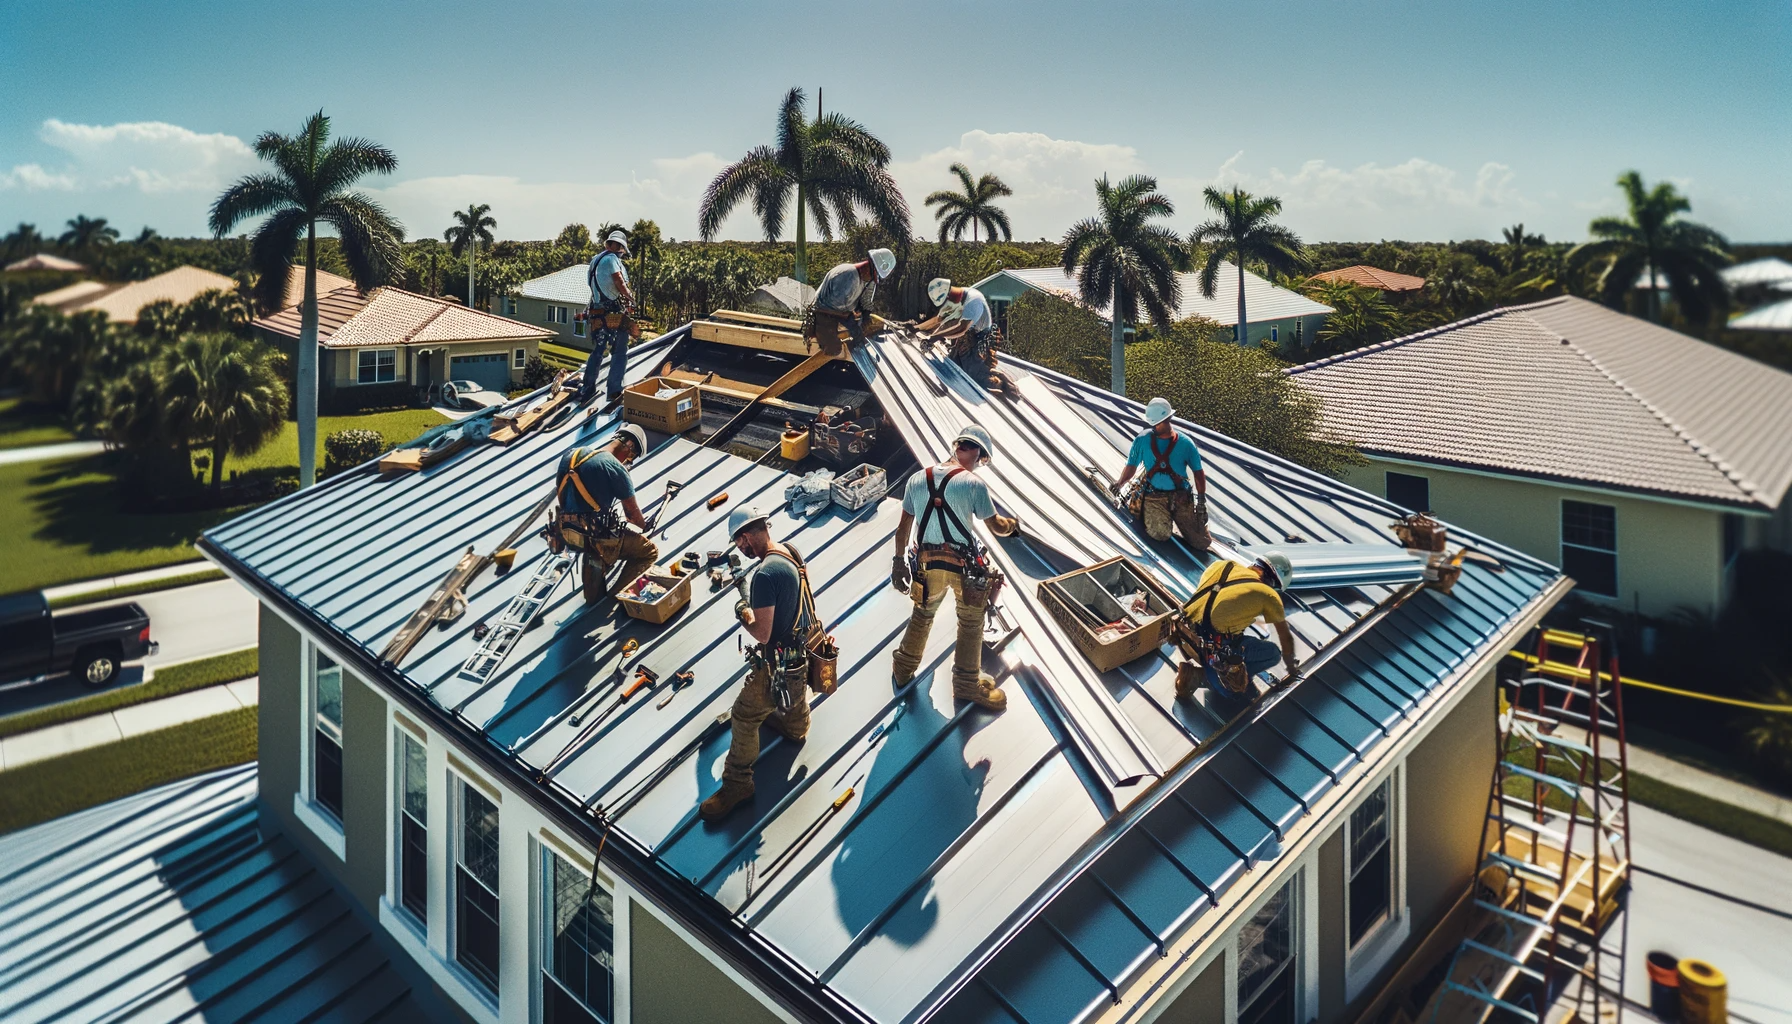
3. Installing Metal Panels: The Main Event
With your measurements in hand and a properly prepared roof deck, it’s time to start installing the metal panels. Follow the guidelines outlined by the manufacturer to ensure the best possible outcome. Here are a few general tips to keep in mind while installing metal panels:
- Work from the bottom up, starting at the edge of the roof with the longest panels. This method minimizes the number of cuts that need to be made and simplifies installation.
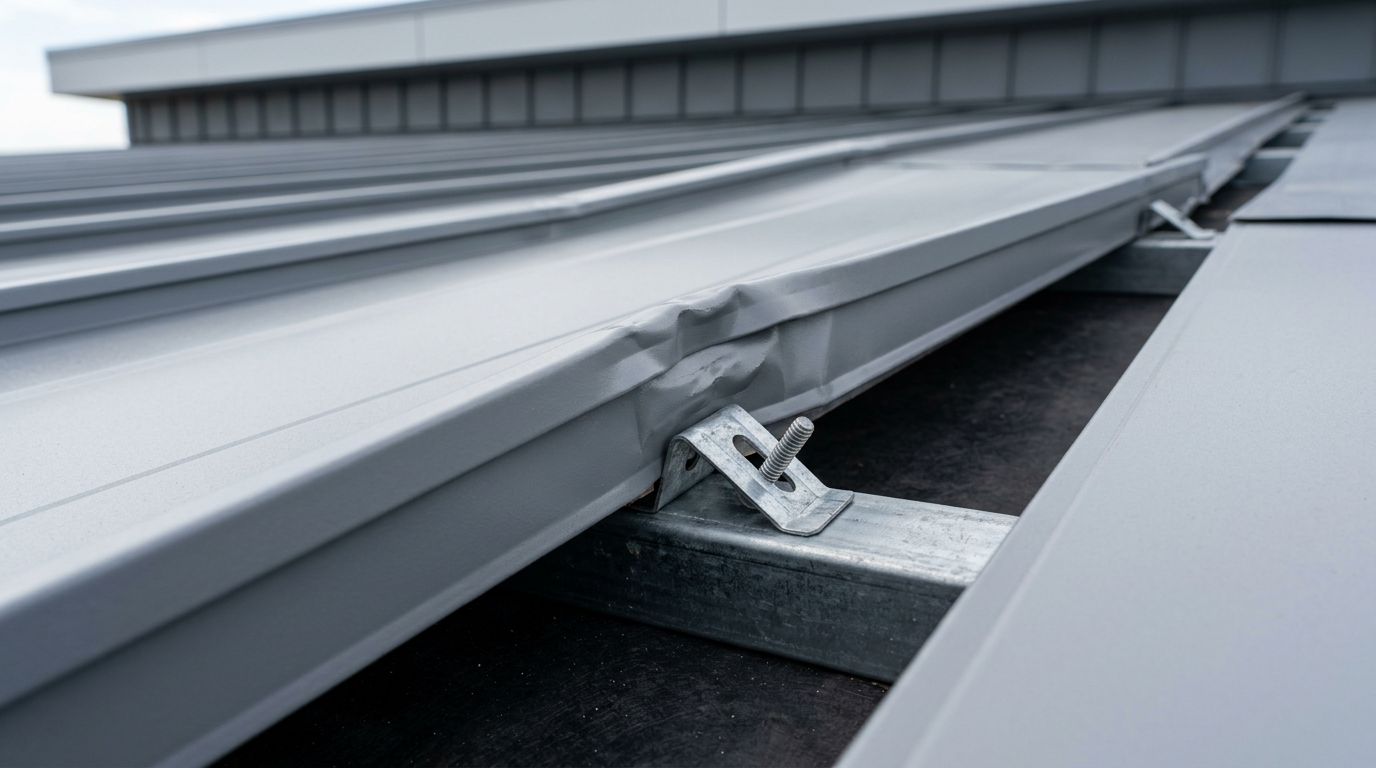
- Ensure proper alignment of panels and fasten them securely with screws or clips according to the manufacturer’s instructions. Remember to account for the expansion and contraction of metal when determining the placement of fasteners.
- Seal the joints between panels with appropriate sealants and butyl tape to create a watertight barrier and prevent leaks.
- If necessary, trim the panels to fit around vents, chimneys, and other roof protrusions using a metal shear or nibbler tool. Be sure to measure and mark these cutouts carefully to maintain a professional appearance.
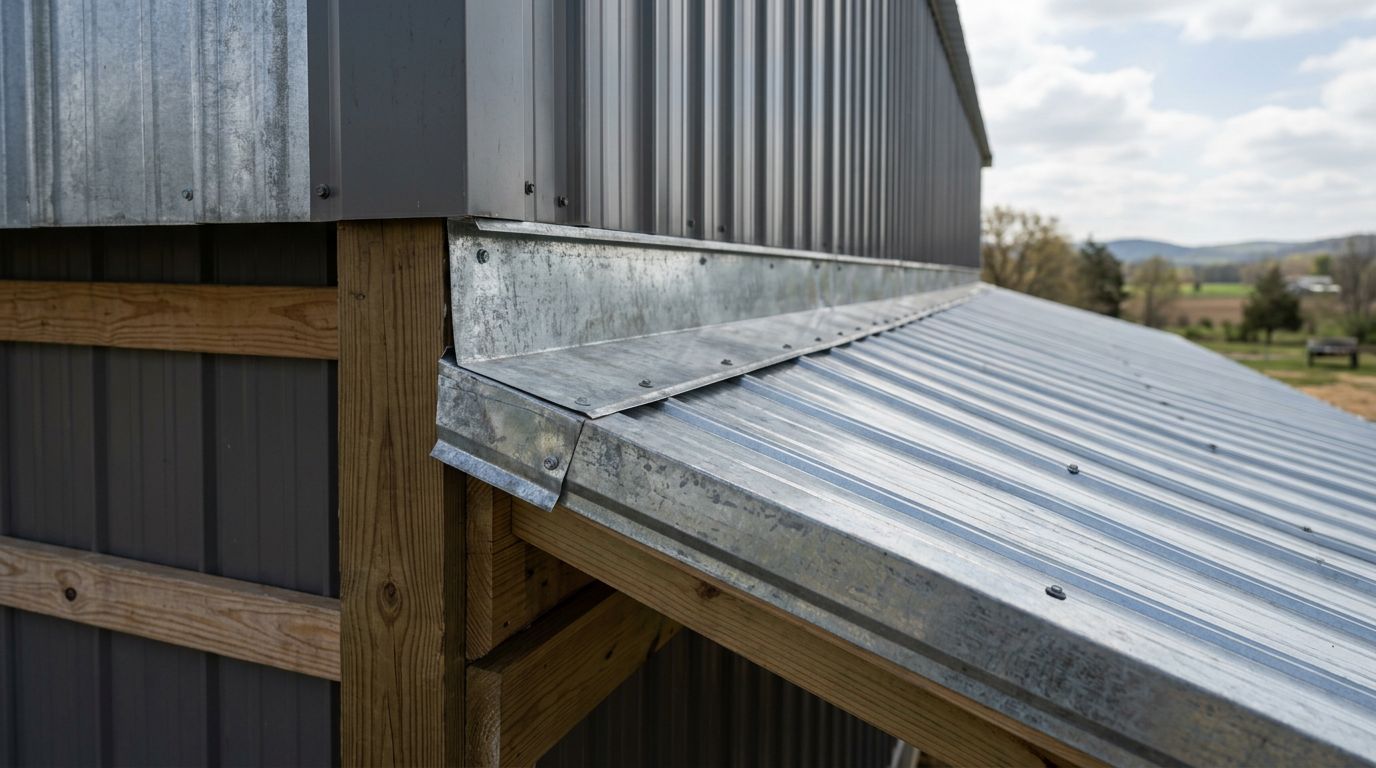
4. Attaching Trim, Flashing, and Ensuring Ventilation: Finishing Touches
Once all panels are in place, the final step is to attach trim and flashing to complete the roof installation. These elements not only enhance the overall appearance of your roof but also play a vital role in preventing water infiltration and directing runoff away from your property. Carefully follow the manufacturer’s guidelines for the optimal placement and installation of trim and flashing.
Additionally, ensure proper ventilation by installing ridge vents, soffit vents, or gable vents, depending on your roof’s design and local building codes. Adequate ventilation will help regulate the temperature and moisture levels in your attic, improving energy efficiency and preventing issues like mold growth.
Conclusion: Building a Strong, Durable, and Beautiful Metal Roof
By following the best practices outlined in this guide, you can ensure a successful metal roofing installation that provides long-lasting durability, energy efficiency, and aesthetic appeal. Whether you choose to undertake this project yourself or hire a professional contractor, understanding the intricacies of metal roofing installation is critical for achieving the best possible results.
Remember that while metal roofing is an exceptional choice for its long life and low maintenance, your investment’s success hinges upon the quality of installation. At Mid Florida Metal Roofing Supply, Inc., we are committed to providing our customers with top-quality metal roofing materials and unmatched expertise to ensure their projects are a resounding success. Contact us today to learn more about our products and services, and let us help you create a robust, energy-efficient, and beautiful metal roof for your property.
Share Our Metal Roofing News Articles
Related Posts