How to Measure Existing Metal Roof Trim for Replacement
Ever pulled off a piece of metal roof trim just to find the replacement doesn't fit? That gap at the edge lets water sneak in. Florida storms make those mistakes costly fast. You need exact measurements before you order anything new.
Metal roof trim replacement starts with your tape measure, not a guess. Trim profiles differ by maker and panel type, like AG, PBR, or 5V. A small bend mismatch ruins the seal. This guide shows you how to measure right. You'll get steps, terms, and a checklist to match the old piece perfectly.
First, grab your tools and stay safe on the roof.
Gather Tools and Safety Gear Before You Start
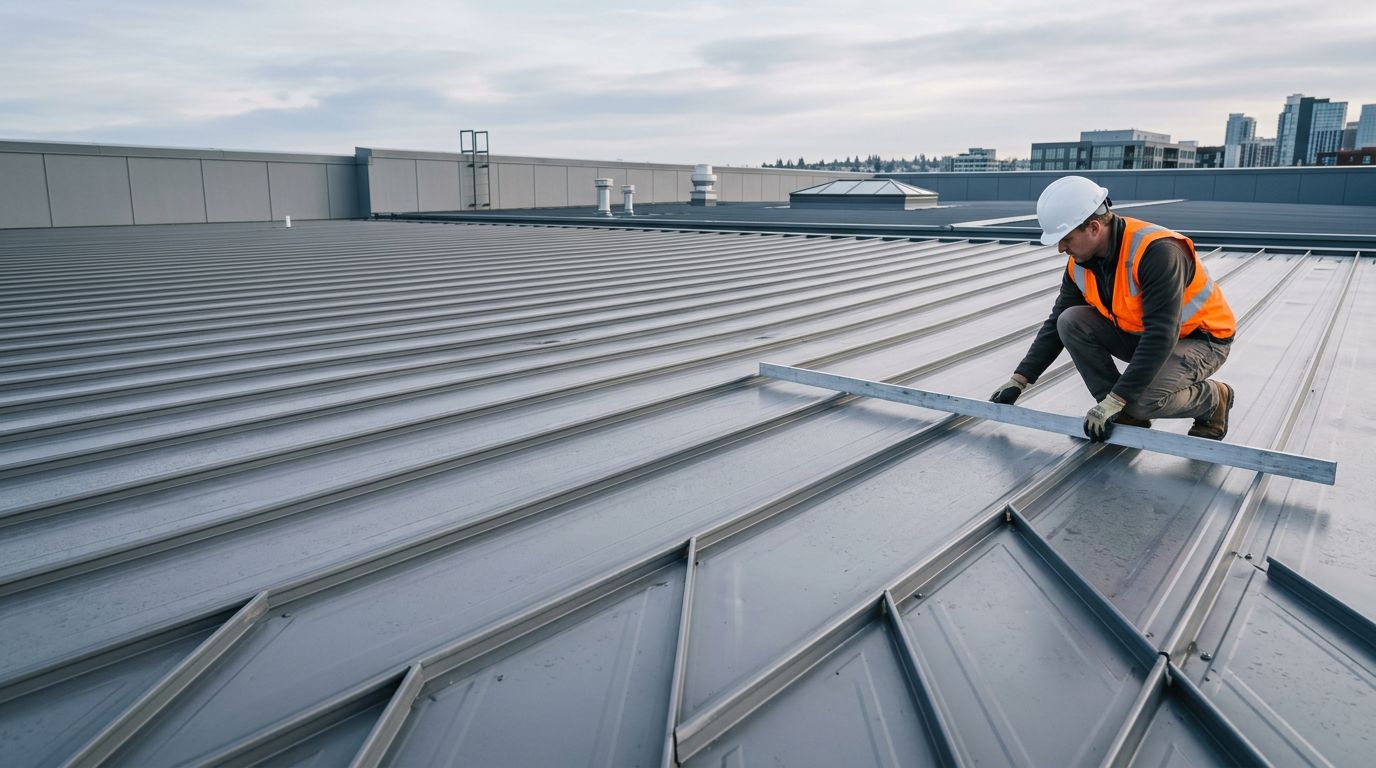
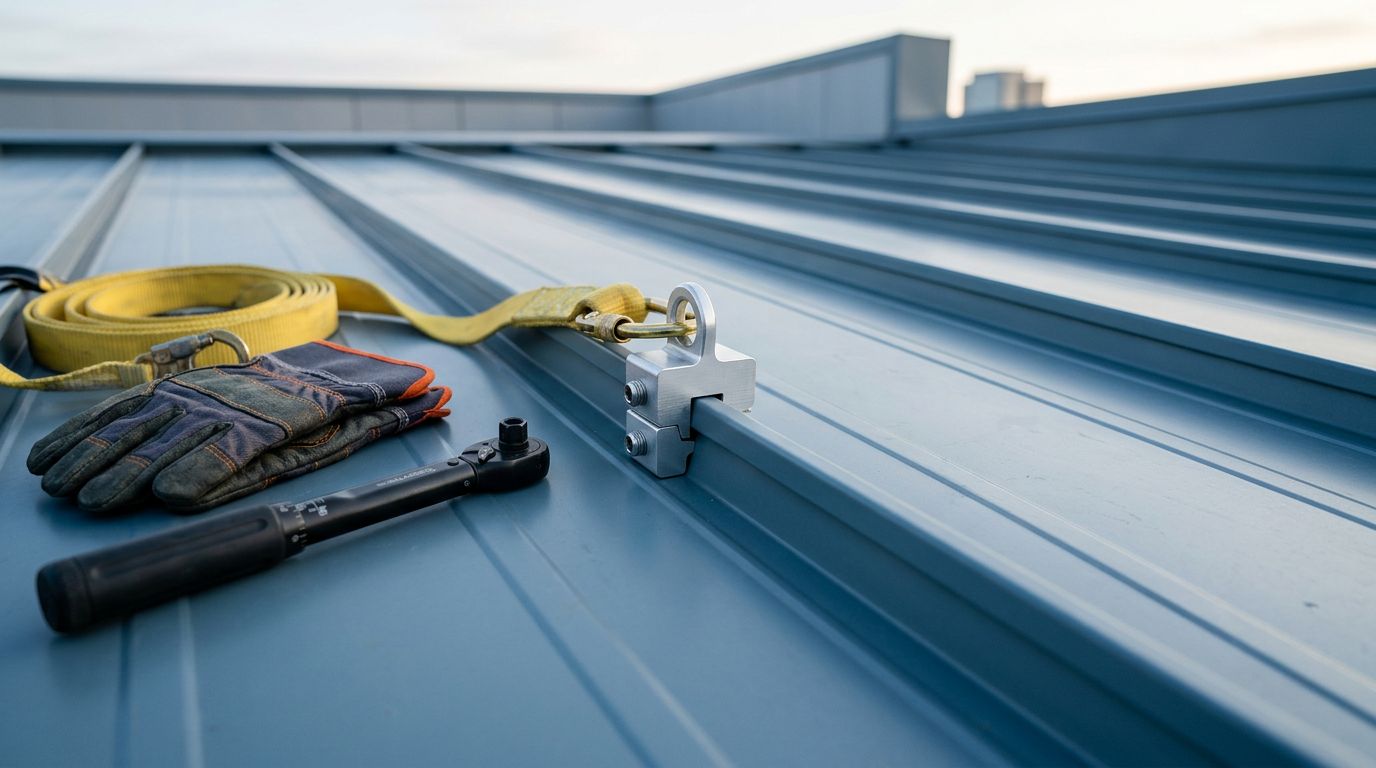
Safety comes first on any roof. Slips happen quick in Florida heat. Wear non-slip boots with good traction. Use a harness if the pitch exceeds 4:12. Work with a partner, especially near edges. Avoid windy days because gusts push you off balance.
You'll need basic tools for clean measurements. A sturdy tape measure works best, at least 25 feet long. Add a digital level for angles, a notepad, and pencil. Sharpie marks permanent lines on metal. Gloves protect your hands from cuts. Ladder stabilizer keeps you steady.
Clear the area next. Remove loose debris or old sealant. If possible, take off the trim piece you plan to replace. Measuring a removed piece beats roof work every time. It lies flat, so numbers stay true. Photos from all angles help too. They show bends you might miss.
Prep saves time. Now identify what you're measuring.
Spot the Trim Type and Common Profiles
Trim seals edges and directs water. Names vary, so focus on location and shape. Eave trim sits at the bottom. Rake trim runs up gable ends. Ridge cap covers peaks. Sidewall and endwall trim meet walls.
Know your panel profile. It dictates trim bends. For example, PBR panels need taller ribs than 5V. Check old panels for stamps like "AG" or "Multi-Rib." Profiles from one maker won't always swap with another.
Key terms make sketches clear:
- Leg : Flat side of the trim, like roof leg or face leg.
- Hem : Folded edge for strength.
- Bend : Angle where legs meet.
- Flange : Short lip that overlaps panels.
- Overlap : Where pieces join, often 4-6 inches.
Sketch the trim now. Note left-hand or right-hand if it matters. This matches replacements exact. For rake trim choices, see how to choose rake trim for Florida metal roof edges.
With type clear, measure smart.
Essential Measurements for Every Trim Piece
Not all dimensions matter equal. Length is obvious, but legs and bends seal the deal. Wrong leg size leaves gaps. Measure flat sections only. Curves distort tapes.
Use this checklist for any trim:
| Measurement | How to Take It | Why It Counts |
|---|---|---|
| Overall length | End to end, straight | Matches run length |
| Roof leg | From bend to top edge | Covers panels right |
| Face or wall leg | From bend to bottom | Hits fascia or wall |
| Hem size | Folded edge width | Adds stiffness |
| Bend angle | Use level or protractor | Sits flat on pitch |
| Flange width | Lip overlap size | Seals to panels |
| Rib cutout | Space for panel ribs | Fits profile |
Record twice. Average if numbers differ slight. Note gauge too, by feel or caliper. Thicker metal lasts longer in salt air.
Overlaps need 2-4 inches extra per joint. Count corners or miters separate. These details prevent short pieces later.
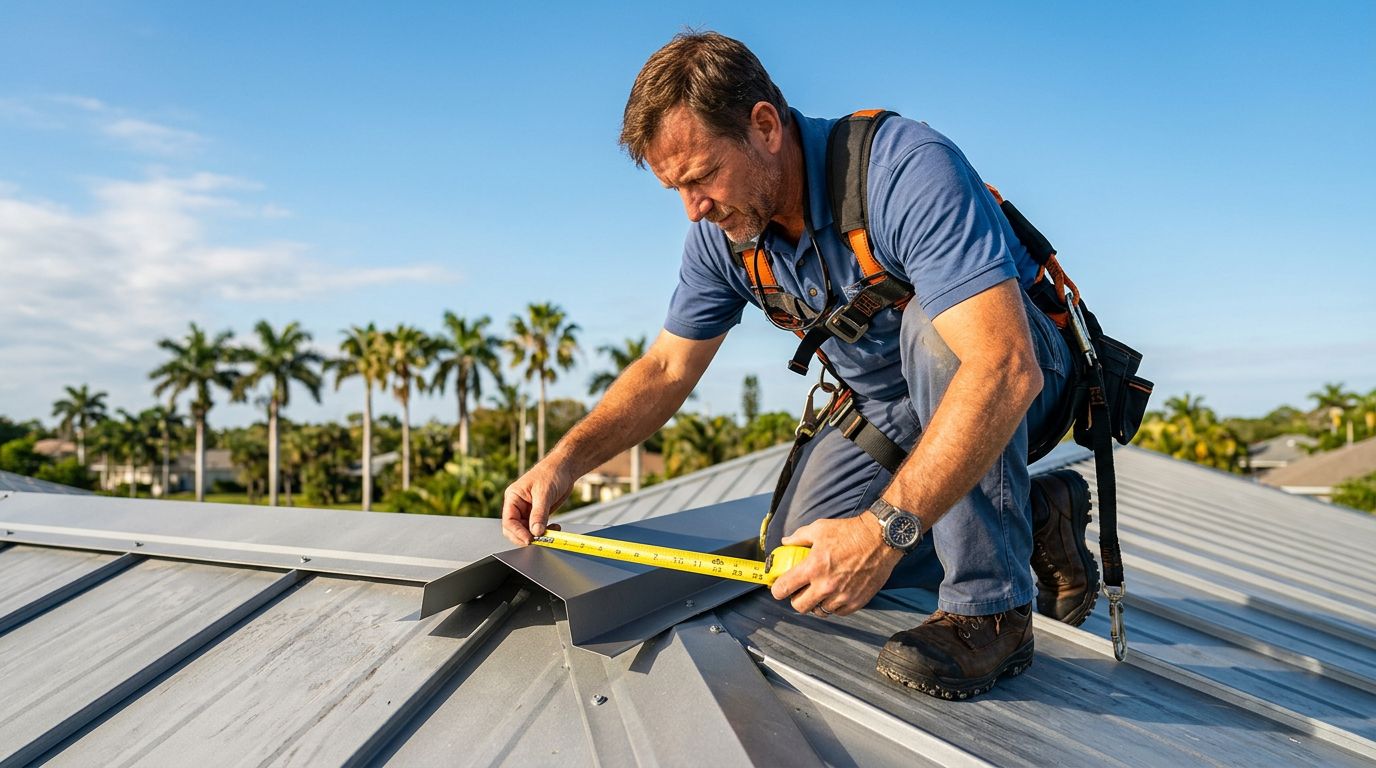
Step-by-Step Guide to Measuring on Site
Follow these steps in order. Start low on the roof to avoid rework.
- Position the ladder secure. Tie it off if needed.
- Inspect the trim full length. Note damage or custom bends.
- Measure overall length first. Hook tape at one end. Pull taut to other.
- Find main bends. Measure each leg from bend center. Roof leg goes up slope. Face leg drops down.
- Check hems and flanges. Measure open width, then folded.
- Gauge angle. Hold level across bend. Note degrees from flat.
- Mark rib positions if cutouts exist. Distance between them matches panel ribs.
- Measure overlaps. Pull back old trim slight. Note lap length.
- Photo everything. Label with measurements.
- Double-check on ground if removed. Lay flat for truth.
This process takes 15 minutes per piece. It beats call-backs. For eave details, review how to choose the right eave drip edge for metal roofs.
Avoid Pitfalls in Metal Roof Trim Measurements
Mistakes creep in easy. Don't measure over rust or dents. They skew sizes. Ignore pitch first time. Flat measurements convert later.
Profiles vary big. A "rake" from one supplier bends different than another's. Compare your sketch to supplier catalogs. Ask for approval drawings before cut.
Wet roofs fool tapes. Dry conditions give true reads. Heat warps metal slight, so measure mornings.
Forget gauge, and new trim flexes wrong. Test old piece with magnet strength. Or bend it. Stiff means 26-gauge or thicker.
Common fix: Order sample first. Many suppliers send short test pieces cheap.
Compare Measurements and Order Replacements Right
Your numbers guide the order. Match panel profile exact. Note color and finish too. Florida sun fades mismatches fast.
Suppliers need legs, bends, and angles. Sketch helps them quote. Custom pieces run up to 21 feet here.
See how to order custom metal roof trim without mistakes for full specs. Or check how to order custom metal roof trim the right way. These match your measures to fab.
Test fit before full run. Trim a foot long first.
Wrap Up with Confidence in Your Trim Fit
Exact measurements make metal roof trim replacement simple. You avoid leaks and waste. Focus on legs, bends, and profile match. Safety keeps you steady.
Florida roofs face tough weather. Right trim seals them tight. Measure removed pieces when you can. Sketch clear. Order smart.
Your roof stays dry longer that way. Next storm proves it.
Share Our Metal Roofing News Articles
Related Posts