Sliding Barn Door Trim for Florida Metal Siding
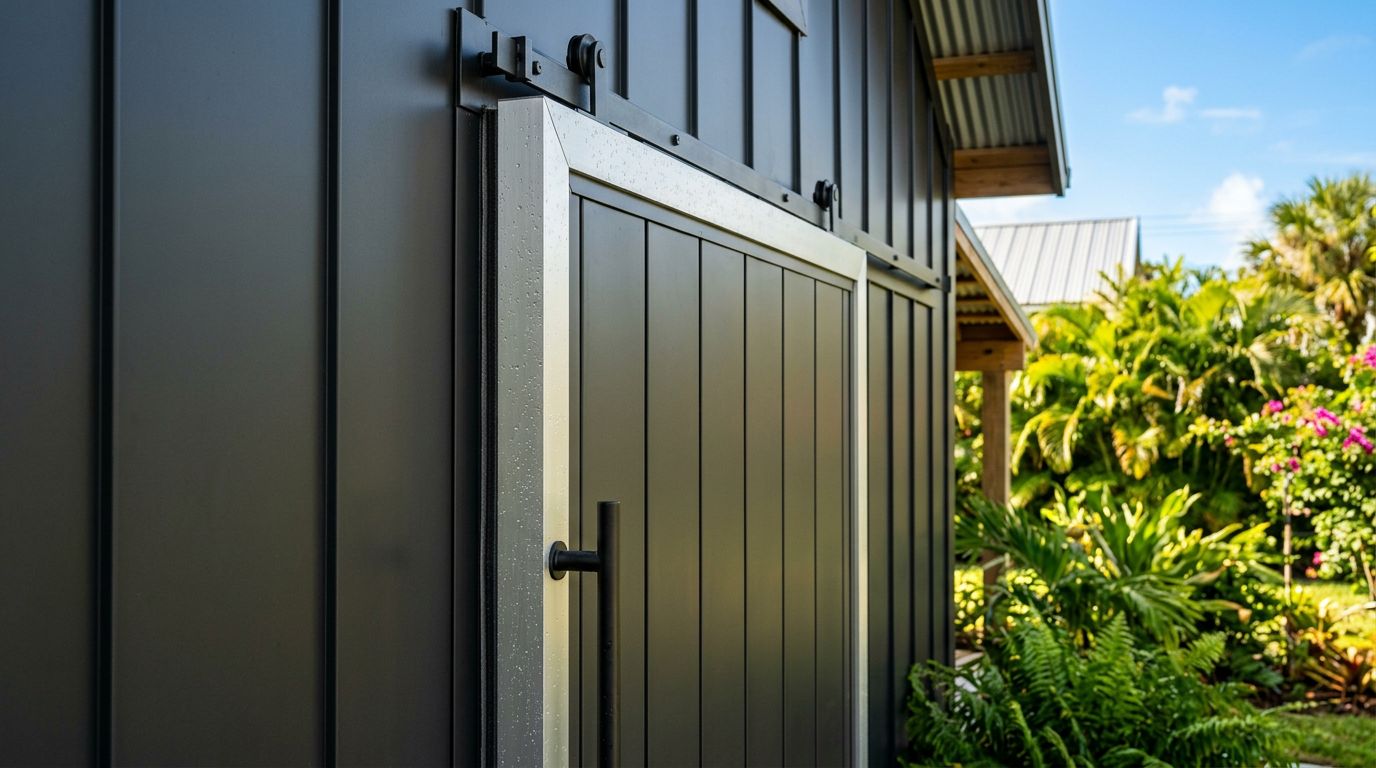
Florida heat and rain can turn a neat barn door opening into a leak test fast. The trim around a sliding barn door has to do more than frame the door. It has to block wind-driven water, cover cut metal edges, and stay straight when humidity rises and falls.
That gets harder on metal siding. Panel shape, fastener placement, flashing, and sealant all have to work together, or the trim will show problems early. The good news is that a clean, durable install follows a few clear rules. The details start with the wall panel itself.
Why Florida weather changes the trim details
Water is the main issue, but it is not the only one. Florida walls deal with rain, heat, salt air, and daily expansion and contraction. A trim piece that looks fine in a dry climate can move, stain, or rust here.
Barn door trim on metal siding needs to do three jobs at once. It has to hide the rough cut, guide water away from the opening, and hold its shape over time. If the trim only looks good on day one, it is the wrong trim.
The opening also creates a break in the siding pattern. That break is where leaks start if the head flashing, side trim, and fasteners are guessed instead of planned. A sliding barn door sits close to the wall, so any ripple or gap shows quickly.
Caulk hides small gaps. Flashing controls the water path.
That is why the wall layout matters before the first cut. When the opening lands near a panel rib or a seam, the trim has to be built around that profile, not forced over it.
Match the trim to the wall panel profile
Metal siding profiles change how trim sits against the wall. AG/Multi-Rib, PBR/R, 5V, and standing seam all behave a little differently. If the trim matches the panel, it sits flat and sheds water better.
Here is a simple way to think about the fit.
| Wall panel profile | Trim approach | What to watch |
|---|---|---|
| AG/Multi-Rib or PBR/R | Formed jamb trim with returns | Match rib depth and leave room for fasteners |
| 5V | Narrower flat trim | Keep bends simple so the face stays straight |
| Standing seam | Custom trim with careful stand-off detail | Avoid crushing seams or blocking clips |
The best barn door trim often has a hem, a return, or a small bend that stiffens the piece. Those details keep long runs from wavering in the sun. They also help the trim cover cut edges without leaving a wide bead of sealant exposed.
If your opening uses an odd width or crosses a profile break, custom trim is usually the cleaner choice. Before you order, write down the exact panel name, leg sizes, bend direction, and finished length. How to order custom metal roof trim without mistakes is a good reference for getting those details right.
A small sketch helps too. Mark the panel ribs, the door opening, and the head flashing line. That keeps the trim shop and the installer on the same page.
Materials and hardware that hold up in humid, coastal air
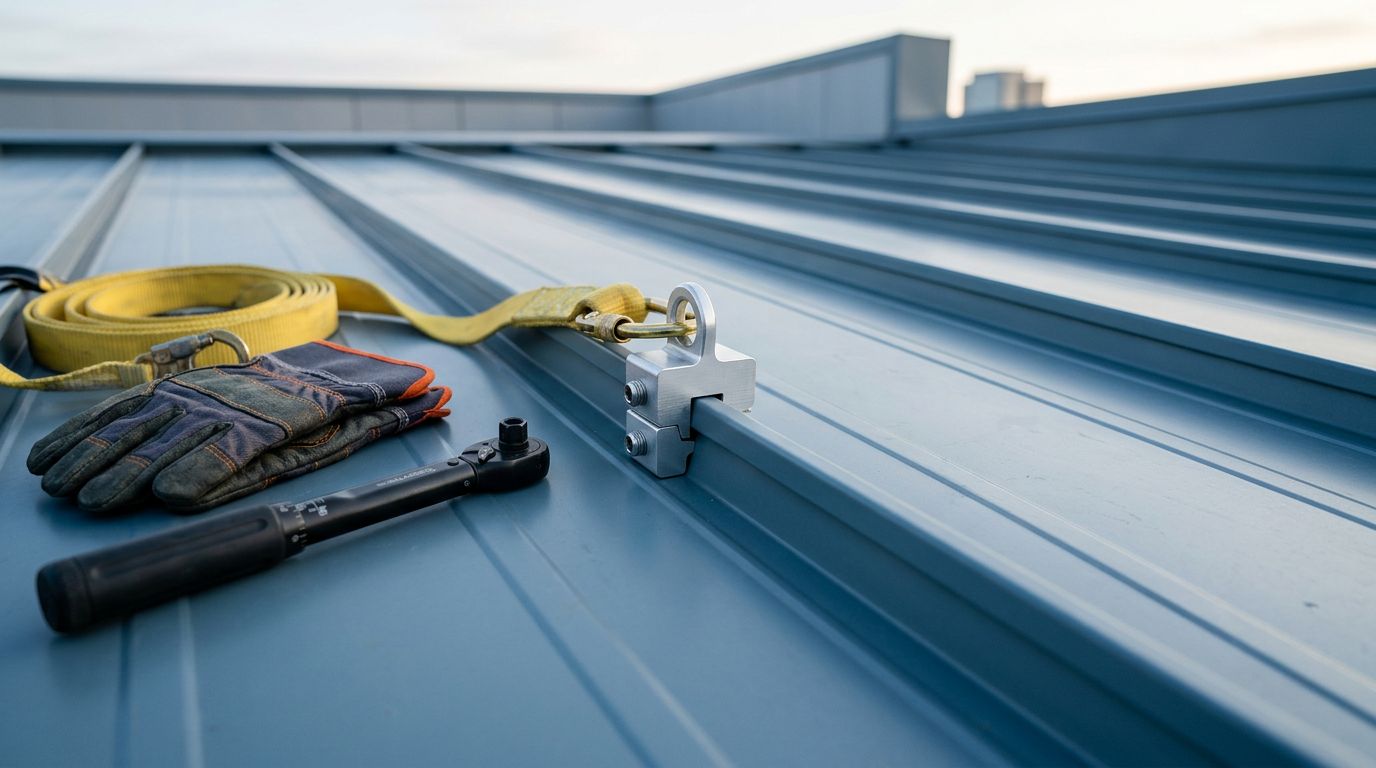
Florida trims fail faster when the wrong metal or fastener goes in. A good setup starts with corrosion-resistant trim and hardware that can handle moisture without staining the wall.
Pre-finished metal trim is the first choice for most projects. It gives you color match, a cleaner edge, and a coating that protects the exposed faces. For fasteners, use stainless steel or premium-coated screws with compatible washers. The goal is a strong hold without inviting rust halos around every screw head.
Dissimilar metals need a little care. If aluminum, steel, and bare fasteners all touch in the same spot, corrosion can start sooner than expected. Isolation tape, butyl tape, and compatible sealant help break that chain. They also improve the seal at overlaps and joints.
For long head pieces, custom bends, and special returns, order the trim before you start cutting the siding. That avoids patchwork fixes later. How to order custom metal trim without mistakes helps when you need clear dimensions and a clean fit.
Use sealant as backup, not as the main defense. A good exterior sealant stays flexible, but it should not be the only thing keeping water out. The flashing does the real work.
Step-by-step installation for a sliding barn door opening
A solid installation is part layout, part weather control, and part patience. Rushing the cut or the flashing usually shows up later as stains or trim movement.
- Measure the opening, the door travel, and the track height.
Give yourself room for clear movement so the door does not rub the trim. Mark the rough opening, then confirm the finished trim width. - Check the framing behind the siding.
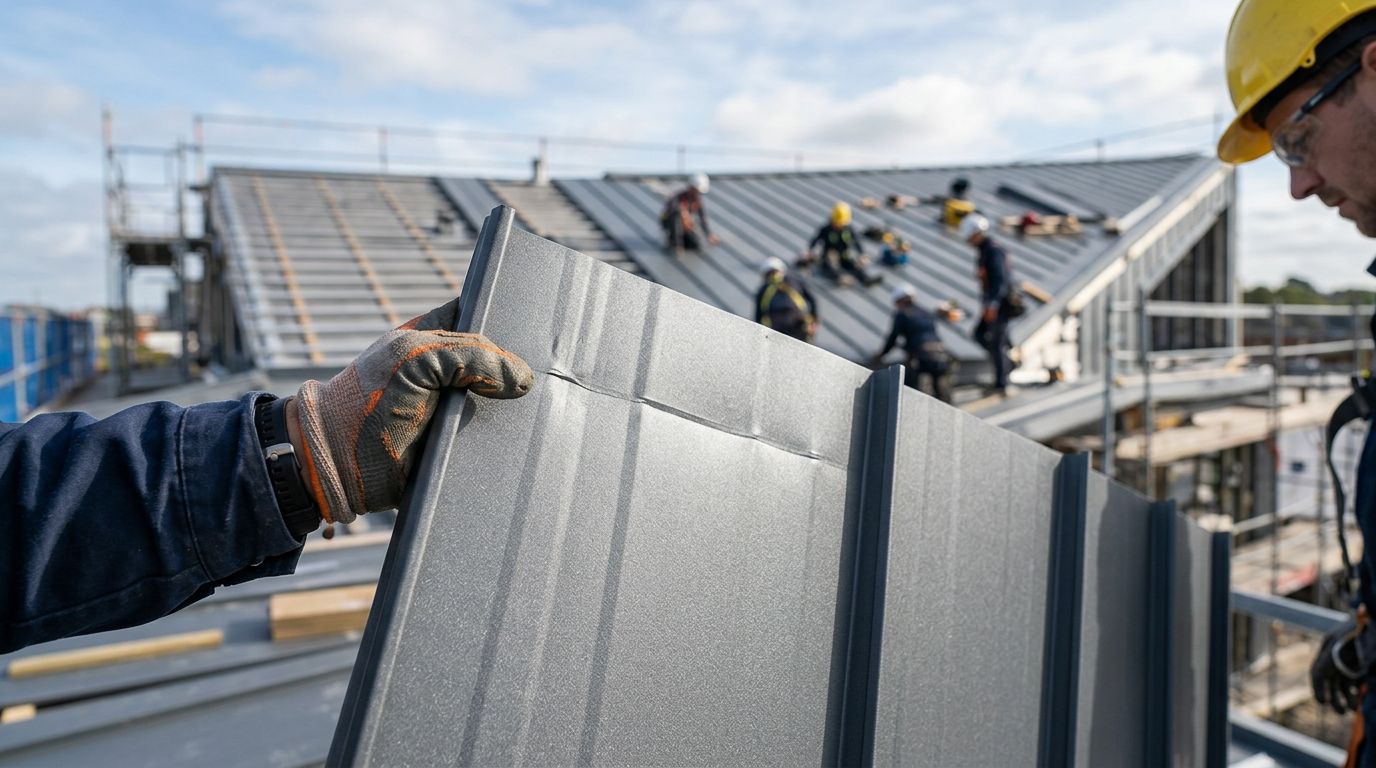
Sliding barn door hardware needs solid blocking or framing, especially at the header. Find those attachment points before you cut the wall skin. - Cut the siding with clean edges.
Use the right blade for metal and keep the cut straight. Dress the edge after cutting, then protect exposed metal with the product system's approved touch-up method. - Install the head flashing first.
This piece should move water away from the opening. Slip it behind the upper layer or under the trim detail, depending on the panel profile, and slope it so water cannot sit on top. - Fit the side jamb trim.
Set it plumb, check the reveal, and fasten it where the trim is designed to sit. On ribbed wall systems, screw placement matters, so follow the same care you would use on wall panels. Metal siding fastener placement guide is useful if the opening crosses AG/Multi-Rib or PBR/R panels. - Seal joints and test the assembly.
Seal the ends, corners, and overlaps, but keep the bead neat. After the sealant cures, hose-test the opening and watch the top edge first.
That last step saves time. A short water test is easier than chasing a leak after the first summer storm.
Troubleshooting trim problems before they spread
The first trouble signs usually show up early. A little water stain, a wavy trim face, or a sticky door is your warning that something in the detail is off.
- Water at the top of the opening usually means the head flashing is too short, too flat, or open at the ends.
- Rust at cut edges points to unfinished steel, weak fasteners, or sealant that pulled away.
- A wavy face often means the trim is over-fastened or formed for the wrong panel depth.
- Door drag can happen when the trim steals too much clearance, especially on openings with deep ribs.
When a trim piece keeps moving, check the fastening pattern before you blame the wall. Too many fasteners can pinch the metal and make it buckle. Too few can let the trim flutter in hot weather.
If leaks keep showing up near a ribbed panel, compare the trim shape to the siding profile again. A trim that looks close in the shop may sit crooked once it lands on the wall. That is common with mixed profiles and field cuts.
Conclusion
Sliding barn door trim on Florida metal siding works best when the wall, flashing, and hardware all match. Start with the panel profile, choose rust-resistant components, and treat moisture control as part of the design.
When the opening is measured well and the trim is formed to fit, the door looks sharper and lasts longer in humid air. A clean finish starts with trim that belongs on the wall, not trim that only looks close.
Share Our Metal Roofing News Articles
Related Posts