Standing Seam Roof Repair: Fix a Punctured Panel
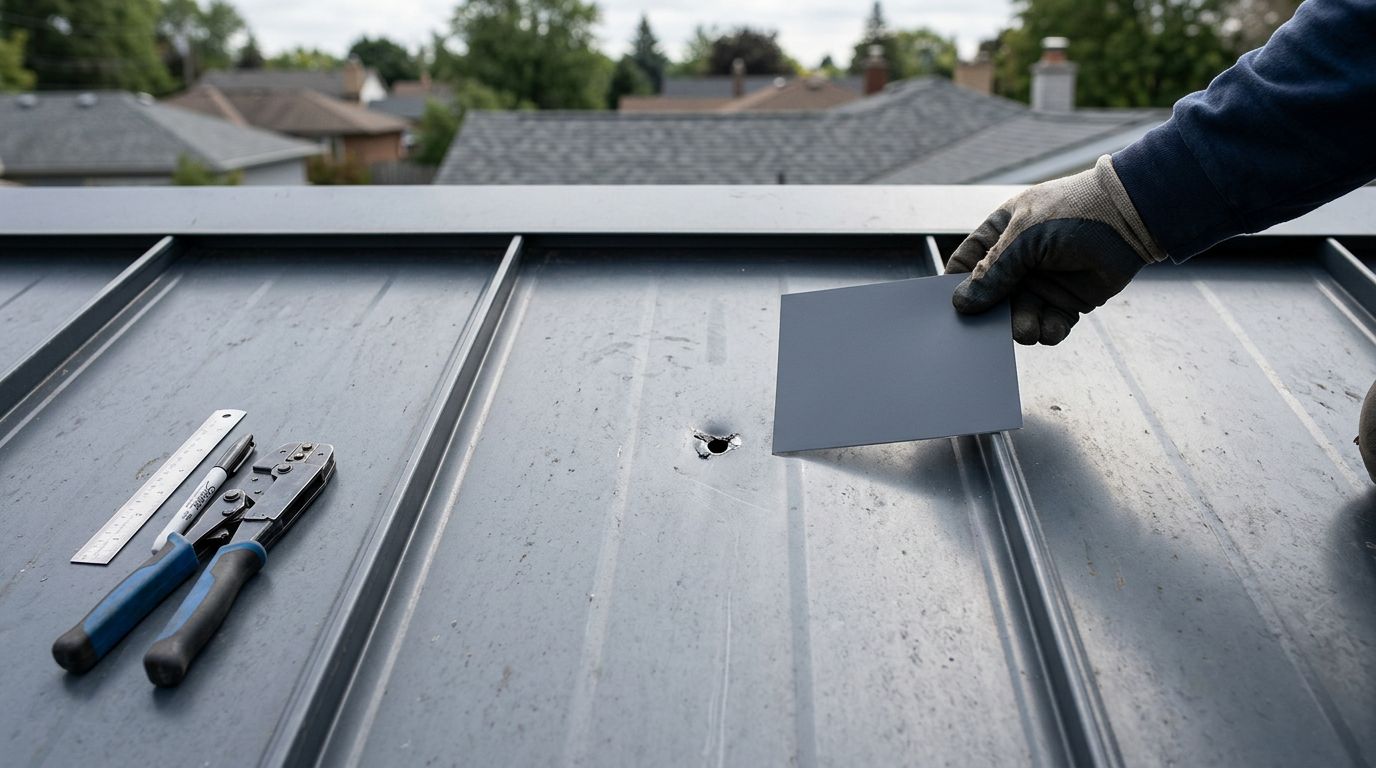
Standing seam roof repair begins with one important question: where is the puncture, and what caused it? A small hole in the flat portion of a panel may accept a carefully fitted patch. A puncture through a vertical seam, fastening flange, or flashing detail can require panel replacement.
Water may travel beneath a metal panel before it appears indoors. That makes a quick smear of sealant unreliable when the roof has wet insulation, damaged decking, corrosion, or an open seam. Before touching the repair, inspect the damage and decide whether the panel can be saved.
When standing seam roof repair can fix a puncture
A repair is usually limited to an isolated puncture in the flat pan of a standing seam panel. The surrounding metal must remain flat, firmly attached, and free from significant corrosion. The roof deck and insulation below must also be dry and structurally sound.
A small puncture may come from a fallen branch, hail impact, a dropped tool, or an improperly installed accessory. If the hole has clean edges and no long tear, a matching metal patch can provide a sound repair when installed with compatible sealant and attachment methods.
The situation changes when the damage affects a seam or attachment point. A standing seam roof depends on concealed clips, interlocking ribs, and planned movement as the metal expands and contracts. Random screws, aggressive bending, or sealant packed into the seam can restrict movement and create another leak.
A puncture generally needs professional evaluation when:
- The hole reaches a vertical rib, folded seam, panel end, ridge, valley, or flashing.
- The metal has a long tear, sharp crease, lifted edge, or widespread rust.
- Water has entered the insulation, roof deck, wall cavity, or ceiling.
- The panel is buckled, displaced, or pulling away from its clips.
- The damage came from a structural problem, falling tree, or severe storm.
- The roof has several punctures or previous patch repairs.
A surface patch may stop water at one point, but it won't correct a failed seam or damaged substrate. In those cases, replacing the affected panel is the more dependable repair.
Inspect the roof without creating more damage
Roof safety comes before diagnosis. Standing seam panels can become slick from dew, rain, algae, or condensation. Florida heat also makes metal surfaces uncomfortable and increases the risk of fatigue, especially during long repair work.
Inspect the roof from the ground first with binoculars. Look for a visible hole, lifted seam, discolored coating, rust streak, dent, or sealant failure. Inside the building, check the attic or ceiling for wet insulation, stained wood, and water tracks. The indoor stain may sit several feet away from the actual puncture.
If roof access is necessary, work only in dry, calm weather with no nearby lightning. Use a properly secured ladder, fall protection designed for the roof, and a trained person who understands how to use the equipment. Wear cut-resistant gloves and soft-soled footwear. Metal panel edges can be sharp, even when the damage looks minor.
Never step on a standing seam, panel end, skylight, translucent sheet, or visibly soft area. Avoid walking on the roof if you don't have the training and equipment for the system. A qualified roofing contractor should handle inspections involving steep slopes, active leaks, structural concerns, or fall exposure.
A hole that looks small from above can hide wet insulation or damaged decking below. Check the underside before choosing a patch.
Gather materials that match the roofing system
The repair material must be compatible with the existing panel. Match the steel type, thickness, protective coating, profile, and finish as closely as possible. A mismatched patch can corrode at the contact point or create an obvious weak area.
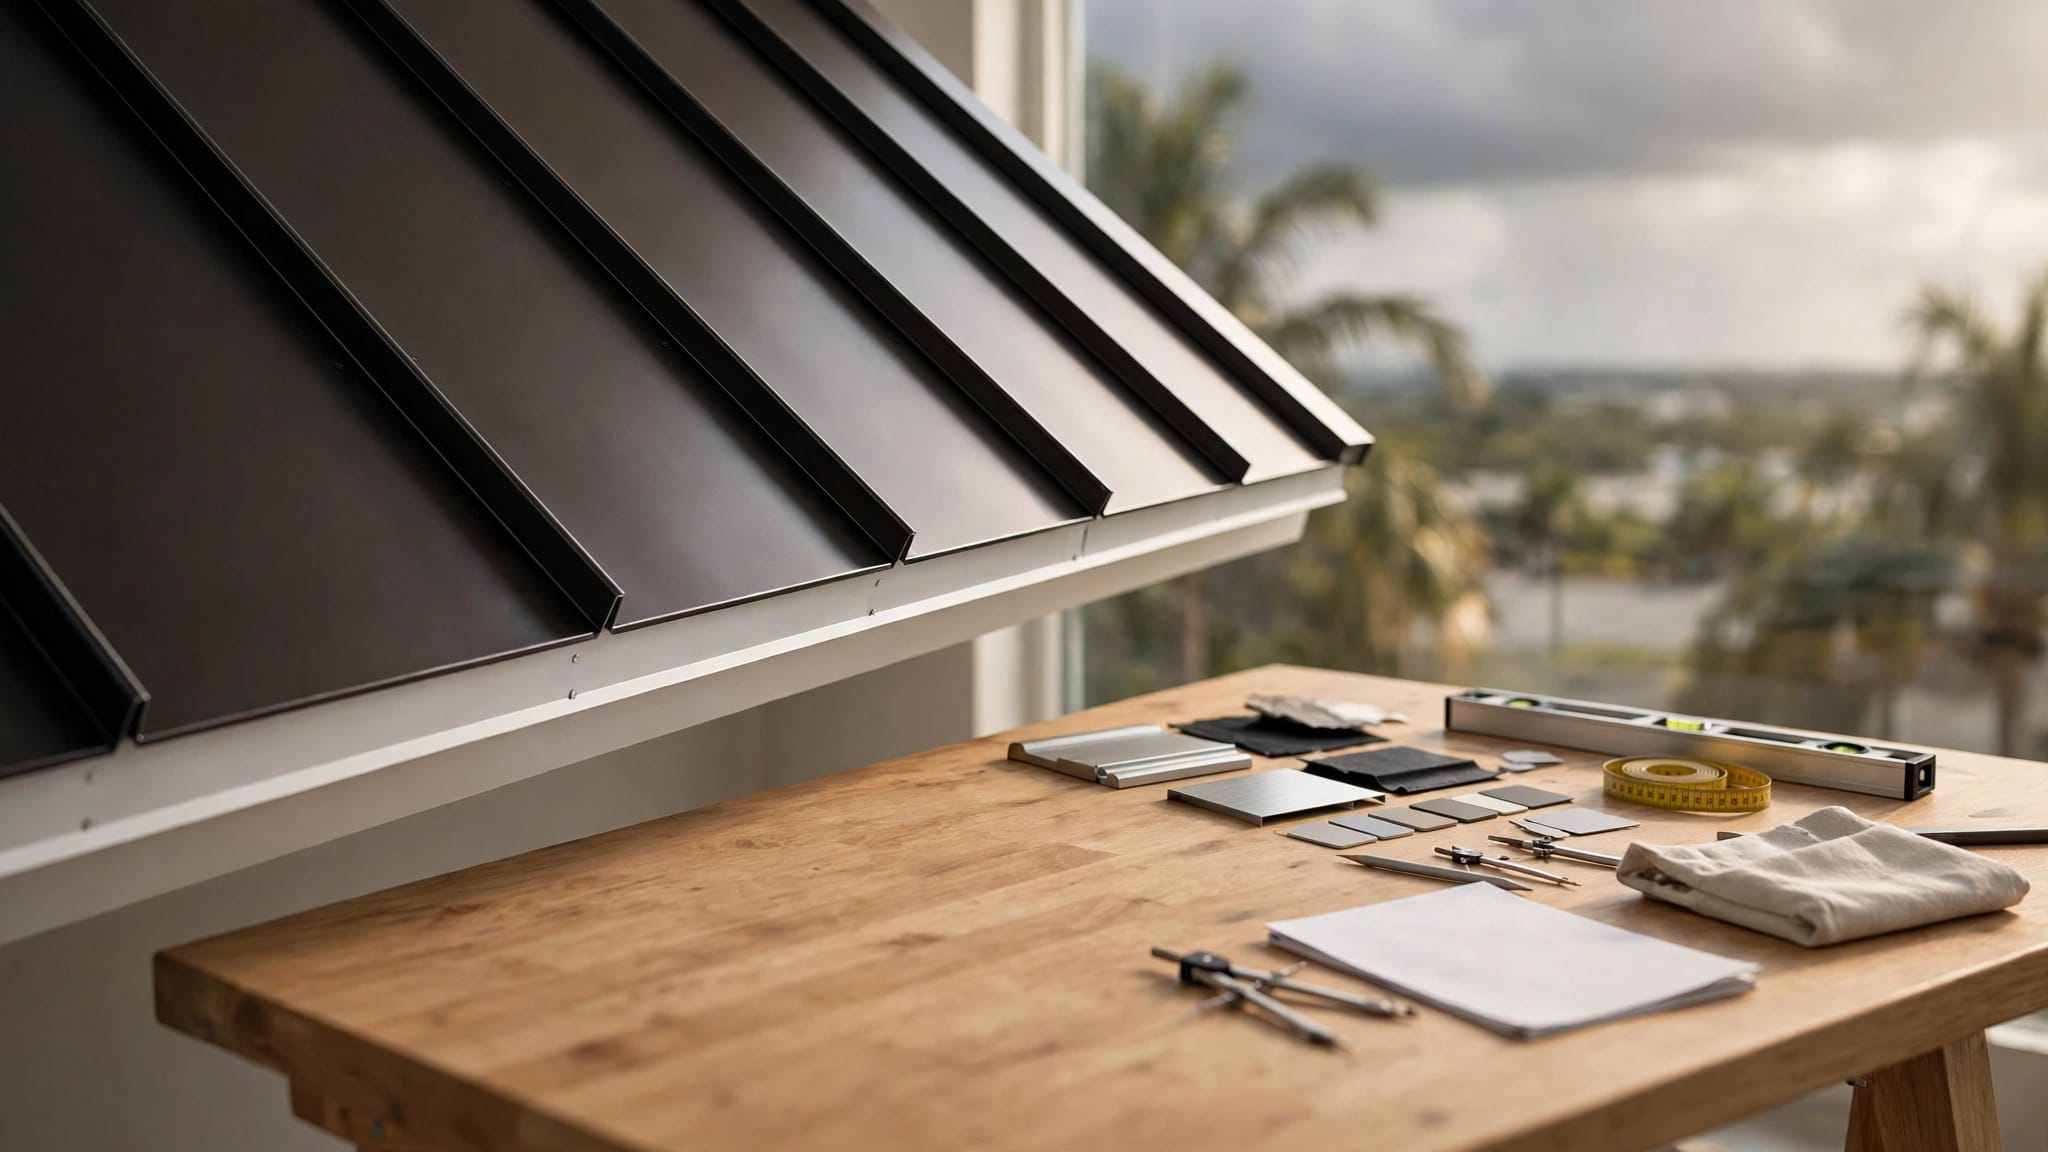
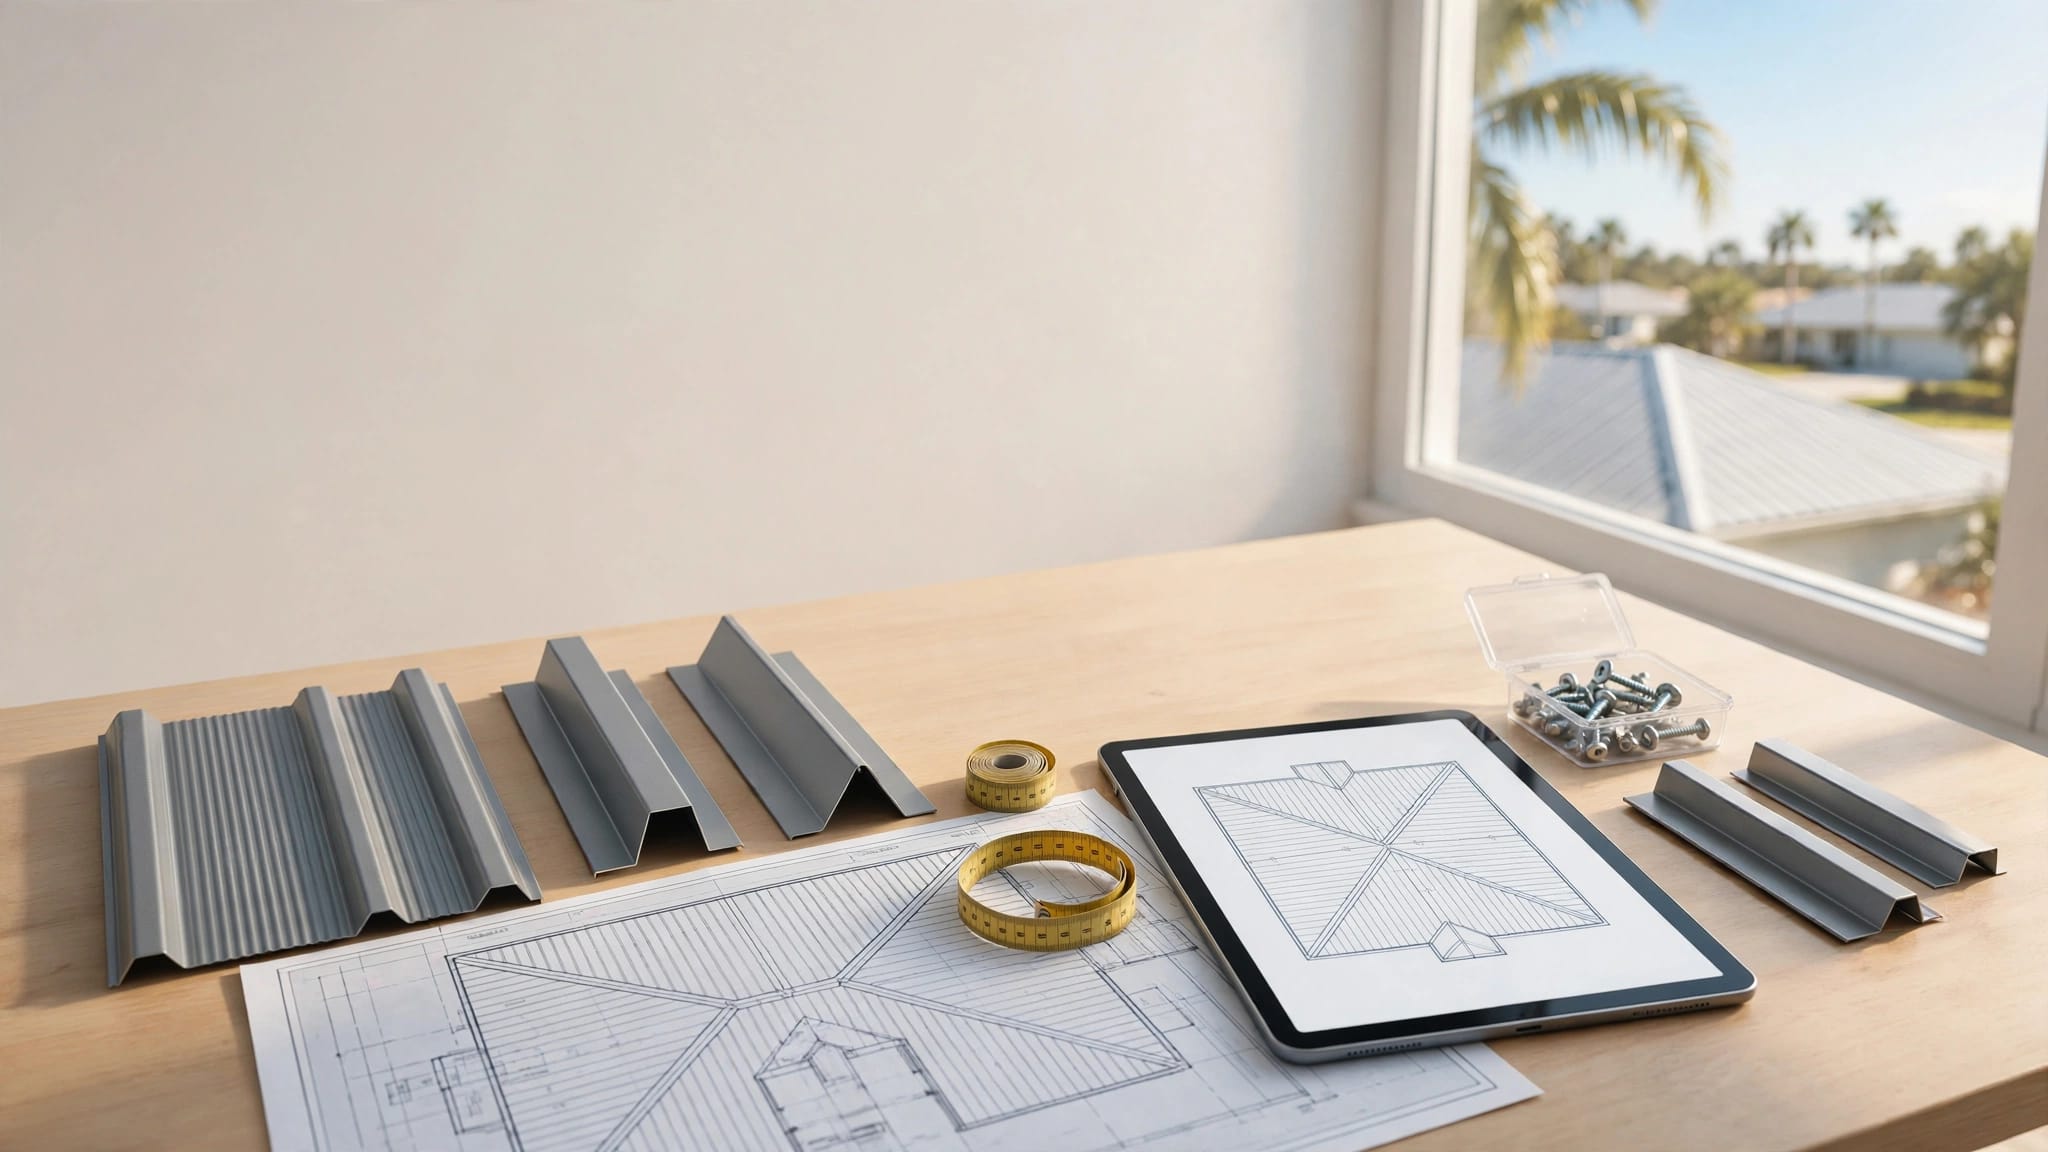
For a small flat-pan repair, a contractor may use a piece of matching sheet metal, manufacturer-approved butyl tape or sealant, compatible fasteners if allowed, cleaning rags, measuring tools, metal snips, and hand-seaming tools. The correct materials depend on the roof manufacturer and panel profile.
Don't use roofing tar, asphalt cement, or an unknown household caulk. These products may stain the finish, lose adhesion, trap moisture, or react with the panel coating. Avoid mixing dissimilar metals, such as copper and galvanized steel, because contact can accelerate corrosion in a wet environment.
An angle grinder is also a poor choice for a coated panel. Its heat and sparks can damage the finish beyond the original puncture. Use hand tools that make clean cuts, and protect the surrounding coating from scratches.
How to repair a small puncture in a flat panel
The following process applies only to a small, isolated hole in the flat pan, with no seam, clip, flashing, or structural damage nearby. Follow the roofing manufacturer's repair instructions whenever they are available.
- Confirm the leak location. Trace the puncture from the roof side and inspect the underside. Remove leaves, fasteners, or other objects that may have caused the damage. If water is still entering, control the leak temporarily while the roof dries.
- Clean and dry the area. Remove loose dirt, failed sealant, and surface residue with a soft brush and clean rag. The panel must be dry before applying tape or sealant. Don't scrub aggressively enough to remove the factory coating around the repair.
- Check the metal around the hole. Press lightly near the puncture with a gloved hand. Stop if the panel flexes unusually, sounds hollow, shows rust underneath, or has a tear extending toward a seam. Those signs point to damage beyond a simple patch.
- Prepare a matching patch. Cut a piece of compatible metal large enough to extend beyond every edge of the damaged area. Round the patch corners instead of leaving sharp points that can catch debris or peel away. The patch must sit completely on the flat pan and remain clear of the vertical seams.
- Apply the approved seal. Place compatible butyl tape or the manufacturer's approved sealant around the patch perimeter. Keep sealant away from the standing seam itself. A seam must remain free to lock and accommodate thermal movement according to the system design.
- Attach the patch using the approved method. Some repair designs use compatible gasketed fasteners around the patch perimeter. Others use a bonded metal insert or a profile-specific detail. Never add random screws through a long panel or across a seam. If fasteners are permitted, place them only in sound metal and use the correct corrosion-compatible type.
- Finish without hiding defects. Remove excess sealant before it cures, then inspect the patch edges for gaps, lifted corners, or exposed cuts. A compatible touch-up coating may protect a cut edge when the manufacturer permits it. Paint and sealant can't restore a panel that has lost its shape or attachment.
The repair should sit flat and shed water. If the patch crosses a rib, interferes with a clip, or requires folding the seam open, stop and have a roofing professional complete the work.
Know when a punctured panel needs replacement
Panel replacement is often the right answer when the puncture is near a seam or when the metal has lost its shape. A patch over a stretched tear may seal the opening for a short time, but movement can reopen the damage. Corrosion also spreads beneath coatings, so covering a rusted area doesn't remove the weakened metal.
Standing seam systems don't all come apart the same way. Nail-strip panels use an integrated fastening flange, while clip-fastened panels use separate clips that can allow controlled thermal movement. The adjoining panels may need partial unseaming or careful disassembly before the damaged piece can come out. Review the differences between nail-strip and clip-fastened standing seam systems before planning a replacement.
A contractor should also inspect the clips, fasteners, substrate, and underlayment during the work. If a panel is buckled, extra screws won't solve the source. Misaligned clips or uneven attachment can distort the panel, so follow a proper process for correcting misaligned standing seam clips.
Panel replacement becomes more involved when the roof includes long runs, fixed penetrations, solar attachments, snow guards, or custom trim. Matching the original profile and finish matters because a replacement panel must lock into adjoining panels and preserve the roof's drainage path.
For guidance on the replacement sequence, see this metal roof panel replacement guide. A qualified installer can confirm whether the existing panel is still available and whether current product approvals apply to the repair.
Test the repair and prevent another puncture
Allow sealants to cure according to the product instructions before testing the area. Then use a gentle garden hose, starting below the repair and moving uphill in small sections. Don't use a pressure washer or spray water directly under a seam, flashing edge, or panel lap.
Have someone watch the ceiling or attic while water runs over the test area. If moisture appears, stop the test and let the area drain. A failed test means the repair needs more investigation, not another layer of sealant.
After the next heavy rain, inspect the interior again. Record the panel profile, coating color, repair material, and location. That information helps a contractor match materials if the patch fails or the panel later requires replacement.
Prevent repeat damage by removing overhanging branches, keeping foot traffic off the roof, and securing equipment or temporary materials before storms. When adding vents, antennas, solar equipment, or other attachments, use a qualified installer who understands concealed-fastener standing seam systems.
Conclusion
A small puncture in the flat pan may be repairable when the surrounding metal, seams, clips, and roof deck remain sound. The repair must use compatible materials and avoid blocking the panel's designed thermal movement.
When water intrusion, corrosion, seam damage, buckling, or substrate damage is present, panel replacement or a broader repair is safer than a surface patch. Careful inspection turns a minor standing seam roof repair into a lasting fix instead of another hidden leak.
Share Our Metal Roofing News Articles
Related Posts