How to Measure Dutch Gable Roofs for Metal Panels
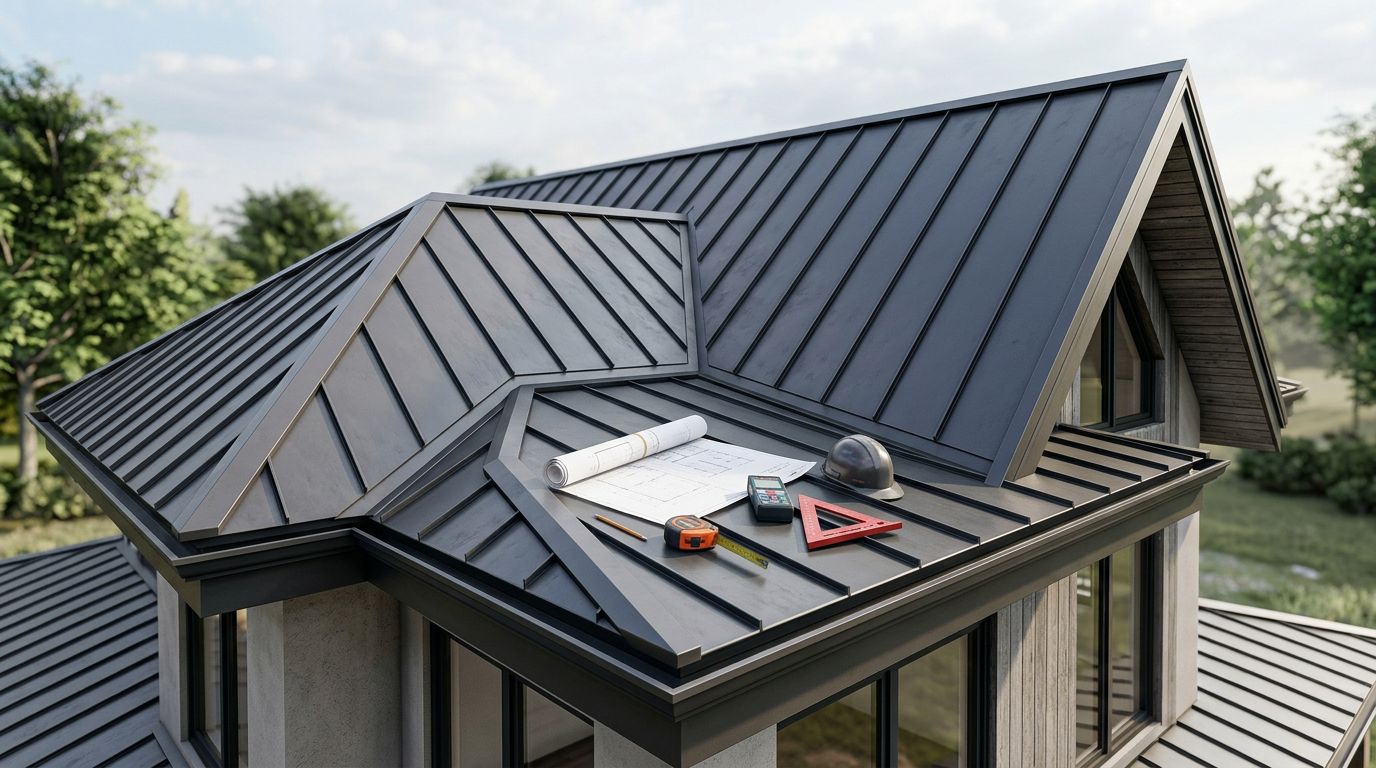
Learning how to measure Dutch gable roof surfaces requires more than multiplying the building's length by its width. Hips, gable sections, valleys, overhangs, and changing slopes can all affect the amount of metal roofing and trim you need.
When you measure Dutch gable roof sections as one rectangle, you may order panels that are too short, use the wrong coverage width, or miss important flashing. The reliable process is to map each roof plane, calculate its slope, account for laps, and create a panel layout before ordering materials.
Identify the Roof Sections Before Measuring
Dutch gable designs vary. Some have a raised gable above a larger hip roof. Others have clipped gable ends, short hip sections, or valleys where different roof areas meet. Measure the actual roof in front of you instead of relying on a standard Dutch gable diagram.
Metal roofing panels cover sloped roof planes. A vertical gable wall below the ridge usually doesn't count toward roof-panel area. Measure that wall separately if you plan to install metal siding or wall panels there.
Before taking measurements, identify:
- The upper gable slopes, including their eave and ridge lines.
- The lower hip planes and any clipped corners.
- Valleys, roof-to-wall transitions, and changes in pitch.
- Rake edges, eaves, ridges, and hips that need trim.
- Roof penetrations, such as vents, chimneys, skylights, and pipe boots.
The panel profile also affects your measurements. AG/Multi-Rib, PBR/R, 5V, and standing seam systems have different rib shapes, side laps, fastening methods, and trim requirements. Record the exact profile before calculating coverage.
For Florida projects, confirm the selected panel system, gauge, fastener pattern, substrate, and installation method meet the applicable Florida Building Code and local approval requirements. A measurement can be accurate while the chosen assembly is still unsuitable for the job.
How to measure Dutch gable roof sections for metal panels
Start with a simple roof sketch. Draw the building from above, then add each sloped plane as a separate shape. Label the front, rear, left, and right sides so you don't measure the same section twice.
Take measurements from a safe location. An attic, lift, roof plan, or ground-based measurement may be safer than walking the roof. If you work on the roof, use proper fall protection and avoid wet or unstable surfaces.
Record these dimensions for every plane:
- Measure the eave length, which is the horizontal edge where the roof meets the gutter or wall.
- Measure the ridge, hip, or valley boundary that meets the opposite edge.
- Measure the horizontal run from the eave toward the ridge or hip.
- Record the roof overhang at the eaves and rakes.
- Note the slope, roof penetrations, and any unusual cut lines.
Measure the roof surface or the horizontal plan carefully. If you measure the sloped surface directly, you can use that slope length in your area calculation. If you measure horizontally, you must adjust the run with a pitch factor.
Don't add the overhang twice. A horizontal run measured from the wall line must include the overhang before you apply the pitch factor. A surface measurement already includes the overhang.
Measure the pitch instead of estimating it
Roof pitch describes the vertical rise over 12 inches of horizontal run. A 6/12 roof rises 6 inches for every 12 inches of horizontal distance.
Use a level and tape measure when the roof structure is accessible. Set the level horizontally, measure 12 inches along it, and record the vertical distance from the level to the roof surface. Repeat the measurement on each distinct roof section because a raised gable and lower hip may not share the same pitch.
If the roof has multiple pitches, calculate each section separately. Applying one factor to the entire roof can create a meaningful error in panel lengths and total square footage.
Calculate Sloped Roof Area With the Right Formula
The pitch factor converts horizontal roof area into sloped roof area. Use this formula:
Pitch factor = square root of [1 + (rise / 12)^2]
Then apply it to the horizontal plan area:
Sloped roof area = horizontal plan area x pitch factor
Common pitch factors include:
| Roof pitch | Pitch factor |
|---|---|
| 3/12 | 1.031 |
| 4/12 | 1.054 |
| 5/12 | 1.083 |
| 6/12 | 1.118 |
| 8/12 | 1.202 |
| 10/12 | 1.302 |
| 12/12 | 1.414 |
For a rectangular gable plane, multiply the horizontal length by the horizontal run. Suppose one upper gable plane measures 28 feet along the eave and has a 12-foot horizontal run. Its plan area is:
28 x 12 = 336 square feet
At a 6/12 pitch, the adjusted area is:
336 x 1.118 = 375.6 square feet
Round that to about 376 square feet for one slope. If the opposite gable slope matches it, both slopes total approximately 752 square feet before waste.
Hip planes often form trapezoids or triangles. For a trapezoid, use:
Plan area = [(parallel side 1 + parallel side 2) / 2] x perpendicular depth
For example, a hip plane with parallel edges of 24 feet and 10 feet, plus a perpendicular depth of 8 feet, has this plan area:
[(24 + 10) / 2] x 8 = 136 square feet
At a 6/12 pitch:
136 x 1.118 = 152.05 square feet
Add the adjusted area for every roof plane. One square equals 100 square feet, so this total can help compare material estimates. However, square footage alone isn't enough to order metal panels because panel width, panel length, hips, and cuts determine the actual quantity.
Convert Measurements Into Metal Panel Quantities
Metal panel width has two different measurements:
- Overall width is the physical edge-to-edge width of the panel.
- Coverage width is the usable width after the side lap or seam engages the next panel.
Always use the manufacturer's stated coverage width. Never divide the roof width by the overall panel width unless the supplier identifies that measurement as the net coverage.
For example, a panel may have a 36-inch overall width and a 3-inch side-lap area. Its usable coverage is 33 inches, or 2.75 feet.
If a straight gable eave measures 28 feet:
28 / 2.75 = 10.18
Round up to 11 panels across that plane . The opposite slope requires another 11 panels if it has the same width and layout.
Panel length follows the slope, not the horizontal run. Use this formula:
Panel length = sloped eave-to-ridge distance + required eave extension + required installation allowance
The supplier's installation instructions should define the eave extension, ridge termination, turn-up, and any end-lap requirement. If the roof run requires more than one panel length, include the specified overlap only where panels actually join.
A straight gable slope may use panels with the same length across the roof. A hip plane usually doesn't. Panels near the hip become shorter as the roof line tapers, so the installer must create a cut plan. Measure the widest panel line, the narrowest panel line, and the hip angle. A supplier can use those dimensions to plan custom lengths or identify where field cuts will occur.
Don't subtract small roof penetrations from the panel order. Vents and pipe boots still require surrounding panels, cuts, closures, and flashing. Record their locations and dimensions so the installer can place seams and fasteners correctly.
For a broader ordering worksheet, use this metal roof material list guide after finishing the roof measurements.
The number of panels depends on net coverage across each roof edge, not the panel's advertised overall width.
Measure Trim, Laps, Valleys, and Waste
Trim follows roof edges, so measure it in linear feet rather than square feet. Add each line separately:
- Eave or drip trim follows the lower roof edges.
- Rake or gable trim follows sloped gable edges.
- Ridge cap covers the top ridge.
- Hip cap covers diagonal hip lines.
- Valley flashing follows each valley's centerline.
- Endwall, sidewall, and transition flashing cover roof-to-wall changes.
Measure valleys from the lower eave to the upper intersection. Don't add valley flashing to roof-panel area. It is a separate material that must fit beneath or alongside the panel system.
Trim pieces overlap. Use the required lap length for the selected profile, then calculate the number of pieces:
Trim pieces = total lineal feet / net coverage per piece
For example, if a 10-foot trim piece requires a 6-inch lap, its net coverage is 9.5 feet. A total of 68 lineal feet requires:
68 / 9.5 = 7.16
Round up to 8 pieces .
Trim shapes must match the panel profile and roof detail. AG/Multi-Rib trim may not fit PBR/R, 5V, or standing seam panels. Review available metal roof flashing profiles, then provide the panel name, bend sizes, lengths, gauge, finish, and any notches required. This custom trim ordering guide can help organize those details.
Waste depends on the roof layout. A simple gable with long, straight panel runs may need about 5% extra for cuts and handling. A Dutch gable with several hips, valleys, and short sections may need 10% to 15%. Use a cut plan when possible, because adding a blanket percentage can overstate or understate the actual need.
Order closures, sealants, fasteners, and underlayment according to the selected profile and installation requirements. Their quantities don't come directly from roof square footage alone.
Verify the Order Before Buying Panels
Review the measurements as a complete system before placing the order. Check that:
- Each roof plane has its own length, width, pitch, and area.
- Panel coverage width comes from the selected profile.
- Panel lengths include overhangs, terminations, and approved laps.
- Hip, ridge, rake, eave, valley, and wall trim have separate quantities.
- Waste reflects the number of cuts rather than the roof area alone.
- The panel, trim, fasteners, and sealants are compatible.
- Florida approval and local code requirements match the installation assembly.
Have another person compare the sketch against the roof before ordering. A second measurement at the eaves, ridge, and major transitions can catch a six-inch error that affects an entire panel run.
Conclusion
To measure Dutch gable roof areas accurately, separate the roof into individual planes before doing any calculations. Use horizontal dimensions with the correct pitch factor, or measure the sloped surface directly. Then convert those dimensions into panel counts using net coverage width, panel length, overlaps, trim lines, and a realistic waste allowance.
The most reliable order starts with a labeled sketch and ends with a profile-specific cut plan. When the hips, valleys, and gable sections are accounted for separately, your metal roofing estimate is more precise and easier to install.
Share Our Metal Roofing News Articles
Related Posts