How to Use a Hand Seamer on Painted Panels
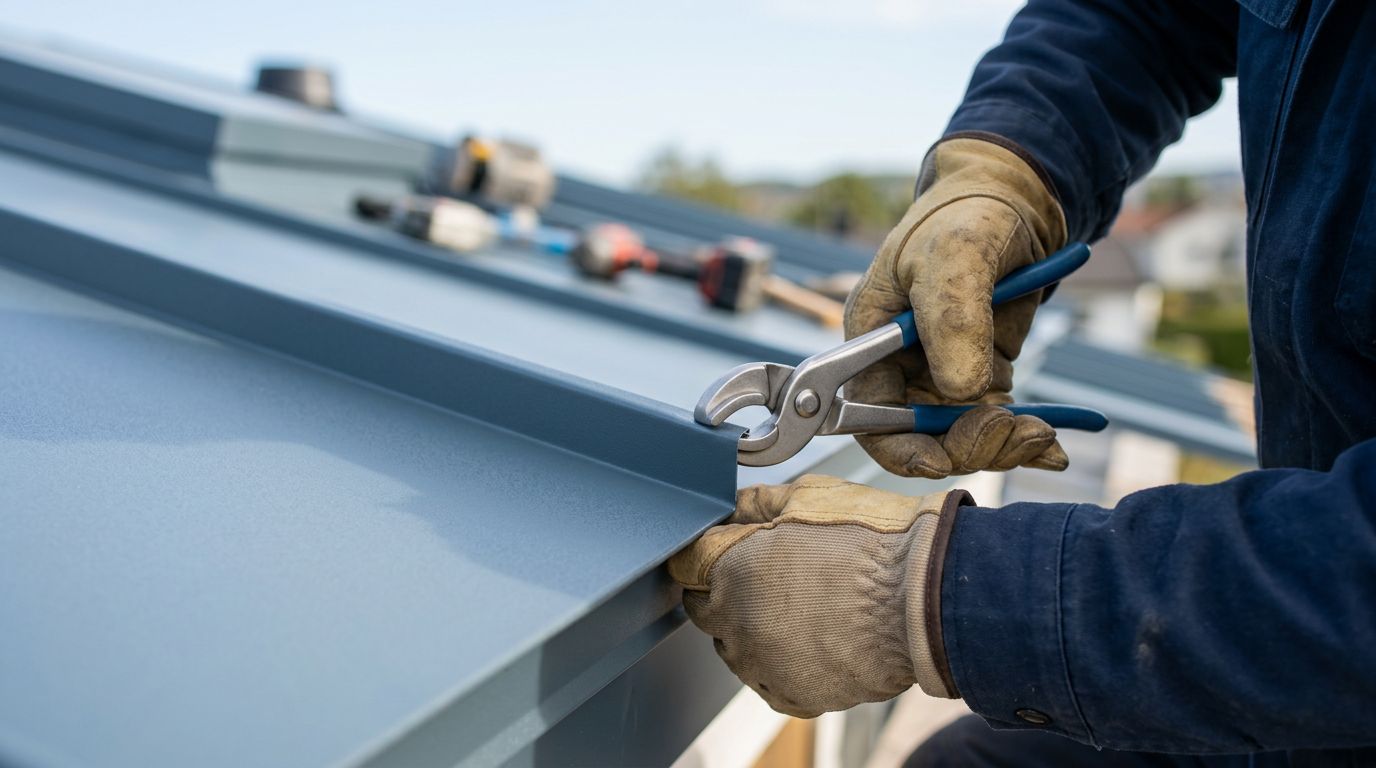
A clean bend can disappear into a finished roofline. A scratch across a painted panel stays visible, collects dirt, and can expose the metal underneath. For hand seamer painted panels, the first rule is simple: keep every contact surface clean, smooth, and under control.
The risk increases when a seamer carries grit, has a burr, or slides while its jaws are closed. Correct setup matters as much as hand pressure. With the right tool, support, and bending sequence, you can form hems and trim edges without turning a small adjustment into a visible repair.
Why Painted Panels Scratch Under a Hand Seamer
Painted metal roofing panels have a finished surface that can mark under concentrated pressure. The seamer may not look dirty, yet one steel shaving caught between the jaws can score a straight line. Sand is another problem on Florida jobsites, especially when panels rest near a driveway, roof deck, or unpaved staging area.
Damage also comes from the tool itself. Rust, a sharp jaw corner, a rough weld, or a nick on the gripping face can cut the coating. Sliding a closed seamer creates a long rub mark, while twisting it can leave crescent-shaped impressions.
A coating scratch is more likely when the panel is unsupported. The sheet flexes, the jaw shifts, and the operator squeezes harder to compensate. That extra pressure often leaves a mark even when the seamer was clean.
A closed hand seamer should lift and reposition, not slide along a painted panel.
Before bending, inspect the panel's exposed face and the part that will become the hem. A concealed flange still needs a clean edge because burrs and loose coating can interfere with trim, sealant, or a standing seam lock.
Hand seamer painted panels: prepare before the first bend
Start with a seamer that has smooth, flat jaws and rounded outside corners. Choose a jaw width that fits the flange and matches the bend detail. A damaged tool is a poor choice for finished sheet, even if it still grips bare metal.
Wipe both jaws with a clean, lint-free cloth. Remove metal chips, dried sealant, and dust before the tool touches the panel. If the jaws have burrs or deep nicks, replace the tool or have it repaired. Don't file away material and assume the original alignment remains accurate.
Set the panel on clean, padded supports. Use sawhorses or a work table that keeps the sheet flat without pressing grit into the coating. Keep the panel clear of concrete, roof screws, drill shavings, and loose trim cutoffs. Wear clean gloves, and check them when moving between dusty tasks.
If the panel has removable protective film, follow the supplier's instructions. Don't trap film inside a hem or leave folded film under a trim connection. Fitted jaw guards made for the seamer can help, but loose cardboard, fabric, or plastic can bunch under pressure and create a ridge.
A low-tack masking tape layer may help on a small trim job only when the tape is compatible with the finish and leaves no adhesive. Test it on a scrap or concealed offcut first. Replace it when it wrinkles or picks up grit. The tape is a backup, not a substitute for clean jaws.
Before the first production bend, make a short test on the same panel material. Check the bend angle, jaw marks, and coating condition under angled light. Adjust the setup before working on a visible edge.
Bend painted panels without dragging the seamer
A hand seamer forms a bend by clamping a short section of sheet. It isn't a tool for forcing a crooked line straight. Mark the fold, support the sheet, and take several controlled bites along the edge.
- Confirm the bend direction and finished flange size against the panel or trim detail. Measure from the correct reference edge, because a hem that is short by even a small amount may not engage the trim.
- Mark the bend line with a method approved for the finish. Keep the mark on the side that won't remain visible when the detail allows.
- Place the seamer square to the line. Seat the jaws fully on the flange, with no debris or loose film between the metal and the tool. Keep the seamer parallel to the panel edge.
- Close the jaws with light pressure and make a shallow first bend. The first pass should establish the direction, not force the sheet to its final angle.
- Open the jaws completely before moving to the next section. Lift the tool, set it down with a small overlap, and repeat. Never pull a closed seamer across the coating.
- Increase the angle through additional light passes. Support the free side of the flange so its weight doesn't pull the seamer against the finished face.
- Check the line as you work. If the bend starts to wander, stop and correct the layout or support. More pressure won't fix a misplaced fold.
Keep both hands on the tool when the sheet is stiff, but don't twist your wrists to gain leverage. A controlled squeeze produces a cleaner result than a hard clamp. If the panel buckles or the jaws leave marks, release the tool and find the cause before continuing.
This hand seamer painted panels technique works best on short hems, narrow returns, and small corrections. For a long straight fold, use a brake or the forming method specified for the panel. A hand seamer can create small variations over a long run, and those variations show at eaves and trim joints.
Use the right method for hems, eaves, and seams
Hand seamers are useful for folding panel edges at eaves and rakes, but the finished shape must match the trim. First, make clean cuts and remove burrs. Then confirm the notch, hem length, and fold direction before you close the tool. A corner notch may be needed where a fold turns, so the metal doesn't stack and force the trim out of position.
Mid Florida Metal Roofing Supply's instructions on how to hem metal roof panels cover the relationship between clean cuts, corner relief, straight folds, and trim fit. Use the panel system's details rather than copying a hem from another profile. AG/Multi-Rib, PBR/R, 5V, and standing seam panels don't all use the same edge treatment.
At an eave, don't use the seamer to force a panel into an incorrectly placed cleat. The panel edge, eave cleat, sealant, and trim must line up before you form the final fold. If the edge resists, open the work and find the interference. Crushing the flange can damage the coating and change the drainage path.
A hand seamer also isn't a replacement for a mechanical seaming tool. Snap-lock and mechanical-lock standing seam systems have different assembly requirements. Follow the approved installation instructions and use the specified standing seam installation process for the roof system. In hand seamer painted panels work, the small hand tool shapes an edge. It shouldn't substitute for a system-specific seam tool.
For Florida projects, check the supplier's approved details, fastening schedule, and trim drawings before forming an edge. A neat bend doesn't correct a wrong clip, fastener location, or wind-rated assembly.
Catch mistakes before the panel reaches the roof
Good hand seamer painted panels work leaves a controlled bend, a clean coating, and no unexplained jaw marks. Inspect the finished edge in bright, angled light before installation. Glare can hide a fine scratch when you look straight down at the sheet.
Stop and inspect if you see:
- A bright line that follows the jaw edge.
- A crescent mark from twisting the seamer.
- A chipped coating, exposed metal, or crack at the bend.
- A rough burr that could cut sealant or underlayment.
- A hem that changes width or angle along its length.
Don't rub a scratch with steel wool, sandpaper, or an abrasive pad. Those materials remove more coating and spread the damage. Wipe loose dust with a clean, soft cloth only after the shavings are removed.
Use touch-up paint only when the panel manufacturer or supplier identifies a compatible product and application method. Color match, gloss, and weathering can vary, and a random spray paint may create a second problem. A deep gouge or damaged visible face may call for panel replacement or supplier review instead of concealment under trim.
Clean the work area after every cutting session. Sweep or vacuum metal shavings before moving the next panel, and keep fasteners in a container rather than on the sheet. This matters even more in Florida, where wind can carry sand onto an otherwise clean work surface.
Conclusion
A clean bend should disappear into the finished roofline, while a scratch should never be accepted as part of the job. Clean jaws, stable support, light passes, and lifting the seamer between bites protect the coating better than force.
Use the proper forming method for long hems and mechanical locks, and follow the panel supplier's details for the roof system. With hand seamer painted panels, controlled pressure matters more than strength.
Share Our Metal Roofing News Articles
Related Posts