How to choose standing seam panel width for Florida homes
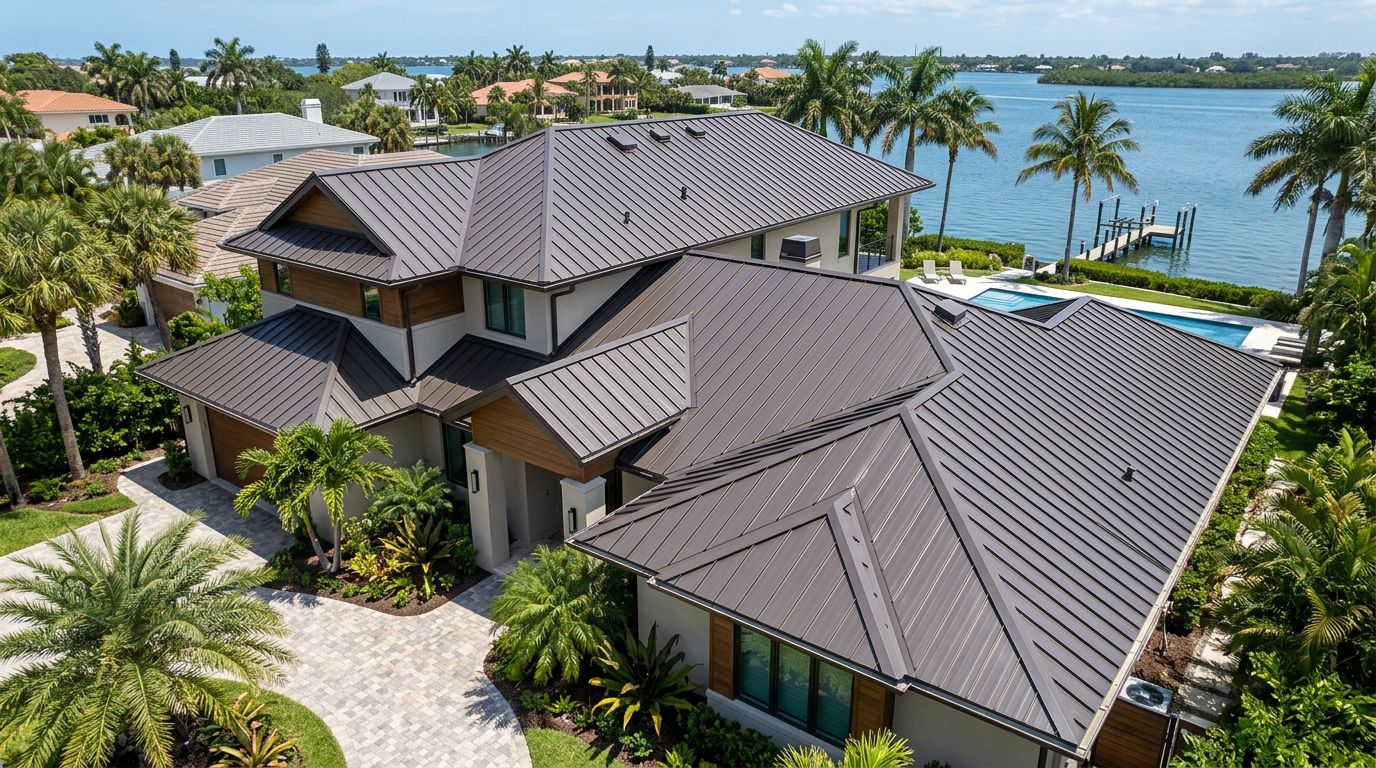
A roof can look perfectly proportioned from the driveway and still have a poor panel layout. Choosing the right standing seam panel width affects seam spacing, gable-end cuts, material usage, and the way the roof fits around vents and valleys.
Florida homeowners often compare 15-inch and 16-inch panels first. However, width is only one part of the roofing assembly. Roof geometry, attachment style, metal gauge, panel length, wind uplift, and local approval requirements all affect the correct choice. Start with the roof design and approved system, then choose the width that fits both the structure and the appearance you want.
How standing seam panel width affects a Florida roof
Standing seam panel width usually refers to the panel's coverage , or the amount of roof each installed panel covers. It doesn't always equal the sheet's raw width before the seams lock together. That difference matters when you calculate quantities.
A narrower panel creates more vertical seams across the same roof plane. Those seams can give a home a finer, more detailed appearance. A wider panel creates fewer seams and may give a large, simple roof a cleaner visual pattern.
The difference also affects the installation layout. More panels mean more seams to align, more clips or attachment points to place, and more opportunities for the roof design to require adjustments around penetrations. Still, a wider panel isn't automatically stronger or better for hurricane conditions. The tested assembly determines its performance.
Mid Florida Metal Roofing Supply lists standing seam options that include 15-inch and 16-inch coverage configurations, along with different seam and attachment styles. Review the available standing seam metal roofing panels before comparing prices or placing an order.
Compare coverage, not just the number in the product name
Two panels can have similar coverage but different seam heights, fastening methods, or installation requirements. Compare these details together:
- Finished coverage width
- Panel gauge and steel specification
- Seam height and locking method
- Nail-strip or clip-fastened attachment
- Approved fastener type and spacing
- Maximum panel length
- Required underlayment, closures, and trim
For example, a 15-inch nail-strip panel and a 16-inch clip-fastened panel aren't interchangeable simply because their coverage is close. Each belongs to a particular roofing system.
Start with the roof shape and panel layout
The best width for a simple gable roof may not work well on a home with hips, valleys, dormers, or several small roof sections. Before choosing a panel, measure each roof plane separately. Record the eave length, ridge length, rake edges, pitch, valleys, and locations of skylights, vents, chimneys, and plumbing penetrations.
Most residential standing seam panels run vertically up the roof plane. The installer then lays out the seams across the eave-to-eave dimension. That layout should avoid leaving a very narrow piece at one gable end.
Suppose a roof plane almost fits a whole number of panels. The final strip may be too narrow for the installer to form, secure, or detail correctly. A small adjustment to the starting point can distribute the cuts across both sides and produce a more balanced layout. The correct solution depends on the panel system and the manufacturer's instructions.
Roof features create another concern. Valleys and dormers interrupt the panel pattern, while vents and chimneys require flashing that must align with the seams. A width that looks efficient on the main roof may create awkward cuts around those features.
Ask the installer for a panel layout before ordering. The drawing should show seam locations, panel lengths, valley transitions, gable cuts, and major penetrations. This step can prevent excess material and reduce surprises during installation.
Florida wind requirements come before appearance
Florida roofing projects must satisfy the Florida Building Code, local permitting rules, and the requirements tied to the home's location. The final assembly may need product approval documentation, tested fastening details, and an engineered wind-uplift calculation.
Properties in Miami-Dade and Broward counties fall within Florida's High-Velocity Hurricane Zone and may face additional approval requirements. Other Florida jurisdictions also apply wind-load rules based on location, building height, exposure, roof geometry, and the structure's importance.
Panel width alone doesn't establish wind performance. The design may depend on the complete assembly, including:
- Roof deck or structural substrate
- Panel gauge and profile
- Seam connection
- Clip or nail-strip attachment
- Fastener size and spacing
- Perimeter and corner zones
- Roof slope and building height
- Required product approvals or engineering
A contractor or engineer should confirm the approved assembly for the project before the panel width is finalized. The same profile may have different allowable applications when the fastening pattern, substrate, or roof zone changes.
Local building-code compliance, manufacturer installation requirements, and engineered wind-uplift design govern the final panel-width choice. A preferred appearance or lower material price cannot replace those requirements.
Ask for the actual installation manual and approval documents that apply to your home. A generic statement that a panel is "hurricane rated" doesn't provide enough information for a permit or a safe installation.
Match the width to the attachment system
Standing seam roofs commonly use nail-strip or clip-fastened designs. Nail-strip panels include an attachment flange beneath the seam. Clip-fastened panels use separate clips that connect the panel to the roof structure.
The difference affects thermal movement, panel length, fastener placement, and installation details. A clip system may allow controlled movement along longer panel runs, while a nail-strip system follows the movement limits and fastening rules established for that profile.
Read the manufacturer's instructions before changing panel width or attachment style. The comparison of nail-strip and clip-fastened standing seam systems explains why the two systems require different decisions in Florida.
Panel width also interacts with the roof's edge conditions. High wind pressure at eaves, rakes, ridges, and corners often requires tighter attachment details than the middle of the roof plane. Those edge requirements may affect the overall assembly even when the field panels remain the same width.
A contractor should identify the exact profile, seam, clip, fastener, and substrate combination in the estimate. Don't mix clips from one system with panels from another, and don't assume a panel can use a fastening pattern from a similar-looking product.
Consider coastal exposure, gauge, and panel length
Salt air can shorten the service life of an unsuitable coating or metal choice. Homes near the Gulf Coast or Atlantic Ocean may need a product and finish supported by the manufacturer's coastal documentation. A wider panel won't compensate for poor corrosion protection.
Mid Florida Metal Roofing Supply offers Armored Coast standing seam panels for projects where coastal conditions affect material selection. Review the system's available finishes, warranties, and installation requirements with the supplier and installer.
Gauge deserves attention as well. The supplier's standing seam listings include 24-gauge and 26-gauge options for certain profiles. Thicker metal can affect stiffness, weight, forming, and cost, but gauge by itself doesn't prove that an assembly meets a particular wind requirement.
Panel length is equally important. Long panels expand and contract as Florida sun heats the roof surface. The attachment system must accommodate that movement within the limits set by the manufacturer. A roof with several short sections may require a different layout from a long, uninterrupted slope.
Coordinate panel width with flashing and trim before fabrication. Ridge caps, eave trim, gable trim, valley metal, transition pieces, and wall flashing must fit the selected profile. A complete order includes those components, not only the field panels.
A practical process for choosing panel width
Use this sequence with your contractor, designer, or metal roofing supplier:
- Measure every roof plane. Record dimensions, slope, roof features, and the direction of panel runs. A satellite measurement can help with planning, but field measurements should confirm the order.
- Choose the approved panel system. Decide whether the project calls for a nail-strip or clip-fastened profile, then confirm the available gauges, seam styles, and coverage widths.
- Review the layout. Check how 15-inch, 16-inch, or other approved widths divide across each roof plane. Look for narrow end pieces and conflicts with valleys, dormers, vents, and chimneys.
- Confirm wind design requirements. Have the contractor or engineer verify the fastening pattern, edge-zone details, substrate, and product approvals for the home's location.
- Set panel lengths and movement details. Follow the maximum lengths, splice rules, and thermal-movement requirements in the manufacturer's installation manual.
- Complete the material takeoff. Include trim, flashing, clips, fasteners, sealants, closures, underlayment, and replacement panels for damaged or miscut pieces.
The final choice should balance layout, appearance, material availability, installation time, and code compliance. If a wider panel creates poor end cuts, the lower panel count may not save money. If a narrower panel fits the roof cleanly but requires a system with higher material or labor costs, the estimate should show that difference.
Mistakes to avoid when selecting panel width
Many panel-width problems begin before the first sheet reaches the roof. Avoid these common errors:
- Choosing by appearance alone. A width that looks good in a sample photo may create poor cuts on your roof.
- Confusing sheet width with coverage. Use the installed coverage listed for the exact profile.
- Assuming wider means stronger. Wind performance comes from the approved assembly and its engineering.
- Ordering before the layout is complete. Roof openings and valleys can change the required quantity.
- Mixing system components. Panels, clips, fasteners, seams, and trim must work together.
- Ignoring edge zones. Corners and roof perimeters often have different wind demands than the field.
- Treating all Florida locations the same. Coastal exposure, local wind rules, and HVHZ requirements can change the specification.
A written estimate should identify the panel profile, coverage width, gauge, finish, attachment method, and required accessories. That information gives the homeowner and installer a common reference.
Conclusion
The right standing seam panel width is the one that fits the roof layout and belongs to an approved assembly for the home. A 15-inch or 16-inch option may work well, but neither should be selected without checking coverage, attachment, roof geometry, panel length, and wind design.
Start with accurate measurements and an installation layout. Then confirm the manufacturer's requirements, local building code, and engineered wind-uplift details before ordering materials. On a Florida home, good panel sizing is part of the roof design, not a decision made by appearance or price alone.
Share Our Metal Roofing News Articles
Related Posts