A Step-by-Step Guide to Installing Standing Seam Panels
Standing seam panels are becoming increasingly popular for both residential and commercial properties due to their sleek appearance, durability, and energy efficiency. If you're considering installing standing seam panels, it's crucial to understand the process. This comprehensive guide will take you through each step of the installation, ensuring you can approach this project with confidence.
Step 1: Preparing the Roof Deck
Before installing any panels, ensure your roof deck is ready. Remove the old roofing material and check the deck for damage. Repair any issues to provide a solid foundation for your new roof. Also, install the underlayment according to the manufacturer's specifications to provide an additional layer of protection against moisture.
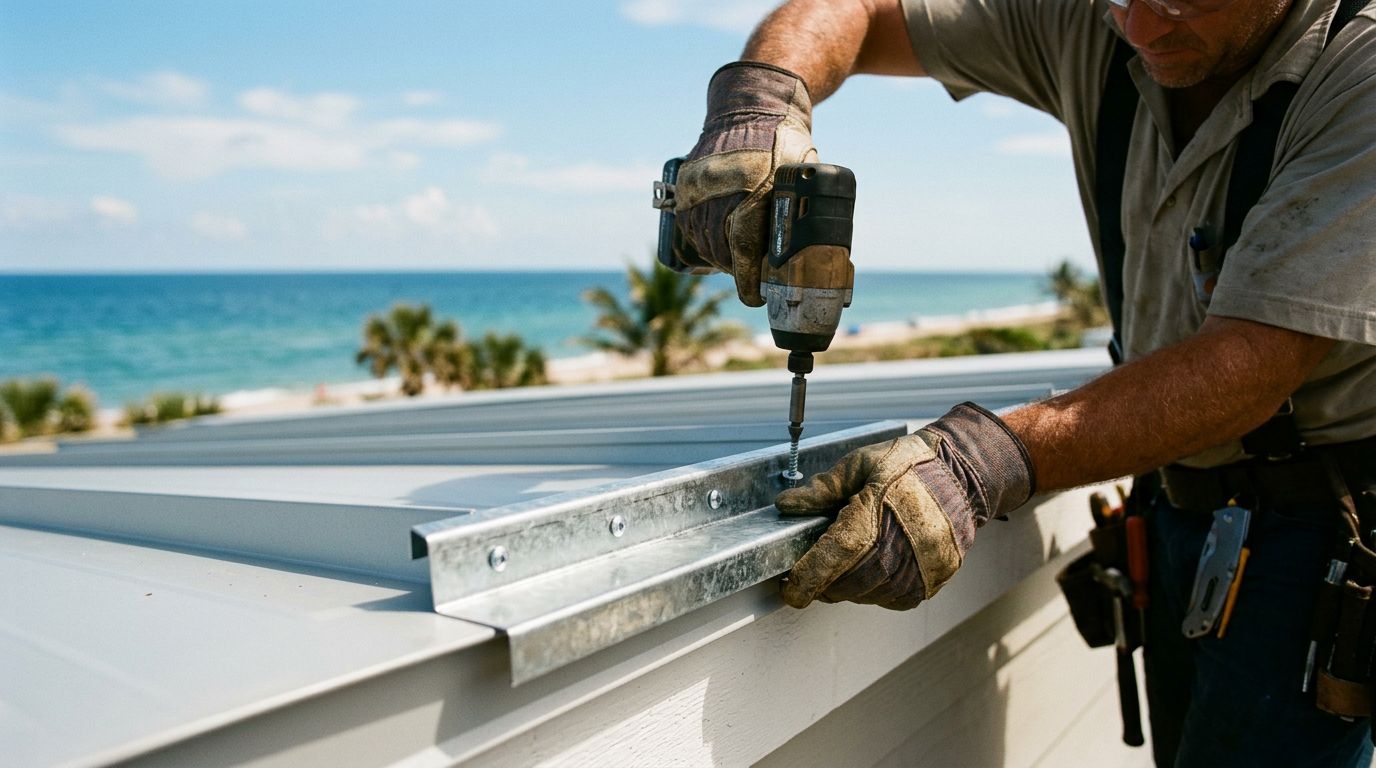
Step 2: Installing the Edging
Begin by installing the eave flashing or edging. This component forms the base for your panels and is crucial for waterproofing the edges of your roof. Make sure it's aligned correctly and securely fastened to the roof deck.
Step 3: Laying Out the Panels
Careful planning is key. Measure your roof and plan the layout of the panels. This step is crucial to ensure that the panels are evenly distributed across the roof surface, with minimal cutting and waste. Remember, standing seam panels should run from the ridge of the roof down to the eaves.
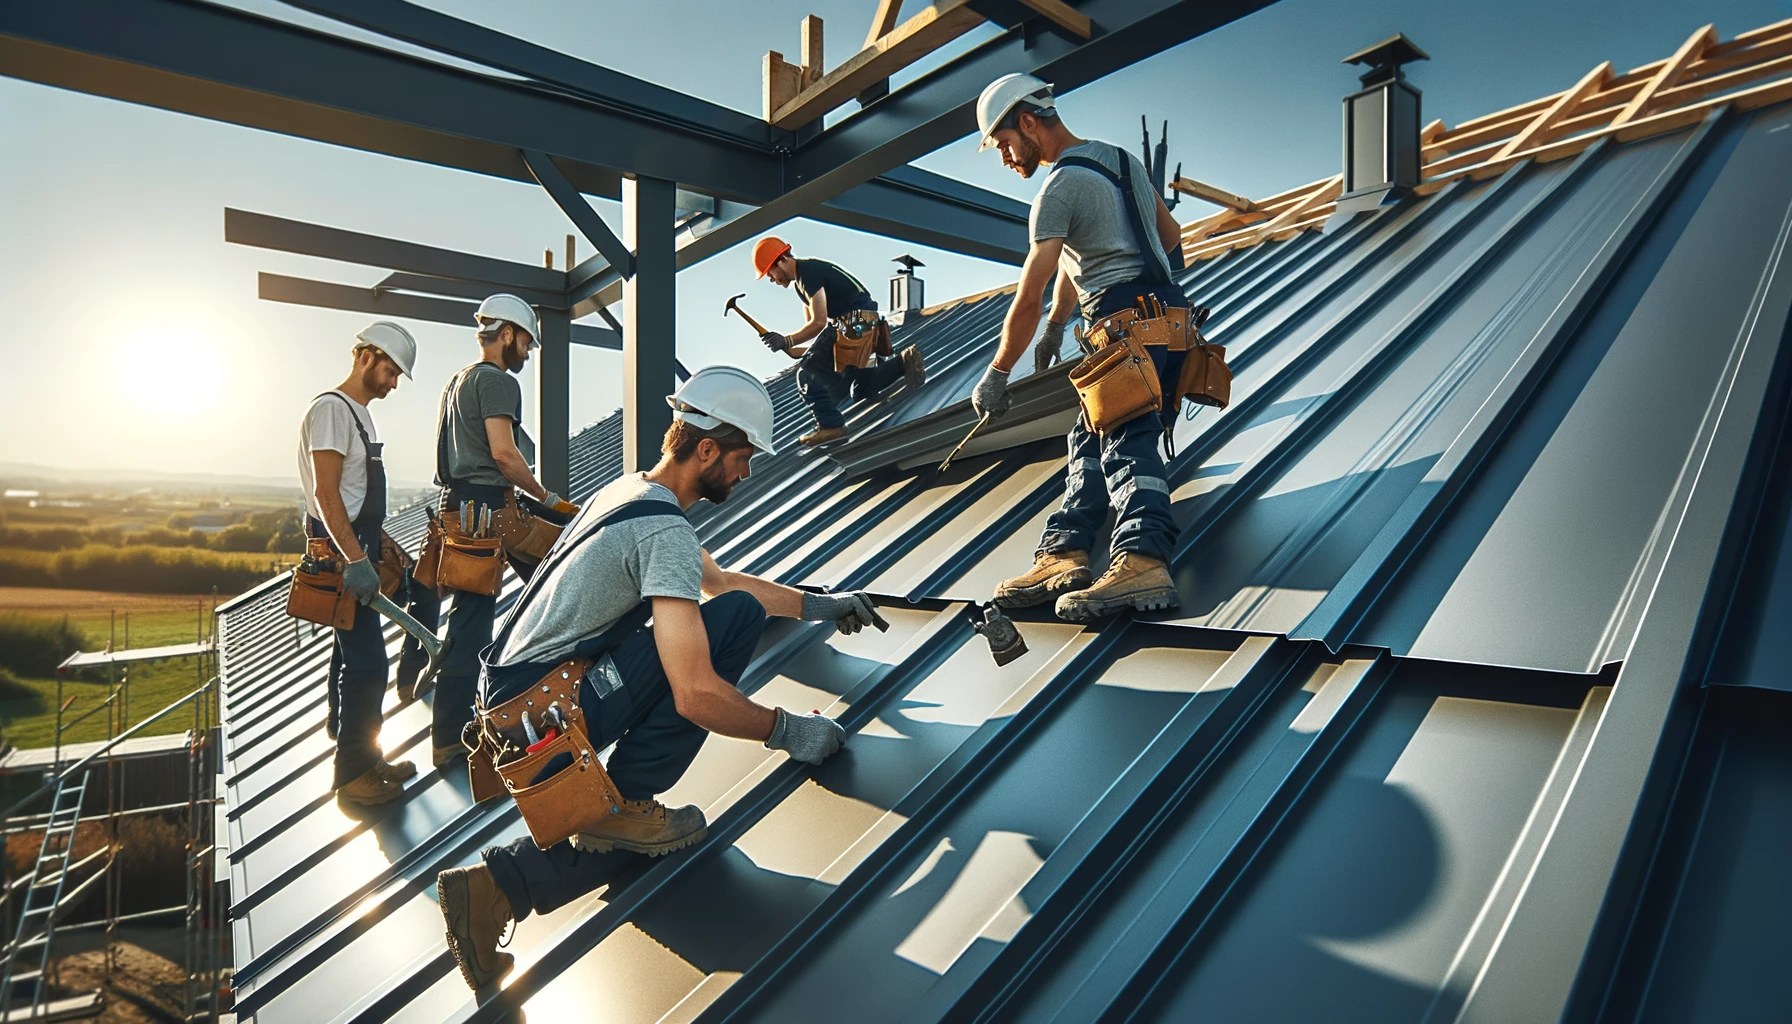
Step 4: Panel Installation
Start installing the panels at the end of the roof opposite the prevailing wind direction. This reduces the risk of wind uplift. Secure the first panel according to the manufacturer's guidelines, which typically involve fastening it to the roof deck or battens. Make sure it's perfectly straight as it will guide the alignment of subsequent panels.
Step 5: Seaming the Panels
Once all panels are in place, they need to be seamed together. This process varies depending on the type of standing seam panel system you have – snap-lock or mechanical lock. For snap-lock systems, the panels simply snap together. For mechanical lock systems, a special seaming tool is used to crimp the panel edges together, creating a watertight seal.
Step 6: Installing the Ridge Cap
After all the panels are installed and seamed, the final step is to attach the ridge cap at the top of the roof. This not only adds to the aesthetic appeal of the roof but also ensures that the ridge is watertight.
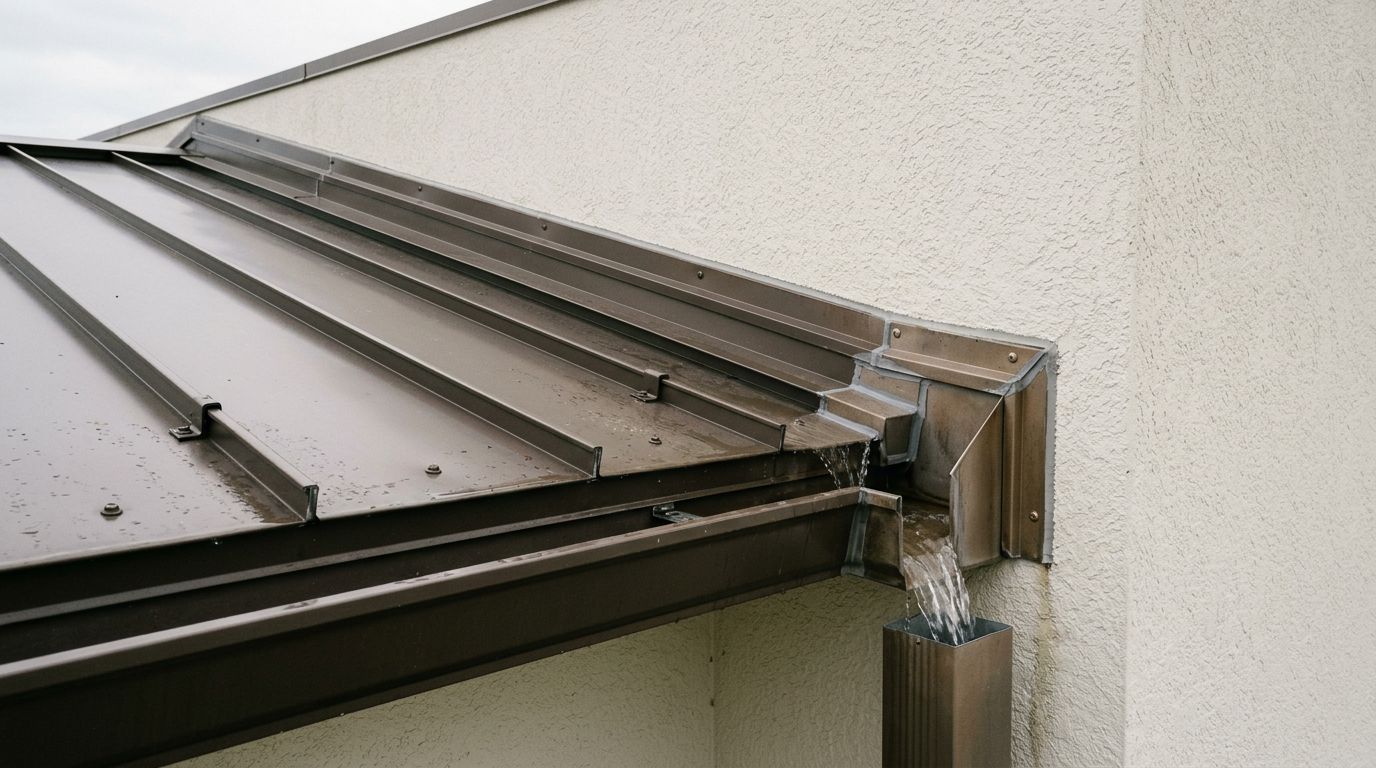
Step 7: Finishing Touches
Finally, install any additional flashing around roof penetrations, valleys, or sidewalls. These areas require extra attention to prevent leaks. Ensure that all flashings are securely in place and sealed to maintain the roof's integrity.
Tips for a Successful Installation
- Safety First: Always use safety equipment and follow best practices when working on a roof.
- Tools and Equipment: Ensure you have the right tools for the job, including a good quality seamer, snips, and fasteners.
- Weather Considerations: Avoid installing metal roofing in extreme weather conditions. Ideal conditions are dry and calm.
- Follow Manufacturer’s Instructions: Different panel systems may have specific installation requirements. Always adhere to these instructions for the best results.
- Regular Maintenance: Though low maintenance, periodically check your roof and address any issues promptly.
Conclusion
Installing standing seam metal panels can be a rewarding project, significantly enhancing the aesthetic and functional value of your property. However, it's a task that requires precision and careful planning. If you're not experienced in roofing installations, consider hiring a professional to ensure the job is done right.
Remember, a well-installed metal roof can last for decades, offering superior protection and a sleek, modern look for your property. With this guide, you're well on your way to successfully installing your standing seam panels.
Share Our Metal Roofing News Articles
Related Posts