Metal Roof to Shingle Roof Transition Flashing Details
A roof transition usually fails at the smallest weak point, not the biggest storm. When metal meets shingles, the joint needs a clear water path, tight laps, and the right trim order.
That sounds simple until you see how many details can change the result. Roof transition flashing has to match the roof profile, slope, shingle type, climate, and manufacturer rules, or the joint can trap water instead of shedding it.
Why a metal-to-shingle joint needs its own detail
Metal and shingles behave differently. Shingles shed water in layers. Metal panels move water fast, but they also expand and contract more than shingles.
That difference matters where the two systems meet. The transition must move water from the upper surface onto the lower one without leaving an exposed edge, a reverse lap, or a row of fasteners in the flow path.
A clean transition also has to account for movement. Metal panels change length with heat, while shingles stay more stable. If the flashing is too tight or too rigid, it can buckle, open, or pull loose over time.
The detail gets even more sensitive on Florida roofs. Wind-driven rain, high heat, and sudden downpours punish any shortcut. A joint that looks fine in dry weather can fail the first time a storm pushes water uphill.
The parts of a dependable transition flashing system
A good transition is usually a system, not a single trim piece. The exact layout changes with the roof design, but the basic parts stay the same.
| Component | What it should do | Common mistake |
|---|---|---|
| Underlayment tie-in | Direct water onto the lower roof surface | Ending the upper layer too short |
| Base flashing or apron | Carry runoff past the joint | Using a flat piece with no upturn |
| Counterflashing or cover flashing | Protect the top edge of the lower system | Face-sealing an exposed seam |
| Closures or fillers | Match panel ribs or voids | Using sealant where a shaped closure is needed |
| Fasteners | Hold the trim without blocking runoff | Placing screws in the water path |
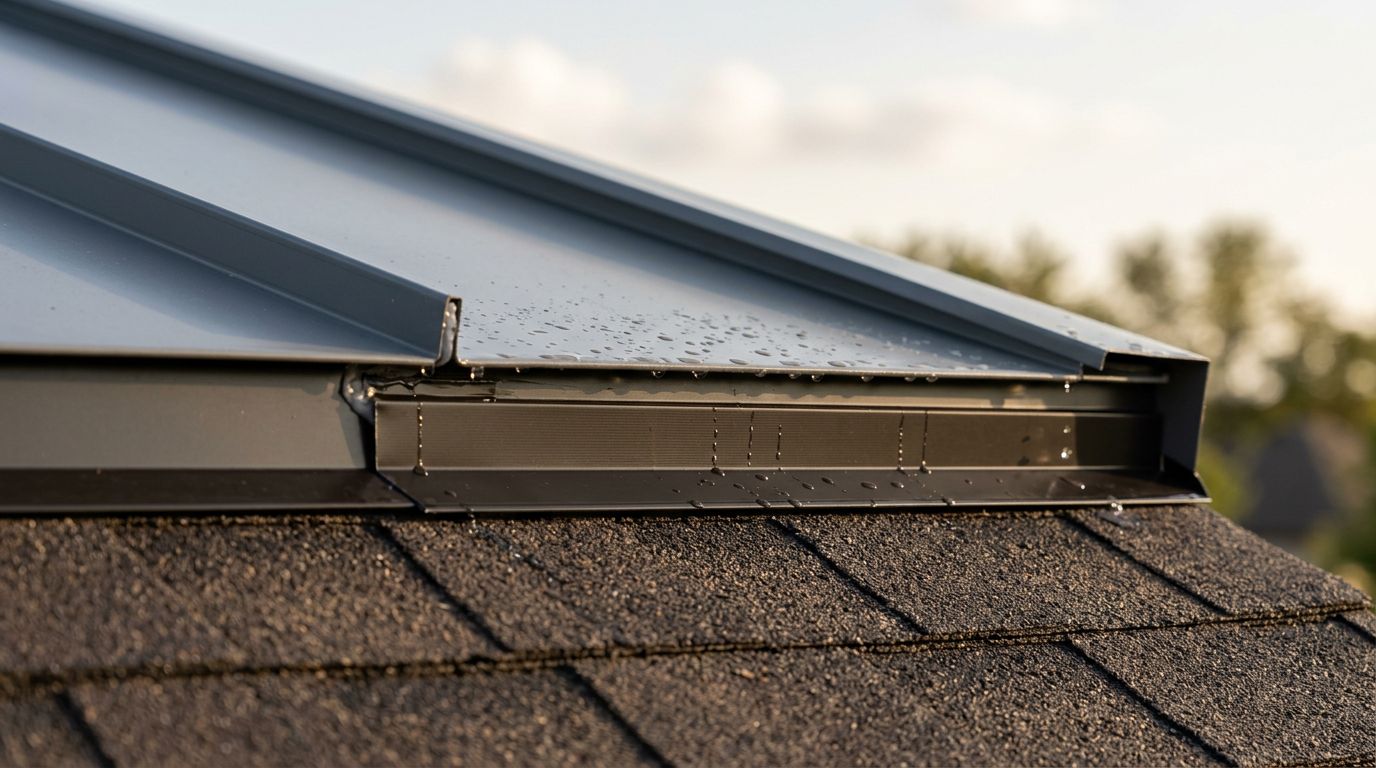
The takeaway is simple. Each layer should overlap the next one like shingles on a jacket. Water should always land on the piece below it, never behind it.
In some roof layouts, the transition also acts like a roof-to-wall or sidewall condition. In those cases, the same overlap logic used in the metal roof sidewall flashing guide for Florida roof-to-wall details helps keep the joint dry.
Sequencing is what keeps water moving downhill
Good flashing fails when it gets installed in the wrong order. The upper roof has to shed onto the lower roof, and the lower roof has to receive that water without a gap.
Start with the deck and underlayment layers. Then place the base flashing so it slips under the uphill material and over the downhill layer where the detail calls for it. After that, install the cover flashing or trim that protects the edge and hides the seam.
On a shingle-to-metal junction, the shingle courses should stop cleanly against the transition, not wrap over a bend that blocks drainage. On a metal-to-shingle junction, the metal should not dump water straight onto a flat edge with no apron.
If the flashing order lets water run behind a seam, the detail is already wrong.
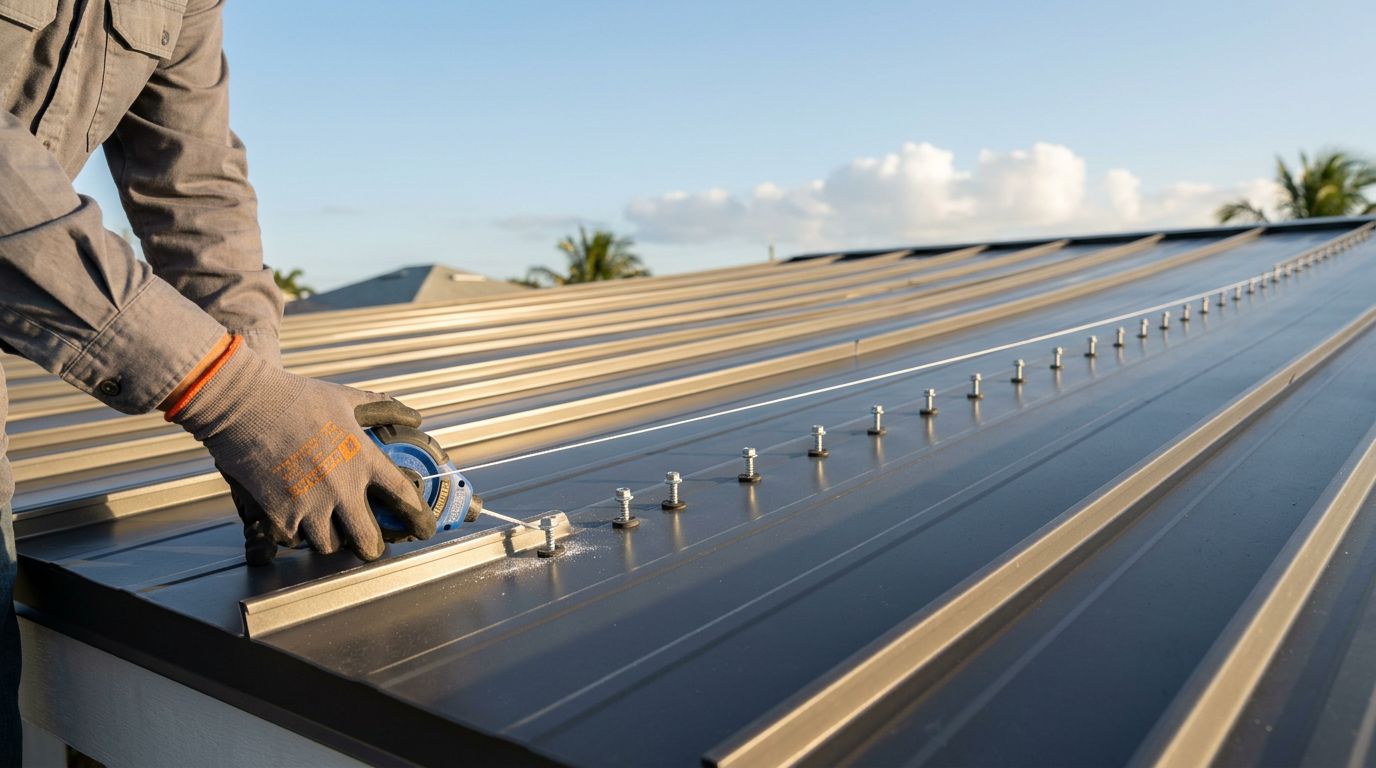
Fasteners matter just as much. Keep them high, out of the water path, and where the trim can move a little without tearing. A few well-placed screws beat a long row of exposed fasteners every time.
When the transition behaves more like an open valley, a continuous channel becomes even more important. The same water-first logic used in metal roof valley flashing for Florida open valleys applies there too, because water needs a straight, open route out.
Common failure points that lead to leaks
Most leaks at roof transitions start with one of a few easy-to-miss mistakes. The detail may look finished from the ground, but the weak spot usually hides at the lap, edge, or fastener line.
One common failure is a face-sealed seam. Caulk can help at a small joint, but it should never be the main defense. Once the sealant ages, cracks, or pulls away, water finds the opening.
Another problem is poor overlap. If the uphill piece ends too short, wind can blow water back under it. That happens often at low slopes and at roof sections that change direction.
Fasteners can also create trouble. A screw through the flat part of a flashing piece puts a hole in the drainage path. Even a small amount of movement can enlarge that hole over time.
Debris buildup is another quiet issue. Leaves, pine needles, and sand can pile up at the transition and hold moisture against the trim. In Florida, that damp spot becomes a long-term problem fast.
Short or mismatched pieces cause trouble too. A shop-bent trim that does not fit the panel rib, shingle exposure, or slope often leaves gaps at the edges. Those gaps invite capillary action, which pulls water where gravity should have sent it away.
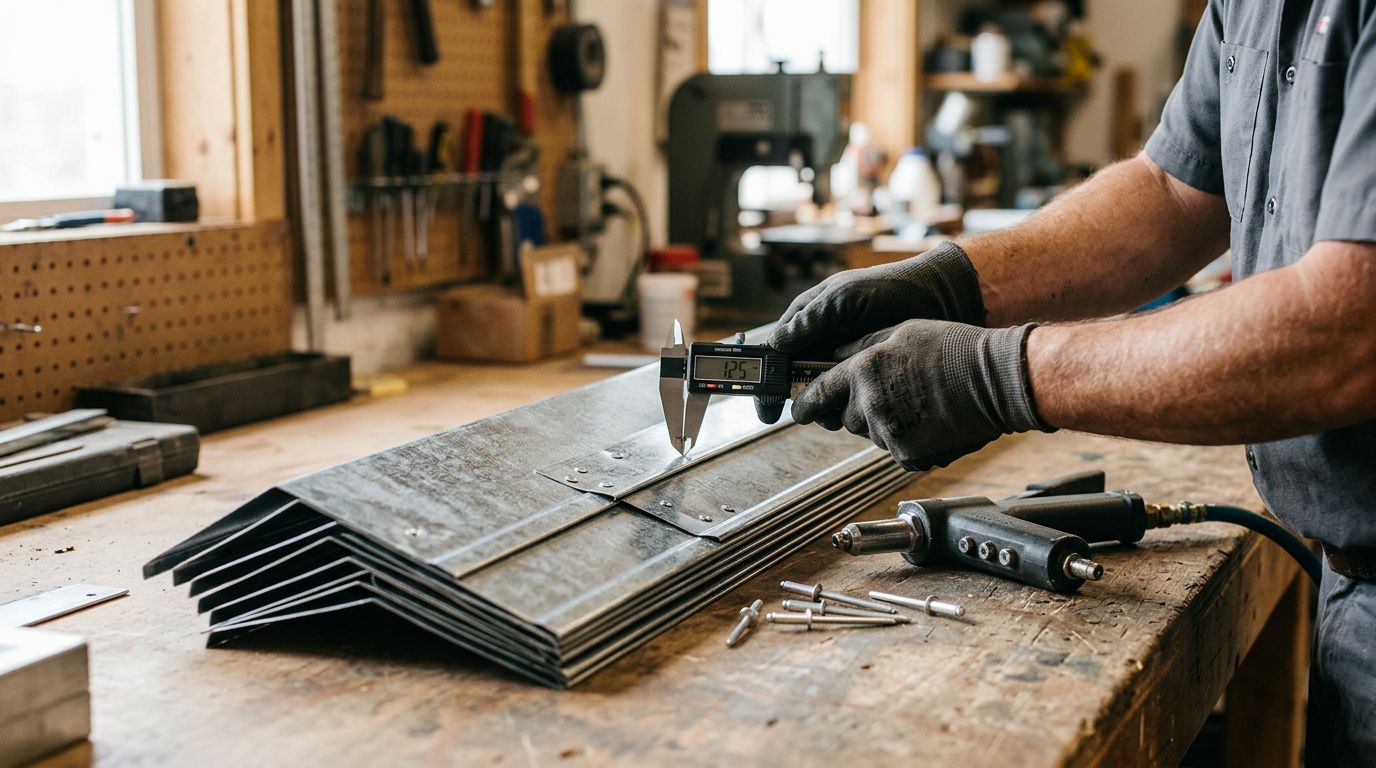
Custom trim and profile fit matter more than guesswork
A transition detail should fit the roof, not force the roof to fit the trim. That sounds obvious, but it is where many repairs go wrong.
A standing seam panel needs a different transition than a multi-rib or 5V panel. Shingle exposure, panel height, and the shape of the rib all change how the flashing should sit. A low-slope transition may also need longer laps and a wider piece of trim than a steeper roof.
That is why custom-bent trim often makes more sense than stock metal. A small change in leg length or bend angle can decide whether water flows cleanly or backs up at the joint.
Manufacturer instructions matter here too. Some systems call for specific closures, tape lines, or fastener locations. Others need different details depending on slope or roof assembly. Local code and product approvals can change the answer as well.
For end-of-run conditions, the same fit rules apply. If a transition terminates against a vertical surface, the metal roof endwall flashing guide for Florida roof-to-wall details shows how important proper turn-ups, laps, and closures are at that edge.
A quick checklist for evaluating the detail
Before close-in, walk the transition and check the basics. A solid detail should pass all of these points:
- Water has a clear path from the upper roof to the lower roof.
- Every lap sheds over the piece below it.
- No fastener sits where water runs or pools.
- Any panel rib or shingle gap has the right closure or filler.
- Sealant supports the joint, but does not replace correct overlap.
- The trim matches the panel profile and roof slope.
- The assembly follows the panel and shingle manufacturer rules.
- The edge looks straight, tight, and dry-fit before final fastening.
If one item is wrong, the whole transition deserves a second look. Small gaps at a flashing joint can cause bigger damage than a large visible defect.
Conclusion
A metal roof to shingle roof transition only works when each layer hands water to the next one in the right order. The best details keep fasteners out of the flow path, match the roof profile, and leave no guesswork about where runoff should go.
That is why roof transition flashing deserves careful planning before the first sheet or shingle goes down. When the detail fits the roof, the slope, and the climate, the joint stays simple, dry, and far easier to trust when the next storm rolls through.
Share Our Metal Roofing News Articles
Related Posts