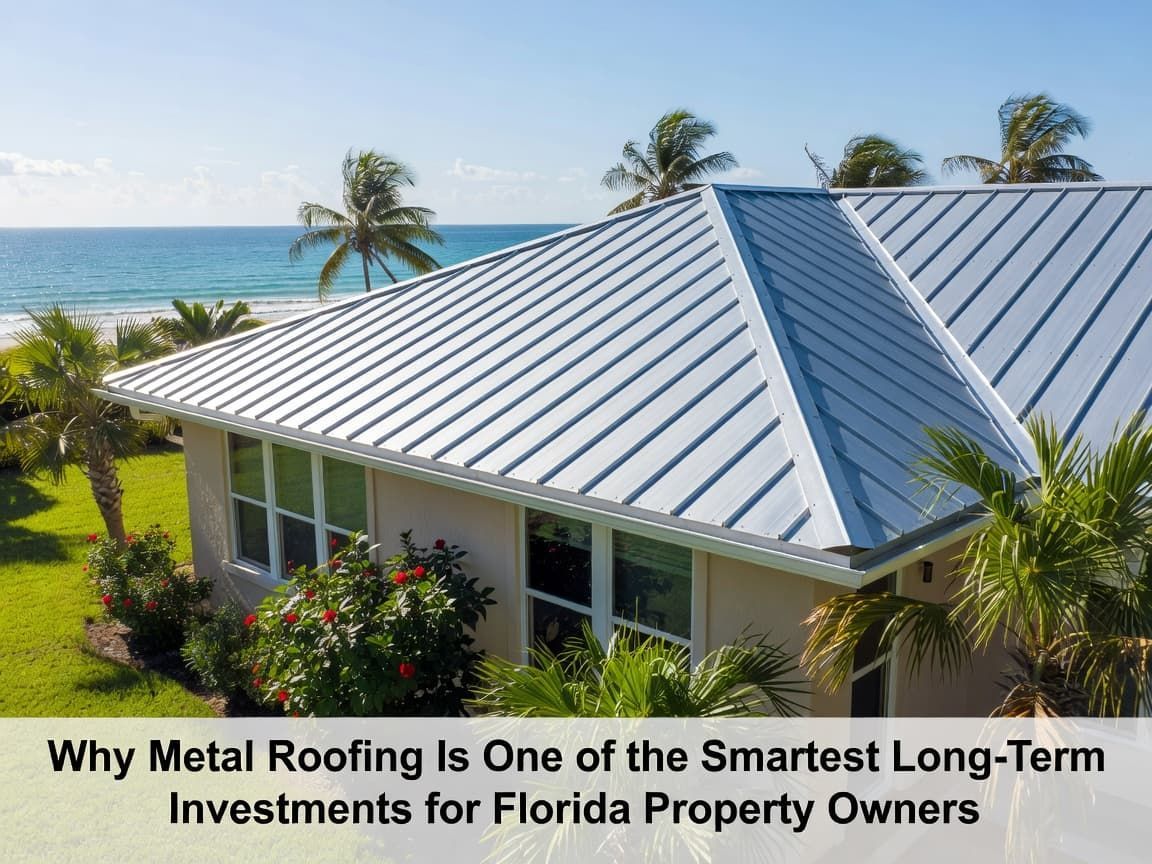
Metal Roof Endwall Flashing Guide for Florida Roof-to-Wall Details
A metal roof can handle brutal Florida rain, but one bad roof-to-wall joint can still send water into framing and insulation. That weak spot often sits at the end of the panels, right where the roof runs into a wall. If the detail is wrong, wind-driven rain finds it fast.
This is where metal roof endwall flashing matters most. Below, you'll see what this flashing does, how Florida conditions change the detail, the best install sequence, and when it's smart to bring in a pro.
What endwall flashing does, and why Florida makes it tougher
An endwall, sometimes called a headwall, is the upper end of a roof slope where panels stop against a wall. That's different from a sidewall, where the wall runs along the roof slope. If you want a quick terms refresher, roof-to-wall flashing types explained can help sort out those conditions.
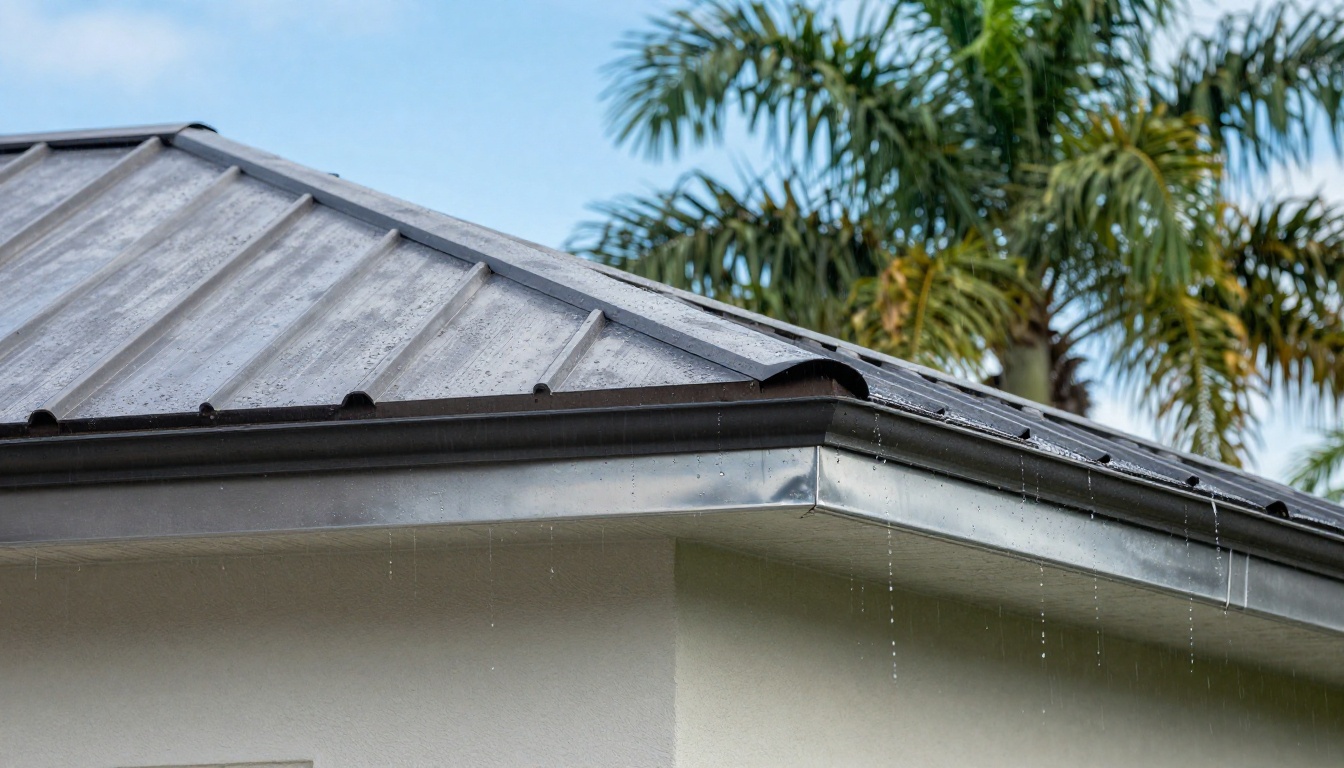
Endwall flashing covers the top end of the panels and throws water back onto the roof surface. In a sound assembly, the wall's water-control layer overlaps the flashing in shingle style. Then counterflashing, a reglet, or another approved termination protects the top edge.
Florida makes this joint harder to detail for three reasons. First, rain rarely falls straight down. Gusts can push water up laps and under loose trim. Second, heat makes long metal panels expand and contract. Third, humidity and salt air speed up corrosion, especially near the coast.
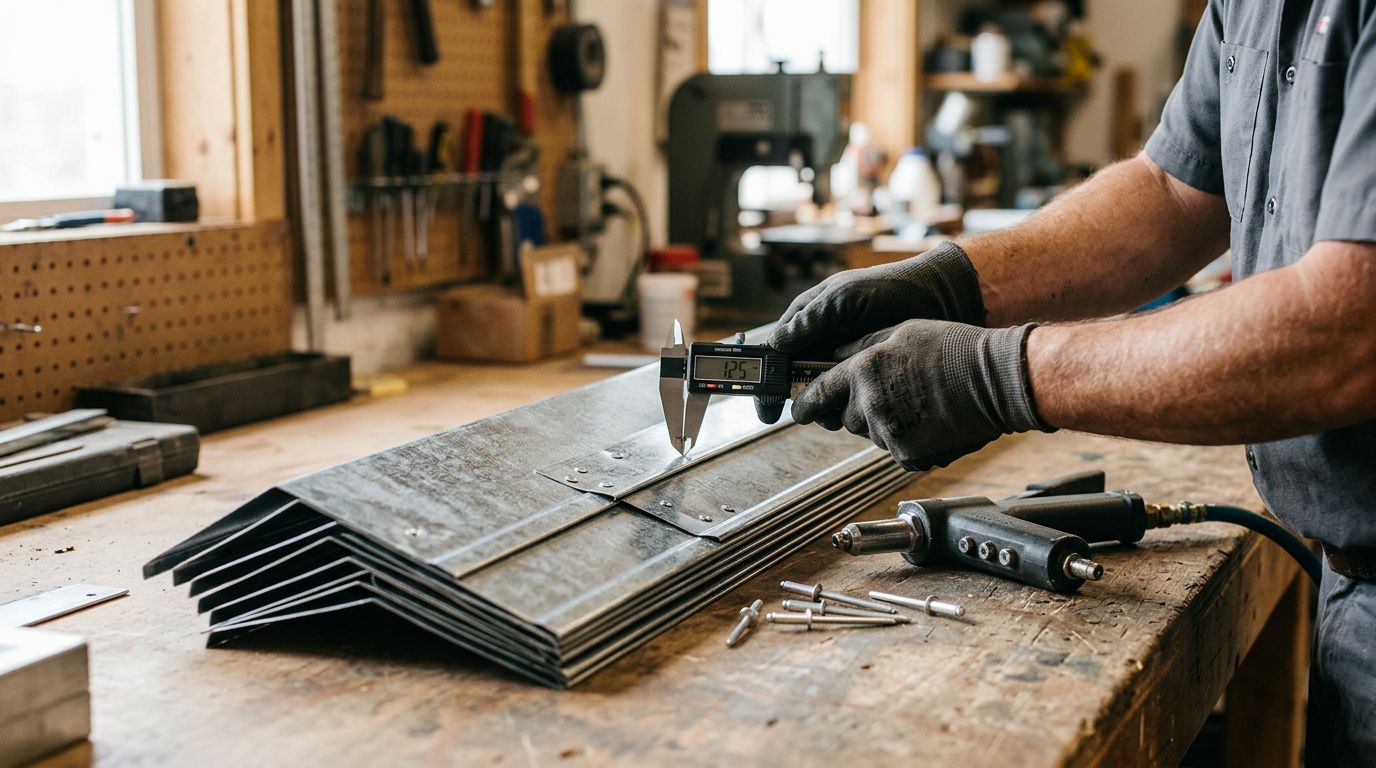
Because of that, material choice matters. Florida-approved assemblies often use corrosion-resistant metals such as 26-gauge galvanized steel, .019-inch aluminum, stainless steel, or copper, depending on the system and exposure. Fasteners matter too. If you mix metals carelessly, galvanic corrosion can start at the contact points and eat away at the joint.
Sealant should support the detail, not act as the whole waterproofing plan.
This quick table shows the difference between a durable detail and a leak-prone shortcut.
| Durable detail | Leak-prone shortcut |
|---|---|
| Profile-matched closures and butyl tape | Generic foam or gaps at ribs |
| Counterflashing or reglet at the wall | A top edge held only by caulk |
| Fasteners kept out of main water paths | Screws placed where water ponds |
The pattern is simple. Shaped metal, tight laps, and a protected top edge beat a caulk-only repair every time.
Best-practice metal roof endwall flashing detail, step by step
The exact shape changes by panel profile, wall type, and manufacturer. Still, the install sequence stays close on most Florida jobs. On standing seam roofs, a guide to Z flashing at metal roof endwalls is helpful because that small piece often carries a lot of the load at the roof-to-wall joint.
- Start with approvals and layout. Check the panel manufacturer's detail, Florida Product Approval, and local code rules before cutting metal. Most Florida jurisdictions are still working under the 2023 code cycle in 2026, but always confirm what your local building department is enforcing. In HVHZ counties, approved assemblies may call for much tighter fastener spacing, sometimes 6 inches at edges and corners.
- Confirm panel setback and movement. Dry-fit the endwall trim before the panels stop. Standing seam roofs need room for clips, closures, and thermal movement, so don't pin the panel ends unless the system detail says to.
- Tie the wall water barrier into the roof. On framed walls, the WRB should lap over the vertical leg of the roof-to-wall flashing, not behind it. On stucco or masonry, use a reglet or another approved termination that sheds water onto the flashing below.
- Use profile-matched closures and butyl. The closure has to match the rib shape of the panel. Set continuous butyl tape, or the approved sealant line, where the closure and flashing will compress it. Don't stretch the tape. Press it in place so it keeps its thickness.
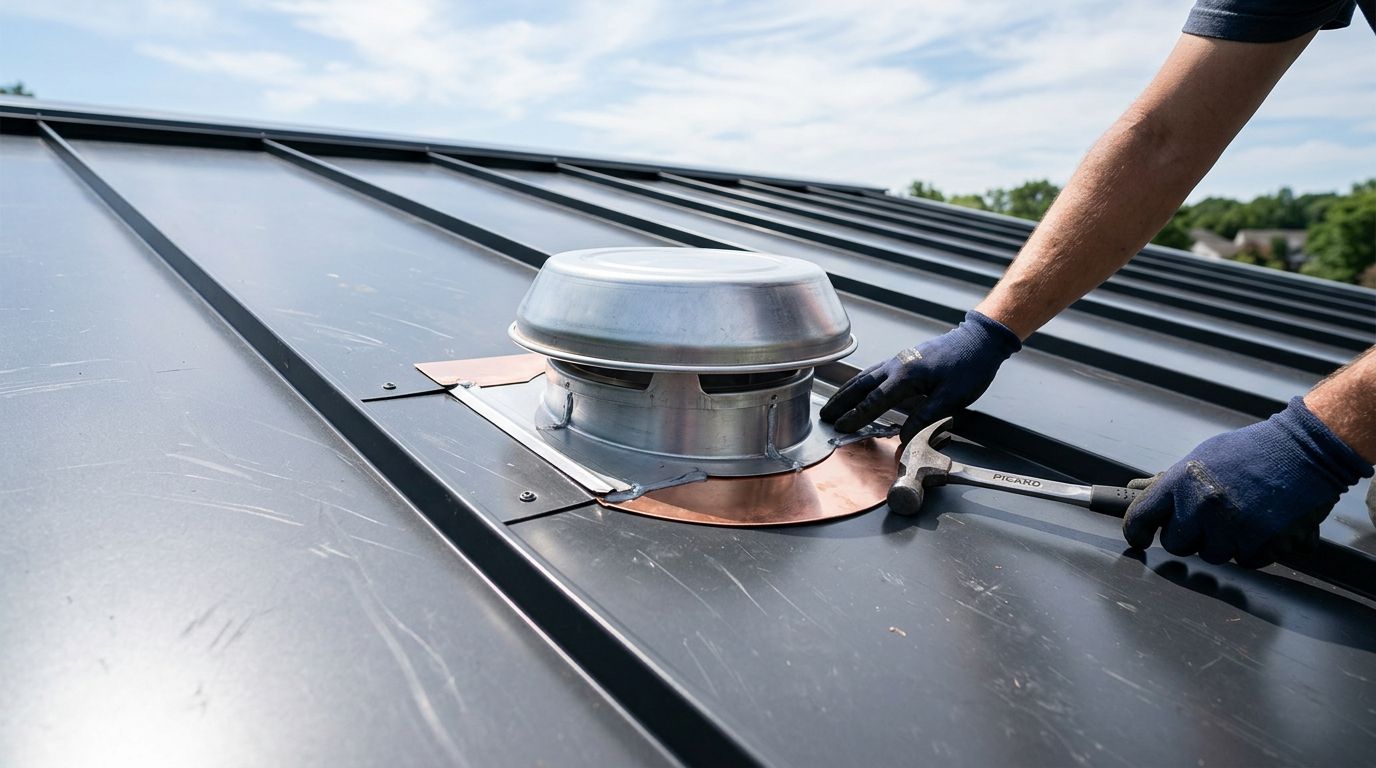
- Install the base or endwall flashing. The flashing should cover the panel ends, turn up the wall, and lap shingle-style with adjoining pieces. Keep joints tight, and follow the detail for laps, hems, and fastener type. If stock trim doesn't match the panel or wall offset, order custom-bent flashing instead of forcing a poor fit.
- Add counterflashing or the wall finish tie-in. This is where many leaks start. The upper edge needs a hard, mechanical stop. Caulk alone won't last under Florida sun, movement, and repeated wetting.
- Inspect before you leave. Check for wrinkles in tape, overdriven screws, sharp cut edges, and leftover metal shavings. If the detail allows it, do a controlled water test and watch where water exits.
The best installation looks boring. That's good. Water sees a smooth path down the roof, and every layer overlaps the one below it.
Where endwall details fail, and when to bring in a professional
Most leaks at this joint come from shortcuts, not from the metal itself. A crew may use the wrong closure, reverse a lap, trap a moving standing seam panel, or end the wall trim with nothing more than a bead of sealant. The roof might look fine from the yard, yet still leak during the first hard storm.
A few trouble spots show up again and again in Florida:
- Wall terminations with no counterflashing : UV breaks down exposed sealant, then wind-driven rain gets behind the trim.
- Mismatched metals or fasteners : Corrosion starts at contact points and spreads from the edge inward.
- Low or loose upturns at the wall : Water can ride up the joint during gusty rain.
- Improvised repairs : Tar, roof cement, and surface caulk hide the problem for a while, then fail.
If you're checking an existing roof, spotting bad endwall flashing on metal roofs can help you compare what you see with common Florida failure patterns.
Bring in a qualified roofer or metal roofing specialist when the wall is masonry or stucco, the building sits near salt air, the roof uses long standing seam panels, or the job falls in HVHZ territory. A professional review also makes sense when leaks keep coming back, interior staining appears above a wall line, or the repair would disturb siding, stucco, or framing. In those cases, guessing gets expensive fast.
A roof-to-wall joint is like the cuff on a rain jacket. The fabric can be solid, but the cuff still decides if water gets in. Get metal roof endwall flashing right with approved materials, correct laps, and a real wall termination, and the whole roof performs better. Before ordering parts or starting repairs, verify the local code, product approval, and the panel manufacturer's instructions for your exact system.
Share Our Metal Roofing News Articles
Related Posts