Metal Roof Sidewall Flashing Guide for Florida Roof-to-Wall Details
A metal roof can handle brutal Florida rain, right up to the moment the roof runs into a wall. That joint has to move water, resist uplift, and stand up to heat, salt, and sun. If one layer is wrong, the leak may show up inside the wall long before anyone sees it outside.
That's why metal roof sidewall flashing deserves close attention. For homeowners, it helps you spot a good detail from a patch job. For contractors, it keeps callbacks down. The goal is simple, keep water on top of the roof system and out of the wall assembly.
Know which flashing piece does what at a roof-to-wall joint
Roof-to-wall terms get mixed up all the time, and that leads to wrong trim, bad bids, and failed installs. A sidewall is where the wall runs parallel to the roof slope. Water flows downhill beside the wall, so the flashing has to cover the panel edge and guide runoff back onto the roof.
An endwall, often called headwall flashing, is different. That detail sits where the upper end of the roof hits a wall. It handles uphill runoff, not side flow. Then there's kick-out flashing, which belongs at the bottom of the wall where roof runoff should be kicked into the gutter. Counterflashing is the upper cover piece that protects the top edge of base flashing and ties into the wall finish.
If you want a quick refresher on the terms, metal roof flashing types explained helps sort out the pieces before material gets ordered.
Here's the easiest way to keep the parts straight:
| Flashing type | Where it goes | What it does | Common mistake |
|---|---|---|---|
| Sidewall flashing | Along a wall parallel to roof slope | Directs water back onto the roof | Treating it like headwall trim |
| Endwall flashing | At the top end of a roof against a wall | Turns runoff back over the panels | Too little vertical leg or poor closure fit |
| Kick-out flashing | At the lower end of the wall | Sends water into the gutter | Leaving it out entirely |
| Counterflashing | Over the top edge of base flashing | Covers the wall-side termination | Relying on caulk instead of a mechanical tie-in |
The big takeaway is simple: these parts are not interchangeable. A sidewall detail that lacks kick-out flashing or counterflashing is like a rain jacket with an open cuff, water finds its way in fast.
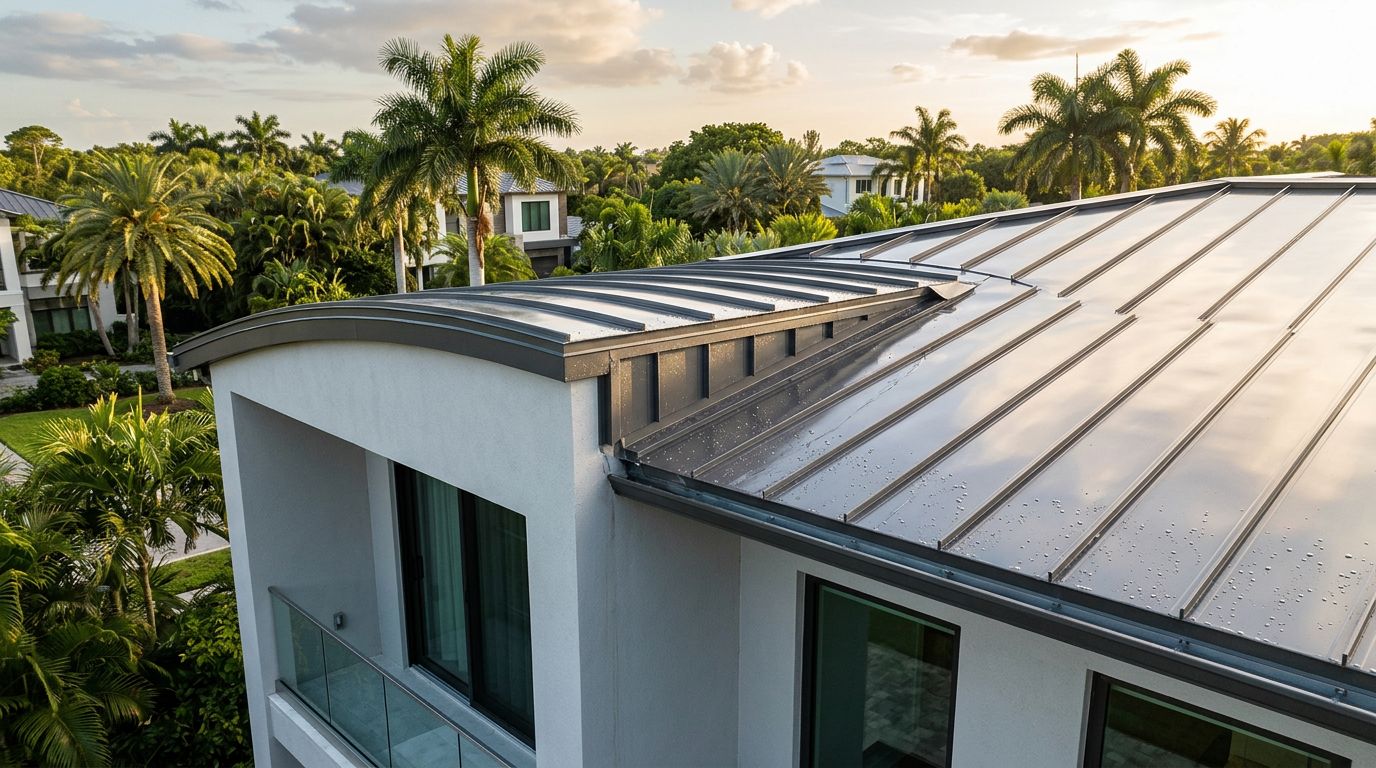
How a Florida roof-to-wall detail should manage water, wind, and corrosion
A good sidewall detail works in layers. First comes the roof deck and underlayment. Next comes the roof-side flashing that sits in the right plane to shed water. After that, the wall water-resistive barrier, siding, stucco termination, or masonry counterflashing covers the top edge. Each layer laps over the next so water drains out, not in.
That shingle-style sequence matters even more in Florida. Wind-driven rain can push uphill. Heat makes metal move. Salt air speeds up corrosion. So the detail has to do more than look neat on day one.
Sealant should support the detail, it shouldn't be the detail.
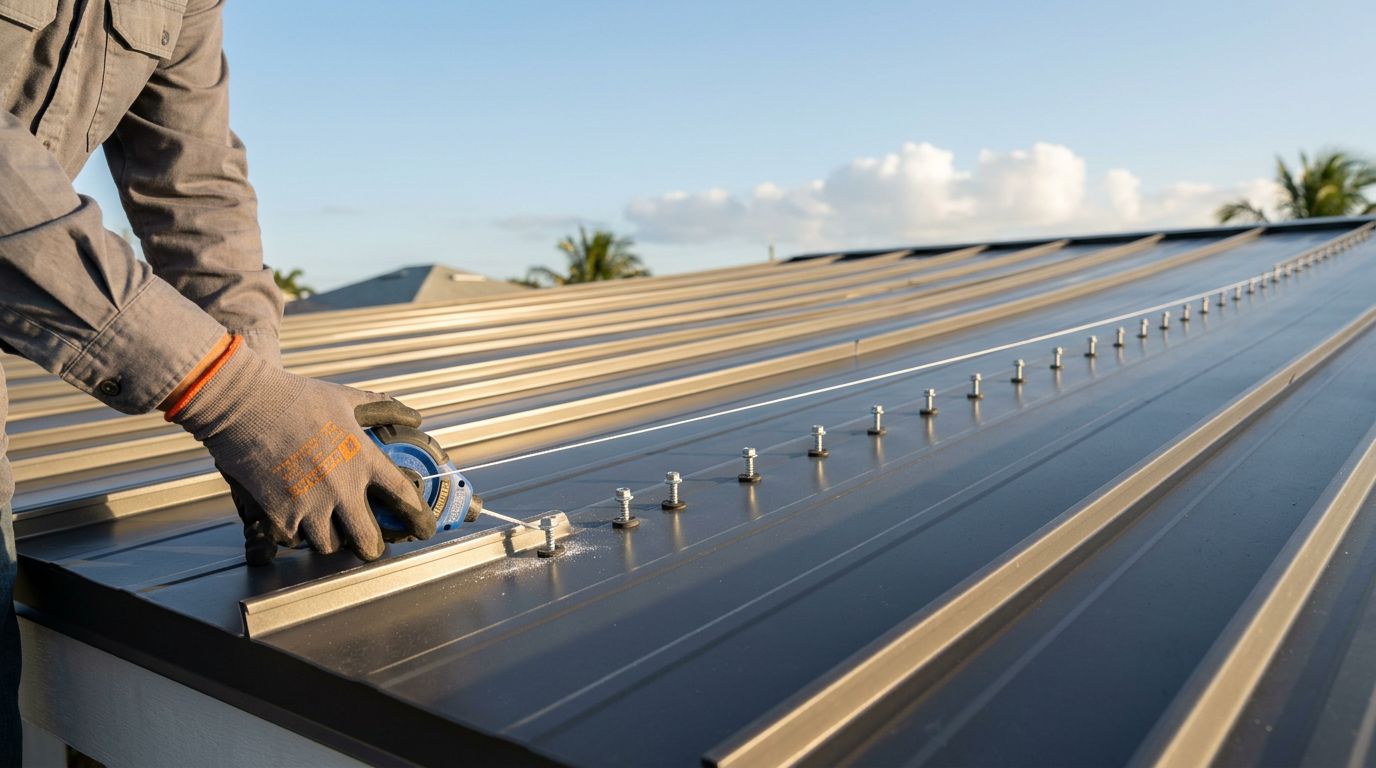
For standing seam systems, sidewall areas often need a formed closure or Z-closure to give the wall trim a solid landing while still allowing panel movement. If the roof system uses that approach, standing seam roof-to-wall flashing guidance is worth reviewing before layout. With exposed-fastener panels like AG or PBR profiles, the trim still has to fit the rib height, closure strips have to match the panel shape, and screws should stay out of the main water path.
Wall cladding changes the detail too. Under lap siding, the upper flashing leg usually tucks behind the wall drainage layer. At stucco or masonry, counterflashing often ties into a reglet or another approved termination method. At the bottom of the wall, kick-out flashing should dump water into the gutter instead of behind fascia or down the wall.
As of March 2026, Florida is still using the 8th Edition Florida Building Code, 2023 version, while 9th Edition changes are discussed for later in 2026. On real jobs, that means the safest path is still to match the roof-to-wall detail to the panel manufacturer's instructions and the approved assembly. In non-HVHZ areas, that usually means Florida Product Approval. In Miami-Dade and Broward, it often means a Miami-Dade NOA and tighter tested requirements for underlayment, edge attachment, and flashing details.
Material choice matters just as much. In inland areas, painted steel or Galvalume trim that matches the roof system often works well. Near the coast, better corrosion resistance may be needed, and fastener compatibility becomes a big deal. Don't mix metals carelessly. Copper runoff over galvanized steel, untreated cut edges, and mismatched fasteners can turn a sound detail into a rust problem.
Installation checks, failure points, and when to call a Florida pro
Most roof-to-wall failures aren't dramatic at first. They start with small shortcuts. A reverse lap in the wall wrap, a missing kick-out, a short sidewall leg, or a face-caulked termination can stay hidden until the first hard storm.
Another common problem is fastening through places where water wants to travel. Others include foam closures that don't match the panel, trim pieces with no hem, and sidewall flashing locked so tight that panel movement tears the sealant later. On retrofit jobs, the trouble often starts where new metal tries to meet old stucco, brick, or siding without a clean drainage path.
A smart inspection is simple. Stay off the roof if you can. Look from the ground with binoculars, then check the attic or wall line after a hard rain. Stains on stucco, peeling paint inside, rust at the wall trim, or a missing diverter at the gutter end all deserve a closer look. For more field red flags, common wall flashing mistakes in Florida can help you spot trouble before it spreads.
Call a licensed Florida roofing contractor when the detail ties into stucco, masonry, long panel runs, or a leak that has already reached the wall cavity. Bring in an engineer when the project has unusual wind exposure, custom structural framing, repeated movement, or a roof-to-wall condition that doesn't match a standard tested assembly. This guide can help you ask better questions, but it's not a stamped detail or permit review.
In the end, the best metal roof sidewall flashing detail is the one that respects water management first. Use the right flashing type, lap it in the right order, match the metals, and follow the approved roof system detail. When that roof meets a wall, small choices decide whether the joint sheds water or invites it in.
Share Our Metal Roofing News Articles
Related Posts