How to Snap Straight Screw Lines on Exposed-Fastener Roofs
Straight screw lines are easy to spot, especially on a long metal roof in bright Florida sun. If one row wanders, the whole roof can look off, even when the panels are tight and sealed. Clean layout also makes fastening faster, because you spend less time correcting mistakes.
The good news is that straight screw lines on a metal roof come down to repeatable setup, careful measuring, and a chalk line that stays true. Once the first line is right, the rest of the job gets much easier.
Why straight screw lines matter on exposed-fastener roofs
On exposed-fastener panels, the screw pattern is part of the finished look. Every row of fasteners draws the eye across the roof, so even a small drift stands out. That is why the first layout mark matters more than most people think.
Straight rows also help with performance. When screws land where they should, the panel sits flatter and the fastening pattern stays consistent. As a result, the roof looks cleaner and the fasteners are easier to check later.
If the first line is crooked, every row after it will copy that mistake.
A roof with clean screw lines feels finished. A roof with drifting rows looks rushed, even if the panels themselves are installed well.
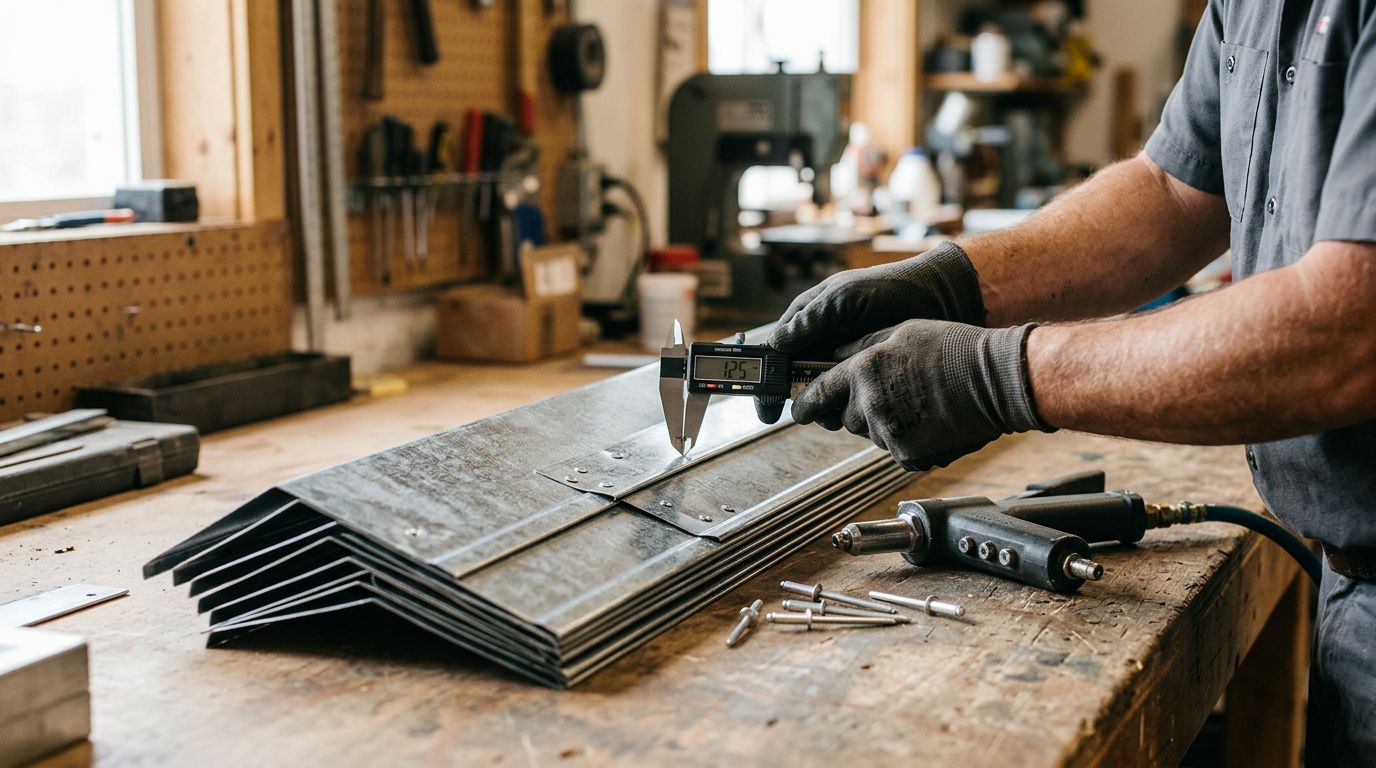
Gather the tools and set a solid reference
You do not need a big pile of tools, but you do need the right ones. A chalk line is only as good as the measurements that guide it.
For broader layout and fastening context, the best practices for installing metal roofing panels guide is a helpful companion.
| Tool | Why it helps |
|---|---|
| Tape measure | Lets you check the same offset every time |
| Chalk reel | Makes long, visible layout lines |
| Framing square | Helps start the first mark square to the edge |
| Story pole | Speeds up repeated spacing |
| Marker or pencil | Gives you clean reference points before snapping |
A story pole is especially useful on long runs. Instead of measuring each row from scratch, you transfer the same spacing again and again. That saves time and cuts down on small errors.
Before you snap anything, pick a fixed reference edge. On most roofs, that means the eave or another edge you have already verified. If the edge is out of square, don't trust it blindly. Measure from a known straight point instead.
Snap the first line with care
The first line sets the whole roof. Take a minute here, because that minute pays off all day.
- Measure from your reference edge at both ends of the run.
- Mark those points clearly.
- Stretch the chalk line tight between the marks.
- Check that the line matches the roof plan and the panel layout.
- Snap the line cleanly without letting the reel sag.
- Recheck the line before you fasten the first sheet.
Keep the reel tight. A loose line bows in the middle, and that bow turns into a crooked mark. You want a sharp snap, not a soft brush across the metal.
Also, check more than two points if the run is long. A line can look fine at the ends and still drift in the middle. One extra check in the center can save a lot of trouble.
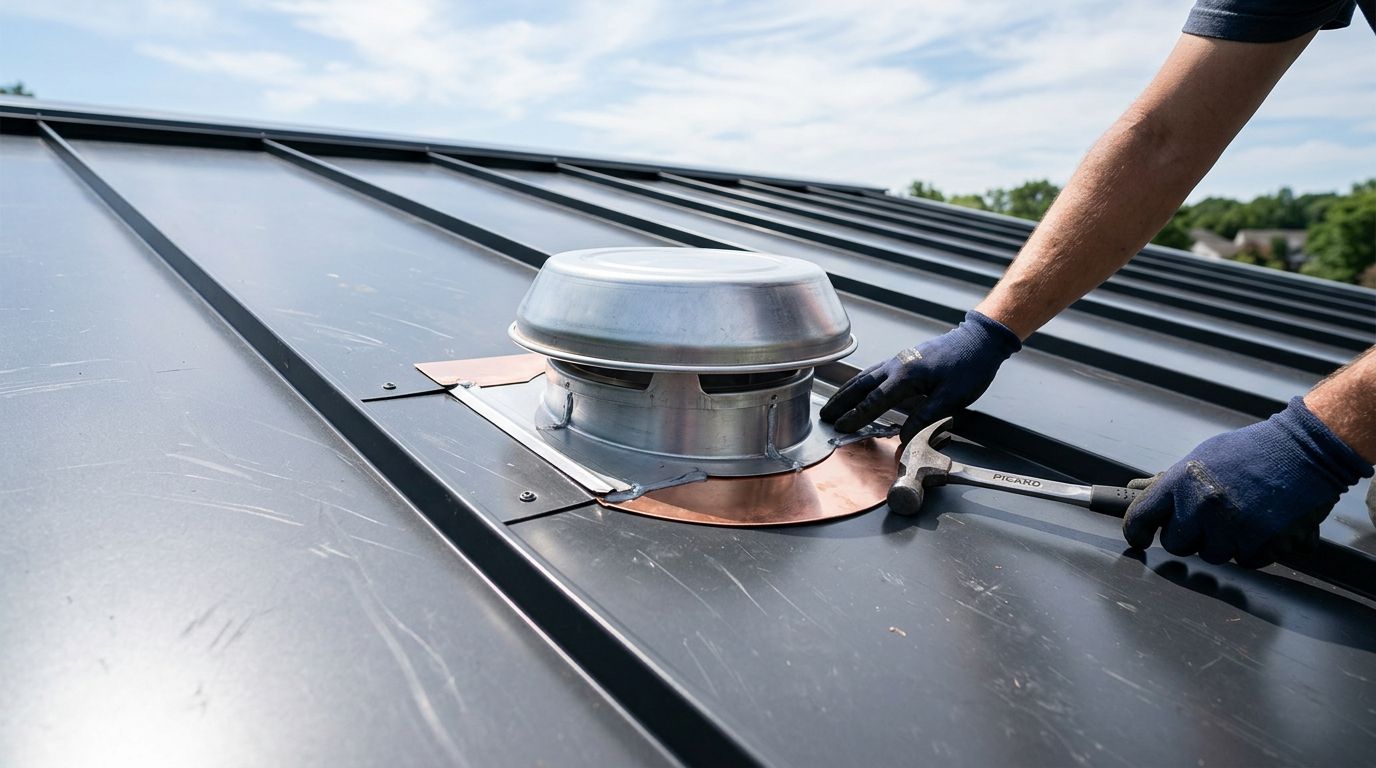
If the roof is long or broken up by valleys, dormers, or hips, lay out each section on its own terms. A good line on one slope does not guarantee a good line on the next.
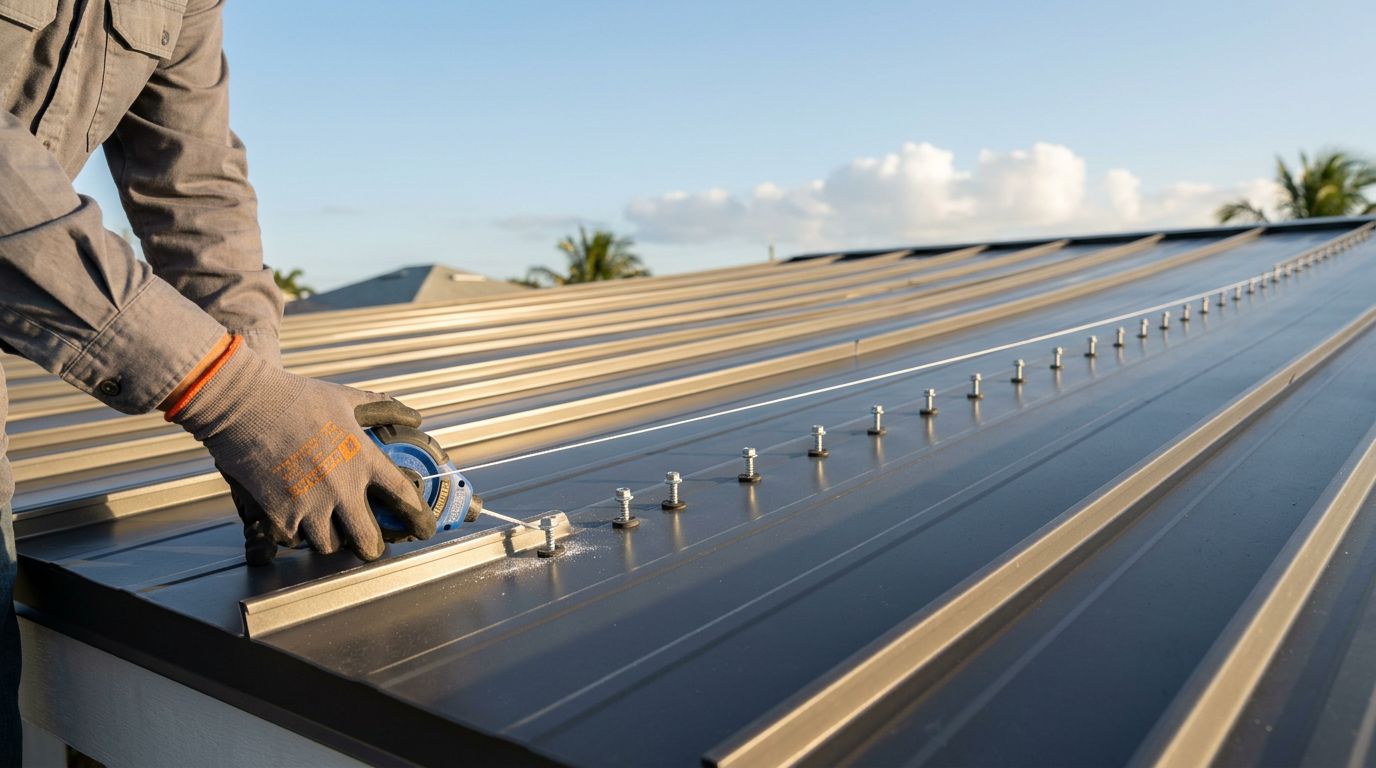
Keep screw spacing even across the roof
Straight screw lines are only part of the job. The spacing between screws matters just as much. When the spacing stays even, the roof looks balanced and the fastening pattern is easier to follow.
Use the same starting point on every panel. That keeps the rows from wandering as the job moves across the roof. It also helps if one installer sets the panels while another fastens them.
A few habits keep the rows consistent:
- Mark the structure below before panel install begins.
- Use the same panel edge as your measuring point every time.
- Recheck the line after you place the first few fasteners.
- Watch for panel movement as you walk the sheet into place.
- Reset your chalk line if wind, heat, or handling disturbs it.
Heat can also change how a long metal sheet sits. In Florida, panels can warm fast, so a sheet that looked perfect in the morning can shift a little by midday. That is one reason to fasten steadily and recheck as you go.
If you are working with a crew, one person should call out the reference point for every row. That keeps everyone measuring from the same place. A different starting point, even by a fraction, can throw off the whole run.
Common layout mistakes that make rows drift
Most crooked screw lines come from a few simple mistakes. Avoid these, and your layout gets much cleaner.
- Starting from a crooked fascia or edge without checking it first.
- Pulling the chalk line too loosely.
- Measuring each row from a different side of the roof.
- Letting panels walk while the first screws go in.
- Snapping over dust, saw chips, or wet metal that blurs the mark.
- Trusting one quick check instead of measuring at both ends and the middle.
The biggest problem is usually habit. Once a crew gets moving, it's easy to skip a check because the roof looks close enough. On exposed-fastener panels, close enough can still show from the ground.
A good rule is simple: if the line looks wrong, stop and fix it before the first full run of screws goes in. Correcting one line takes minutes. Correcting a whole roof takes much longer.
A straight layout makes the whole roof look better
Clean screw lines are not about perfection for its own sake. They help the roof look sharp, speed up fastening, and reduce the chance of messy corrections later. When you start with a true reference, snap the line carefully, and keep the spacing consistent, the rest of the job gets easier.
On an exposed-fastener roof, the eye catches the rows right away. A straight line tells the story of a careful install before anyone gets close enough to inspect a single screw.
Share Our Metal Roofing News Articles
Related Posts