How to Choose Pop Rivet Grip Range for Metal Roof Trim
A trim joint can look fine from ten feet away and still be wrong at the fastener. When the pop rivet grip range doesn't match the actual stack of metal, the joint can loosen, gap out, or sit proud.
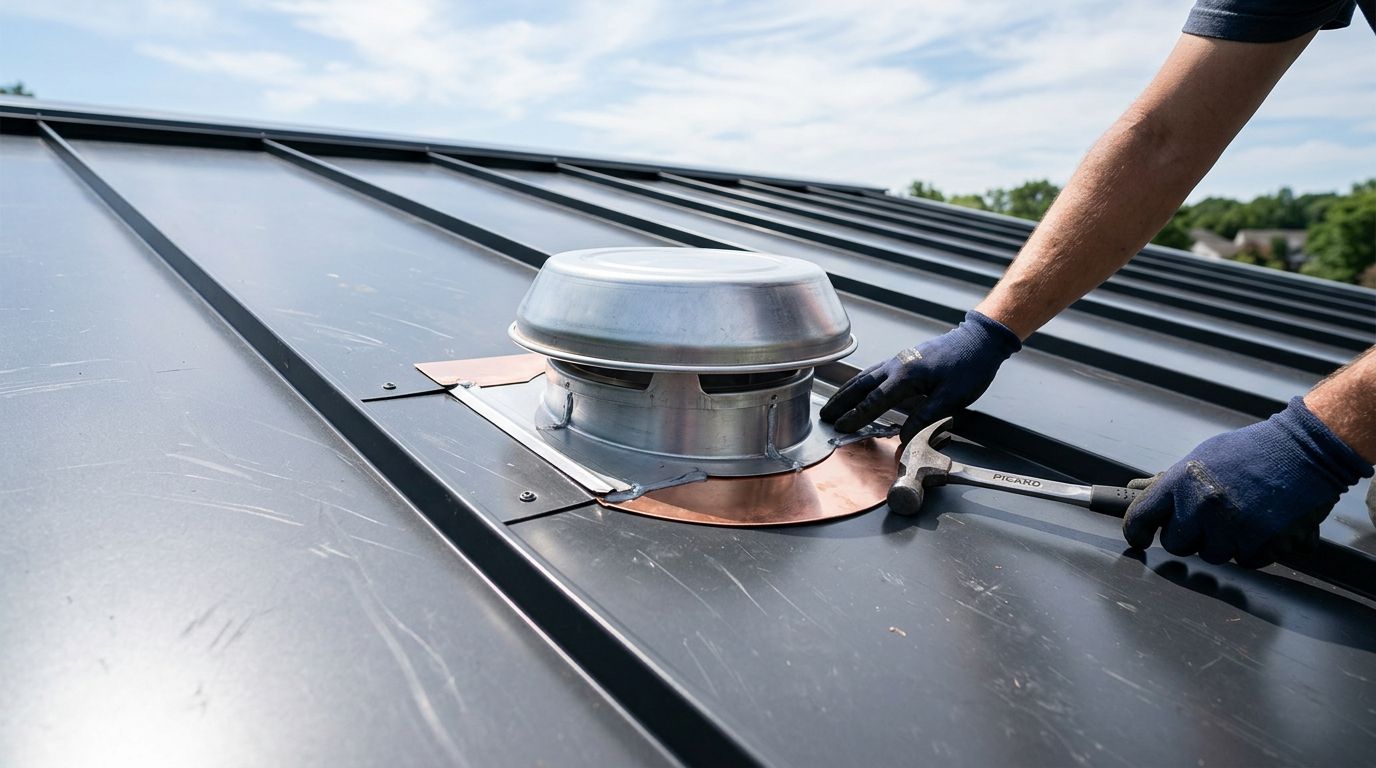
That matters on metal roof trim, where laps, hems, corners, and closures change the thickness from one spot to the next. One rivet size rarely fits every trim piece on the roof.
The good news is that the right choice comes down to a simple habit, measure the real stack, then match the rivet to that stack. Once you do that a few times, the decision gets much faster.
Measure the stack the rivet will actually clamp
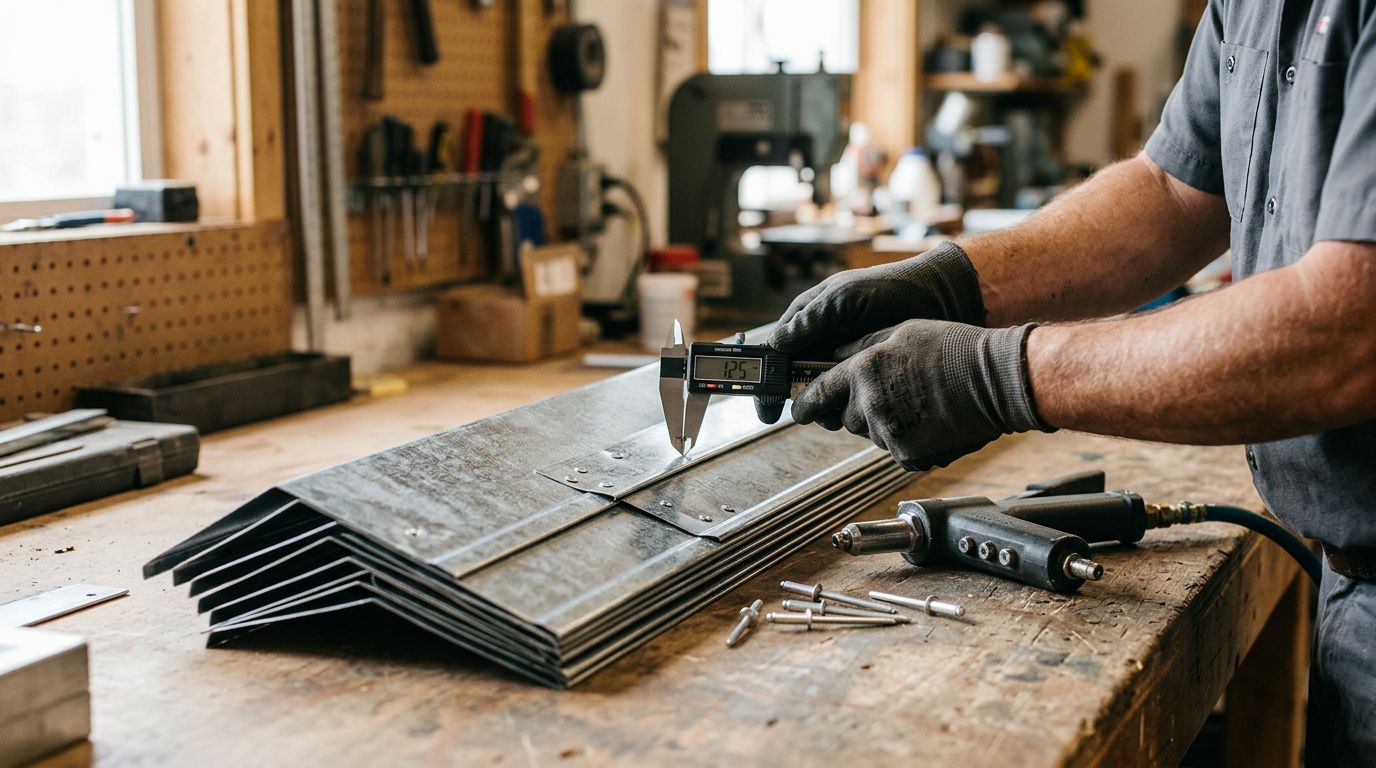
Start with the total material thickness at the exact hole location. That means every layer the rivet body has to pull together, not just the thickness of one trim piece.
On metal roof trim, the stack often includes two pieces of sheet metal, a hemmed edge, a bent leg, sealant, or a closure strip. If the rivet passes through all of it, count all of it. A flat gauge number does not tell the full story.
Calipers work best. If you do not have them, stack the pieces the same way they will sit on the roof and measure that mock-up. The goal is to measure the joint in its finished shape, because a formed edge is thicker than a flat sheet.
Measure where the rivet will sit, not where the trim feels thinnest.
That simple step saves a lot of guesswork. A joint that looks light on paper can turn out thicker once the pieces overlap and bend into position.
This matters even more on trim details that use butyl tape or sealant. If the rivet passes through that material, include it in the stack. A small bead can change the fit enough to matter, especially on tight laps and corners.
Read the grip range like a clamp, not a label
The grip range is the span of material thickness a rivet can clamp well. If the package says a rivet fits a certain range, that range is the usable stack thickness from low to high.
The best fit usually sits near the middle of that range. That gives the rivet enough pull to seat the joint without stretching the limits at either end.
For metal roof trim, that middle-point habit helps more than chasing the smallest possible rivet. A rivet that barely covers the stack may work on one hole and fail on the next. A rivet that sits near the center of its grip range has more room for small changes in bend, coating, or overlap.
If you are choosing between fastener types for a trim joint, when to use rivets on metal roof trim is a good place to start. Trim that is metal-to-metal and hard to reach from the back often points you toward rivets first, then you size the grip.
A quick rule helps on the roof:
- If the measured stack sits near the low end of the range, look at a smaller rivet.
- If the stack sits near the high end, move up a size.
- If the stack falls near the middle, you are usually in good shape.
That rule keeps the rivet working in its comfort zone instead of forcing it to stretch.
Account for trim profiles, hems, and overlaps
Metal roof trim is not flat sheet with holes in it. It has bends, return legs, hems, and laps that change the thickness where the rivet lands.
Here is a simple way to think about common trim situations.
| Trim situation | What to measure | Common mistake |
|---|---|---|
| Flat lap between two trim pieces | Both sheets plus any sealant between them | Measuring only one sheet |
| Hemmed edge or rolled lip | The total thickness at the rivet line | Measuring across the flat section nearby |
| Corner, cap, or stacked joint | Every layer that sits under the rivet | Ignoring the extra layer at the turn |
| Trim over closure or spacer | Metal plus closure or spacer thickness | Sizing for metal only |
The table shows the same idea in different forms, the rivet cares about the real stack, not the simplest part of the piece.
On many trim details, the thickest point is not obvious until the pieces are clamped together. A sidewall flashing, for example, may look thin until the hem and overlap line up under the rivet. A gable trim lap can do the same thing.
That is why test-fitting matters. Hold the pieces in the final position, then check the thickness where the hole will go. If the trim has a formed return, measure there. If the rivet lands on a lap, measure the lap, not the flat panel beside it.
When trim pieces are made to fit each other, small shape changes can alter the grip need. A bent leg that tucks tightly against another piece can reduce the stack. A loose overlap can add a little space. Either one changes the fit.
What happens when the grip range is too short or too long
A bad fit usually shows itself right away, but not always in the same way. The symptoms depend on whether the rivet grip range is too short or too long.
When the grip range is too short
A rivet with too short a grip range cannot reach the full stack. It may pull hard and still fail to seat the joint properly. In some cases, the rivet body deforms the hole or distorts the trim before the mandrel snaps.
That leaves you with a joint that looks forced. The metal may dimples around the hole, and the pieces may not sit flush. If you have to fight the tool to finish the pull, the grip range is often the first thing to check.
On trim pieces, that short grip can make the joint feel tight in one spot and loose in another. The fastener is pulling against a stack it was not made for.
When the grip range is too long
A rivet with too long a grip range can set without pulling the pieces tight enough. The head may sit proud, the joint may leave a small gap, and the connection can move under vibration or wind.
That is a problem on metal roof trim because trim edges move more than people expect. If the overlap can shift, the hole can wear, and the face of the trim can start to look uneven.
A loose-looking joint is not always a bad rivet, but it often is. If the pieces still rock after installation, the rivet may be too long for the stack, or the hole may be oversized.
The cleanest joints have a snug clamp, a flat head, and no visible daylight at the overlap.
A fast field check before you pull the rivet
When you are on the roof, a simple routine keeps the job moving.
- Dry-fit the trim pieces in their final position.
- Measure the stack where the rivet will actually pass through.
- Compare that number to the center of the grip range, not the edge.
- Set one test rivet in scrap or a hidden spot before you finish the run.
That last step saves time. A single test pull tells you a lot about fit, pull-up, and how the trim faces after setting.
If you are still sorting through the fastener choice for a trim joint, choosing the right roofing fasteners gives a broader view of where rivets fit alongside other options.
On a Florida roof, that kind of field check matters because the trim has to stay neat and tight through heat, rain, and wind. A rivet that fits the stack on the first pull is far easier to trust than one chosen by guesswork.
Conclusion
Choosing the right pop rivet grip range for metal roof trim starts with one thing, the real thickness of the joint. Measure the full stack where the rivet will sit, then match that measurement to the middle of the rivet's rated range.
Trim profiles, hems, and overlaps can change the number fast. A rivet that is too short or too long will show it in the finished joint, either by leaving the pieces loose or by forcing them out of shape.
When the fit is right, the trim sits flat, the overlap stays tight, and the fastener does its job without drawing attention. That is the standard worth aiming for on every trim piece.
Share Our Metal Roofing News Articles
Related Posts