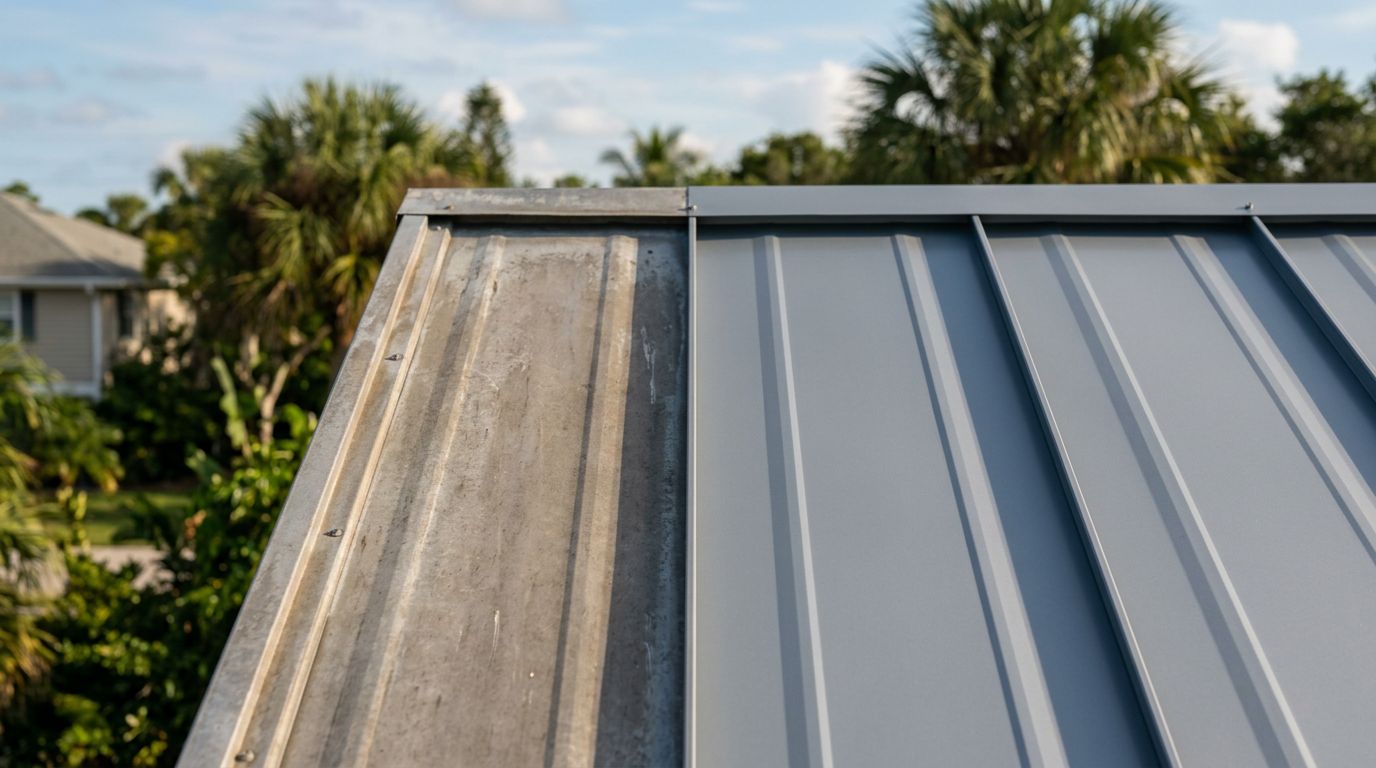
Metal Roof Sealant Guide For Florida Jobsites
Florida doesn't give sealants an easy life. UV hits hard, humidity stays high, afternoon rain shows up uninvited, and coastal air can corrode hardware faster than people expect. On a metal roof, those pressures stack up at seams, fasteners, pipe boots, and flashing transitions.
The bottom line is simple: metal roof sealant works best when it supports good detailing, not when it tries to replace it. If the fasteners are failing, the panel is moving, or the flashing is wrong, a fresh bead won't save the job.
This guide breaks down what to use (and when), what not to mix, how to apply it on a Florida schedule, and how to troubleshoot the common callbacks.
Choosing the right metal roof sealant for Florida heat, UV, and rain
Think of sealant selection like choosing tires. The "best" option depends on where it's going and what it has to endure. On most Florida jobsites, you'll reach for silicone, polyurethane, MS polymer, or butyl tape, sometimes in combination.
Here's a practical comparison to speed up decisions in the field:
| Sealant type | Where it shines on metal roofs | Florida strengths | Watch-outs and avoid areas |
|---|---|---|---|
| Silicone (neutral-cure) | Exposed joints, reglet terminations, some flashing edges, repairs that see sun daily | Top-tier UV stability, stays flexible, handles frequent wetting well | Dirt pickup can look messy, not paintable, adhesion can be picky on some paints without primer |
| Polyurethane | Joints that need high adhesion, trim edges, detail work where you want a tough seal | Strong bond, good tear resistance for movement | UV can chalk or degrade if left exposed, some formulas don't like constant water exposure, solvent sensitivity with some rubbers |
| MS polymer (hybrid) | Mixed substrates (painted metal to masonry, metal to plastics), general exterior sealing | Good balance of adhesion and UV stability, often paintable, typically lower odor | Performance varies by brand, check primer needs on PVDF paints, don't assume "sticks to everything" |
| Butyl tape (tacky tape) | Under compression at end laps, ridge caps, z-closures, pipe boot flanges | Seals well under squeeze, stays tacky, great for metal laps | Not for exposed beads (UV), can cold-flow if over-compressed or overheated, needs clean surfaces |
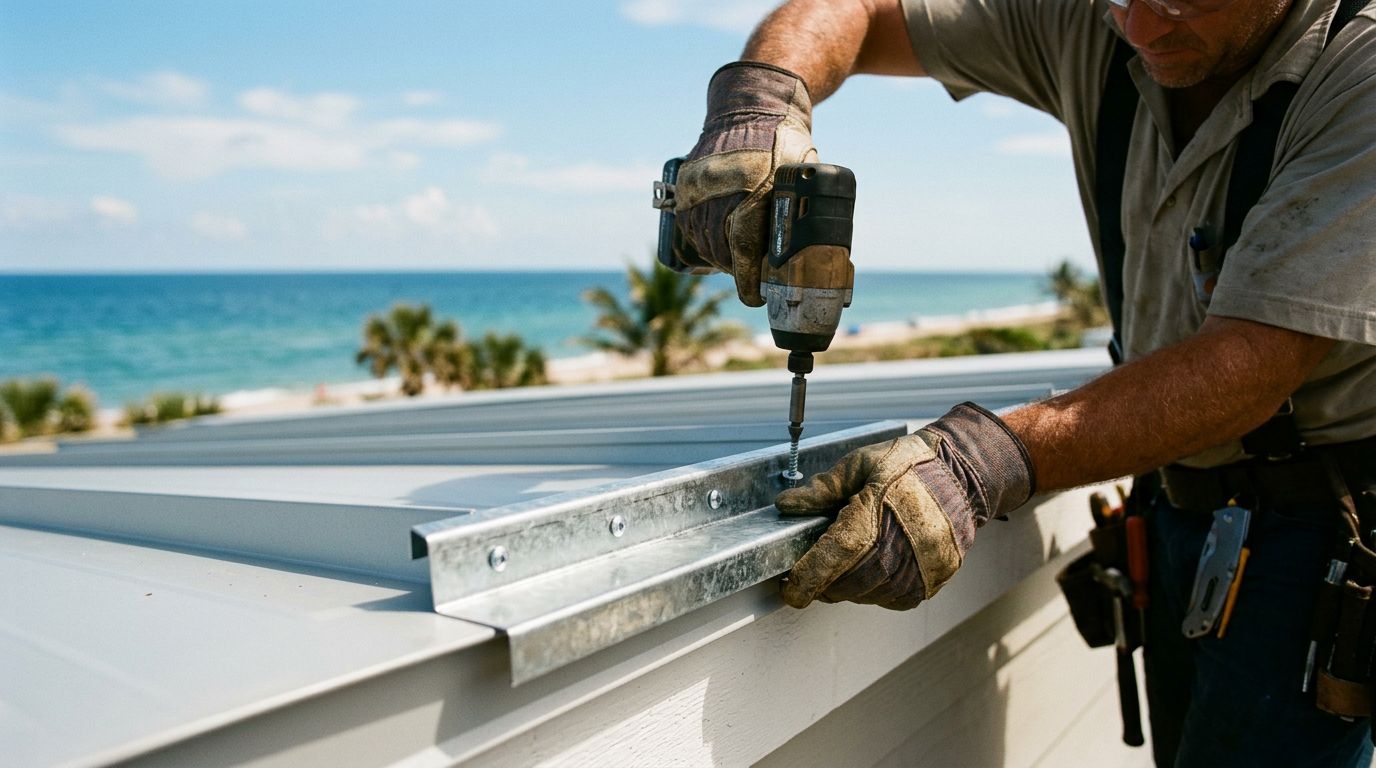
On through-fastened roofs, don't skip the bigger question: should you seal, or should you re-fast ? If screws are backed out, washers are split, or holes are wallowed, replacement is usually the correct first step. Sealant is backup, not the primary clamp.
For Florida stock items that support this "mechanical first" approach (replacement fasteners, butyl tape, pipe flashings, and sealants), keep your supply list aligned with what's on hand at metal roofing sealants and accessories.
A clean lap with fresh butyl under compression usually outlasts a thick exposed bead that fights UV all day.
Compatibility and corrosion gotchas Florida crews run into
Most sealant failures in Florida aren't "bad product" problems. They're compatibility problems, surface problems, or corrosion problems that started before the tube was opened.
Metal panels: Galvalume and painted finishes
Painted panels (SMP or PVDF) can be slick and chalky when they age. That hurts adhesion. Plan on cleaning, then a light scuff on the seal zone, and priming if the sealant manufacturer calls for it. When choosing silicone on metal, prefer neutral-cure formulas. Acid-cure silicones can corrode some metals.
Dissimilar metals: copper, aluminum, steel
Galvanic corrosion is a real Florida issue because moisture is always present. Don't rely on sealant as your only "separator" between metals. Use proper separation membranes, compatible fasteners, and detail the transition so water can't sit there.
EPDM and TPO boots, and why "close enough" isn't
Pipe boots are where compatibility mistakes show up fast. Some sealants won't bond reliably to TPO without primer, and some solvent-heavy products can swell or soften certain rubbers. Follow the pipe boot manufacturer's instructions, and match the sealant to the boot material.
If penetrations are a frequent leak source on your sites, keep this reference handy for choosing and sealing boots correctly: metal roof pipe boot sealants for Florida vents.
Asphalt contamination: the silent bond breaker
Roof cement, asphalt primer, and old "tar fixes" can contaminate metal and keep modern sealants from bonding. If you see black residue, assume you need aggressive cleaning, and sometimes replacement metal. Sealing over asphalt smear usually buys you a short calm before the next storm.
Coastal zones: salt, fasteners, and edge corrosion
Near the coast, corrosion often starts at cut edges, scratched coatings, and fastener heads. Use corrosion-resistant fasteners and washers, then seal only after you restore the mechanical seal. For exposed-fastener systems, reviewing washer compression and screw selection helps prevent "sealed today, leaking next season" results: sealing washers and screws for Florida roofs.
Step-by-step application that holds up in Florida weather windows
Florida application success is mostly about timing and prep. A great sealant on a damp, dirty panel acts like tape on a dusty toolbox.
1) Start with the right repair order
Replace failed components first. That includes loose screws, split washers, and deformed flashing. If a detail relies on sealant alone, fix the detail. This is where many flashing leaks originate, not in the panel field. (For a fast way to spot "sealant-only" detailing that won't last, see avoiding sealant-only flashing in Florida.)
2) Clean like adhesion depends on it (because it does)
Remove dirt, oxidation, salt film, and old loose sealant. Use a cleaner approved for the panel finish. Rinse well, then let it dry fully. On glossy paints, a light scuff in the seal zone often helps, as long as you don't damage the finish beyond the bead area.
3) Check substrate dryness and temperature
Don't seal over condensation. Morning dew on metal is common, even on "dry" days. Plan for mid-morning starts when the panel surface is dry, and avoid late-day applications if storms are likely.
4) Prime only when the system calls for it
Many crews skip primer until they get peel-back. On some paints and plastics, primer is the difference between a long-term bond and a clean failure. Follow manufacturer guidance, and keep primer within the seal zone.
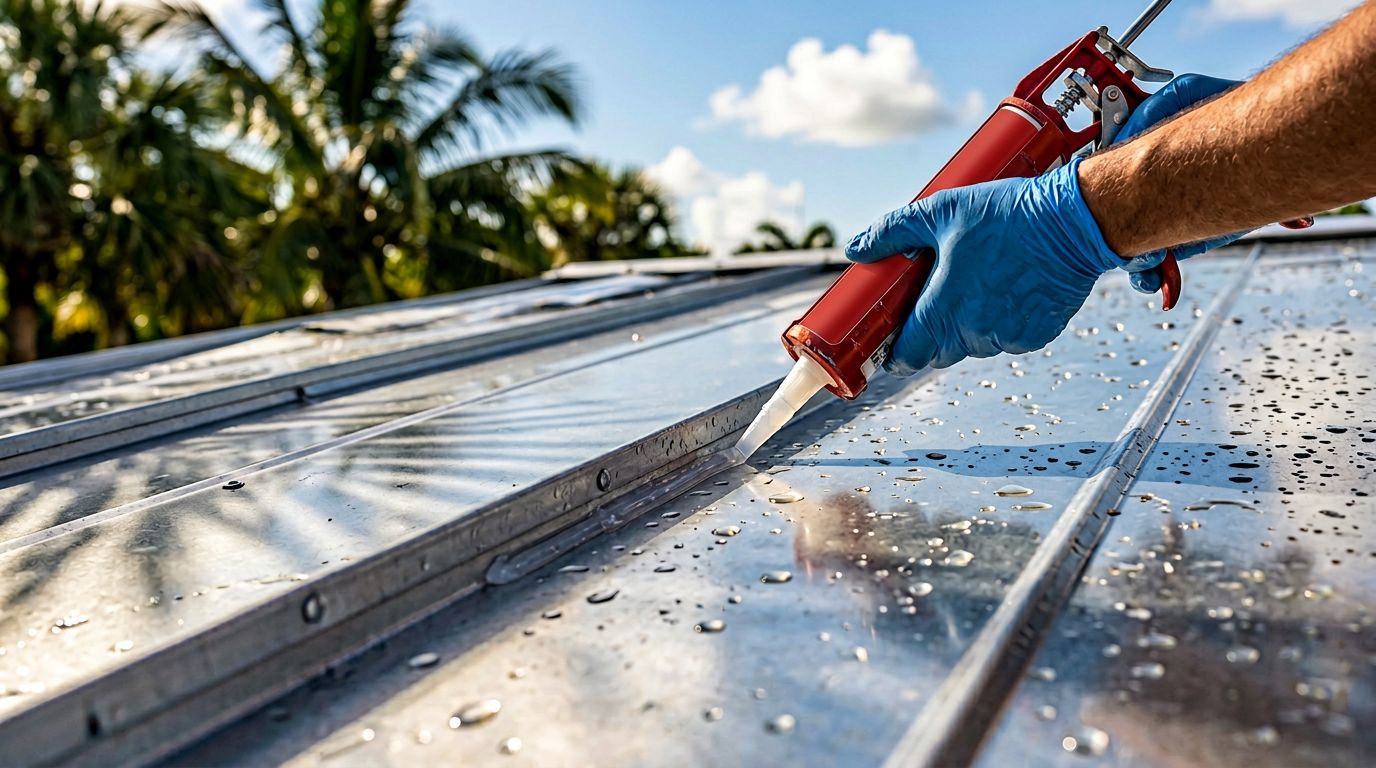
5) Apply the bead with movement in mind
Size the bead so it can stretch. Tool it for full contact on both sides, and avoid thin "wipe beads" that starve the joint. For gaps, use backer rod so the sealant isn't three-sided bonded, which can tear during thermal movement.
6) Respect cure and rain readiness
Read the label for skin time and full cure. Florida humidity can change cure behavior. Many products handle light rain after they skin over, but ponding water or washdown too soon can cause bubbles, washout, or weak edges.
For sealant performance claims, contractors often reference ASTM tests such as ASTM C920 (classification for elastomeric joint sealants), ASTM C794 (peel adhesion), and ASTM C1183 (adhesion and cohesion under cyclic movement). Use those as a reality check when comparing products, and keep your submittals aligned with your assembly requirements.
Common Florida failure modes and quick troubleshooting
Sealant callbacks tend to repeat. Once you've seen a few, you can diagnose them from the stain pattern.
Failure mode: peeling at one edge (adhesion loss).
Most often caused by chalky paint, salt film, oil, or sealing over old residue. Fix it by removing the failed bead completely, cleaning to sound substrate, priming if needed, then re-sealing.
Failure mode: cracking or splitting.
Usually a movement mismatch (sealant too rigid, bead too thin, three-sided bond) or UV breakdown on the wrong chemistry. Rebuild the joint with correct bead geometry, and use silicone or a UV-rated hybrid where it's exposed.
Failure mode: bubbling or pinholes after rain.
Often trapped moisture, outgassing on hot metal, or early wash. Dry the area, then re-apply under better conditions.
Failure mode: rust "bleeding" at fasteners.
This is rarely solved by sealing the head. Replace fasteners and washers first, then add a small cap bead only if the system detail allows it.
When you're staging supplies for a repair run, it helps to build the whole system list, not just the sealant. This checklist pairs well with Florida metal roof punch-listing: sealants for Central Florida metal roofs.
Materials and tools list, plus a printable jobsite checklist
Keep this kit tight so crews don't improvise with the wrong tube.
Materials and tools
- Sealant tubes (matched to substrate and exposure)
- Butyl tape for laps and flanges
- Primer (only if required for the substrate)
- Backer rod (closed-cell where appropriate)
- Replacement screws and bonded washers (including oversized options when approved)
- Cleaner compatible with the panel finish, rags, and clean water
- Non-metallic scuff pads, masking tape
- Caulk guns (high-thrust), tooling spatula, nitrile gloves
- Wire brush and rust treatment for minor corrosion (as approved)
- Labels or photos for before and after documentation
Printable jobsite checklist
- Confirm roof assembly approvals and local inspection expectations (FBC edition and AHJ rules)
- Identify the leak path, don't seal the stain without finding the entry
- Replace loose or corroded fasteners and washers before sealing
- Remove old failing sealant completely in the repair area
- Clean and dry the substrate, check for dew or condensation
- Verify compatibility with panel finish and any EPDM/TPO components
- Use butyl tape under compression joints, not as an exposed bead
- Apply correct bead size, tool for full contact, avoid thin wipe beads
- Protect the repair until it skins, then follow cure guidance before washdown
- Document the repair and schedule a re-check after the next heavy rain
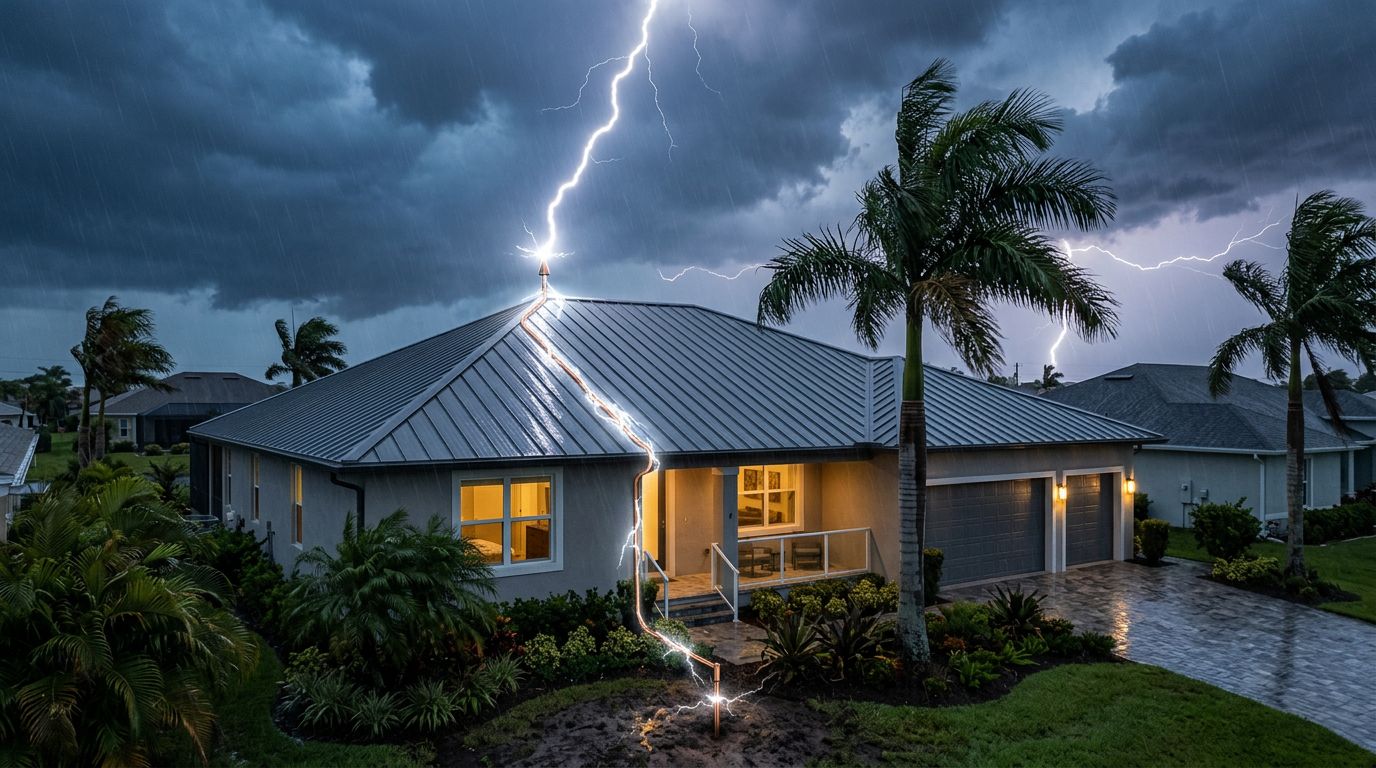
Florida roofs don't reward shortcuts. Choose the metal roof sealant that fits the exposure, fix the mechanical issues first, and treat prep as part of the product. The next storm will test every decision, so make them the kind that still look smart a year from now.
Share Our Metal Roofing News Articles
Related Posts