How to Identify Your Metal Roof Panel Profile
Ever climbed a ladder to your roof only to stare at unfamiliar metal panels? You need replacements or repairs, but first you must match the exact type. Homeowners and contractors in Florida face this often with our hurricane-prone weather and aging roofs.
Metal roof panel profiles vary widely, from simple ribs to complex seams. A wrong match leads to leaks, poor fits, or code issues. This guide walks you through simple steps to pinpoint yours.
You'll measure key features and spot clues right on the roof. Let's get started.
Grab Safety Gear and Basic Tools
Safety comes first on any roof. Wear non-slip shoes, harness up if it's steep, and work with a spotter. Florida heat amps up risks, so go early morning.
You don't need fancy equipment. A tape measure (at least 25 feet), notepad, pencil, and phone camera do most jobs. Add a stud finder or level for tricky spots. Ladder stabilizers prevent slips.
Snap photos from multiple angles. Close-ups of edges and overlaps help later. These details save headaches when you call suppliers.
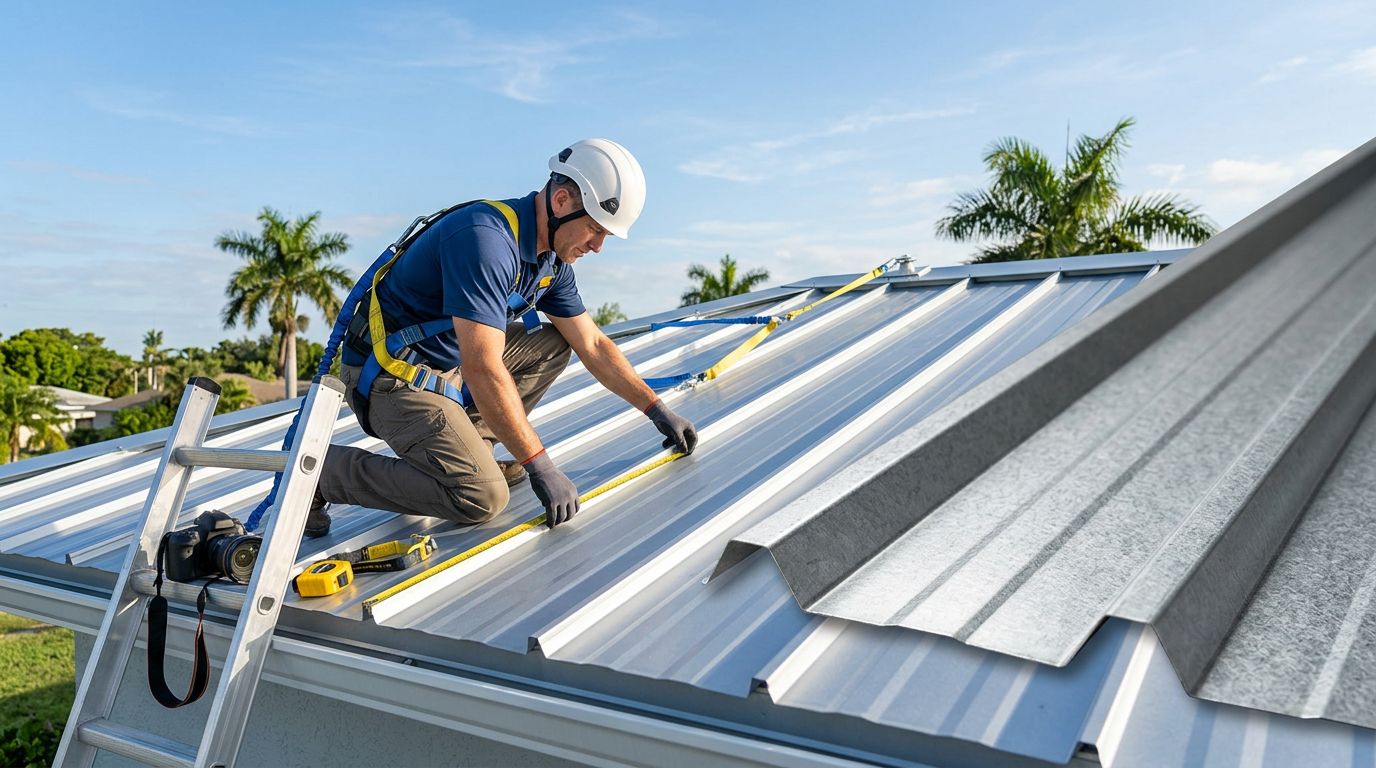
Measure Coverage Width and Overall Size
Start with the basics. Coverage width tells how much area one panel spans after overlaps. It's the key spec suppliers ask first.
Climb up safely. Pick a full, undamaged panel. Measure from outer edge to outer edge for overall width. Then note the overlap amount, usually 1-2 inches per side. Subtract that for coverage. For example, a 36-inch coverage panel often measures 38 inches overall.
Record linear feet too. Panels come in custom lengths up to 45 feet here in Florida. Jot roof pitch if you can; it affects trim needs. Common widths run 32-36 inches for exposed fastener types.
Here's a quick comparison of typical coverage:
| Panel Type | Coverage Width (inches) | Common Overall Width (inches) |
|---|---|---|
| AG/Multi-Rib | 34-36 | 36-38 |
| PBR/R Panel | 34-36 | 36-38 |
| Standing Seam | 12-18 | 15-21 |
| 5V Crimp | 24 | 26 |
This chart matches metal roof panel coverage width specs. Use it to double-check your numbers.
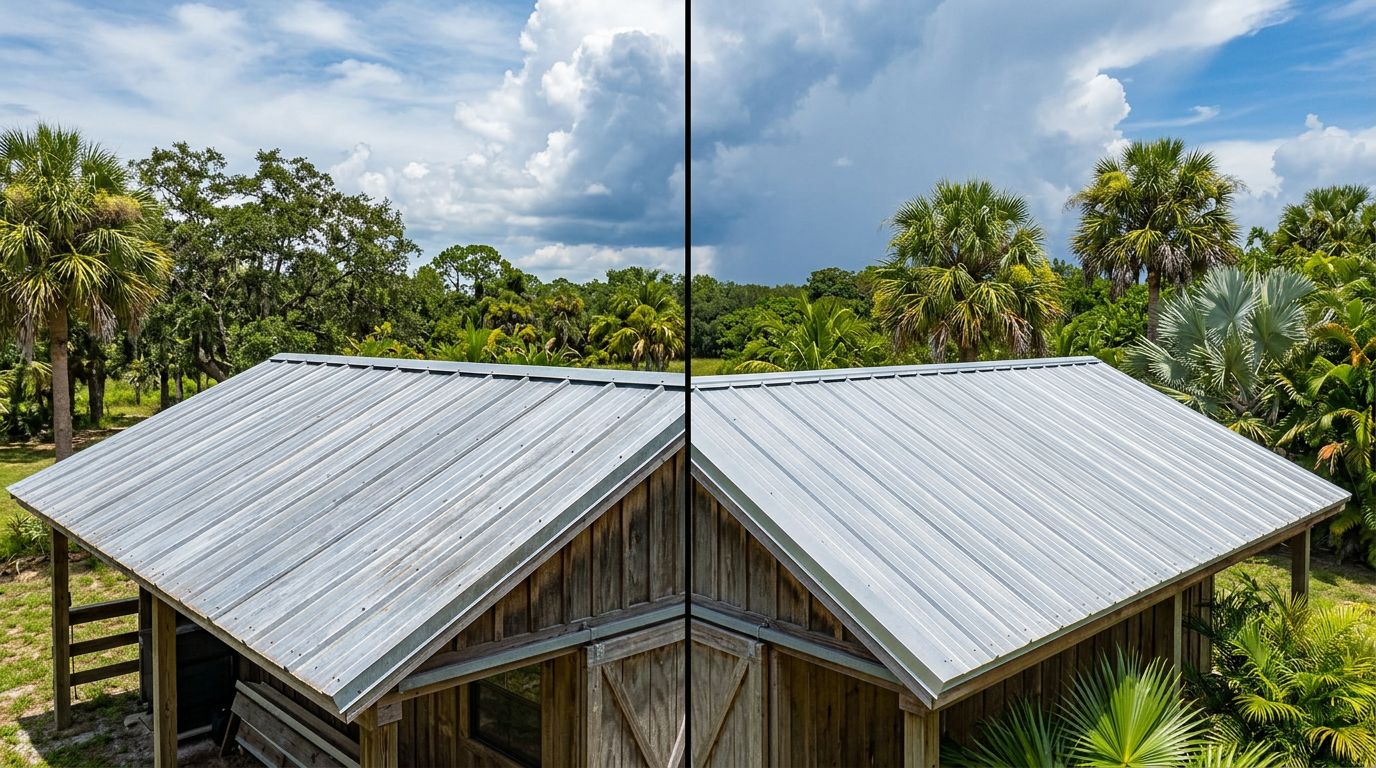
Check Rib Height, Spacing, and Shape
Ribs give panels strength and style. Measure height from flat base to rib peak. Use your tape's hook end.
Space ribs next. Count from center of one rib to the next. Note the pattern: round, square, or trapezoid. Florida favorites like PBR have bold 1.25-inch ribs every 12 inches.
Panel shape matters too. Flat with ribs? Corrugated waves? Snap photos of the cross-section. Hold the tape perpendicular to ribs for accuracy.
Common pitfalls: Don't measure from roof edge; focus on the panel itself. Wind damage warps numbers, so average a few spots.
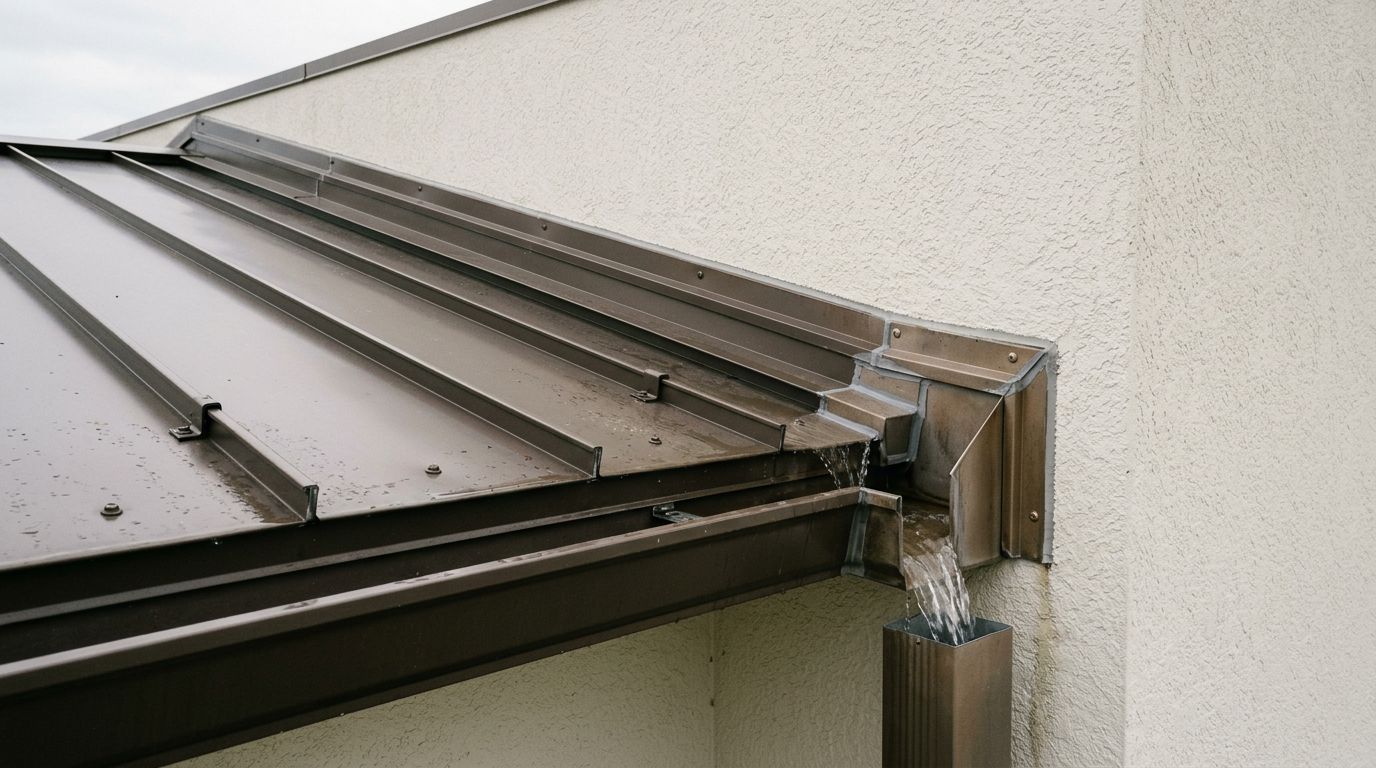
Spot Seam Style and Fastener Locations
Seams seal panels together. Exposed seams show screws; concealed ones snap or clip hidden.
Look for screw patterns. Exposed fastener panels have them every 12-24 inches along ribs. Standing seam uses clips under seams.
Check seam height. Snap-lock seams rise 1-1.5 inches; mechanical seams crimp higher. Note if seams snap, zip, or need tools.
Fasteners clue profile too. Hex-head screws point to AG or PBR. Tiny clips scream standing seam.
Hunt for Stamps, Markings, and Paint Codes
Most panels have clues baked in. Flip edges or peek under overlaps for stamps. Look for gauge (26 or 29), manufacturer name, or profile code like "PBR-36."
Paint often hides codes. Scrape gently or check faded spots. Florida approvals show as "FBC" or "Miami-Dade NOA" with numbers.
No stamps? Note color exactly; suppliers match it. Our panel profiles page lists common Florida types with photos.
Match Your Measurements to Popular Profiles
Now compare notes. Pull up supplier catalogs or apps.
AG/Multi-Rib: 1-inch ribs, 9-inch spacing, exposed screws. Great for barns.
PBR/R Panel: Taller 1.25-inch ribs, versatile for homes. Check R metal panel details for ribs.
5V: V-shaped ribs every 12 inches, crimped seams. Classic coastal look.
Standing Seam: Flat fields, raised locks. Premium wind resistance.
Florida codes favor approved profiles. Sketch yours; it speeds matching.
Your Go-To Checklist Before Calling Suppliers
Armed with data, you're set. Use this list:
- Coverage width and overall size
- Rib height, spacing, and shape
- Seam type and fastener method
- Gauge, stamps, or markings
- Photos from all angles
- Roof pitch and total square footage
Snap a panel sample if possible. Call with facts; avoid "ribbed metal." Suppliers like us guide from there, especially for custom trim matching.
Key Takeaways
You now know how to nail down your metal roof panel profile with simple measures and checks. Accurate details prevent order mix-ups and ensure Florida-compliant replacements.
Next time you're up there, measurements first. Your roof lasts longer with the right match.
Confused still? Share your notes; local experts help refine. Solid roofs start with knowing what you've got.
Share Our Metal Roofing News Articles
Related Posts