Metal Roof Panel Coverage Width: Order Right the First Time
Ever ordered metal roofing panels only to find you came up short halfway through the job? Or worse, you have stacks of unused material sitting around? These mistakes cost time and money, especially in Florida's busy construction season. Metal panel coverage width decides how many panels you truly need for your roof.
Coverage width differs from the panel's full size because overlaps eat into usable space. Homeowners, builders, and contractors all face this when planning residential or commercial roofs. Get it wrong, and you overpay or scramble for extras.
This guide breaks it down simply. You'll learn definitions, differences, calculations, and steps to order accurately. Let's start with the basics so your next project runs smooth.
What Metal Panel Coverage Width Really Means
Coverage width is the net space one panel protects after overlaps. It ignores edges you tuck under neighboring panels. Manufacturers list this number clearly in specs.
Think of it like floor tiles. The box says 12 by 12 inches, but you cut edges and leave gaps. Panels work the same way. Each profile has ribs or flats that require side laps for water-tight seals.
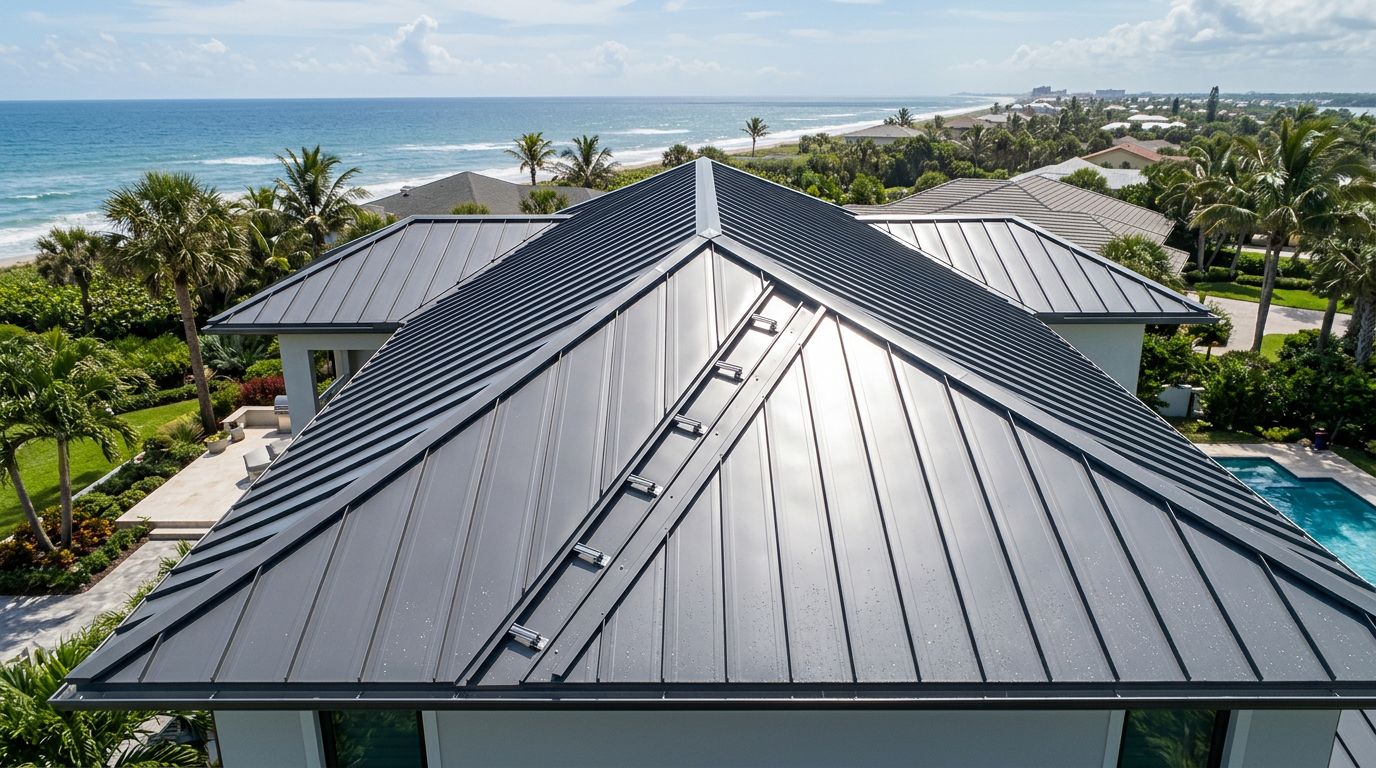
In Florida, where heavy rain tests every seam, proper coverage prevents leaks. Always check the product sheet. Specs vary by maker, so confirm before you buy.
For example, a basic exposed-fastener panel might show 36 inches of coverage. That means each panel shields 3 feet across after lapping. Simple, right? But mix it up with overall width, and your math fails fast.
Coverage Width vs. Overall Panel Width
Overall width is the full sheet size from edge to edge. Coverage width subtracts overlap amounts. Don't confuse them, or you'll under-order.
Most panels need 1 to 2 inches of side overlap per edge. A 38-inch overall panel with 1-inch laps on each side gives 36 inches coverage. See the difference?
Builders often grab the bigger number first. That leads to trouble. Use coverage width for square footage math. It matches the actual protected area.
Here's a quick comparison:
| Panel Type | Overall Width (inches) | Coverage Width (inches) | Overlap per Side (inches) |
|---|---|---|---|
| Ag/Multi-Rib | 38 | 36 | 1 |
| PBR/R Panel | 36 | 34 or 36 | 1-2 |
| Standing Seam | 18 | 16 | 1 |
This table shows common setups. Numbers shift slightly by brand. Standing seam panels often run 16 inches coverage, as you'll see later.
Why Overlaps Reduce Your Usable Coverage
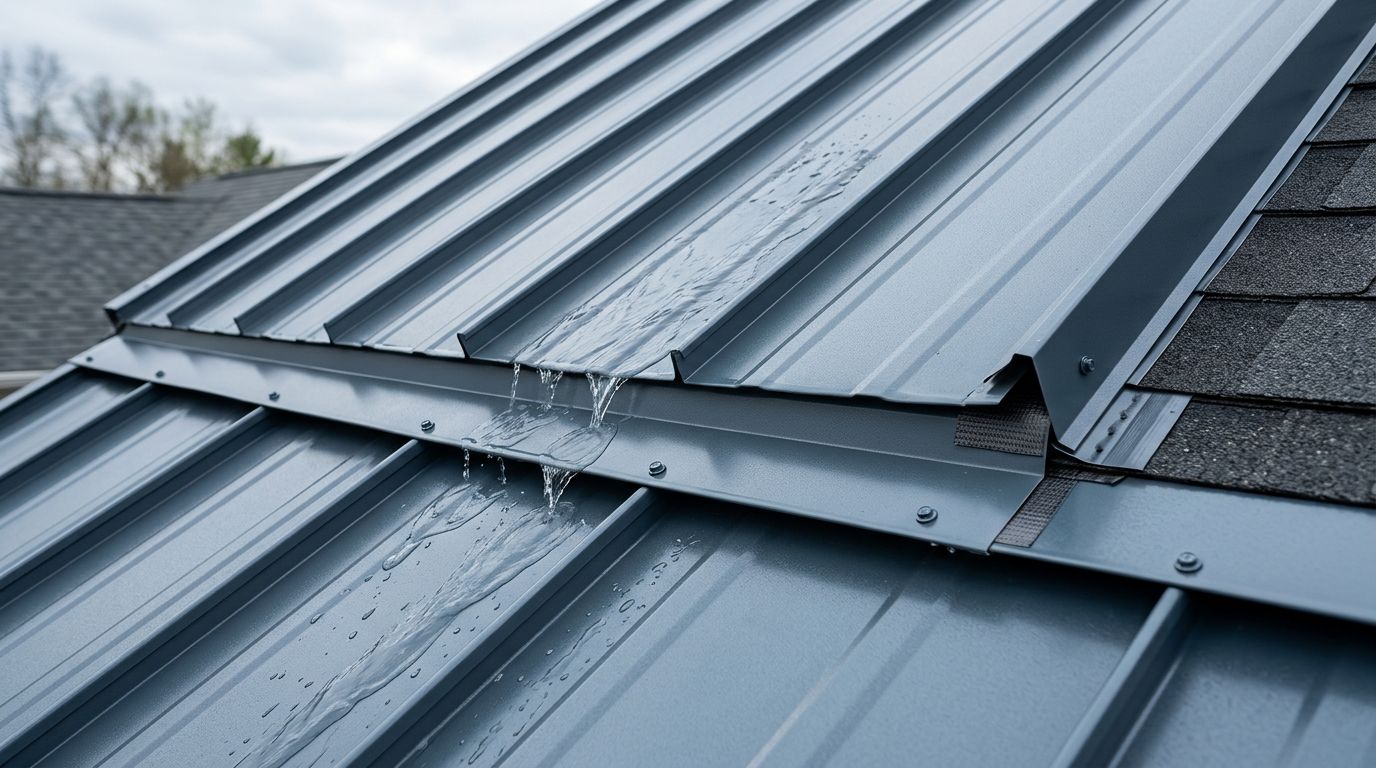
Overlaps seal joints against wind-driven rain, a must in Florida hurricanes. But they shrink coverage. Plan for it from the start.
Side laps typically run 1 to 2 inches. End laps add length waste, but width matters most for panel count. No overlap means gaps and leaks. Too much wastes material.
Ribs guide overlap spots. Align them right, and water sheds off. Misalign, and you invite problems.
In short, coverage width accounts for this built-in loss. It keeps your order realistic.
Coverage Widths Across Popular Panel Profiles
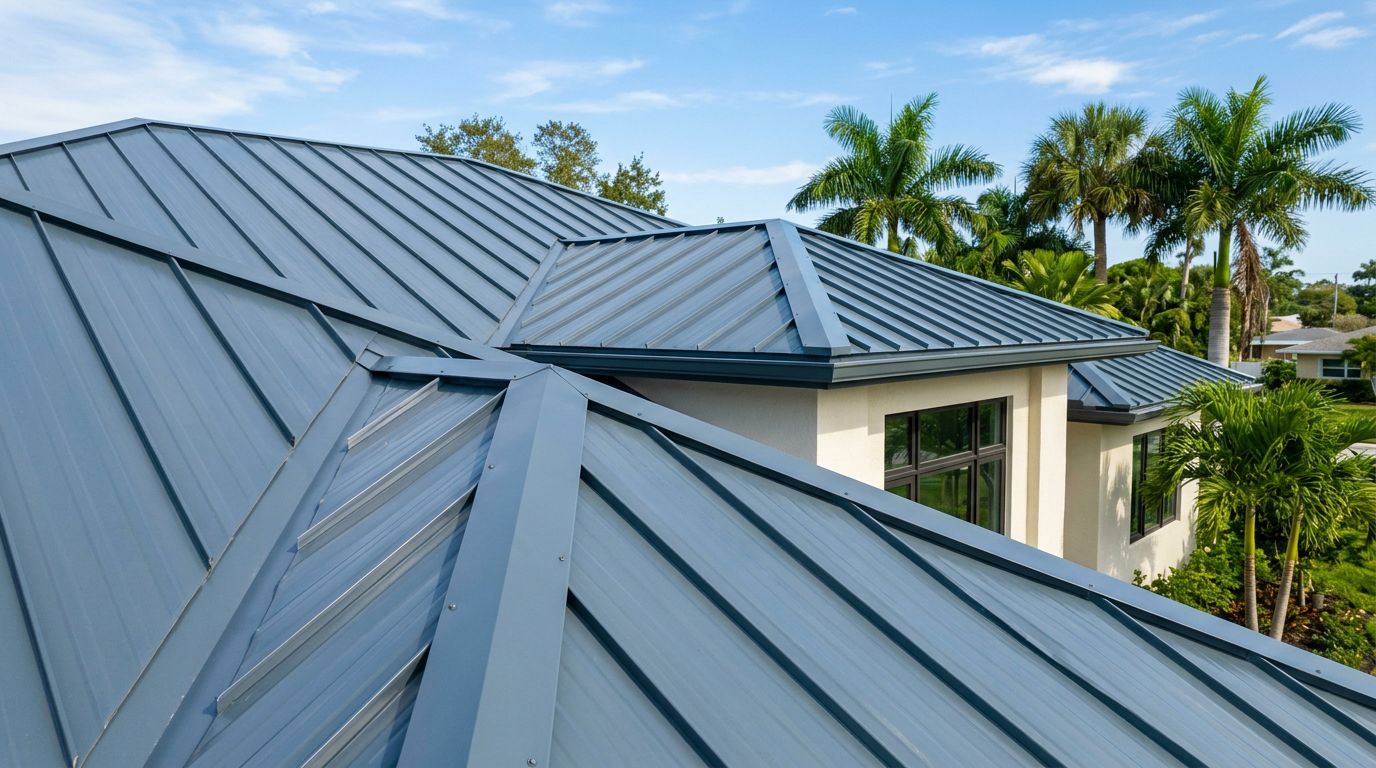
Different profiles serve different jobs, and each has unique coverage. Know yours to match the roof.
Exposed-fastener options like Ag or PBR cover 34 to 36 inches. They suit barns, homes, and shops. Wide coverage means fewer seams and faster installs.
5V panels, popular for crimp-fold looks, hit 24 inches coverage. They hide screws under ribs.
Standing seam panels narrow to 12 to 18 inches. They snap or mechanically lock for sleek, watertight roofs. More panels, but premium performance in high winds.
Florida approvals affect choices. Profiles like PBR pass strict tests. Always verify maker specs, since variations exist.
Step-by-Step Guide to Calculate and Order Panels
Ready to order? Follow these steps for spot-on quantities. Start with roof area, then divide by coverage.
First, measure roof planes. Sketch eaves, ridges, hips. Use pitch to find true length: Slope factor = square root of (1 + (rise/run)^2). Multiply flat area by factor.
Add 10-15% waste for cuts, valleys.
Formula for panels: Number needed = (Roof area sq ft x 144) / (Coverage width inches x Panel length feet).
Better yet: Panels per run = Eave length / (Coverage width / 12). Multiply by runs.
Worked example: Say your hip roof covers 1,600 sq ft true area (after pitch). You pick 36-inch coverage PBR panels, 3 ft long runs.
Waste at 12%: Order area = 1,600 x 1.12 = 1,792 sq ft.
Eave runs total 200 linear ft. Panels per foot across: 12 / 36 = 0.333 panels/ft.
Total panels: 200 ft x 0.333 x (run length / 3 ft) wait, simplify.
For one 40-ft eave: 40 / 3 = 13.33, round to 14 panels. Repeat for all eaves.
Check with full area: 1,792 sq ft / 9 sq ft per panel (36in x 3ft) = about 199 panels. Adjust for lengths.
See a full takeoff in this step-by-step roof measurement guide. It ties coverage into real Florida roofs.
Key Tips to Verify Specs and Avoid Ordering Errors
Profiles differ, so grab data sheets. Call suppliers for exact coverage on your choice.
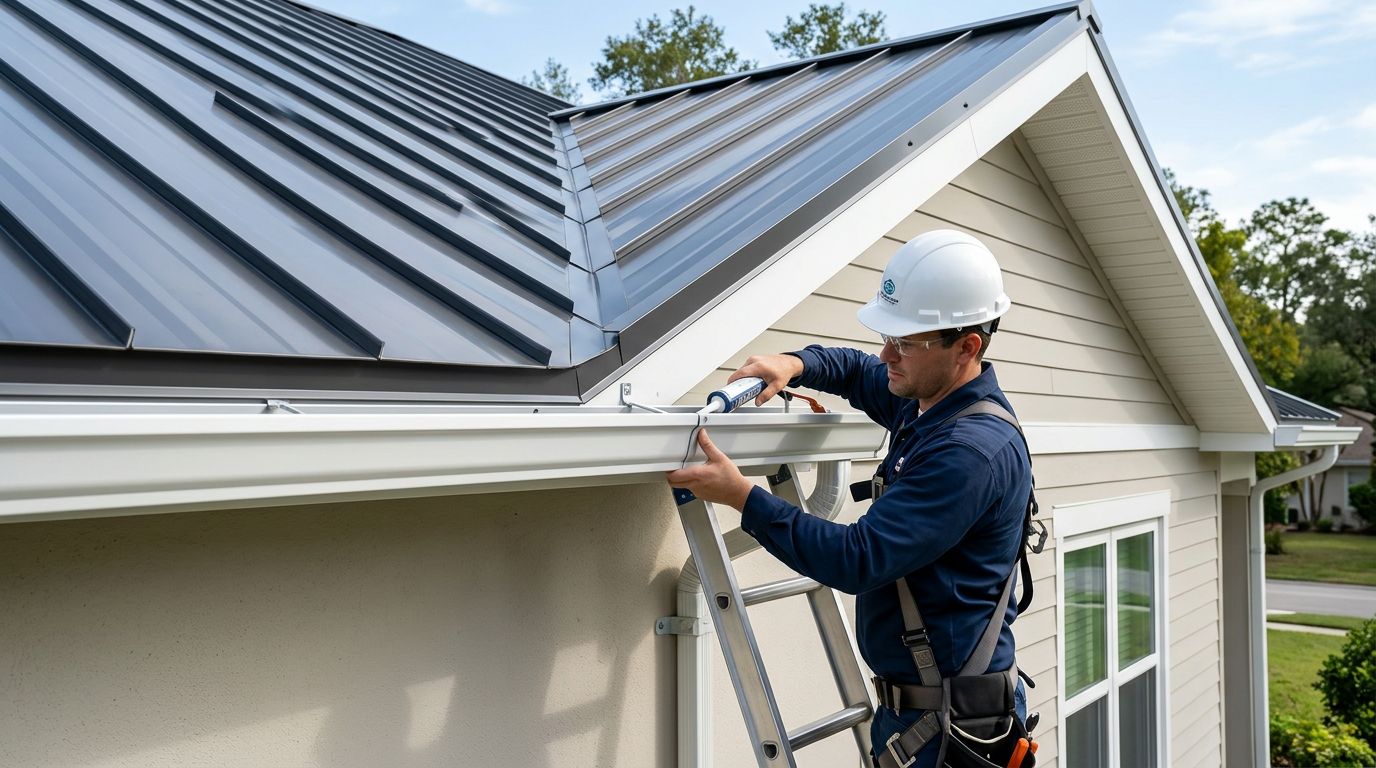
Factor pitch; low slopes need special overlaps. Count trim separately, since it uses different widths.
Round up always. Better extra than short in a storm delay.
For Florida jobs, match wind-rated profiles. Test calcs twice.
Wrap Up with Confidence
Metal panel coverage width turns guesses into solid plans. Understand it separates overall size from usable space, accounts for overlaps, and fits your profile.
Now you can order exact amounts for any roof. Skip shortages or surplus. Your projects finish on time, under budget.
Next time you spec panels, start with coverage. You'll thank yourself when the job flows smooth.
Share Our Metal Roofing News Articles
Related Posts