
Florida Pole Barn Wainscot Trim Guide for Metal Siding
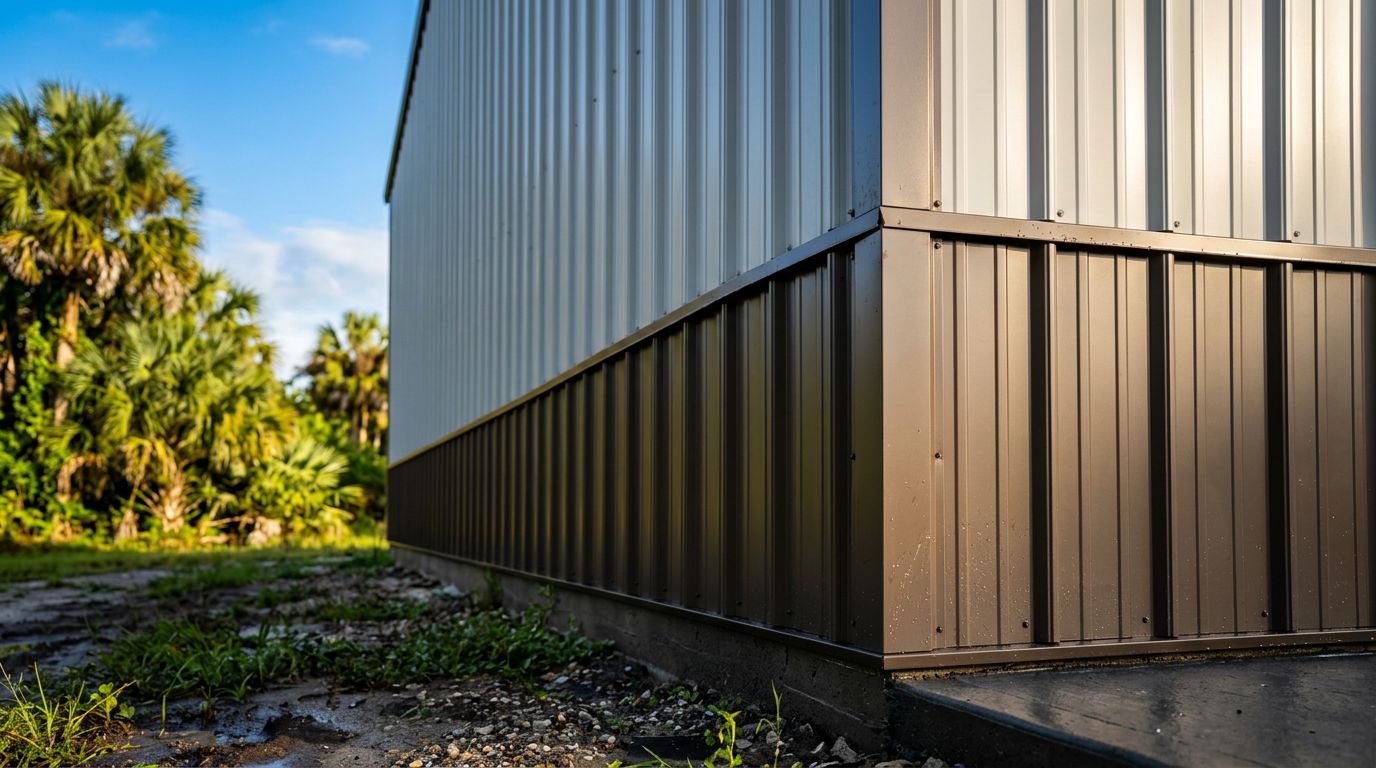
Florida weather is hard on the bottom of a pole barn wall. Rain splashes up, mower debris hits the siding, and heat keeps metal moving all year.
That is why pole barn wainscot trim matters more than many people expect. It cleans up the wall line, covers cut edges, and helps keep water out of the assembly.
Done well, it also makes the building look finished instead of pieced together. Done poorly, it becomes the spot where leaks, rust, and grime start.
What wainscot trim does on a Florida pole barn
Wainscot trim is the transition trim that finishes the lower section of a pole barn wall. In many buildings, that lower band uses a different color, profile, or material than the upper wall.
Its job is simple, but important. It hides exposed edges, seals panel changes, and gives the wall a straight break line. On a Florida barn, that line matters because the lower wall gets hit by splash water, wet soil, and the kind of debris that rides in on summer storms.
A clean wainscot detail also helps with design. It breaks up tall walls and gives the building a more balanced look. That is useful on a shop, a storage barn, or a farm building that sits close to a home.
If you're planning a new build, Florida pole barn kits make it easier to size the wall panels, trim, and framing before the panels are cut.
The lower wall takes the most splash, the most knocks, and the most dirt. The trim at that line has to do more than look nice.
The trim pieces that matter most
Several trim pieces work together at the wainscot line. Each one has a different job, and the details have to fit the wall system.
| Trim piece | Main job | Why it matters in Florida |
|---|---|---|
| Base trim | Finishes the bottom edge of the wall | Helps keep water, dirt, and insects out |
| Wainscot transition trim | Covers the change between lower and upper panels | Creates a clean seam and hides cut edges |
| Outside corner trim | Protects exposed corners | Keeps wind-driven rain from finding the joint |
| Closure pieces | Fill gaps behind trim and panel ends | Reduces water entry and pest issues |
Not every wall needs the same exact mix, but every wall needs a clean transition. The lower edge should look tight, not improvised. If the trim leaves gaps or wobbles along the line, water will find them.
The best results usually come from matching the trim profile to the panel profile. That keeps the wall line neat and helps the parts work together instead of fighting each other.
Florida conditions change the trim choice
Heat, moisture, and salt air change how metal siding performs. Inland barns deal with humidity and long rainy seasons. Coastal buildings also face salt carried by wind and rain.
That means the trim has to resist corrosion and stay sealed. Painted steel with the right finish is a common choice. Galvalume-style finishes are also used on many projects, depending on the look and the wall system. The finish should match the panels and the fasteners, because mixed metals can wear out unevenly.
The base of the wall needs special attention. Water often sits near the slab, splashes off gravel, or collects near soil. If the trim sits too low, it gets hit harder. If it sits too high, it can look awkward and leave the wall base exposed.
Florida sun matters too. Dark trim colors can run hotter, which puts more stress on sealant and fasteners. Light colors reflect more heat, but they can show dirt sooner. The best choice depends on use, location, and how much wear the lower wall will see.
Matching trim with panels and colors
Wainscot trim does more than seal a joint. It shapes how the whole building looks. A well-placed accent band can make a tall pole barn feel shorter and more grounded. A bad color choice can make the wall look chopped up.
The safest approach is to match the trim to one of the main wall colors. That creates a calm, unified look. If you want the lower wall to stand out, use a deeper accent color on the wainscot area and keep the trim clean and simple.
A few practical choices work well on Florida barns:
- Darker lower panels hide splash marks and soil stains better.
- Simple trim profiles look cleaner on utility buildings.
- Coordinated trim and fastener colors help the wall read as one system.
On a shop or home-adjacent barn, the lower band often pulls double duty. It protects the wall and softens the look of a tall structure. On a storage building, the goal may be simpler, which is fine as long as the trim still seals the edge.
Installation details that protect against leaks
Good trim starts with straight lines and patient layout. A crooked base shows up every time it rains.
Start by checking the wall line and the finished grade. The base trim should sit high enough to avoid splash and debris, but low enough to cover the lower panel edge. After that, the sequence matters.
- Set the base trim and make sure the line is level.
- Add closures where the profile calls for them.
- Install the lower wainscot panels.
- Fit the transition trim at the change in color or profile.
- Finish the upper panels and corners, then seal the small joints.
Use sealant only where the panel and trim details call for it. Too much sealant traps dirt. Too little lets water work into the seam.
Fastener placement matters just as much as the trim itself. For wall panel fastening in Florida, the metal siding fastener guide is a useful reference when you need clean, secure attachment points.
The goal is a wall that sheds water instead of collecting it. If the trim telegraphs every screw head, gap, or bowed edge, the lower wall will age fast.
Common mistakes that shorten trim life
A few avoidable errors cause most wainscot problems. They are easy to miss during a busy install.
- Trim set too close to grade gets hit by splash, weeds, and lawn equipment.
- Missing closures leave open paths for wind-driven rain and pests.
- Bare or mixed fasteners can start rust at the first weak spot.
- Cut edges left unprotected can corrode faster in humid air.
Another common problem is poor alignment. If the lower panels and upper panels do not meet cleanly, the trim has to force the line into place. That puts stress on the seam and leaves the wall looking uneven.
Florida storms also expose weak details fast. A trim piece that looks fine on a dry day may loosen when wind pushes water into the joint. Careful layout prevents that.
Maintenance that keeps wainscot looking new
Wainscot trim does not need constant work, but it does need regular checks. A yearly inspection before hurricane season is smart, and another check after major storms is even better.
Start with a simple wash. Dirt, pollen, and salt can sit on the lower wall and hold moisture against the finish. A gentle rinse usually handles most of it. Harsh pressure can force water into seams, so keep cleaning light.
Look closely at screw heads, cut edges, and sealant lines. Touch up scratches before they spread. If sealant pulls away from a joint, rework that section before the next wet season.
It also helps to keep grass, mulch, and soil away from the wall base. The cleaner the area around the trim, the longer the finish will last. A little space at the bottom of the wall goes a long way in Florida.
Conclusion
Good wainscot trim does three jobs at once. It gives the wall a finished look, protects the lower panels, and helps manage water where the building takes the most abuse.
In Florida, that matters more than it does in a dry climate. Moisture, heat, and storm splash will test every seam, so the trim, fasteners, and panel finish all need to work together.
When the details are clean and the materials match, pole barn wainscot trim becomes part of the building's protection, not just its style.
Share Our Metal Roofing News Articles
Related Posts




