
How to Estimate Closure Strips for a Metal Roof
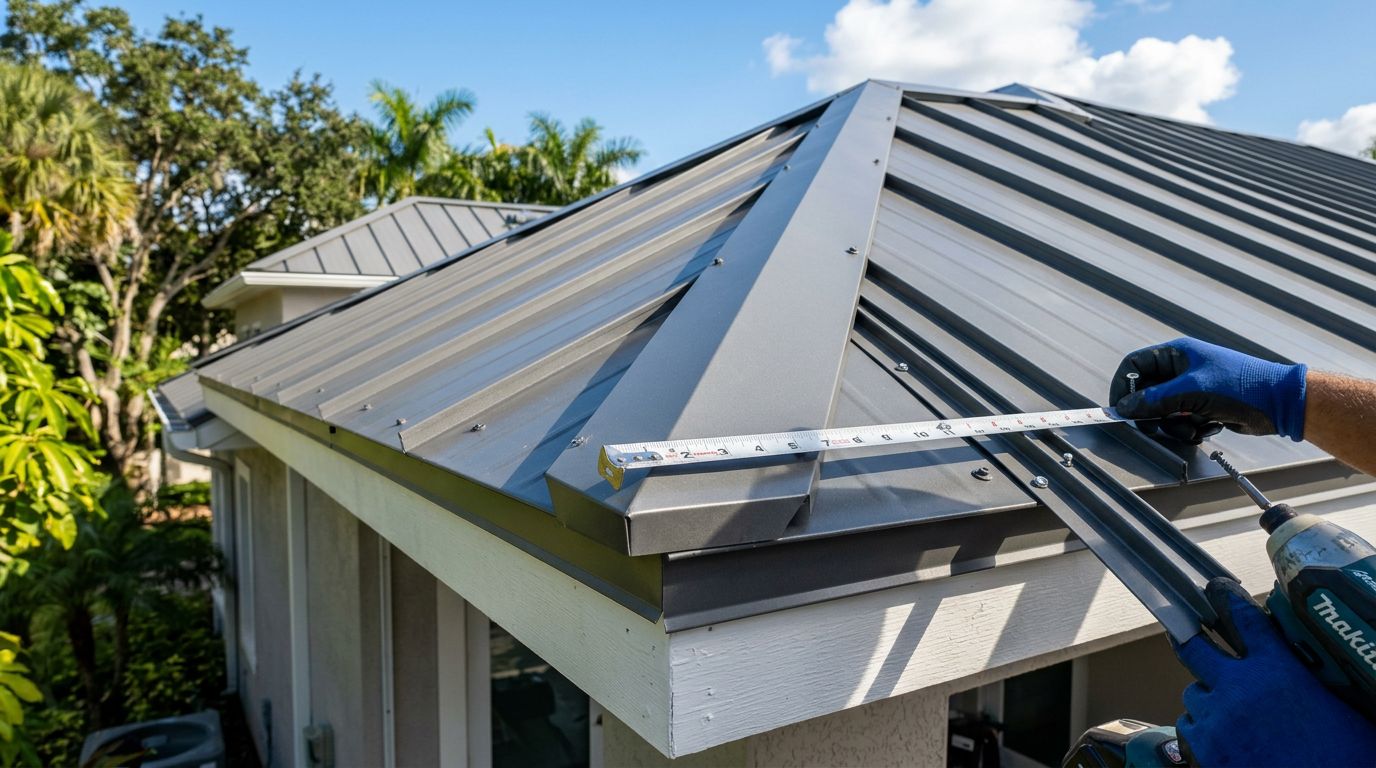
Estimating metal roof closure strips gets easier once you stop thinking in roof squares and start thinking in roof edges. The pieces are small, but a short count can leave gaps at the eave, ridge, or hip.
The right takeoff helps you order the correct amount the first time. It also helps you match the strip to the panel profile, which matters more than most people expect.
On Florida roofs, that attention to detail matters even more because edge details face wind-driven rain and strong sun. Start with where the strips go, then measure the runs one by one.
Know where closure strips belong
Closure strips are not measured by roof area. They are counted by the linear feet of the edges and transitions they serve.
Inside closures usually go under the panel at the eave. Outside closures go under the ridge cap or hip cap. Some roof systems use vented closures at the ridge when the assembly needs airflow.
Here is the simplest way to think about the two main types:
| Closure type | Where it goes | Main job |
|---|---|---|
| Inside closure | Under the panel at the eave | Helps seal the panel shape at the lower edge |
| Outside closure | Under the ridge or hip cap | Closes the panel ribs at the top edge |
| Vented closure | Under a vented ridge cap | Allows airflow while closing the rib openings |
The profile has to match the panel. A closure made for one rib pattern will not fit another the same way. Before you count anything, check the panel shape and the closure style together. This guide to matching foam closures to panel profiles is a good reference when you are comparing rib sizes and cap details.
If the roof has special edges or wall tie-ins, the trim plan matters too. Matching metal roof trim and flashing profiles keeps the closure count aligned with the rest of the roof edge package.
Measure the roof in linear feet, not square feet
The main formula is simple:
Total closure length = all runs that need closures added together
That means you measure each eave, ridge, hip, and any transition that the roof detail calls for. Use the roof plan if it is accurate. If not, measure the actual runs with a tape and write each one down.
A clean takeoff usually follows this order:
- Measure each closure location in linear feet.
- Add the runs together.
- Divide by the strip length per piece.
- Round up.
- Add waste.
Do not use the roof's square footage for this. A large roof area may still have a modest closure count if the shape is simple. A smaller roof with lots of hips, returns, and trim changes can need more pieces than expected.
Measure carefully at breaks in the roof line. Short returns, dormers, and wall intersections often get missed. If a detail calls for laps, add that length before you round up. That small step keeps your order closer to the actual install.
Turn the measurement into an order quantity
Once you have the total linear footage, convert it to piece count. If the closure product comes in fixed lengths, divide the total footage by the length of one strip.
Pieces needed = total linear feet ÷ strip length
Then round up. After that, add waste. On a simple roof, many estimators add 5% to 10%. Roofs with lots of cuts or detail changes often need a little more.
Here is a worked example:
- Eave runs: 44 feet
- Ridge runs: 44 feet
- Two hips: 14 feet each, 28 feet total
- Sidewall transition: 10 feet
Total closure length = 126 linear feet
If your closure strips come in 3-foot pieces, the base order is:
126 ÷ 3 = 42 pieces
Add 10% for waste and small cuts:
42 x 1.10 = 46.2
Round up to 47 pieces .
That example is simple, but it shows the process. The exact piece count changes with product length, roof shape, and the number of transitions. The method stays the same.
Common estimating mistakes that lead to shortages
The fastest way to miss the mark is to treat every roof like a plain rectangle. That works on paper, then fails on the jobsite.
A few mistakes show up again and again:
- Using roof area instead of linear feet . Closure strips follow edges, so square footage does not tell the full story.
- Forgetting hips, valleys, or short transitions . If the detail calls for closures there, count them separately.
- Skipping overlap or splice allowance . Lapped joints need room in the total.
- Ignoring waste . Cut ends, damaged pieces, and field adjustments always happen.
- Choosing the wrong profile . A strip that does not match the panel rib shape will not seal the way it should.
The safest habit is to measure every roof section on its own and then compare the takeoff against the roof details. That keeps hidden runs from slipping through the cracks.
Conclusion
Estimating closure strips comes down to three things: measure the right edges, match the panel profile, and add a small waste allowance. Once you do that, the numbers are easy to trust.
A roof can look simple from the ground and still need more closures than expected. When you count each run the right way, the order is cleaner, the install goes smoother, and the edge details fit the roof the way they should.
Share Our Metal Roofing News Articles
Related Posts




