How To Choose Foam Closure Strips For Each Panel Profile
If a metal roof is the armor, foam closure strips are the gasket. They don't look like much, yet they're often the difference between a tight roof and a mystery drip that shows up after a Florida downpour.
The trick is simple: closures must match the panel's rib shape, and they must match the location (eave, ridge, hip, valley, or end laps). Get either one wrong and you'll fight gaps, crushed foam, pests, and wind-driven rain.
Below is a practical way to choose closures by panel profile, measure what you need, and avoid the most common install headaches.
Start by picking the right closure type (inside, outside, vented, or universal)
Closures aren't one-size-fits-all, even when the panel width is the same. Before you worry about profile names, decide what job the closure is doing.
Inside closures (sometimes called "under" closures) sit under the panel at the eave or on transitions where the panel end is exposed. They fill the voids under the ribs so water and insects can't push uphill.
Outside closures (sometimes called "over" closures) sit on top of the panel, most often under ridge cap, hip cap, or around some trim details. They block the rib openings from above.
Vented closures look similar to standard closures, but allow airflow at the ridge while still blocking wind-driven rain and bugs. In Florida, that airflow matters because trapped heat and moisture can punish an attic.
Universal closure rolls help in valleys and odd transitions where die-cut pieces don't land cleanly. They're also handy when you're dealing with slight profile differences between manufacturers. You'll see both die-cut and universal options under metal roofing closure strips.
Don't force a "close enough" closure into place. If the ribs don't seat naturally, you'll end up with channels for water.
Match foam closure strips to common panel profiles in Florida
You're matching rib geometry, not just panel "type." Still, these guidelines cover the profiles most contractors and DIYers run into.
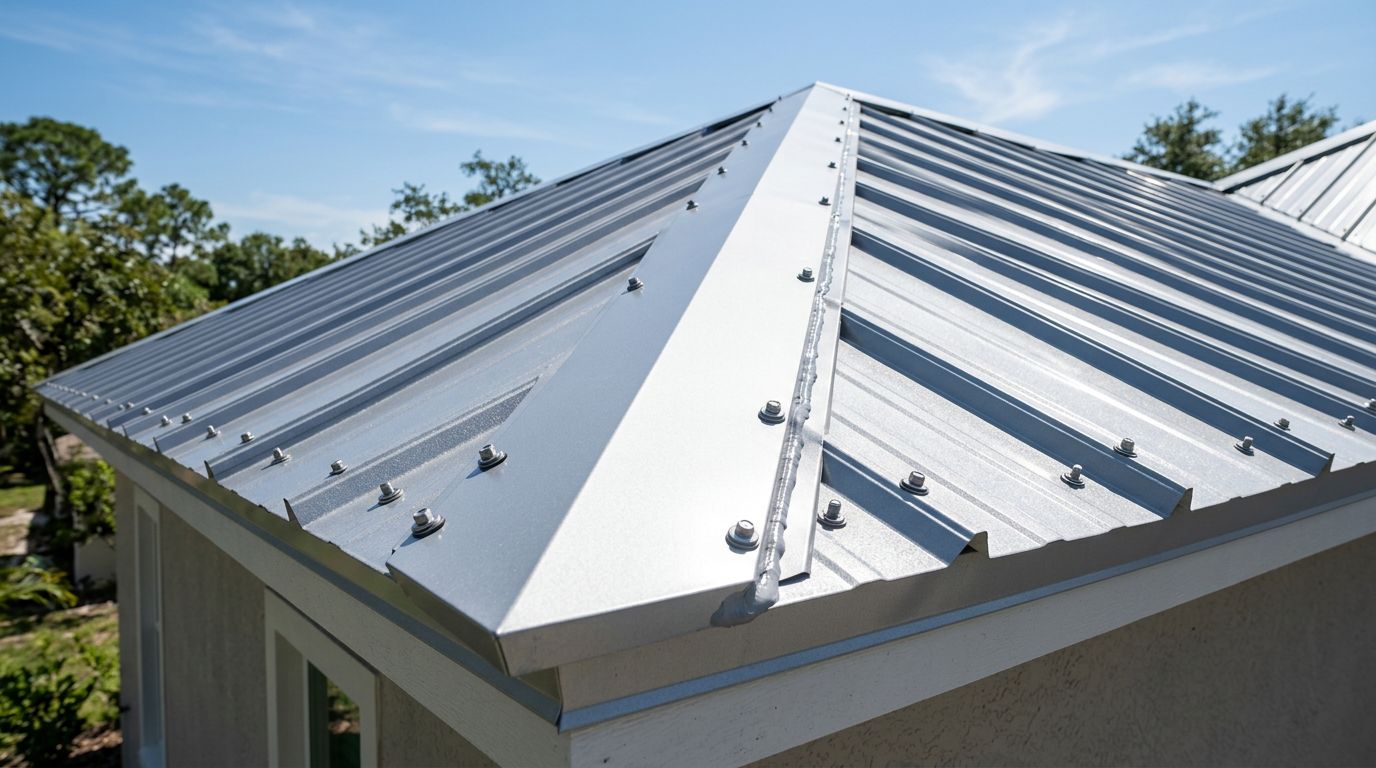
5V Crimp panels (wavy with a pronounced V)
5V has a repeating wave plus a crisp V-rib, so the closure needs that exact pattern. Generic corrugated closures usually leave small half-moon gaps where the V kicks up.
Use inside closures at the eave (under the panel) and outside closures at the ridge (under ridge cap). If you're adding a ridge vent system, switch to a vented closure designed for that cap detail. For profile reference, see 5V Crimp panels.
Common gotcha: 5V closures can look "right" when you hold them up, but flip them end-for-end and they won't align. Test-fit before peeling any adhesive.
Ag / Multi-Rib panels (classic 3/4-inch rib)
Ag panels have repeating major ribs with flats between them. Closures for this style are widely available, but rib spacing can still vary slightly. That's why measuring is worth the two minutes.
At the eave, use inside closures to stop wind from pushing rain under the panel. At the ridge, use outside closures under the ridge cap (or vented closures if the ridge is your exhaust path). If you're deciding between panel families for your project, the differences matter beyond looks, especially for span and structure. Keep this handy: PBR vs Ag panel comparison.
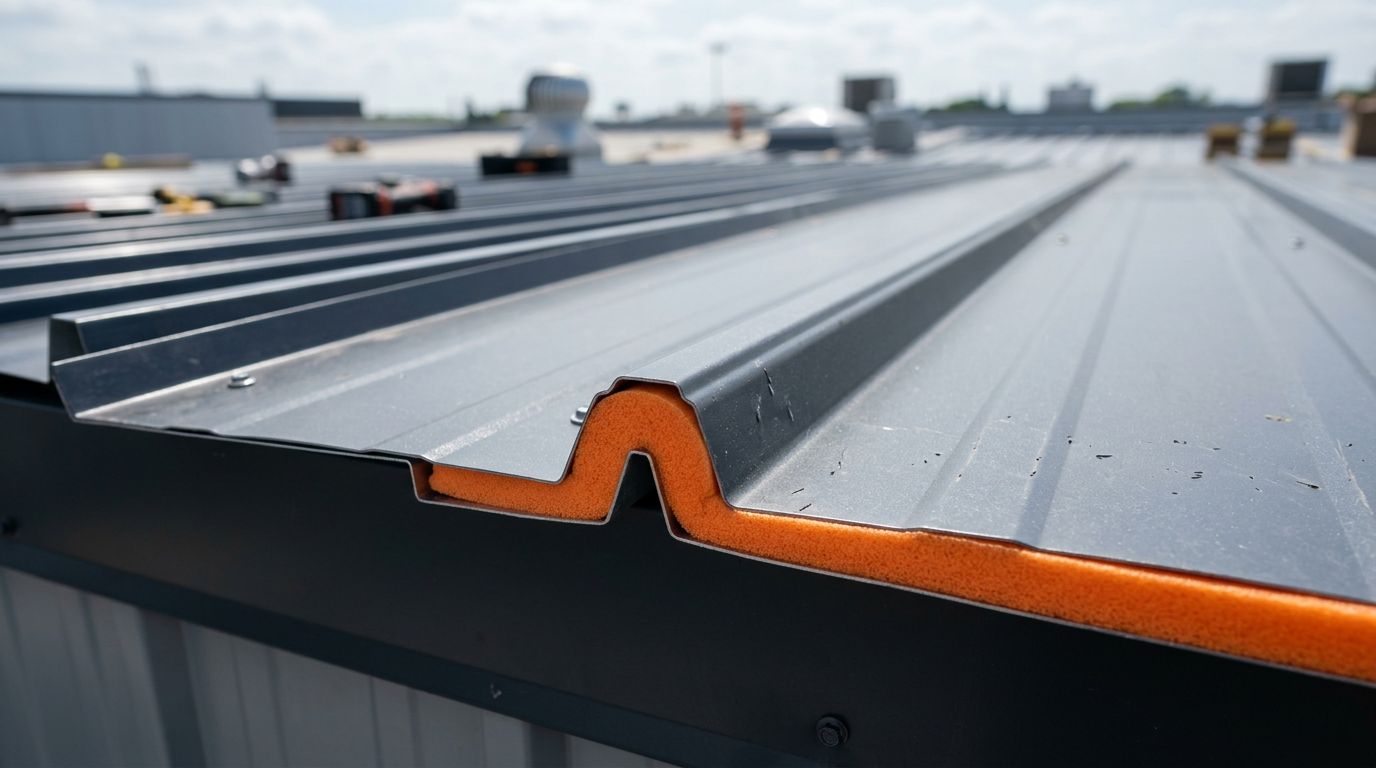
PBR / R panels (taller rib, commercial feel)
PBR profiles have taller ribs and a purlin-bearing leg. That extra height means bigger voids at the ends, so the closure has more work to do. Choose closures labeled for PBR or for that exact rib height and spacing.
Because the ribs are taller, over-compression is a frequent problem. Installers crank down the ridge cap screws and crush the foam until it bows, then water finds the new low spot.
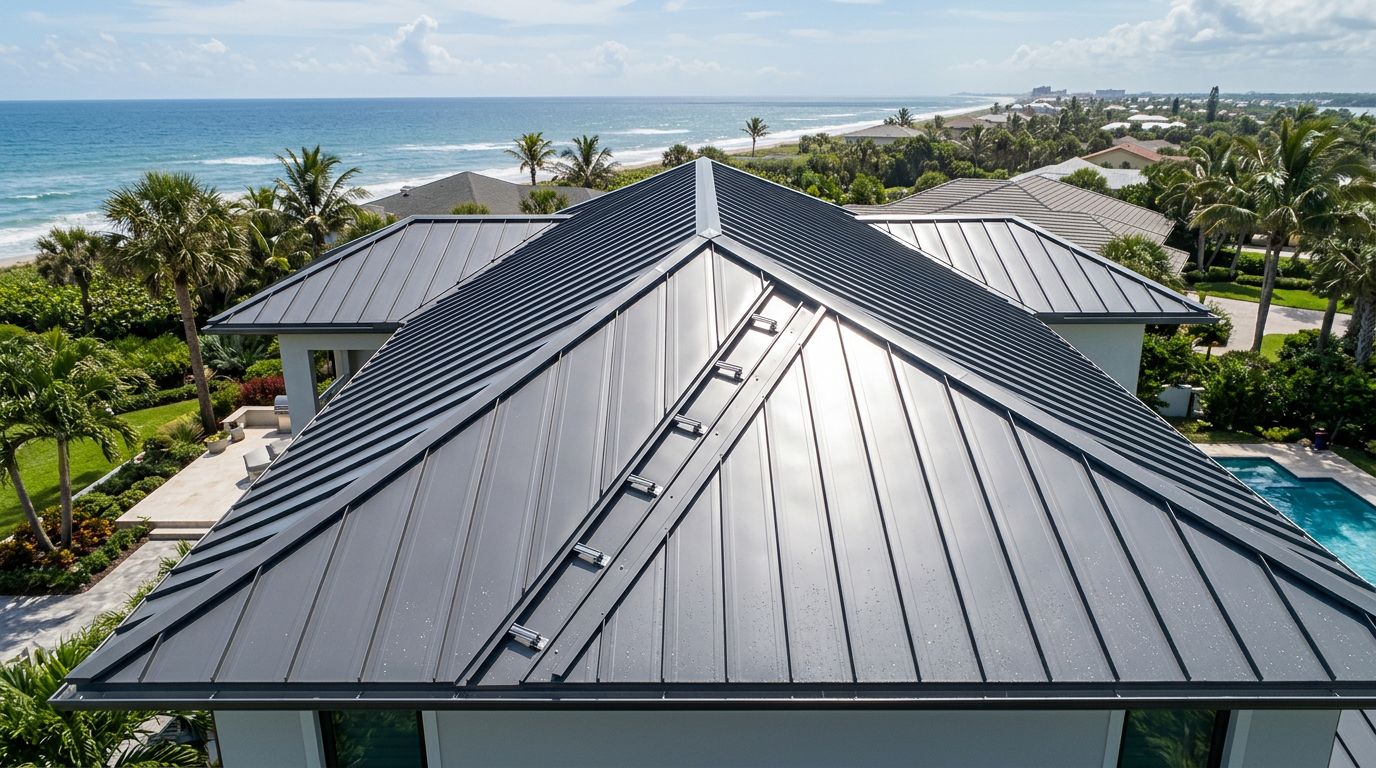
Standing seam panels (concealed fastener systems)
Many standing seam systems don't use "profile-matched" foam at every termination because trims, cleats, and hemmed edges change the geometry. Some details call for formed closures , universal closure material , or carefully placed sealant beads.
If you're unsure which standing seam family you have, it helps to review the broader panel categories first: types of metal roofing panels. Then confirm closure style with the exact trim detail (ridge, high-side wall, transition).
Measure and verify fit in 5 minutes (simple tools, no guessing)
You don't need special gauges. You need the right dimensions and one real-world check.
Bring:
- A tape measure
- A small combination square (or a ruler)
- A marker
- A scrap piece of the same panel (best), or measure on the roof edge
- A phone photo of the panel end (straight-on)
Capture these dimensions from the panel end:
- Rib height (flat to top of rib)
- Rib-to-rib spacing (center to center)
- Flat width between ribs (helps spot "almost" profiles)
- Panel orientation at the location (inside or outside closure)
Here's a quick record sheet you can screenshot and fill in:
| What to measure | How to measure | Why it matters |
|---|---|---|
| Rib height | Square from flat up to rib top | Prevents gaps or crushed foam |
| Rib spacing | Center of rib to center of rib | Matches die-cut pattern |
| Closure location | Eave, ridge, hip, valley, lap | Inside vs outside choice |
| Panel family | 5V, Ag/Multi-Rib, PBR/R, standing seam | Narrows closure options |
Last step: hold the closure to the panel end and look for daylight. If it doesn't seat cleanly across several ribs, it's the wrong pattern.
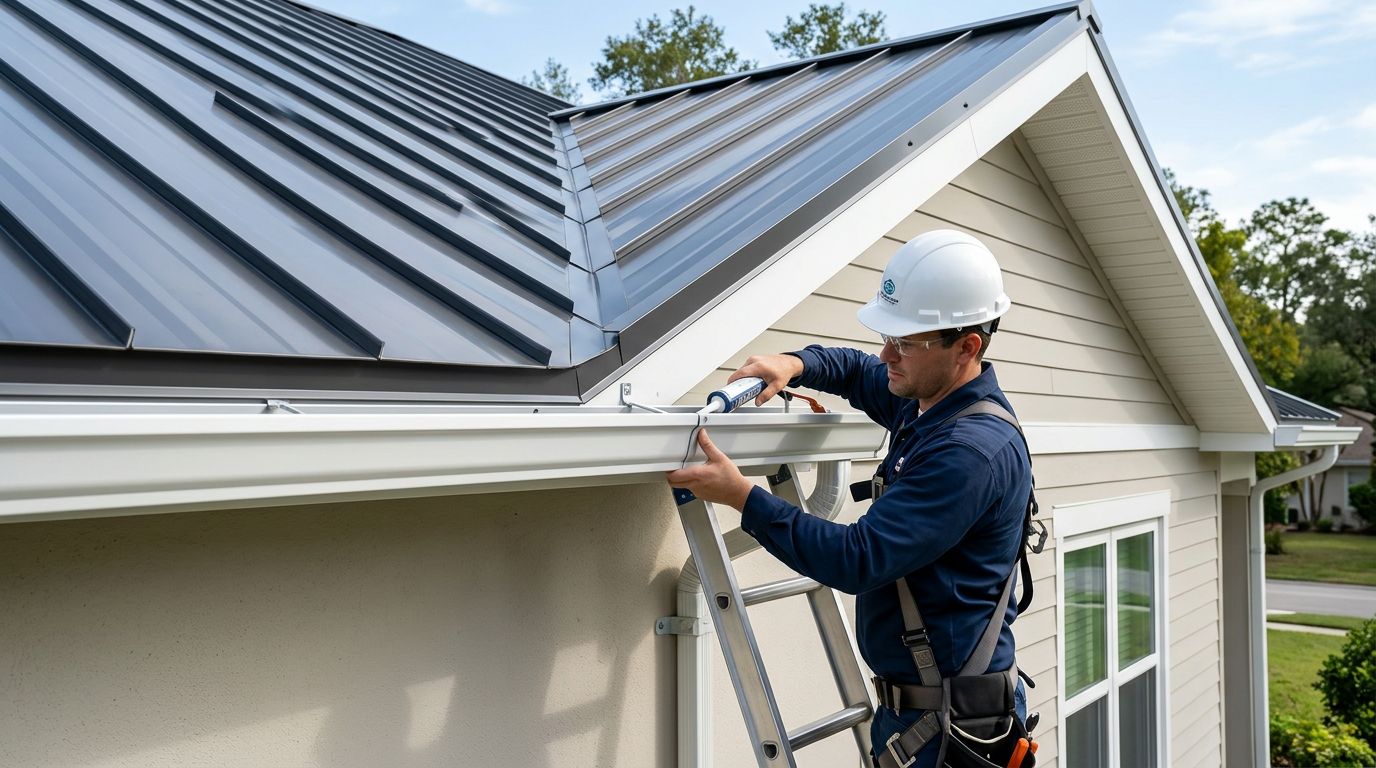
Install smart, stay safe, and troubleshoot the usual problems
Roof work is unforgiving. Wear soft-grip shoes, gloves, and eye protection. Also, use a stable ladder, and avoid working when the roof is wet, even with morning dew. On steeper slopes, a harness and anchor are worth the setup time.
For installation, aim for consistent compression. Adhesive-backed closures help placement, but fasteners and trim pressure create the seal. Set closures so ribs land in the correct valleys, then install trim straight so it doesn't "walk" the foam sideways.
If the foam mushrooms out from under the trim, you tightened too much, or the closure height is wrong.
When something goes wrong, these are the fixes that usually work:
- Gaps at rib tops : The closure pattern is wrong, or it's flipped. Re-check rib spacing, then test-fit the other orientation.
- Over-compression and squished foam : Back off fasteners, and confirm the trim sits flat. If the foam doesn't rebound, replace it.
- Misaligned ribs at ridge or eave : Your panel line may have drifted. Correct with panel alignment first, not by forcing closures to "make up" the error.
- Foam swelling or turning gummy : Some chemicals don't play well with foam. Replace affected pieces, and use compatible sealants and tapes. You can source closure materials along with roofing fasteners and sealants.
- Leaks at laps (endlaps or sidelaps) : Closures don't seal laps by themselves. Add the right sealant or butyl tape at the lap, and confirm stitch fasteners are placed correctly.
- Closure won't stick : Dust and metal filings kill adhesion. Brush the surface clean and dry it, then reapply.
FAQ and a quick "before you buy" checklist
FAQ
Do I need closures on every metal roof?
Most exposed-fastener roofs do, especially at eaves and ridges. Some standing seam details use other closure methods.
What's the difference between inside and outside closures?
Inside closures seal under the panel, outside closures seal over the panel, usually under caps.
Can I use universal closure rolls everywhere?
They're great for valleys and odd transitions, but die-cut pieces usually seal faster and cleaner at eaves and ridges.
Should I use vented closures at the ridge?
Use vented closures when the ridge is part of the attic exhaust plan. Match it to your venting design.
Why does my closure leave tiny openings?
It's almost always a profile mismatch, a flipped closure, or uneven trim pressure.
Before you buy checklist
- Confirm your panel profile name (5V, Ag/Multi-Rib, PBR/R, standing seam).
- Verify whether you need inside, outside, or vented closures at each location.
- Measure rib height and rib spacing , don't rely on "looks close."
- Decide if you need die-cut pieces or universal closure for valleys and transitions.
- Check if your closures are adhesive-backed (helps placement on windy days).
- Plan for lap sealing (butyl tape or compatible sealant), not just closures.
- Buy enough for waste and test-fitting, especially on cut-up roofs.
- Don't install on a wet roof, and stage fall protection before you start.
Choosing the right foam closure strips is mostly pattern matching and pressure control. Once you measure, test-fit, and avoid over-tightening, closures stop being a leak risk and start doing their quiet job for years.
Share Our Metal Roofing News Articles
Related Posts