
How to Flash a Cupola on a Pole Barn Metal Roof
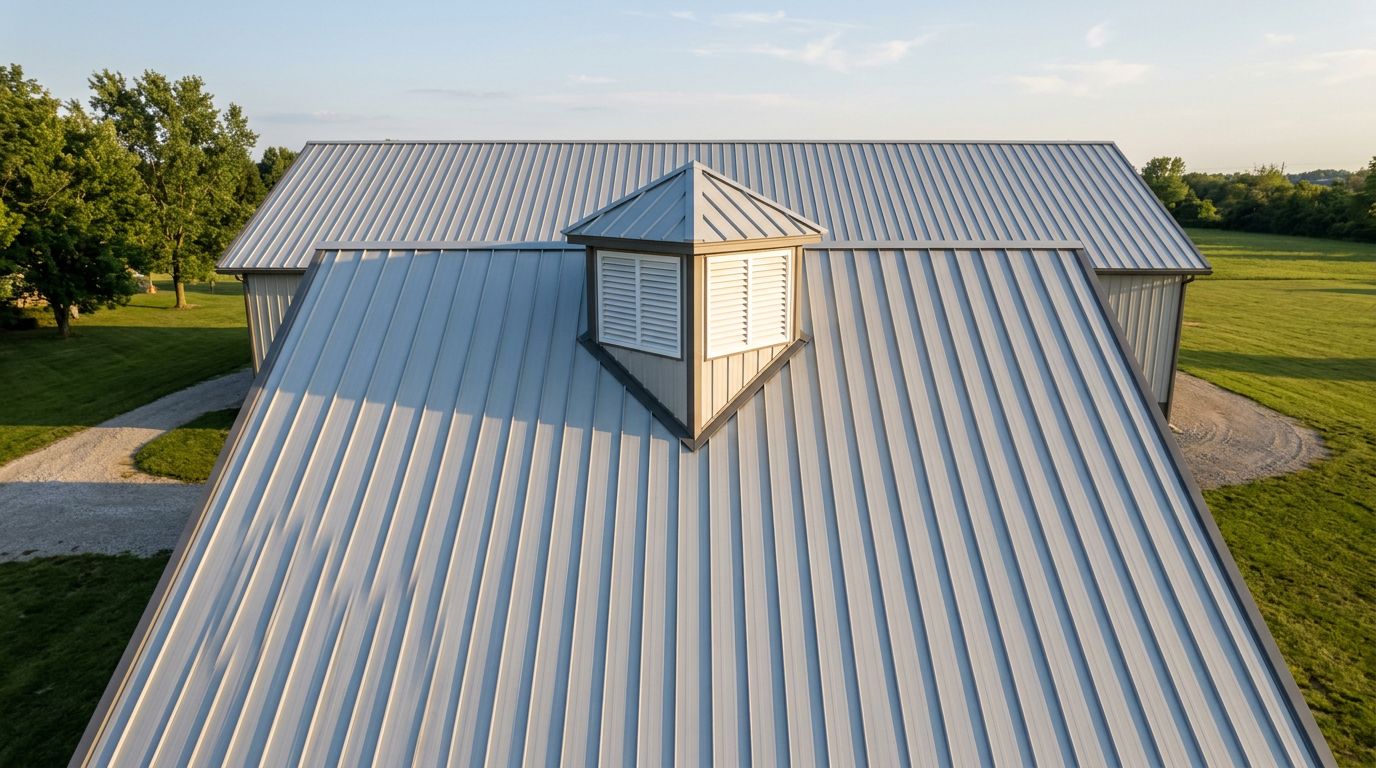
A cupola can add a clean finish to a pole barn, but the base around it can turn into a leak point fast. Water on a metal roof moves quickly, so the flashing around that opening has to work like a layered shield.
The job gets easier when you treat the cupola base like a small roof detail, not a decorative add-on. Proper overlap, compatible sealant, and the right trim profile matter far more than a heavy bead of caulk. Start with the roof system you have, then build the flashing around it in the right order.
Key Takeaways
- Water should always shed over the next layer, never behind it.
- The cupola base must match the roof panel profile and roof pitch.
- Butyl tape, closures, and formed trim do more than caulk alone.
- Exposed-fastener and standing seam roofs need different flashing details.
- Fastener placement matters just as much as flashing overlap.
Start with the curb, opening, and panel profile
Before you cut metal, confirm how the cupola sits on the roof. Some cupolas sit on a curb, while others use a built-in base or shingle flange. That detail changes everything.
If the cupola mounts to a curb, treat it like a roof opening that needs proper water management. A roof curb flashing guide for metal roofs is useful here because the same drainage rules apply. The goal is simple, keep water moving off the high side and away from the fastener line.
Match the flashing to the roof panel too. A PBR or AG panel has ribs that need closures shaped to fit. A 5V roof uses a different trim profile. Standing seam systems need manufacturer-approved details, because fastening through the seams can create trouble.
Take a careful measurement of the cupola base, the panel rib spacing, and the roof pitch. Low-slope roofs need tighter detailing because water sits longer. Steeper roofs still need good laps, but they shed water faster.
Flash the cupola base in the right order
Once the opening is ready, install the flashing in a shingle pattern. That means the upper pieces overlap the lower ones, so water never has an open path uphill. The same discipline used in a metal roof trim installation sequence applies here.
- Dry-fit every piece first. Check the curb corners, rib alignment, and clearance around the cupola base. If a piece fights the roof profile, trim it before sealant goes on.
- Set the downhill flashing first. This lower apron carries the first rush of water away from the opening. Bed it in butyl tape where the metal meets the roof panel.
- Install the side pieces next. These should lap over the downhill apron. Keep the laps long enough for the roof pitch, and fasten where the trim design calls for it.
- Finish with the upslope piece. The top flashing should overlap the side pieces and direct water back onto the roof surface. This is the part that protects the whole detail when rain hits hard.
- Seal exposed fasteners and edges. Use a compatible sealant at the points the manufacturer allows, then set closure pieces where ribs or seams need support.
Caulk helps the joint, but it should never carry the whole load. If the flashing laps are wrong, sealant only delays the leak.
When the cupola has a wide base, add trim so water cannot blow back under the edge. If the base is small and tight to the roof, the overlap still matters. Small details often decide whether the roof stays dry through a Florida storm.
Seal the joints with compatible materials
Sealant choice matters on metal roofs. Butyl tape is common at laps because it compresses well and stays in place. Use a roof sealant that matches the panel finish and flashing metal. Do not mix products without checking compatibility.
This is where many jobs go wrong. A thick bead of caulk can look solid, yet still fail if the metal moves or the sealant does not bond well. That is why closure strips and formed trim matter. They support the joint before sealant ever gets involved.
If the cupola sits over an exposed-fastener roof, use closures that match the rib shape. If the roof is standing seam, follow the system details closely. The metal roof sidewall flashing installation guide covers the same basic idea, vertical transitions need clean overlap and a clear drainage path.
Avoid over-tightening screws. Over-compressed washers crack, and cracked washers leak. Place fasteners where the trim is designed to receive them, then stop. More screws do not fix a bad overlap.
Match the detail to the cupola design and Florida weather
Cupolas are not all built the same. Some have tall sides, some have low skirts, and some use a preformed curb. The flashing method has to match the shape.
- Tall-sided cupolas need stronger side trim and more attention to corner laps.
- Low-profile cupolas need tight closure work because wind-driven rain can creep under shallow edges.
- Standing seam roofs need approved attachment methods, since the seam profile changes how trim locks in place.
- Exposed-fastener roofs depend on rib-matched closures and good fastener placement around the base.
Florida weather raises the stakes. Heavy rain and wind can push water uphill at the wrong corner. That means your flash points should be clean, tight, and backed by proper trim, not just sealant. If the opening feels awkward while you're installing it, stop and re-check the lap direction. Leaks usually start at the piece that looked "close enough."
Conclusion
A well-flashed cupola should disappear into the roof line and stay dry through hard rain. The base needs the same care as any other roof penetration, with correct overlap, matched closures, and sealant that works with the metal system.
If you keep water moving in one direction and avoid depending on caulk alone, the detail holds up much better. On a pole barn metal roof, that small joint around the cupola is where careful work pays off.
Share Our Metal Roofing News Articles
Related Posts




