Metal Roof Purlin Spacing For Florida Pole Barns
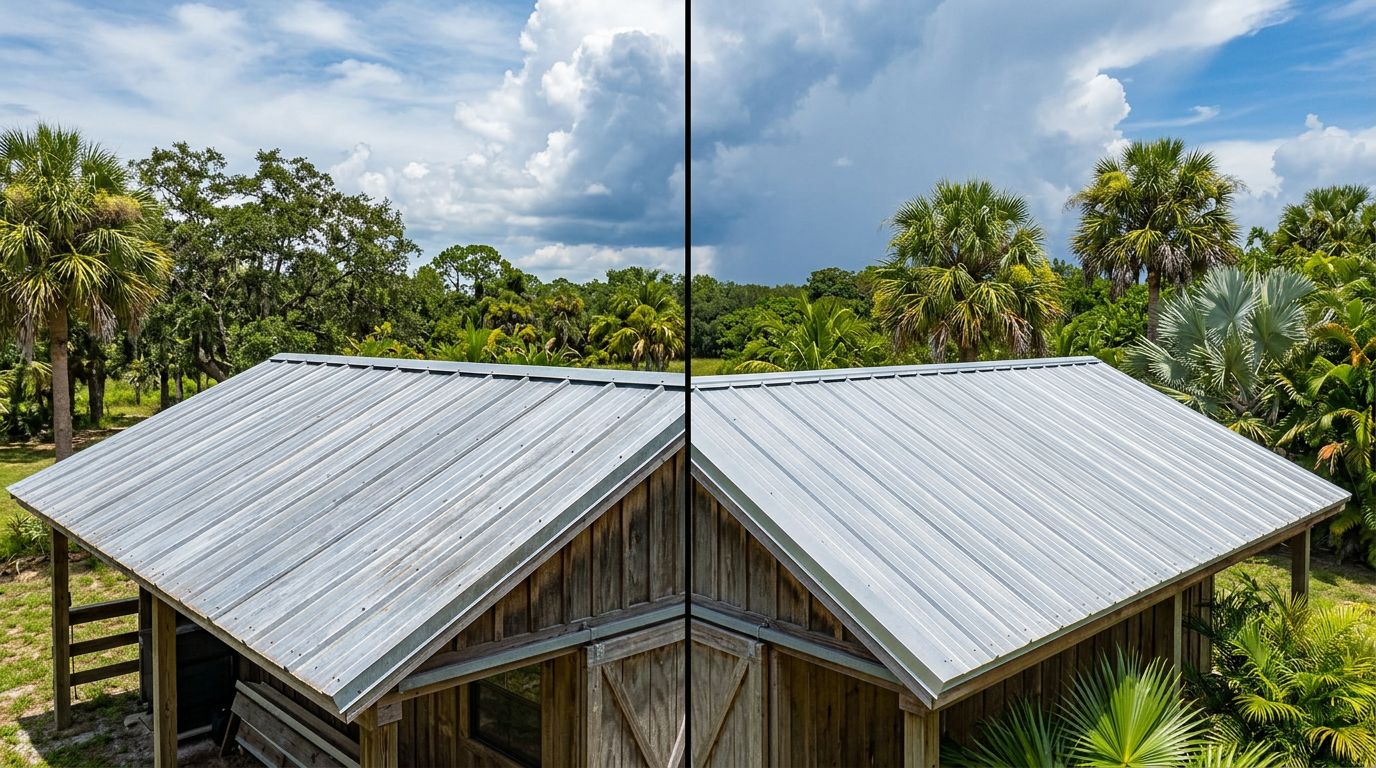
If you're framing a pole barn roof in Florida, metal roof purlin spacing feels like a simple choice until the first summer squall hits sideways. Space them too far, and panels can "oil can," walk fasteners, or leak at laps. Space them too tight, and you waste lumber and time without gaining real wind rating.
Here's the practical truth: there are workable spacing ranges, but your final spacing has to match two things, your metal panel's span and uplift tables, and your site's design wind requirements under the Florida Building Code (FBC) and ASCE 7. Think of purlins like the rungs of a ladder. The panel can only carry so much between rungs before it flexes and starts complaining.
Why Florida wind drives purlin spacing decisions
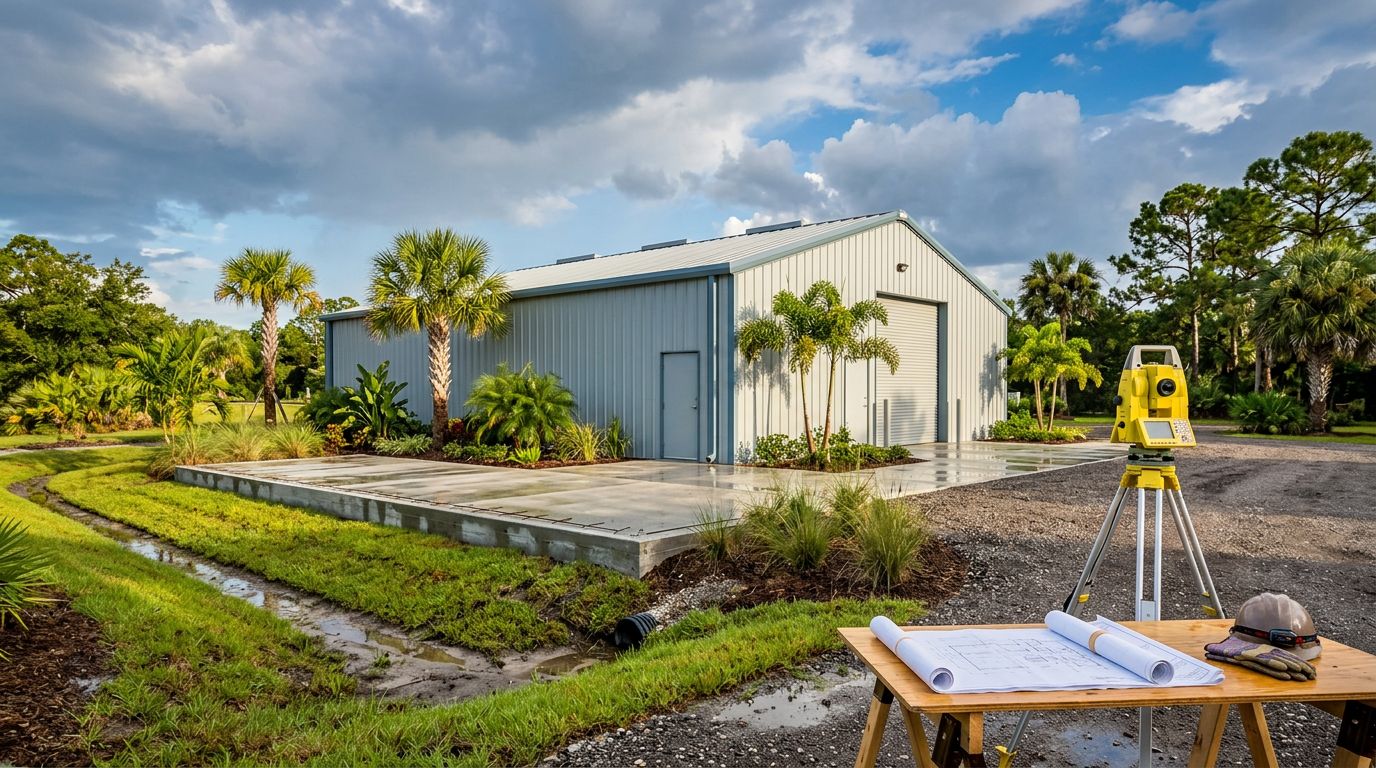
Florida pole barns often sit in open terrain. That matters because open fields raise wind pressure on the roof. Add hurricanes, thunderstorm gusts, and big temperature swings, and the roof system gets tested hard.
As of March 2026, most jurisdictions use the 2023 Florida Building Code (8th Edition) with ASCE 7-22 wind maps. Design wind speeds vary a lot across the state. Inland areas can be around 120 mph, while many coastal zones run much higher, and parts of South Florida can exceed 180 mph in the highest zones. Your county, exposure category (often Exposure C for open terrain), building height, and roof shape all affect the uplift pressures that your roof covering has to resist.
Two details DIY builders miss all the time:
- Edge and corner zones : Wind doesn't pull evenly. Corners and roof edges see higher uplift than the field. That can force tighter purlin spacing, heavier gauge panels, closer fastener patterns, or all three.
- Assembly matters : Panels, fasteners, purlins, underlayment, and trim work together. A panel might span 24 inches in a catalog, but your approved assembly for a high-wind zone might require 12 inches at corners.
If you're still choosing purlin material, sizing, or gauge, it helps to start with what you can actually source and match to approvals. For steel components used in building packages, see galvanized purlins and components.
The safe target is not "the widest spacing that looks fine." It's "the widest spacing your panel and fastening schedule can prove under your local wind uplift."
Practical purlin spacing ranges (with assumptions you must state)
For Florida pole barns with exposed-fastener panels (like Multi-Rib or PBR-style panels), many builds land in a familiar range, but only when the panel profile, gauge, and fasteners match an approved setup.
Here are useful rules-of-thumb ranges, assuming straight purlins, proper bracing, and a typical ribbed panel installed correctly:
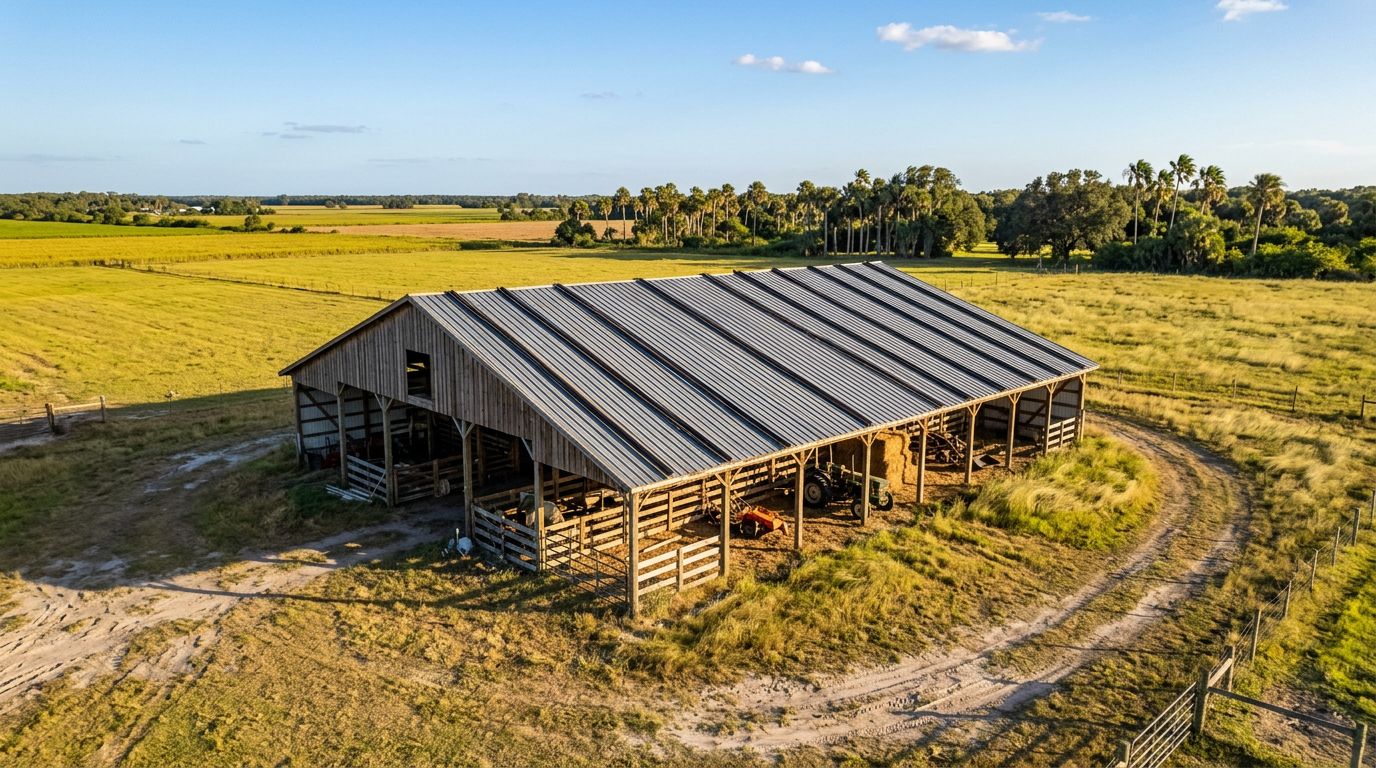
- 24 inches on center : Common starting point for inland sites and many agricultural buildings, especially with 26-gauge ribbed panels and good screw placement.
- 18 inches on center : A conservative upgrade when you expect higher winds, longer panel runs, or more foot traffic (maintenance, lights, fans).
- 12 inches on center : Often used near coasts, in high-wind regions, or when the approval requires tighter spacing in zones 2 and 3 (edges and corners). It's also a common fix when lighter gauge panels feel "springy" over purlins.
Those ranges can break fast when any of these change:
- Panel gauge and profile : Thicker panels usually stay flatter between supports. Profile depth and rib shape also change stiffness.
- Purlin orientation : A 2x4 laid flat is not the same as a 2x4 on edge. Flat purlins can force closer spacing to control deflection.
- Span between trusses : Wider truss spacing puts more load into each purlin and connection.
- Fastening system : Exposed-fastener patterns rely on screw pull-out and washer sealing. If uplift goes up, the fastening schedule tightens, and purlin spacing sometimes has to follow.
If you're deciding between 24-gauge and 26-gauge steel to buy yourself more stiffness, this comparison helps: 24 vs 26 gauge metal roofing for Florida pole barns.
A step-by-step way to choose metal roof purlin spacing in Florida
Don't start with spacing. Start with inputs. Once you have them, the span and uplift tables tell you what's allowed.
Use this short checklist to keep your decision grounded in code and manufacturer data.
First, gather the key inputs below (you'll use them to pick a tested roof assembly and spacing).
| What you need | Why it matters | Where you usually get it |
|---|---|---|
| Site design wind speed (V) | Drives uplift pressures | Permit set, engineer, or local building department guidance |
| Exposure category (B, C, D) | Open terrain increases pressure | Site conditions, plans, engineer |
| Panel profile and gauge | Controls span and uplift ratings | Manufacturer data and product approval package |
| Fastener type and pattern | Uplift resistance and watertightness | Installation manual and approval schedule |
| Roof zones (field, edge, corner) | Corners often govern | ASCE 7 zone layout in engineered docs |
Next, walk through the decision in order:
- Confirm your wind requirements for the permit. Don't guess based on a nearby town. One zip code change can bump wind speed and zones.
- Pick the exact panel system you will install. "PBR" isn't enough. Gauge, coating, and approval numbers matter.
- Open the panel's span and uplift tables. Look for tables that match your substrate (wood purlins vs steel purlins) and fastener type.
- Check zone requirements. Many schedules list different limits for field, edge, and corner. Your purlin layout can't ignore corners.
- Set purlin spacing to the worst zone you can't avoid. If corners require tighter spacing, you can either tighten purlins in those areas or upgrade the panel and fastening schedule so the approval allows wider spacing.
- Lock your fastener plan to the purlin layout. Screw lines need solid backing. A missed purlin line becomes a "floating" fastener row, and that's where uplift damage starts.
If your roof pitch is low, wind-driven rain makes small flex and lap gaps more risky. Before finalizing panel choice, check low-slope metal roofing guidelines for Central Florida.
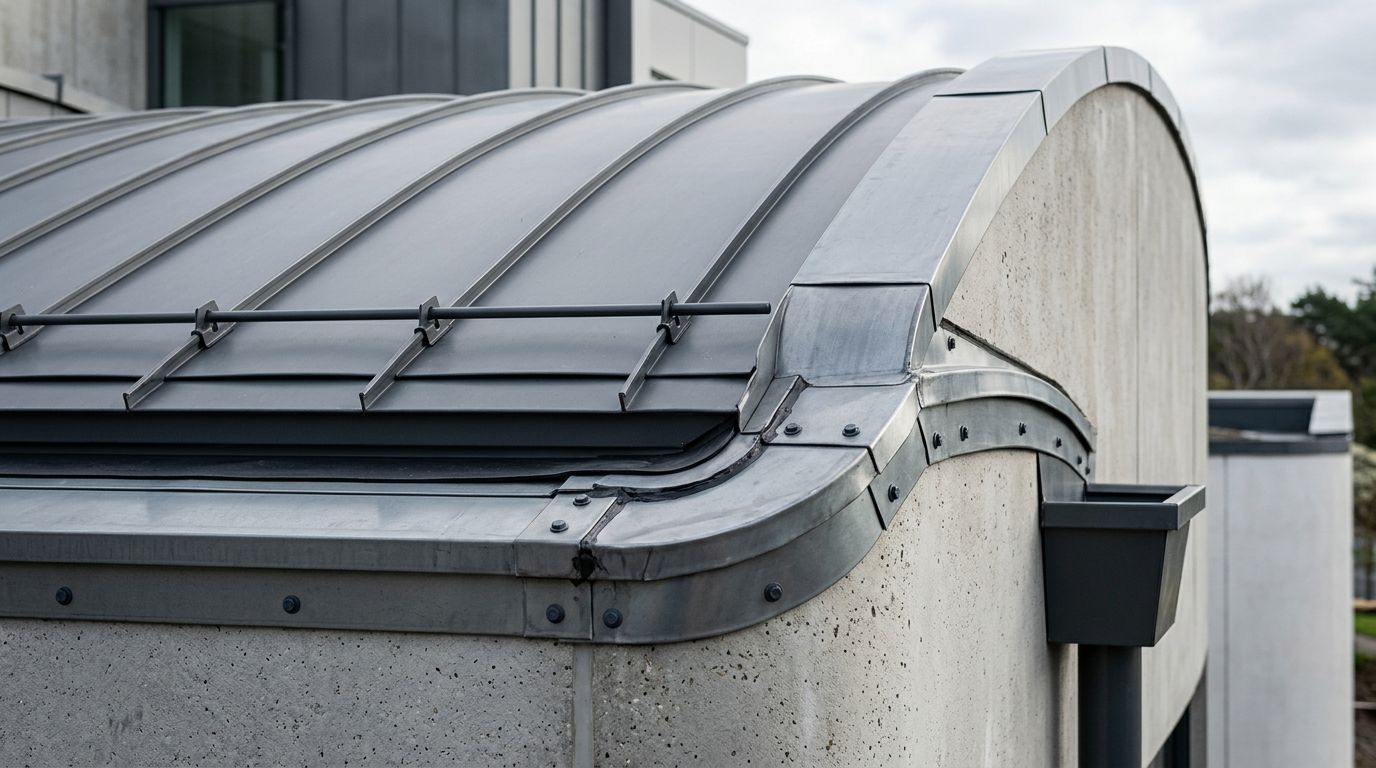
Fastener patterns, edge zones, and when tighter spacing is the smarter move
Purlin spacing and fastener spacing are tied together. Even with perfect purlin layout, sloppy screw work can ruin an approved system.
For exposed-fastener pole barn roofs:
- Field screws usually follow the manufacturer pattern at each purlin line.
- Edge and corner screws often tighten up, either with more screws per panel, different spacing, or added stitch screws at sidelaps.
- Rake, eave, and ridge details need closures and fastener placement that matches the tested assembly.
Small mistakes add up. Overdriven screws crush washers. Underdriven screws don't seal. Angled screws "egg out" holes as panels move in the heat.
For a clear breakdown on matching screw head types and washer styles to roof tasks, use this reference: metal roof screws for Florida pole barn purlins.
When should you consider closer purlin spacing, larger purlins, or thicker panels?
- If your barn sits in open exposure with long roof runs.
- If you're in a coastal or high-wind county , or a Wind-Borne Debris Region that raises system demands.
- If panels feel bouncy during install, or you expect regular foot traffic .
- If your approval schedule forces very tight fastener patterns that are hard to execute cleanly on wide purlin spacing.
Safety and legal note
Building codes, product approvals, and manufacturer instructions control. This article shares general guidance, not a design. For permitted Florida pole barns, a stamped engineered design is often the safest path, and sometimes required.
Conclusion
Good metal roof purlin spacing is a match between your wind design, your panel's tested tables, and a fastening plan that treats corners like the high-stress zones they are. Start with real site wind requirements, then let the approved assembly tell you what spacing is allowed. If anything feels unclear, get it engineered before you buy panels or set trusses, because fixing spacing after the roof is on costs more than doing it right the first time.
Share Our Metal Roofing News Articles
Related Posts