Exposed-Fastener Screw Spacing Chart For AG Panels In Florida
If you're putting an exposed-fastener metal roof on a Florida building, screw spacing isn't a "close enough" detail. It's one of the main reasons a roof passes inspection, stays tight in storms, and doesn't turn into a leak hunt two summers later.
This guide gives a practical AG panel screw spacing chart you can scan fast, plus Florida-specific notes for HVHZ vs non-HVHZ areas. Use the charts as a starting point, then confirm the exact pattern for your panel profile and tested assembly (Florida Product Approval or Miami-Dade NOA, when required).
Screw spacing is part of a tested roof system, not a style preference. Match the approved pattern for the exact panel, substrate, and fastener.
Why AG panel screw spacing changes across Florida
Florida wind doesn't push evenly. It tries to peel the roof up, starting at edges and corners. That's why building design breaks the roof into zones:
- Field (Zone 1): the "middle" of the roof
- Edge/Perimeter (Zone 2): strips along eaves and rakes
- Corner (Zone 3): the high-suction corner squares
In simple terms, you tighten fastener spacing as you move from field to edge to corner.
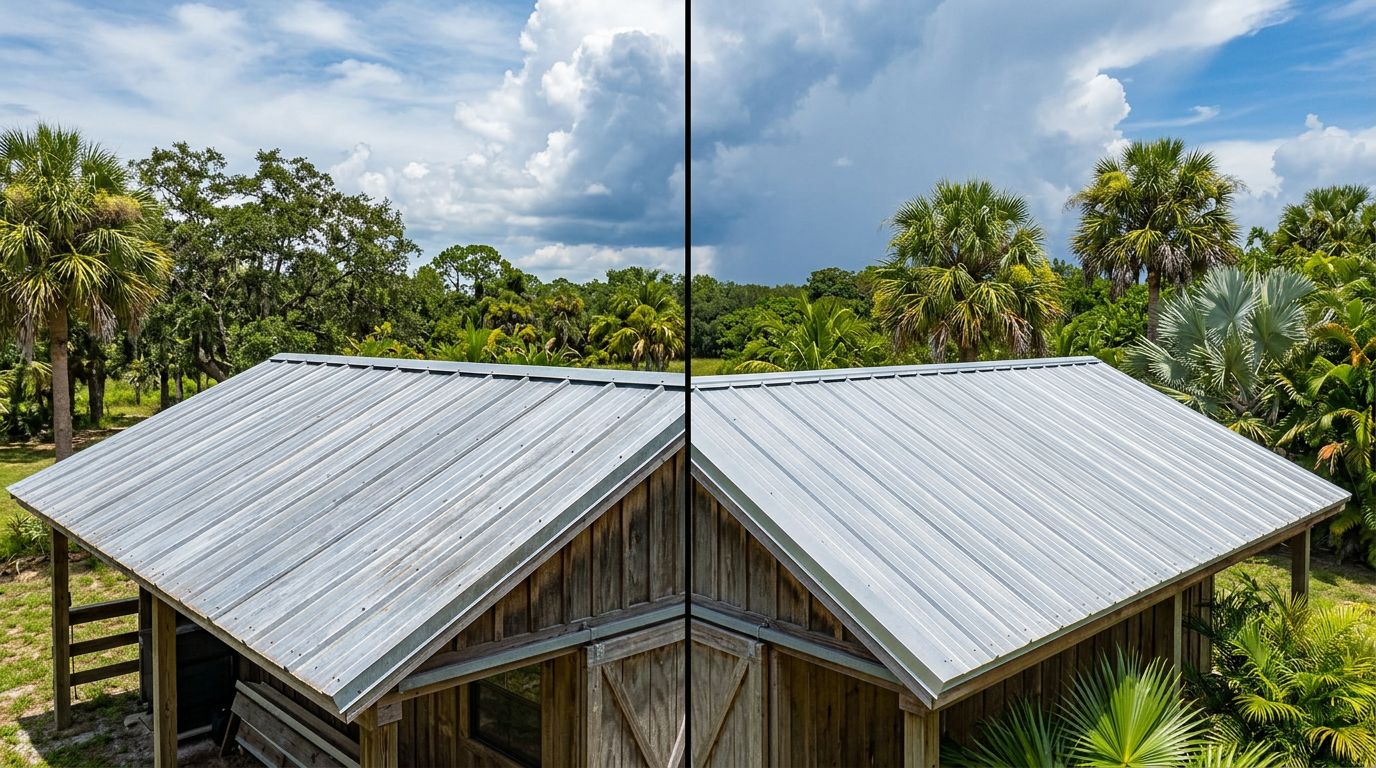
Still, there's another catch: AG panels are not all the same. "AG panel" can mean different rib heights, gauges, rib shapes, sidelap details, and recommended screw locations (flat vs near-rib). A Multi-Rib panel installed over solid decking can also behave differently than the same profile installed over purlins.
That's why you should treat charts like these as a baseline, then confirm your exact profile and application. If you're comparing profiles for a Florida job, start with PBR vs AG panel for Florida metal roofing projects so you don't mix up requirements between lighter AG panels and heavier structural panels.
Finally, code matters. As of March 2026, Florida projects typically follow the current Florida Building Code cycle and ASCE 7 wind design inputs (wind speed, exposure category, roof height, and enclosure). Those numbers drive the uplift pressures that determine the approved fastening pattern.
Non-HVHZ screw spacing chart for exposed-fastener AG panels (inches on-center)
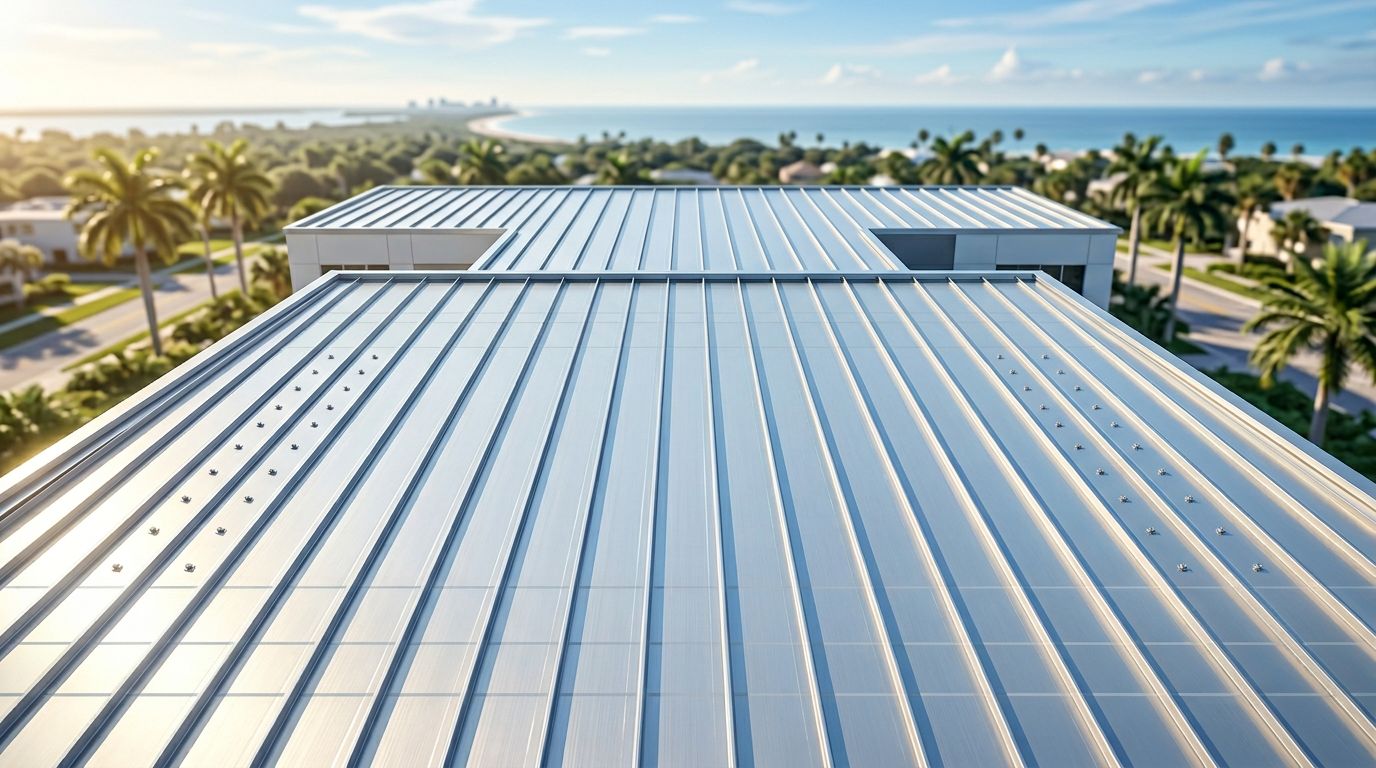
This table shows common starting points for non-HVHZ Florida installs. It assumes a typical 36-inch coverage AG-type panel installed per manufacturer instructions, with screws placed in the recommended flats, into the specified substrate.
How to read it: spacing is the distance along each screw line (inches on-center), measured parallel to the eave.
| Florida wind demand (typical) | Roof field (Zone 1) | Roof edge/perimeter (Zone 2) | Roof corner (Zone 3) |
|---|---|---|---|
| Inland / lower wind (often ~115 to 130 mph design) | 18 in o.c. | 12 in o.c. | 12 in o.c. |
| Coastal / higher wind (often ~131 to 150 mph design) | 12 in o.c. | 9 in o.c. | 6 to 9 in o.c. |
A few important notes before anyone starts snapping lines:
- Zone widths vary by building geometry. Many engineered methods define edge and corner zones by a distance "a" tied to roof height and least building width. Don't guess your zone sizes on permitted work.
- Panel-to-substrate matters. Fastening into solid wood deck is not the same as hitting purlins. Missed framing lowers real uplift resistance, even if spacing looks right.
- Don't mix patterns. If your Florida Product Approval lists 9 inches at the edge, installing 12 inches because "it's close" can fail inspection.
If you're still in planning mode, accurate quantities depend on your zone layout and waste. This walkthrough helps you get the takeoff right before ordering: Florida-specific metal panel takeoff with fastener spacing notes.
HVHZ screw spacing chart for AG panels (Miami-Dade and Broward)
In Florida's HVHZ counties (most commonly Miami-Dade and Broward), approvals and inspections tend to be stricter. Many assemblies require Miami-Dade NOA and the fastening pattern must match the tested system exactly, including fastener type, diameter, washer, and substrate.
Here's a high-level reference for what you often see in HVHZ-approved exposed-fastener roof systems, shown as maximum spacing in inches on-center along each screw line:
| HVHZ roof zone | Typical maximum screw spacing (inches on-center) |
|---|---|
| Roof field (Zone 1) | 12 in o.c. |
| Roof edge/perimeter (Zone 2) | 6 to 9 in o.c. |
| Roof corner (Zone 3) | 6 in o.c. |
Sidelaps can also have their own requirements. Some assemblies call for stitch screws at panel sidelaps, especially near perimeters and corners.
| Sidelap stitch screw location | Typical stitch spacing (inches on-center) |
|---|---|
| Field sidelaps | 12 to 24 in o.c. |
| Edge and corner sidelaps | 6 to 12 in o.c. |
In HVHZ, "about right" is still wrong. If the NOA or Product Approval shows a pattern, install that pattern, every time, everywhere it applies.
Also remember that HVHZ roofing details can affect more than spacing. Underlayment type, edge metal attachment, and closure details may change too. When in doubt, treat the approval package as the boss and build from that document.
Fastener basics that make spacing work (plus a short installer checklist)
Spacing only helps if the fastener actually performs. Two roofs can have identical screw spacing and very different results because of embedment, corrosion resistance, and torque.
Minimum embedment and substrate bite
Follow the fastener and panel manufacturer's requirements, but as a practical rule, installers aim for at least 1 inch of solid embedment into wood framing (not counting sheathing thickness if the screw never properly bites the framing). If you're fastening to metal purlins, match the screw type to the metal thickness.
Corrosion resistance in Florida
If you're near saltwater, fasteners are a weak link. Choose corrosion-resistant screws that fit your exposure, panel finish, and approval package. Also match the washer material to the system so it doesn't crack early in UV and heat.
Torque and washer compression
A neoprene washer should look like a gasket, not a pancake. Over-driven screws can split washers and dish the panel. Under-driven screws can leak on day one.
If you want a visual refresher on details like valleys, pipe boots, and panel attachment, use these AG multi-rib panel installation videos as a field reference.
Quick checklist before you start
- Confirm county: HVHZ or non-HVHZ
- Verify the exact panel profile , gauge, and coverage width
- Pull the required Florida Product Approval or Miami-Dade NOA , if applicable
- Confirm ASCE 7 wind design inputs for the site (speed, exposure, height)
- Lay out roof zones (field, edge, corner) and mark them
- Match screw type: diameter, length, point type, coating, washer
- Confirm screw placement (flat vs near-rib) per the panel instructions
- Set driver depth so washers seal without over-compression
- Re-check missed framing and stripped screws as you go
Conclusion
Florida roofs don't fail in the middle first. They usually start at the edges, corners, and details, which is why AG panel screw spacing changes by zone and by approval. Use the charts here to get oriented, then match your exact panel profile and tested assembly for your site's wind design. When you tighten spacing where it matters, the roof has a much better chance of staying dry and staying put when the weather turns.
Share Our Metal Roofing News Articles
Related Posts