Metal Roof Endlap Details for Florida Low-Slope Buildings
Florida storms hit hard. Wind drives rain uphill, and low-slope roofs turn small details into big problems. You know the story: a drip starts inside after the first squall, tracing back to a sloppy endlap.
Metal roof endlap details make or break performance here. They seal horizontal panel joints against moisture and wind. Get them right, and your roof sheds water like it should. Skip the basics, and leaks follow.
This guide covers practical steps for low-slope buildings. You'll learn code basics, sealing methods, and fastening tips. Always check your panel manufacturer's manual, project engineer, and local authority first.
Why Endlaps Fail on Low-Slope Roofs in Florida
Low-slope roofs hold water longer. On a 1:12 pitch, rain crawls instead of rushes off. Add gusts over 100 mph, and water stacks at every joint.
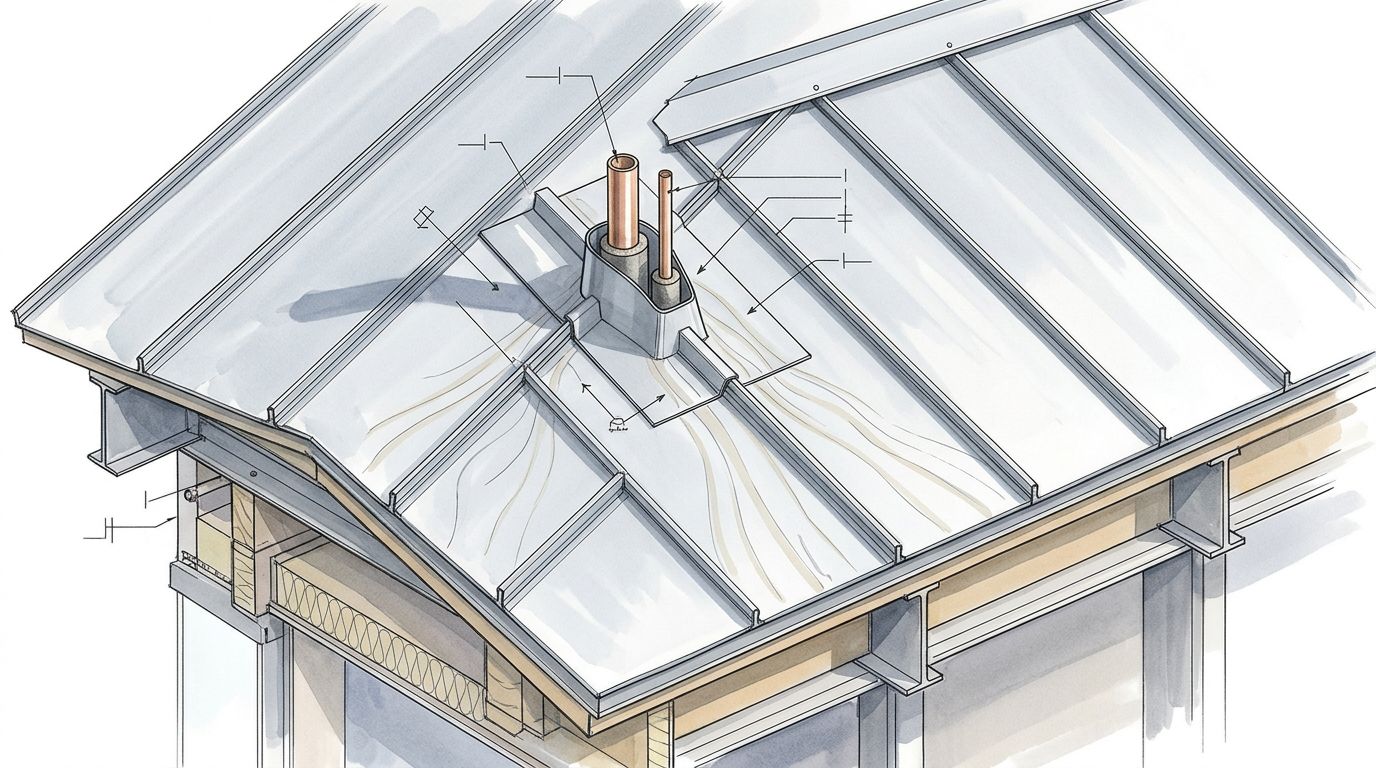
Endlaps join panels end-to-end. They overlap 6 to 12 inches, depending on the profile. Without a solid seal, moisture sneaks under. Florida's humidity keeps things damp, so one gap invites mold or rust.
Contractors see this often. A building owner calls after a thunderstorm. Water ponds at the lap, seeps past loose fasteners, and ruins insulation below. Wind resistance drops too, because poor laps let uplift pull panels loose.
Panel type changes everything. Exposed fastener systems like PBR need more overlap on flats. Standing seam hides fasteners but demands precise sealant placement. In both cases, low slope amps up the risk.
You can fix this upfront. Proper prep blocks water paths. It also boosts wind ratings to meet Florida approvals. Next, see how codes set the slope limits.
Florida Code Rules for Low-Slope Metal Roof Endlaps
Florida Building Code sets clear slope minimums. They protect against ponding and wind-driven rain. For 2026, rules split by seam type.
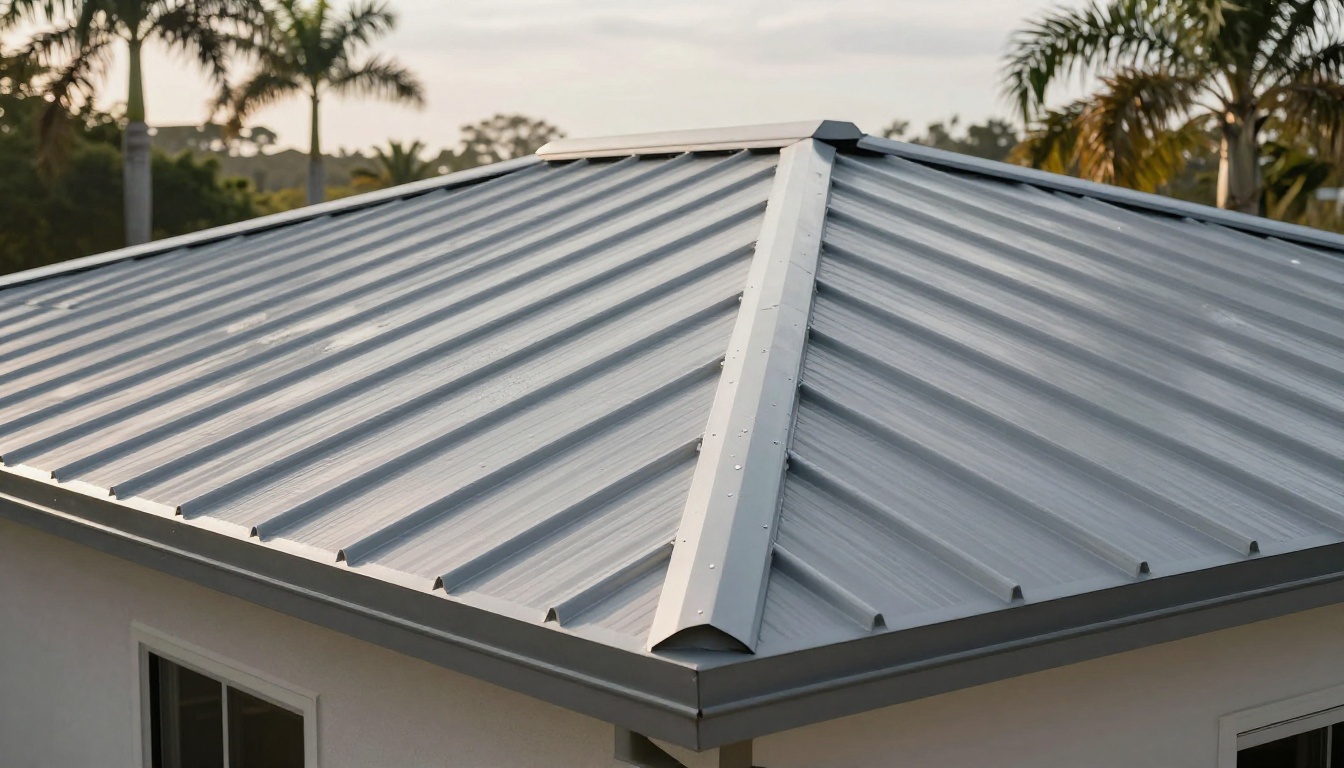
Lapped, non-soldered seams without sealant need a 3:12 slope. That's steep for low-slope work. With sealant, it drops to 1/2:12. Standing seam systems allow 1/4:12, the lowest option.
Sealants must follow manufacturer instructions exactly. No shortcuts. These rules apply statewide, but high-velocity zones add scrutiny.
Here's a quick breakdown:
| Seam Type | Minimum Slope | Sealant Required? |
|---|---|---|
| Lapped, no solder, no sealant | 3:12 | No |
| Lapped, no solder, with sealant | 1/2:12 | Yes |
| Standing seam | 1/4:12 | Varies by system |
This table shows why standing seam shines on flats. It handles slow drainage better. Always verify your panel's Florida Product Approval. Local inspectors check these details.
Slope ties directly to endlap design. Flatter roofs demand longer overlaps and better seals. If your building hugs 1/2:12, treat every lap like a frontline defense.
Sealing Endlaps for Maximum Moisture Control
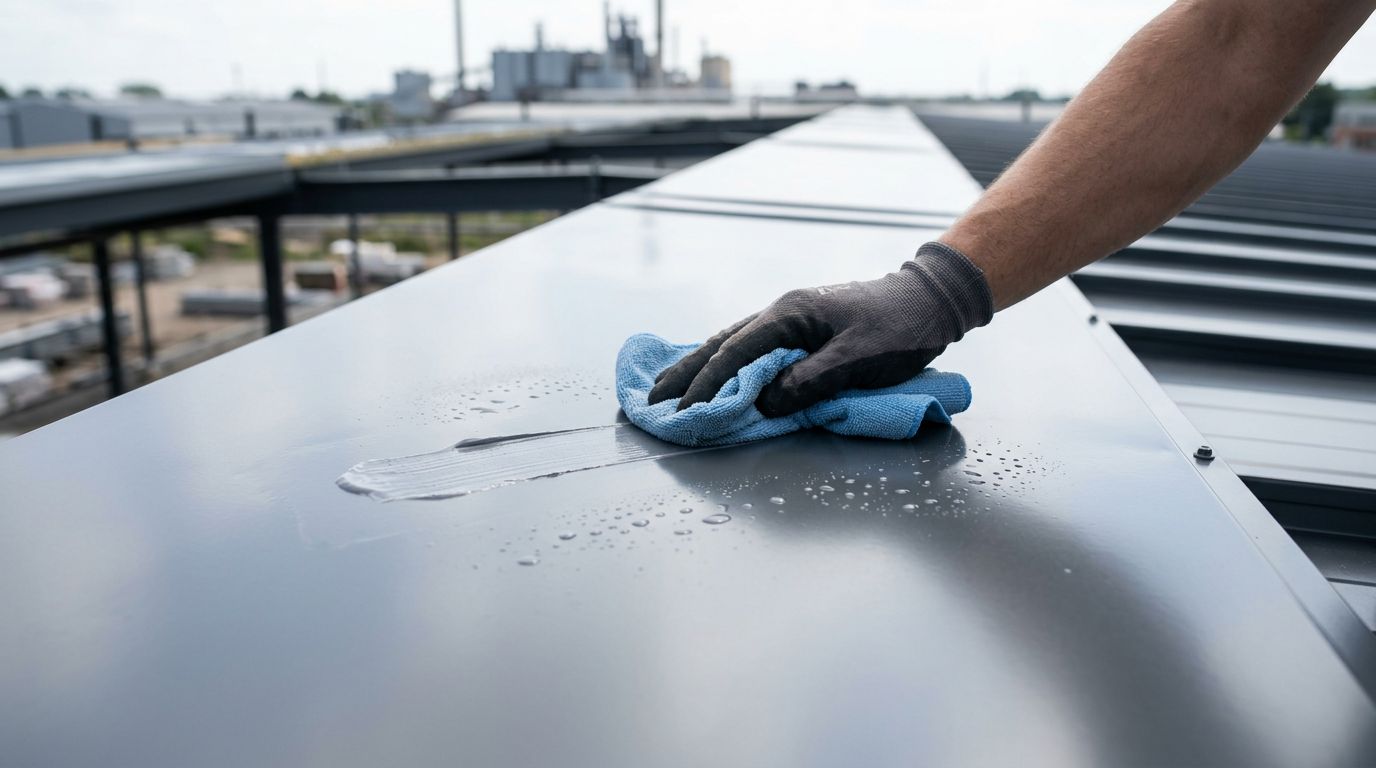
Sealants turn good laps into great ones. Butyl tape works best in Florida heat. It stays flexible, won't crack, and resists UV.
Apply a continuous bead along the panel flat. Center it under the overlap. Press panels together firmly. Excess squeezes out, filling gaps.
For standing seam, use pre-cut butyl tape for standing seam endlaps. It comes in pads or rolls. Double or triple beads add protection on low slopes.
Avoid silicone here. It slips under pressure. Butyl grips and compresses right.
Clean surfaces first. Wipe off metal shavings or oil. Dry panels fully. Wet laps trap moisture inside.
Test compression. Overlap should nest without bowing. On low slopes, add closures at ribs. They block side entry.
This method cuts leak calls. Facility managers report zero issues after five years. Heat cycles test seals, but quality butyl holds.
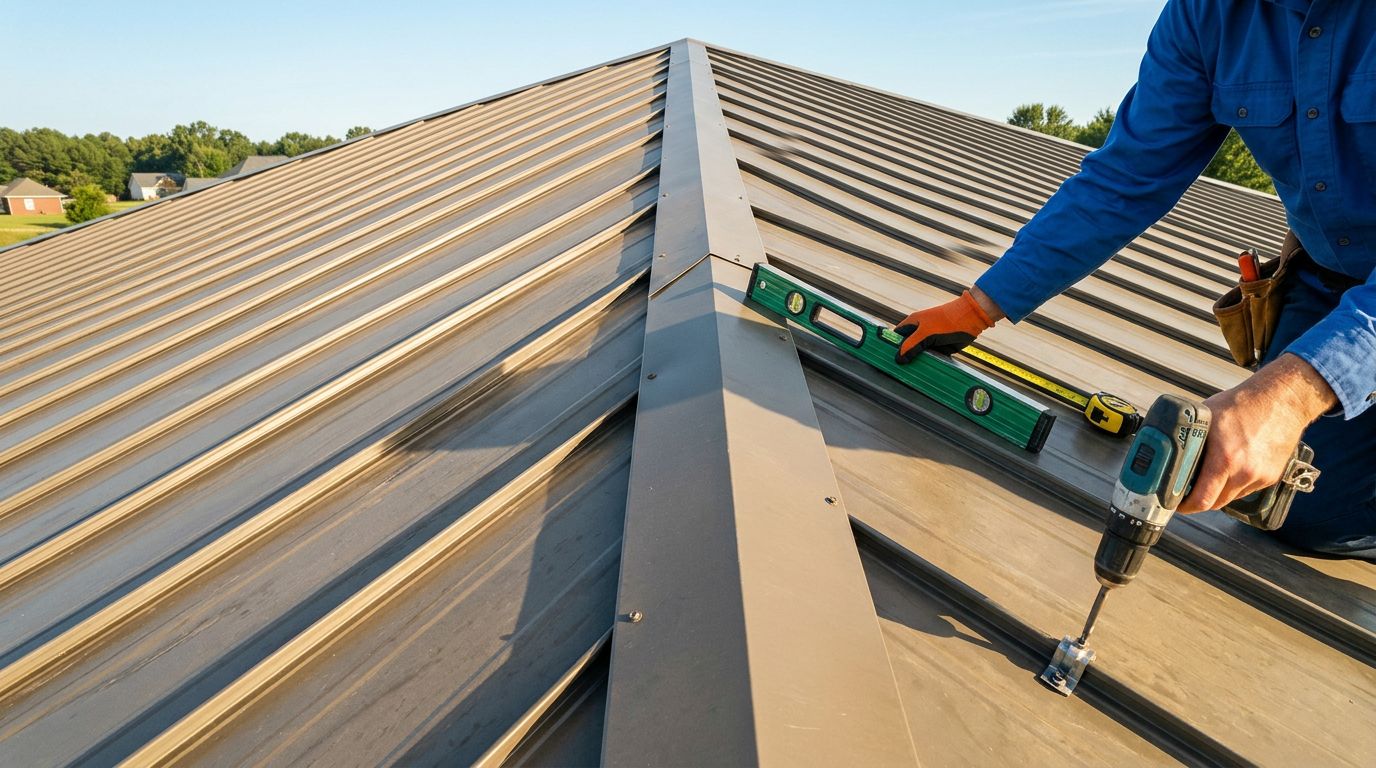
Fastening Patterns That Boost Wind Resistance
Fasteners lock laps down. Wrong pattern invites pull-out.
Stitch every 12 inches on flats. Use #14 self-drillers with neoprene washers. They grab metal purlins tight.
Space tighter at edges: 6 inches for the first foot. This fights corner uplift common in Florida hurricanes.
For exposed panels, add five to seven per lap. Center them. Don't overdrive; washers seal best at hand-tight.
Estimating screws for low slope installations helps plan quantities. Count laps first, then add 10% waste.
Standing seam skips exposed screws. Clips and seams handle load. But endlap fasteners secure transitions.
Check spacing against wind maps. Central Florida needs more than the Panhandle. Engineer stamps confirm.
Solid fastening pairs with seals. Together, they resist 150 mph gusts.
Closures and Profile Matching for Low-Slope Success
Closures fill rib voids at laps. They stop wind from channeling water up.
Match them to your profile. Foam closures for panel end laps seal PBR or 5V perfectly.
Inside closures go under at eaves. Outside ones top ridges. Vented options allow attic breath without leaks.
Cut universal rolls for odd spots. Adhesive backs speed install.
See our low slope metal roof guidelines Central Florida for profile charts. It pairs with closures.
Compress 20-30%. Too much crushes foam; too little leaves gaps.
These extras shine on 1/4:12 slopes. They mimic steeper shedding.
Avoid These Endlap Pitfalls on Florida Jobs
Rushed overlaps kill roofs. Six inches minimum, but 8-12 rules low slope.
Skip alignment checks. Panels drift, laps gap.
Ignore underlayment. Self-adhered layers back up seals.
Overlook expansion. Heat stretches metal; laps must slide.
Inspect after storms. Tighten loose bits early.
Facility managers, spec these details. Contractors, document every lap.
Key Takeaways for Dry Low-Slope Roofs
Strong metal roof endlap details start with code-compliant slopes and seals. Butyl tape, precise fasteners, and matched closures seal the deal.
Your building deserves this care. It fights Florida's rain and wind for decades.
Ready to spec panels? Grab a quote for fasteners and accessories. Confirm with your engineer and AHJ. What's your next low-slope project?
Share Our Metal Roofing News Articles
Related Posts