How To Estimate Screw Quantities For A Metal Roof
Run short on screws, and the job slows to a crawl. Order far too many, and money sits in unopened boxes. The good news is that metal roof screws are easy to estimate when you stop guessing and start counting by roof area, panel profile, spacing, and trim.
For Florida jobs, that matters even more because fastening can change at edges and corners. Exact counts depend on the panel profile, substrate, and the manufacturer's fastening schedule. So use the math below as a planning tool, then verify the installation instructions before you place the order.
Start with the roof plan, not a screw-per-square guess
A metal roof is not one big flat sheet. It's a system made of panels, laps, trim, flashings, closures, and fasteners. Because of that, one box-count rule doesn't fit every roof.
First, separate the fasteners into two groups. Field screws fasten the main roof panels to the deck or purlins. Trim and accessory screws fasten ridge caps, rake trim, eave trim, pipe boots, valleys, and other details. If you lump those together too early, your count will usually come up short.
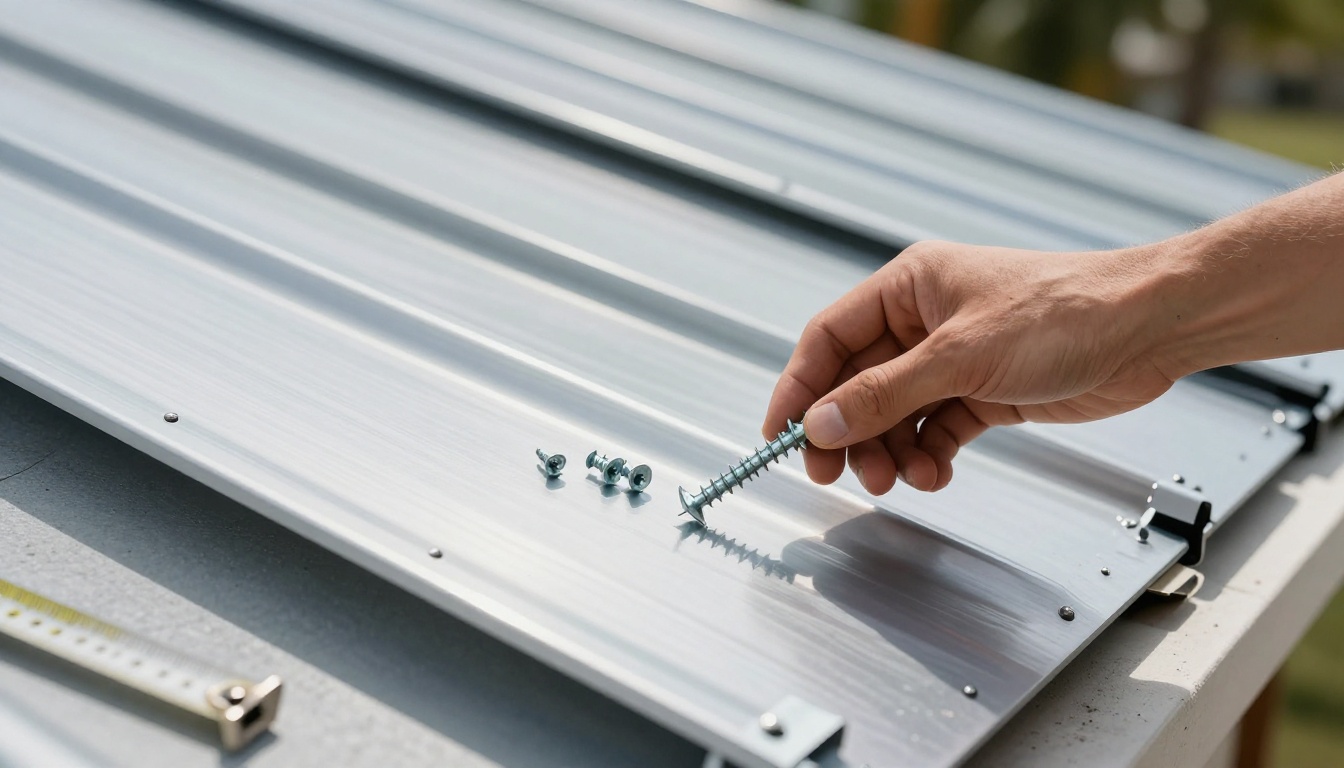
Next, confirm what roof system you're working with. A through-fastened PBR panel, a 5V panel, and a standing seam roof won't use the same screw plan. In fact, some standing seam systems use clips in the panel field instead of exposed screws, so the count changes right away. If you need help sorting out fastener types and where they belong, this guide on pancake vs hex head roofing screws is a useful reference.
You also need four job-specific numbers before you start:
- Roof width and slope length
- Panel coverage width
- Fastener spacing along the panel run
- The number of fastening lines across each panel
The panel manual wins every time. Generic screw counts are only rough starting points.
That last item, fastening lines, changes totals fast. Some profiles fasten every rib. Others use a different pattern. Perimeter zones may also tighten spacing because wind loads are higher there. If you're working with that profile, this overview of screw spacing for PBR roofs shows why the pattern has to match the approved system.
Use a simple formula to estimate field screws
Once the roof layout is clear, field screws are mostly math.
Use this formula:
Field screws = number of panels × fastening lines per panel × screw rows along the panel run
To find screw rows along the run, use:
Screw rows = rounded-up roof run in inches ÷ spacing in inches, then add 1
That extra 1 counts the starting row. If the eave or ridge uses a different detail, adjust the count to match the instructions.
Here is a quick look at how spacing changes the total on a 20-foot panel run with 5 fastening lines per panel:
| Spacing along run | Screw rows on 20 ft run | Field screws per panel |
|---|---|---|
| 12 inches | 21 | 105 |
| 18 inches | 15 | 75 |
| 24 inches | 11 | 55 |
The takeaway is simple: tighter spacing can nearly double the screw count.
Example 1: Basic field screw estimate
Say one roof slope is 30 feet wide and 20 feet from eave to ridge. The panel coverage width is 36 inches, or 3 feet.
Step 1:
Count panels
30 ÷ 3 = 10 panels
Step 2:
Count screw rows
20 feet = 240 inches
240 ÷ 24-inch spacing = 10
Add 1 starting row = 11 rows
Step 3:
Count fastening lines
Assume the approved pattern uses 5 fastening lines per panel
Step 4:
Multiply
10 panels × 11 rows × 5 lines = 550 field screws
That gives you a clean starting number for the panel field on that roof slope.
However, don't stop there. If the instructions call for tighter spacing at the eave, rake, or corner zones, the total goes up. That's why copying a count from an old job can backfire.
Add trim, laps, accessories, and waste before you order
This is where many takeoffs miss the mark. The field count may look fine, but the missing screws usually show up in ridge caps, rake trim, side laps, and end laps.
For trim, use a simple linear formula:
Trim screws = linear feet × 12 ÷ spacing in inches × number of attachment lines
If a ridge cap is 40 feet long and fastens on both sides at 12 inches on center, the estimate is:
40 × 12 ÷ 12 × 2 = 80 screws
Example 2: Full roof estimate with laps and trim
Now take a 40-foot-wide roof slope with a 35-foot run, using 36-inch panels.
Panels:
40 ÷ 3 = 13.33, so round up to 14 panels
Rows:
35 feet = 420 inches; 420 ÷ 24 = 17.5, so round up to 18, then add 1 = 19 rows
Field screws:
14 × 5 × 19 = 1,330
Now add common extras:
- Side-lap stitch screws: 13 side laps × 19 rows = 247
- End laps: if each panel run has one end lap and the detail uses 5 screws per lap, 14 × 5 = 70
- Ridge cap: 40 feet, both sides, 12 inches on center = 80
- Rake trim: two 35-foot rakes at 12 inches on center = 70
- Eave trim: two 40-foot eaves at 12 inches on center = 80
Subtotal: 1,877 screws
Then add waste. For most orders, 5 to 10 percent extra is smart. That covers dropped screws, damaged washers, short counts, and a few future repairs. On this job, a 7 percent add-on brings the order to about 2,008 screws , so you'd likely round to 2,000 or 2,100 , depending on box size.
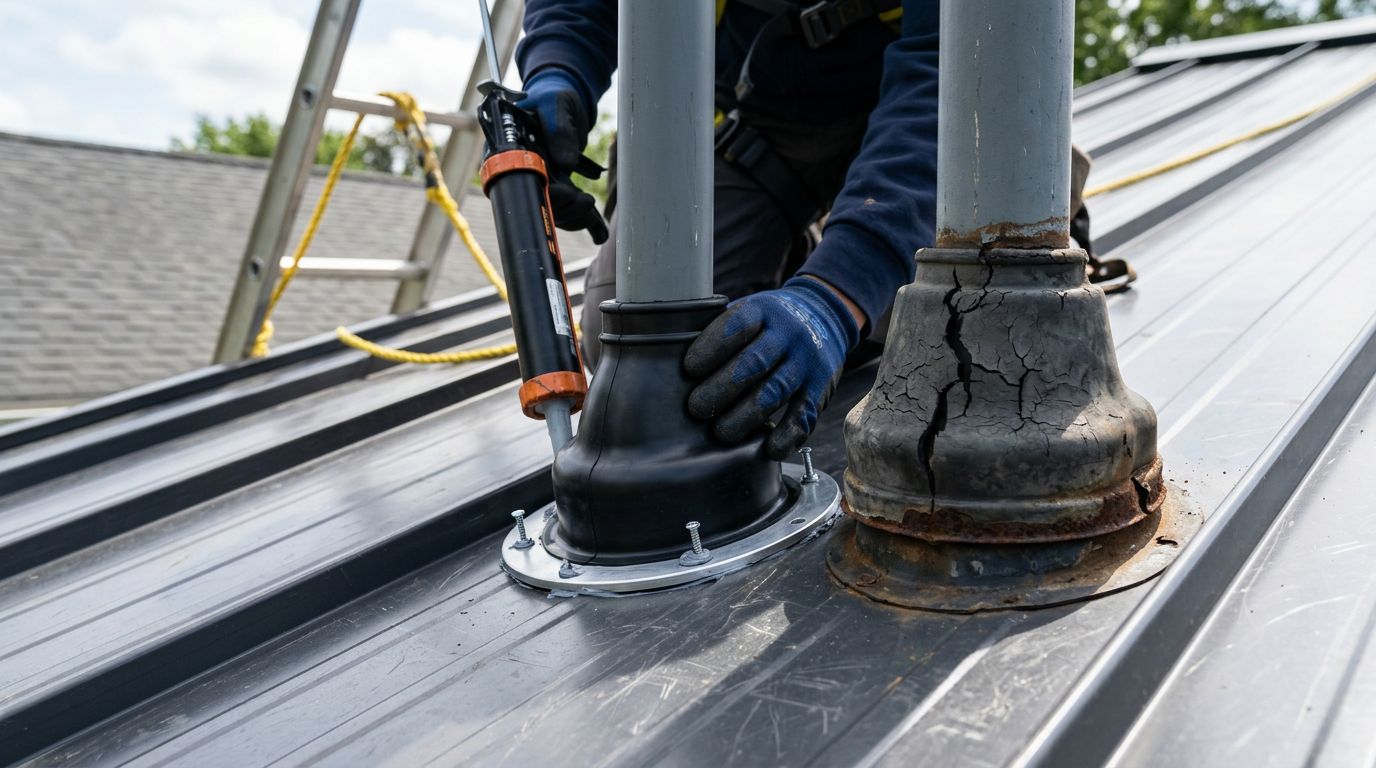
Common misses include forgetting ridge caps, rake trim, closures, pipe boots, valley trim, and sealant-backed lap details. Closures may not add much to the screw count, but they still belong in the same material order. A solid complete Central Florida roofing checklist helps catch those small items before delivery day.
In short, count the roof in layers: field, laps, trim, then waste. That's how you avoid the last-minute scramble.
A good screw estimate isn't fancy. It's just careful. Break the roof into panel field screws and trim or accessory screws, apply the spacing rules, and then verify the manufacturer's instructions before ordering. Accuracy beats guessing every time, especially on Florida roofs where fastening patterns can change from the field to the edge.
Share Our Metal Roofing News Articles
Related Posts