
Installing Standing Seam Eave Cleats in Florida
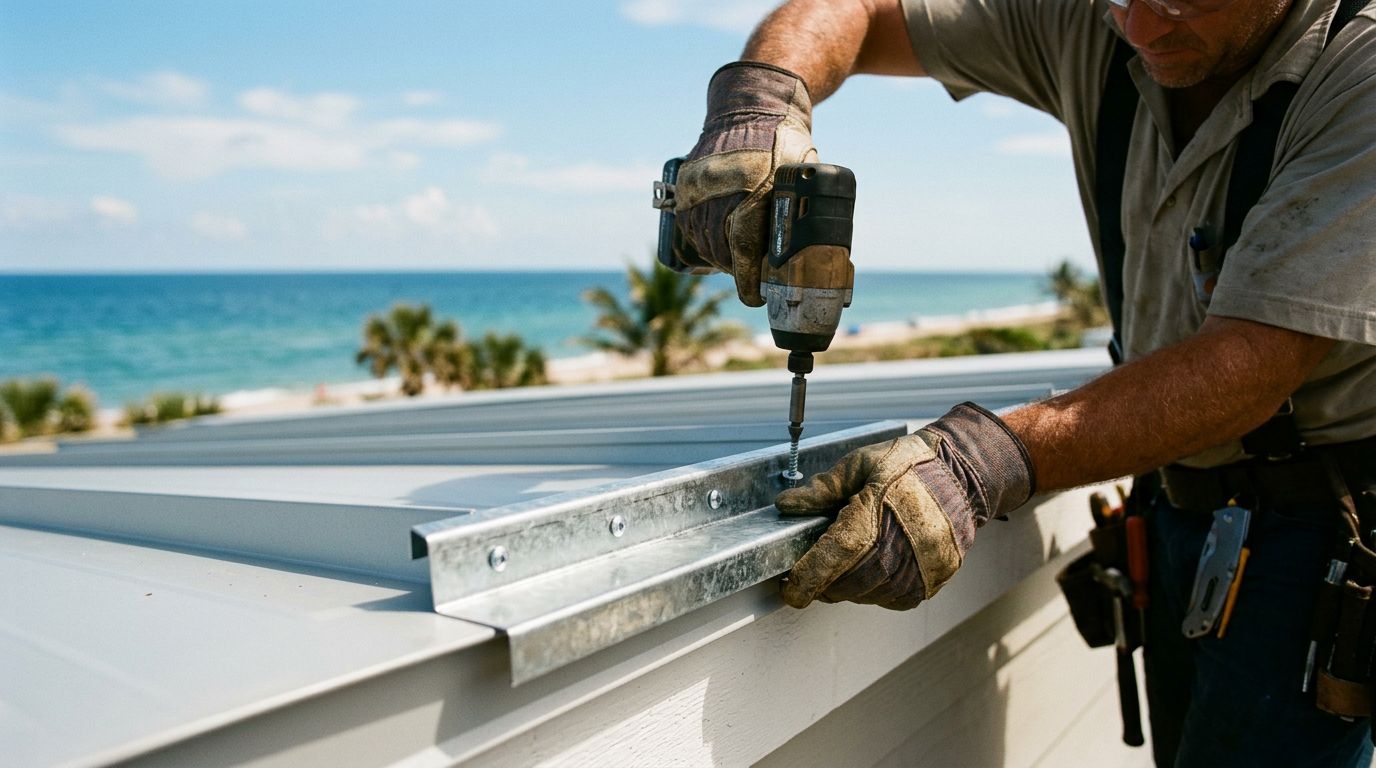
A standing seam roof can handle Florida weather only when its edge details are installed with the same care as the panels. Standing seam eave cleats help anchor and finish the lower panel edge, but the wrong profile, screw pattern, or panel hook can create a leak and weaken the roof assembly.
Florida projects also face intense sun, wind-driven rain, salt air, and strict permitting requirements. Before cutting metal or driving fasteners, confirm the panel manufacturer's installation instructions, approved fastener schedule, product approval documents, and applicable Florida and local building requirements. Then prepare the eave so water drains cleanly and the panels can move with temperature changes.
What Standing Seam Eave Cleats Do
An eave cleat is a continuous metal component installed along the lower roof edge. Depending on the standing seam system, the panel hem folds around the cleat, locks into it, or connects to a matching eave trim assembly. The cleat transfers edge forces into the roof deck or supporting structure while helping form a controlled drainage path.
Unlike exposed-fastener panels, standing seam panels usually conceal their primary fasteners. Installers must follow the tested assembly detail rather than adding screws wherever they seem convenient. A screw through the standing seam panel pan can restrict movement, damage the finish, and create a direct path for water.
The cleat also works with other eave components. These may include:
- Eave flashing or drip edge
- Panel closures or formed end details
- Underlayment
- Gutter apron
- Fascia trim
- Sealant specified by the manufacturer
The exact arrangement depends on the panel profile and roof design. A snap-lock panel and a mechanically seamed panel may use different eave connections. Even two standing seam systems with similar widths can require different cleats.
For related guidance, review this information on choosing the right eave drip edge. The drip edge must match the panel system, fascia, gutter position, and drainage direction.
The eave cleat is part of a tested roof edge assembly. It isn't a universal strip that can be substituted without checking the system details.
Check the Roof Before Installing the Cleat
Start with the roof framing and deck. The substrate must be sound, dry, and properly attached. Replace damaged decking, correct uneven edges, and remove debris that could hold the cleat away from the surface.
Check the eave line with a chalk line and a straightedge. A small error at the lower edge can become obvious as the panels continue up the roof. Measure the fascia height, gutter location, roof slope, and planned panel overhang before placing trim.
The panel manufacturer's drawings should identify the following:
- Cleat shape, gauge, and material
- Cleat orientation and location
- Fastener type and spacing
- Required substrate or framing
- Sealant type and placement
- Panel hem dimensions
- Eave overhang and closure details
- Treatment at corners and transitions
Don't rely on a generic screw count. Florida wind design depends on the approved assembly, building location, roof geometry, edge zones, and supporting materials. The approved fastener schedule may require different spacing near corners and roof edges.
Panel overhang also requires care. A longer overhang can place extra force on the eave connection, while a short overhang may fail to discharge water beyond the trim. Use the dimension shown for the exact panel system. This guide to standing seam eave and rake overhangs can help with the planning stage.
Gather Compatible Materials and Tools
Use the cleat supplied or approved for the panel system. Confirm that the cleat metal, coating, and thickness are compatible with the panels and other trim. Dissimilar metals can create corrosion problems in Florida's humid or coastal conditions.
Typical tools include a tape measure, chalk line, snips, metal shear, drill, properly sized driver bit, sealant gun, hand seamer, crimpers, and a straightedge. Keep a deburring tool available. Sharp burrs can damage coatings and cut underlayment or sealant.
Use only the fasteners listed in the manufacturer's documents. Fastener length must provide the required penetration without puncturing unintended layers or striking hidden utilities. Store sealants and panels according to their product instructions.
Set Up Fall Protection
Roof-edge work requires a safe access plan. Use properly installed fall protection, roof brackets, guardrails, personal fall-arrest equipment, or another method accepted for the project and applicable safety rules. Keep ladders secured, maintain three points of contact, and use a controlled material-handling method.
Metal panels can act like sails in Florida wind. Don't carry long panels during gusty conditions. Wear cut-resistant gloves, eye protection, non-slip footwear, and hearing protection when cutting or drilling. Stop work during lightning, wet roof conditions, or unsafe wind.
How to Install Standing Seam Eave Cleats
Follow the manufacturer's sequence whenever it differs from these general steps. The approved detail controls the installation.
-
Confirm the eave reference line.
Mark the lower edge using the roof plans and panel layout. Check that the line stays straight across the entire roof plane. Measure from fixed points rather than assuming the fascia is perfectly square. -
Install the approved underlayment and eave components.
Place underlayment and eave flashing in the sequence shown by the panel manufacturer. Some systems place the eave trim over the underlayment, while others use a different layering arrangement. Don't block drainage paths or cover required sealant areas. -
Dry-fit the cleat.
Lay the cleat along the eave without fastening it. Confirm its orientation, end laps, corner treatment, and relationship to the fascia or gutter. The cleat should remain straight and fully supported by the approved substrate. -
Prepare joints and corners.
Cut the cleat with tools that won't distort the locking edge. Remove burrs and test-fit each joint. Use the specified lap length, splice method, sealant, and fastener arrangement. Avoid placing a joint where the manufacturer's detail prohibits one. -
Fasten the cleat according to the approved schedule.
Drive each fastener square to the substrate and set the head firmly without crushing the metal. Overdriving can pull the cleat out of alignment or damage the coating. Underdriving can leave movement or gaps beneath the trim.Keep fasteners away from locations reserved for panel movement or concealed locks. If the detail requires attachment into structural framing, make sure the screws reach that framing. A cleat attached only to a weak or unsupported edge may not perform as designed.
-
Apply sealant where the detail requires it.
Use the specified sealant at laps, corners, end conditions, or panel connections. Apply a continuous, controlled bead rather than leaving gaps or spreading sealant across areas that must remain free to move.Butyl tape, sealant, and closure materials aren't interchangeable. Each product has a purpose in the assembly. Keep sealant off visible finished surfaces when possible, and remove excess before it cures.
-
Install the first panel and lock the eave connection.
Set the first panel square to the eave and rake reference lines. The lower hem must engage the cleat or eave trim fully. Don't force a panel into position by bending the lock beyond the manufacturer's allowed shape.Check the panel's overhang at several points before securing the upper portion. Then install clips and concealed fasteners according to the panel instructions. The first panel controls the position of every panel that follows, so correct any alignment problem immediately.
-
Continue across the roof and inspect the edge.
As each panel is installed, verify seam engagement, clip placement, and eave alignment. Keep cuttings and metal filings off the roof. Loose shavings can rust and stain the finish when they remain on the panel surface.After the panels are complete, inspect the eave from above and below. Look for open hems, distorted cleats, missing sealant, loose fasteners, blocked drainage, and inconsistent overhang. Install gutters or additional trim only after the eave detail passes this inspection.
For the broader panel sequence, see this standing seam panel installation guide.
Common Eave Cleat Installation Mistakes
One frequent error is choosing a cleat from a different panel profile. The parts may look similar, but a small difference in hem depth can prevent full engagement. Match the cleat to the panel manufacturer and system name.
Another problem is installing the cleat out of square. The first panel may hide the error at one point and expose it at another. Use multiple measurements across the eave rather than checking one end only.
Installers also sometimes use too much sealant. Excess material can interfere with panel movement, collect dirt, or squeeze onto the finished face. Follow the specified bead size and location.
Avoid cutting panels or trim with abrasive wheels unless the manufacturer specifically allows that method. Hot metal particles can damage protective coatings and create premature corrosion. Use approved shears or cutting tools, then remove all filings from the roof.
Finally, don't change the fastener schedule to save time. Increasing or reducing screw spacing can change the tested performance of the edge. Any field change should receive approval from the responsible design professional, manufacturer, or authority having jurisdiction.
Final Inspection and Maintenance
Before closing the project, compare the installed eave with the manufacturer's detail sheet. Confirm that the cleat is continuous where required, fasteners are properly seated, joints are sealed, panels engage the edge, and water can drain into the intended gutter or away from the fascia.
Document the panel profile, trim, fastener type, sealant, and installation details. Keep those records with the permit and product approval information. They can help with future repairs or additions.
Inspect the eave after severe storms and during routine roof maintenance. Clear leaves from gutters, remove metal debris, and check for movement, corrosion, or damaged trim. Coastal properties may need closer inspections because salt exposure can accelerate corrosion on incompatible or damaged metals.
Conclusion
Proper standing seam eave cleats create a secure panel edge, but they only work when the cleat, trim, fasteners, sealant, and panel hem form one approved assembly. Start with a straight, supported eave, follow the exact manufacturer detail, and treat Florida wind and fall hazards as part of the installation plan.
The lower roof edge deserves the same attention as the visible seams. When the eave connection is aligned, correctly fastened, and inspected before the job is finished, the roof has a better chance to manage wind-driven rain and normal thermal movement for years.
Share Our Metal Roofing News Articles
Related Posts




