
How to Repair Rotten Decking Before a Metal Roof
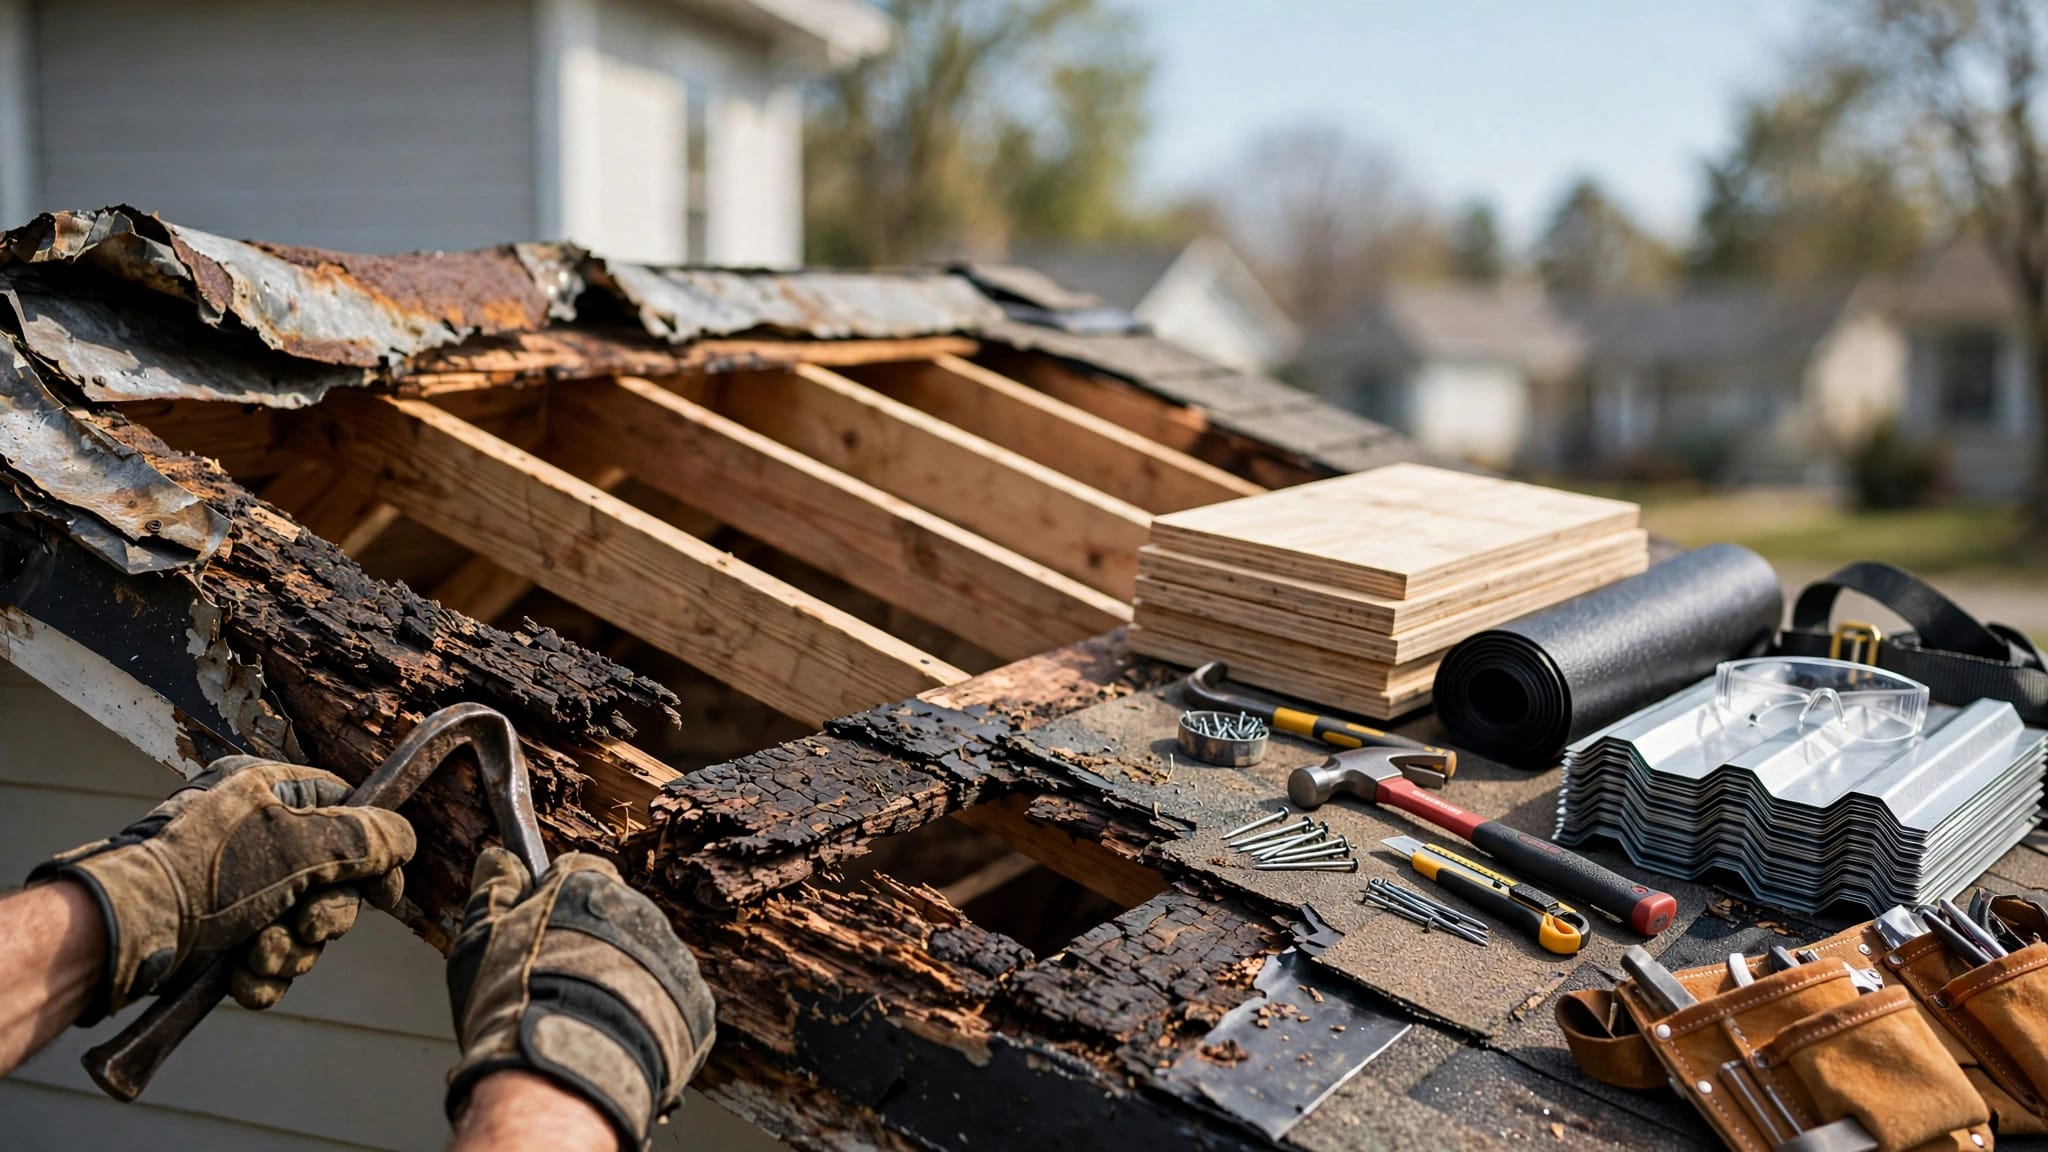
A metal roof can last for decades, but it can't make weak roof decking strong. Before panels, underlayment, or flashing go on, you need to replace rotten roof deck material that can't hold fasteners or stay flat.
Rot usually starts around leaks, valleys, chimneys, plumbing vents, and damaged flashing. Catching it before metal roofing installation prevents loose panels, leaks, and expensive tear-off work later. Start with a close inspection and a safe plan for opening the roof.
Why sound decking matters under metal roofing
Roof decking ties the finished roofing system to the rafters or trusses. Metal panels, clips, screws, underlayment, and trim all depend on that base.
Florida Building Code roofing provisions state that deteriorated or water-soaked sheathing that won't allow effective fastening must be removed and replaced. However, permit requirements, fastening patterns, and inspection steps can differ by county, municipality, wind zone, and roof system.
Rotten wood will not hold roofing fasteners
A screw driven into soft plywood may feel tight at first. Yet the wood fibers have already lost their grip. Wind uplift can work that fastener loose, especially along eaves, rakes, and corners where pressure is higher.
Decking with delamination creates a different problem. The top veneer may look intact, while lower layers separate and flex. A metal panel installed over that area can develop uneven lines, loose fasteners, or a leak path around a screw.
Flat panels need a flat, stable base
Metal shows imperfections more clearly than many shingle roofs. A swollen panel edge, sagging sheet, or raised seam can telegraph through the finished roof.
Most metal panel systems install over a solid or closely fitted deck, unless the product is designed for spaced supports. Confirm the panel manufacturer's installation manual before ordering materials or starting repairs. Standing seam, 5V, AG/Multi-Rib, and PBR systems can have different approved assemblies.
A new metal roof should cover dry, securely attached decking, not hide an active moisture problem.
Inspect the roof and define the repair area
You can't judge every deck problem from the attic or roof surface alone. Check both sides when access allows, then mark the damaged section before tear-off starts.
Inside the attic, look for dark staining, damp insulation, mold growth, daylight, sagging plywood, and rusty nail points. On the roof, soft spots, swollen sheathing edges, or areas that flex under light pressure deserve closer attention.
Remove roofing carefully around suspect areas
Strip enough of the existing roof covering to expose solid wood around the damage. Don't cut directly on top of a rafter, truss, electrical cable, or plumbing line. A circular saw set too deep can cut hidden wiring and create a serious hazard.
Overhead service drops also need attention. OSHA identifies overhead powerlines as a common source of roofer electrocutions. Keep ladders, metal panels, tools, and long trim pieces well away from lines. Contact the utility if the work area is too close for safe access.
Find and fix the leak source first
Replacing stained decking without correcting the water entry point wastes time and money. Trace the leak uphill. It may come from a failed pipe boot, open valley, cracked wall flashing, loose fastener, or damaged ridge detail.
Check the framing below the deck too. If rafters or trusses show decay, splitting, insect damage, or major sagging, stop the repair and bring in a qualified roofing contractor or structural professional. Deck replacement is manageable only when the framing remains sound.
How to replace rotten roof deck sections safely
Roof work becomes dangerous quickly when decking is open. Plan the repair for a dry weather window, stage materials before removal, and keep temporary covering ready.
For anyone working as part of a roofing crew, OSHA's residential construction guidance calls for fall protection when workers face falls of 6 feet or more. Guardrails, safety nets, or personal fall-arrest systems may be appropriate, depending on the job. Homeowners should use the same caution rather than treating a short roof as harmless.
Gather matching decking and repair supplies
Match the existing deck's thickness and type whenever possible. Most residential roofs use plywood or oriented strand board, often called OSB, but older homes may have board decking. A mismatch can leave a raised or recessed edge that affects the roof finish.
Have these materials on site before opening the roof:
- Replacement plywood or OSB with the correct thickness and exterior-rated panel grade.
- Fasteners approved for the deck, framing, and local wind requirements.
- A chalk line, tape measure, pry bar, drill or nailer, circular saw, and a depth-setting guide.
- Approved underlayment, seam tape if required, and a secure tarp for temporary weather protection.
Wet decking should not go back under the roof system. If rain reaches the exposed opening, let the framing and surrounding sheathing dry fully before closing it.
Cut back to solid support
Locate the rafters or trusses first. Mark their centerlines so the replacement panel edges land on framing where the roof design requires it. Then remove roofing nails and old underlayment from the repair area.
Cut out only the damaged decking. Set the saw depth to the panel thickness, not deeper. Avoid cutting through rafters, trusses, blocking, conduit, or wiring below.
Expand the opening until every remaining edge is dry and firm. Leaving a narrow strip of softened wood beside a new panel only creates another weak fastening zone. If damage reaches a panel edge between supports, remove enough material to create a properly supported patch.
Install replacement sheathing with proper support
Dry-fit the new sheet before fastening it. Panel edges should sit level with the existing deck, and the surface should not rock or bow. Use temporary blocking only when the repair design calls for it and it can transfer loads correctly.
Leave the panel spacing required by the sheathing manufacturer. Wood-based panels expand and contract with moisture changes. Packing sheets tightly can cause buckling when humidity rises.
Use the right fastening pattern
Deck fasteners must penetrate framing, not merely catch the edge of old sheathing. The size, type, and spacing depend on the roof structure, panel thickness, local wind requirements, and permit documents.
Florida re-roof projects often bring deck attachment into focus because wind forces act on the entire roof assembly. Review the Florida metal roof deck attachment rules before setting a fastening pattern for a permitted re-roof.
Drive fasteners flush with the panel surface. Overdriven nails crush the face veneer and reduce holding power. Underdriven fasteners can interfere with underlayment and leave a bump under metal panels.
Recheck the deck before covering it
Walk only where framing supports the deck and where the roof is safe to access. Look across the repaired area in low-angle light. You should not see loose edges, high fasteners, gaps without support, or soft adjacent material.
This is also the time to correct loose existing sheathing. A replacement patch can be perfect, yet nearby panels may still need re-fastening if they have lifted or missed framing.
Dry in the repaired roof before panels arrive
Once the deck is solid, move quickly to protect it from water. Florida storms can arrive with little warning, and exposed wood can soak up moisture fast.
The underlayment system should match the metal roof manufacturer's requirements and the approved roofing assembly. Some systems call for taped deck seams, self-adhered membrane, synthetic underlayment, or additional protection at eaves, valleys, and penetrations.
Keep laps, valleys, and penetrations watertight
Install the underlayment so water sheds over each lap. Keep it smooth, securely attached, and free of tears. Valleys need special care because they carry runoff from two roof planes.
Pipe penetrations, skylights, chimneys, and roof-to-wall intersections also need compatible flashing details. Use the right sequence, because a perfectly installed panel cannot compensate for flashing installed in the wrong layer.
For a practical sequence before panel delivery, review how to dry in a roof before metal panels. It helps prevent a repaired deck from getting wet again while materials are staged.
Do not trap moisture under the new roof
Don't install underlayment over wet sheathing after a storm. Moisture trapped below the roof covering can contribute to wood decay and mold growth. Give the deck time to dry, then inspect it again before covering.
If the forecast turns unstable and the roof can't be dried in the same day, install a well-secured temporary cover. Check it after wind or rain, since a loose tarp can funnel water into the opening.
Match the deck repair to the metal roofing system
The roof deck, panel profile, underlayment, clips or screws, closures, and trim form one assembly. Mixing parts without checking compatibility can affect water shedding, wind resistance, and product approval.
For example, a standing seam roof uses concealed clips or fastening details that differ from exposed-fastener panels. Exposed-fastener systems need properly placed screws with sealing washers, profile-matched closure strips, and trim that directs water away from panel ends.
Check approvals and manufacturer instructions
In Florida, product approvals may limit the deck type, fastener type, attachment spacing, roof slope, and edge details. Miami-Dade jurisdictions can have additional Notice of Acceptance requirements.
Check the Florida-approved metal roofing panel requirements for the exact panel and trim system you plan to use. Your local building department and the manufacturer's documentation should guide the final installation details.
Order more than panels
A complete material order includes underlayment, compatible screws or clips, sealant, closures, ridge components, flashing, and edge trim. Measure repaired areas accurately, but don't overlook valleys, sidewalls, vents, and transitions.
Panel lengths should suit the roof layout and safe handling limits. Long metal panels can bend in wind or create an electrical hazard near service lines, so crews need a clear route to the roof.
Know when to bring in a roofing professional
A small, clearly defined patch over sound framing may be within reach for an experienced homeowner. Extensive rot is different. If several sheets are damaged, framing has deteriorated, roof lines are steep, or electrical hazards are present, hire a licensed roofing contractor.
Professional help also makes sense when permits, product approvals, wind-zone fastening, or insurance documentation apply. A contractor can coordinate the deck repair with the selected metal roof system rather than treating it as an isolated carpentry job.
Never work alone on an open roof. A second person can stabilize ladders, watch weather conditions, and call for help if a fall or electrical incident occurs.
A solid deck gives metal roofing a fair start
Metal roofing performs best when every layer below it is dry, flat, and properly attached. Replacing damaged sheathing before installation gives screws and clips a dependable base while keeping the roof surface clean and stable.
Take time to trace leaks, inspect framing, dry in the repair, and follow the approved panel instructions. A sound roof deck is the first part of a metal roof built to handle Florida weather.
Share Our Metal Roofing News Articles
Related Posts




