
How to Check Metal Building Eave Strut Alignment Before Roofing
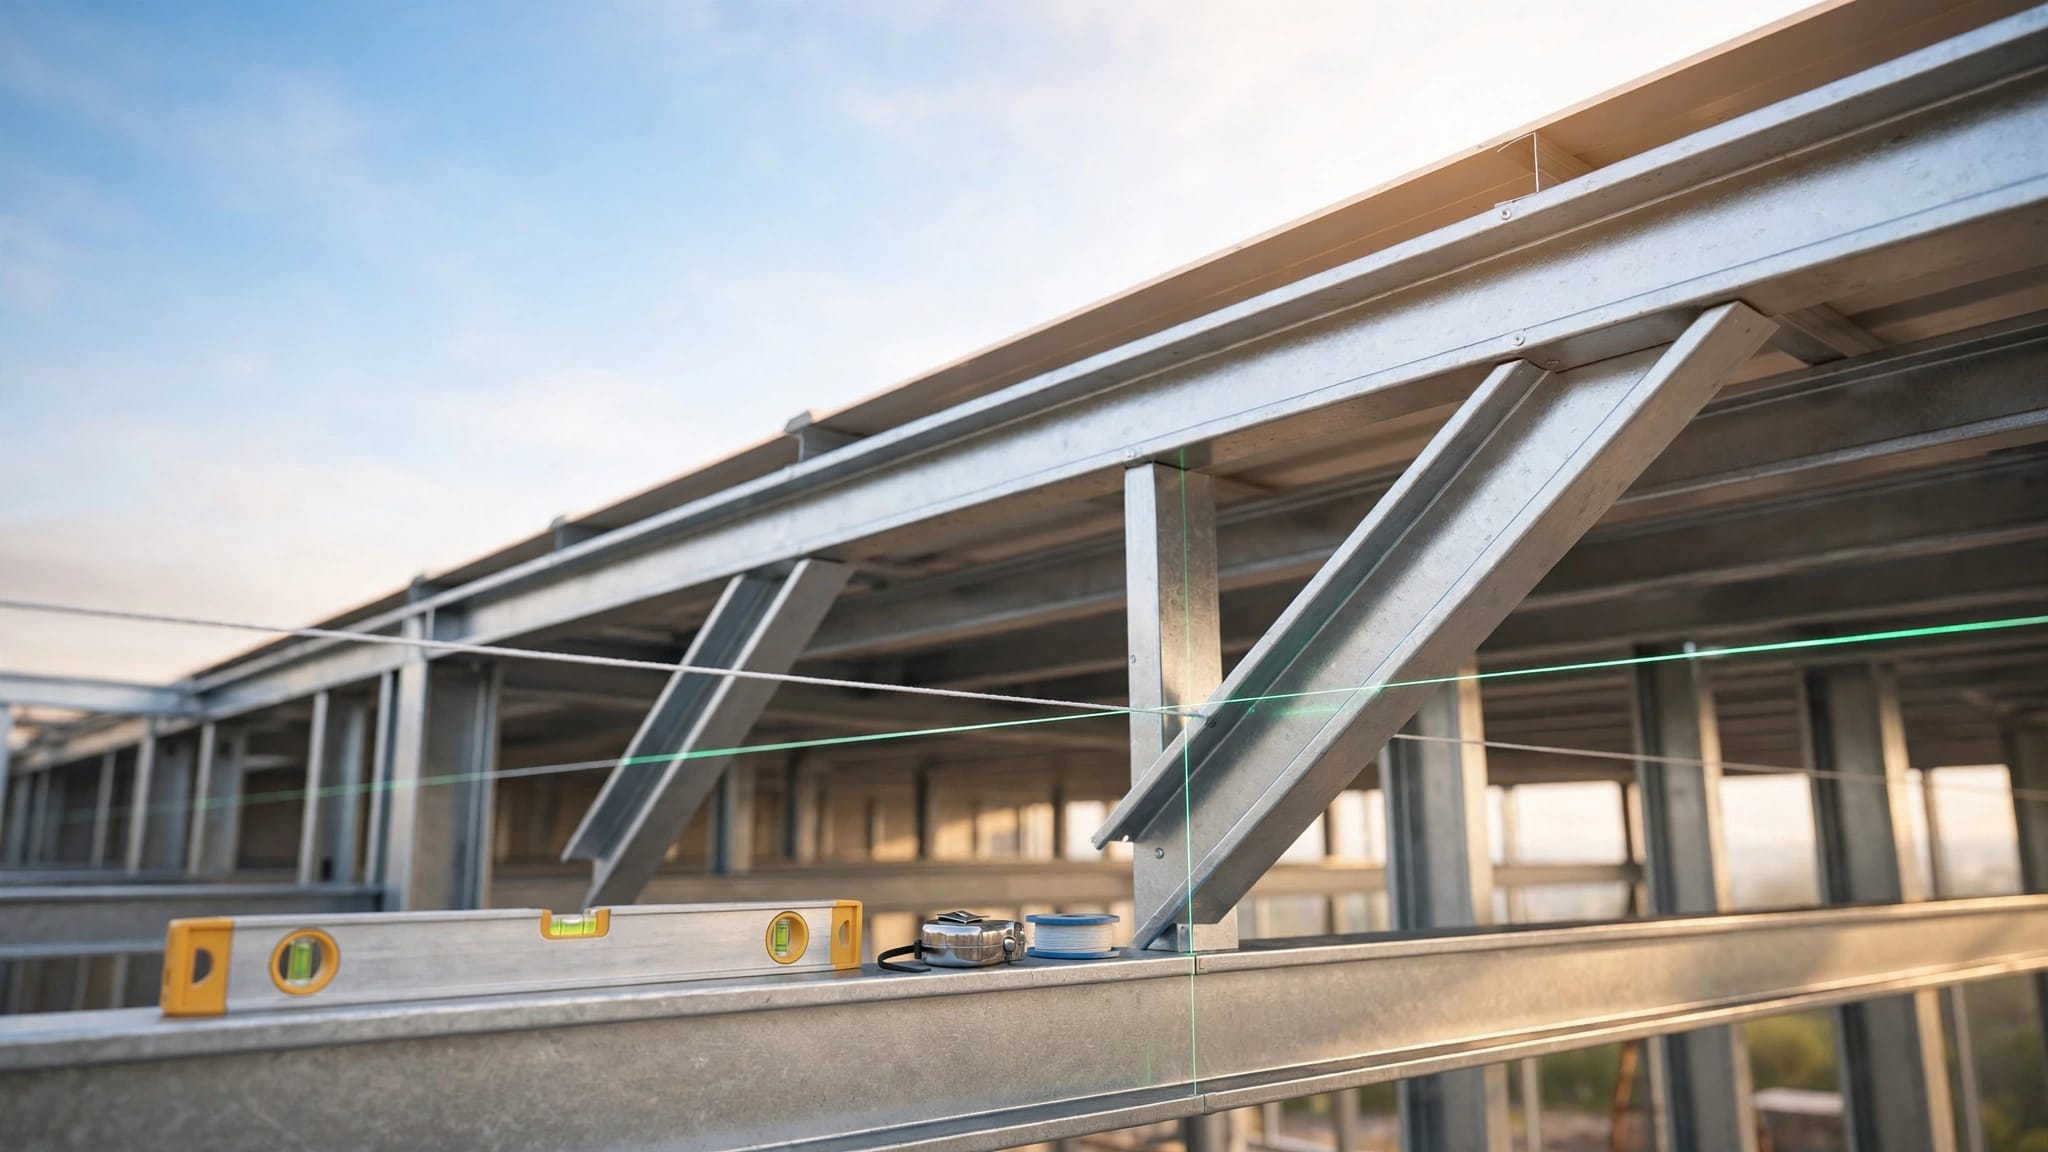
A roof panel can only sit as straight as the framing beneath it. If the eave strut wanders, dips, or sits out of plane, the finished roof may show crooked panel ends, uneven trim, gaps at closures, and fasteners that miss solid steel.
Checking metal building eave strut alignment before roofing gives the crew a clean reference for every panel that follows. It also catches framing issues while access is open and corrections are still practical.
Start after the primary frame, wall girts, eave struts, and roof secondary members are in their final positions, but before panels, trim, closures, or insulation hide the steel.
Start With the Approved Drawings and a Safe Work Area
The erection drawings and the roof-panel manufacturer's instructions control the job. They identify the eave-strut profile, connection details, bay spacing, roof slope, panel direction, and any permitted tolerances.
Don't substitute a field measurement for a drawing requirement. A dimension that appears close can still create a problem if it conflicts with the approved structural details or panel layout.
Review the details that affect the eave line
Before pulling a tape, confirm these items on the drawings:
- The eave-strut size, orientation, and required attachment points match the steel in place.
- Roof purlins frame into the correct side of the eave strut and follow the specified spacing.
- The roof slope and eave elevation agree with the frame layout.
- Any rake, gutter, fascia, canopy, masonry, or adjacent roof details have been accounted for.
- The panel system calls for the planned eave trim, closures, fasteners, and overhang.
For PBR or R-panel roofs, support location affects both panel appearance and screw engagement. Review the manufacturer's PBR panel fastener placement guidance before setting a fastening layout.
Set up for safe, accurate measuring
Use fall protection that meets the site plan, maintain clear access, and keep loose material away from roof edges. Never lean out from an unsecured ladder to check a long eave line.
A laser, string line, tape measure, framing square, level, chalk line, and a straightedge cover most field checks. On larger buildings, a rotating laser or builder's level makes elevation work faster and more consistent.
A tight string line can show a crooked eave, but it cannot confirm structural adequacy. Compare every finding with the approved drawings before deciding on a repair.
How to Check Metal Building Eave Strut Alignment With a Reference Line
A reference line gives the crew one consistent baseline. Without it, measurements taken from uneven grade, wall panels, or temporary bracing can create misleading results.
Choose a stable starting point, usually a confirmed column line or a clearly identified building corner. Then establish the line along the full eave length.
Pull a string line between verified endpoints
First, inspect both end conditions. Confirm that the endwall columns are plumb enough for the framing stage and that each eave-strut end connection is seated as shown on the drawings.
Set a masonry string or layout line at the same point on each end of the eave strut. The line should run parallel to the intended roof-panel edge, not simply across the top of whatever steel is easiest to reach.
Pull it tight enough to reduce sag, but do not pull so hard that it shifts a light-gauge member or slips off its mark. For long runs, use an intermediate support only if the support does not touch or deflect the reference line.
Use a laser when the building is long or complex
A laser reduces the error that comes with a long string line. Set the instrument on a firm tripod, establish a benchmark, and take readings at each frame line.
This method works well when an eave crosses several bays or meets another roof plane. Record each reading instead of relying on memory. A simple field sketch with column numbers helps the crew locate a problem later.
For example, if the approved eave elevation is 14 feet 0 inches, measure each frame line from the same laser benchmark. A reading that differs from neighboring frames may point to a low strut, high column connection, or misplaced clip angle.
Check Straightness Along the Eave
Straightness is the first visual test. A panel edge can magnify even a small bow because the roof trim and gutter follow the same line.
Stand back at each end of the building and sight along the eave. Then confirm what you see with measurements. Visual checks find obvious issues, while the reference line identifies their location and amount.
Measure offsets at every frame line
Measure the gap between the reference line and the same face or edge of the eave strut at each column line. Keep the tape square to the line. Record whether the steel sits inward or outward.
Use the drawing tolerance if one is listed. If no tolerance is stated, stop short of declaring the framing acceptable based on a rule of thumb. Ask the building manufacturer or engineer for direction when a deviation is visible, affects panel bearing, or changes a connection fit.
A useful field record may look like this:
| Frame line | Reference-line gap | Direction | Field observation |
|---|---|---|---|
| Grid 1 | 0 | Baseline | End connection seated |
| Grid 2 | 1/8 inch | Inward | No visible bow |
| Grid 3 | 3/8 inch | Outward | Check clip and bolt snugness |
| Grid 4 | 1/8 inch | Inward | Matches adjacent line |
The numbers alone don't approve the work. They show whether the eave line changes gradually or has a sharp jog at one frame.
Check for twist and damaged flanges
A strut can look straight from below while its top flange twists out of the roof plane. Lay a straightedge across the bearing surface, or use a level and measure gaps at several points.
Look for bent lips, crushed flanges, elongated holes, field cuts, weld spatter, or damage from lifting equipment. A bent eave strut may not give the panel a flat bearing surface, even if its face aligns with the string.
Do not flatten or heat-straighten structural steel without approved direction. Unapproved field repairs can damage coatings, alter member capacity, or create a connection issue.
Verify Eave Elevation and Roof Plane
Straightness along the wall does not prove the eave is at the right height. The roof plane also depends on matching elevations at opposite eaves and correct purlin placement between them.
Check elevation at every main frame, using the same benchmark for all readings. Then compare the values with the approved roof slope and eave details.
Compare elevations across each frame
At a gable building, measure the left and right eave elevations at the same frame line. The difference between them should match the design geometry, not an accidental lean in the frame.
Also check that each purlin bears in its intended position. A purlin that sits high, is flipped, or misses its clip can force a panel to bridge, oil-can, or pull the eave trim out of line.
Use a long straightedge or taut line along the first purlin row and the eave strut. The surfaces should create the support plane shown in the roofing details.
Watch the panel bearing area
Roof panels need consistent bearing at the eave. If a flange is rolled, a clip protrudes, or a bolt head interferes with the panel, fix the condition before covering it.
This matters most at the lower panel edge, where trim, closures, and fasteners all meet. Profile-matched closures must sit evenly under the panel ribs, so review foam closure strip selection before the crew begins installation.
An uneven bearing line can compress closures unevenly. That leaves some ribs loose while others pinch the foam too hard.
Confirm Bay Spacing, Connections, and Tightness
Eave struts work with the columns, purlins, clips, bolts, and fasteners around them. Alignment checks should include those connections because loose hardware can allow the line to move after roof installation begins.
Work one bay at a time. Compare actual framing locations to the erection drawings and note any member that doesn't land at its intended grid line.
Check purlin and frame spacing
Measure from centerline to centerline where the drawings identify spacing. Do not measure from random flange edges, since different member profiles can produce different results.
Confirm that the first roof purlin is the correct distance from the eave strut. This spacing affects panel support near the edge and may affect the fastener schedule.
If the first purlin sits too far upslope, the panel can flex near the eave. If it sits too close, it may interfere with the required trim, closure, or screw location.
Inspect bolts, clips, and laps
Check bolts for the specified diameter, grade, quantity, washer arrangement, and nut engagement. Verify that nuts are tightened using the project's required method. Look for missing bolts, loose clips, open holes, damaged threads, and slotted holes that have shifted unexpectedly.
Also inspect eave-strut splices. The splice should align cleanly, use the required hardware, and avoid a step that telegraphs through the panel edge.
Do not assume a connection is tight because a nut touches the washer. Follow the project's bolt-tightening requirements and document any unresolved condition.
Fix Alignment Problems Before Panels Go On
Roofing over a known framing problem makes the repair harder, more expensive, and more visible. It can also lead to leaks, poor panel engagement, damaged trim, or fasteners that do not land in the intended support.
Minor adjustments may involve repositioning a clip, correcting a shifted strut before final tightening, or replacing damaged hardware. Only make those changes when they follow the erection drawings or approved written direction.
Call for direction when the condition affects the structure
Contact the building manufacturer when the eave strut differs from the supplied parts, a connection will not assemble as detailed, or a suspected fabrication issue appears across multiple bays.
Bring in the structural engineer of record when a member is bent, a connection is modified, bolts or welds differ from the drawings, columns are out of plumb, or proposed corrections change load paths. Photos, grid references, laser readings, and measured offsets help them respond with clear instructions.
Do not drill extra holes, torch-cut structural steel, add field welds, shim a bearing surface, or force members into place without approval.
Recheck after corrections
Once the crew completes an approved correction, repeat the same reference-line and elevation checks. Use the original benchmark and measuring points so the before-and-after records are comparable.
Only release the roof for panel installation after the eave line, roof plane, spacing, and connections meet the project requirements. Then follow the correct sequence for eave trim, panels, closures, and fasteners. For exposed-fastener systems, metal roof trim installation sequence helps prevent edge details from being installed out of order.
Final Eave Strut Pre-Roofing Checklist
Walk the full building length with the drawings and field notes in hand. Mark corrections clearly so a different crew does not cover an open item.
- The approved drawings, panel instructions, and eave details are available at the work area.
- A string line or laser reference has been set from verified building points.
- Each frame line has been checked for straightness along the eave.
- Eave elevations and the roof support plane match the approved geometry.
- The first purlin location and all bay spacing match the drawings.
- Eave struts have continuous, flat bearing where roof panels will sit.
- Bolts, clips, splices, and required hardware are complete and properly tightened.
- Damaged, twisted, or modified members have written approval or have been replaced.
- Closure strips, trim, and fasteners match the roof-panel profile and installation details.
- All unresolved alignment issues have been reported before roofing begins.
A Straight Eave Creates a Better Roof
Accurate metal building eave strut alignment gives roof panels a true starting edge and keeps trim, closures, and fasteners where they belong. The check takes less time than removing panels to repair a bowed or low eave later.
Use a consistent reference line, record measurements at every frame, and let the drawings control the final call. Never cover an unresolved framing issue with roofing.
Share Our Metal Roofing News Articles
Related Posts




