How to Remove Sealant Smears From Painted Panels
A fresh sealant smear on a painted panel can go from minor to obvious in seconds. One hard rub, and the gloss can dull or the coating can pick up a scratch that stays visible in daylight.
The cleanest fix is slow and controlled. Use the mildest cleaner that works, test it first, and stop as soon as the residue lifts.
Start by identifying what left the mark
Sealant residue does not all behave the same. A soft tube sealant smear, a cured silicone streak, and tacky butyl residue each need a different touch. If you can tell where the smear came from, you can choose the right cleaner and avoid spreading it across the panel.
That matters on painted roof and wall panels, where the finish is part of the value. If the product on the seam is still relevant to the repair, the metal roof sealant guide for Florida jobsites is a useful reference for how different sealants behave on painted metal.
Fresh smears are usually easier than old ones. If the sealant has only skinned over, waiting a little can help it firm up before removal. Florida heat and humidity change that timing, so understanding sealant cure times can keep you from dragging sticky material into a larger mess.
A few visual clues help too. Silicone often feels slick and rubbery. Butyl tends to stay tacky and can string. Polyurethane and hybrid products usually cure firmer, then break into thin flakes or films when you lift them. When you are unsure, treat the smear as sensitive and start with the gentlest method.
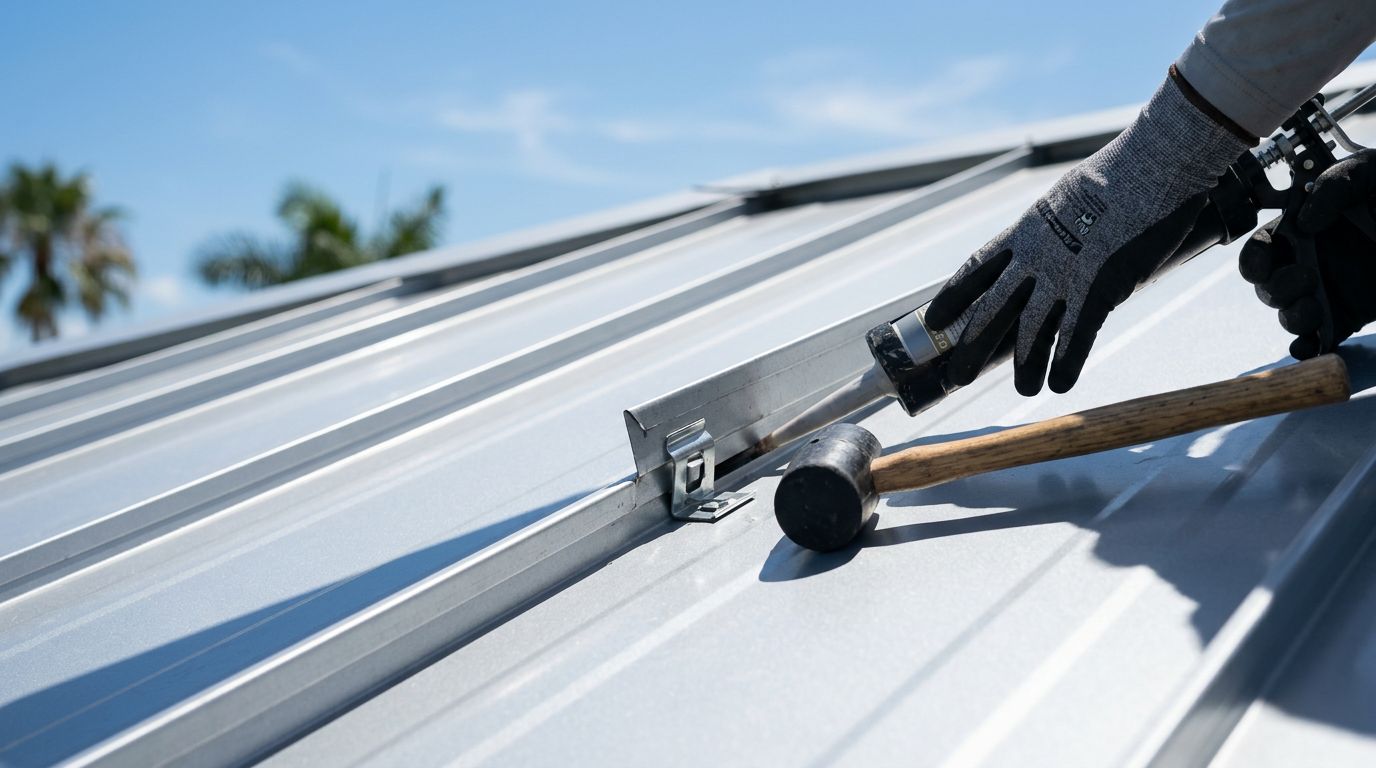
Choose tools that protect the finish
Painted metal panels need soft tools. Microfiber cloths, clean water, and plastic blades do most of the work without chewing into the coating. The goal is to lift residue, not polish the panel until it thins.
Here is a quick reference for the safest starting points.
| Tool or cleaner | Best use | Watch out for |
|---|---|---|
| Warm water and mild soap | Fresh, thin smears and loose dirt | May need repeated passes |
| Microfiber cloth | Wiping residue and drying | Replace it when it picks up grit |
| Plastic razor blade | Lifting thick edges of cured sealant | Keep the angle low, never use metal |
| Isopropyl alcohol | Light residue after a soap wash | Test first, then wipe and rinse |
| Mineral spirits or an approved adhesive remover | Stubborn film on painted panels | Dab lightly and wipe off fast |
Start with soap and microfiber. Move up only if the test spot stays unchanged. Do not spray solvent all over the panel and hope for the best. Put the cleaner on the cloth, not the finish, so you control where it goes.
Test every cleaner on a hidden spot first. A painted panel can look tough and still haze fast.
A clean white cloth helps you see what you are lifting. If the cloth turns gray or yellow quickly, switch to a fresh one. Dirty cloths act like fine sandpaper, and that is how a small cleanup turns into a scuffed patch.
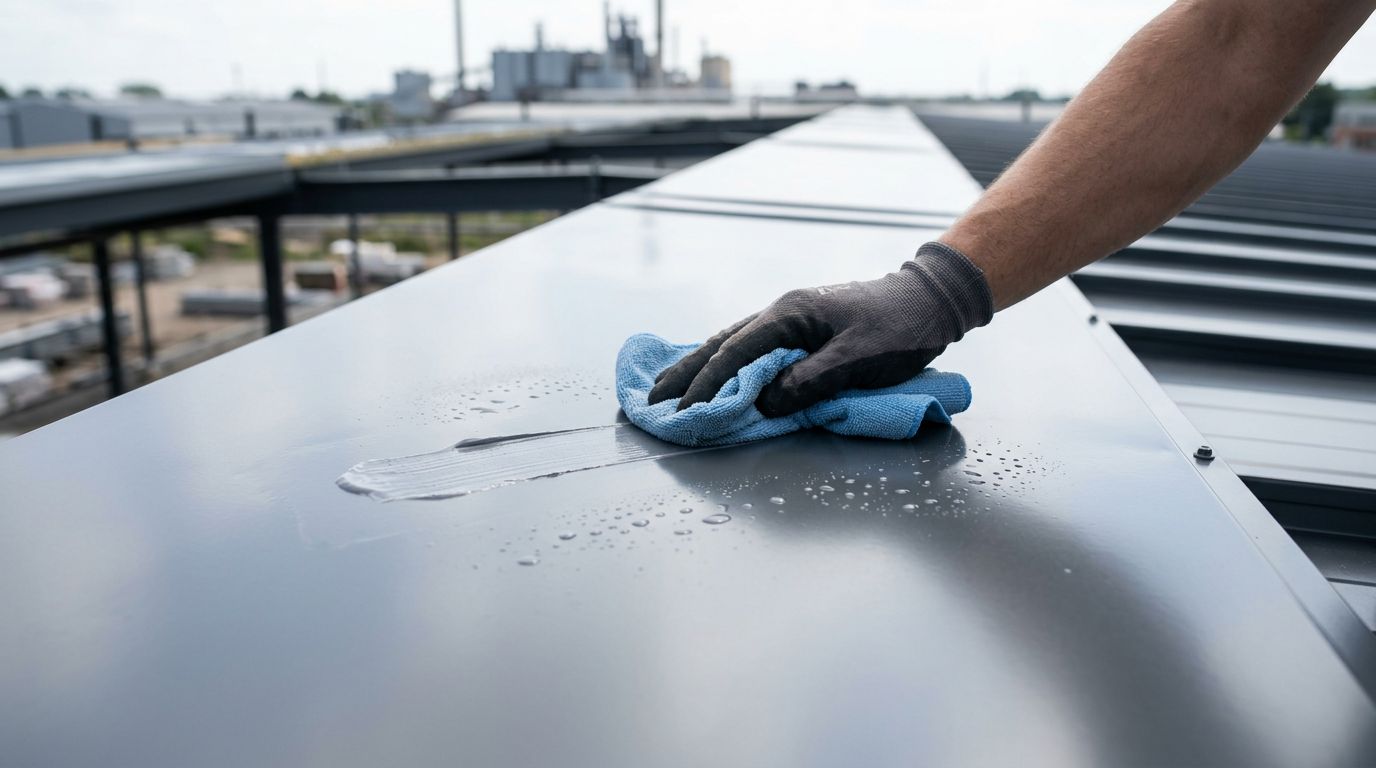
Remove the smear with a light touch
Once you know the residue type, work from the least aggressive step to the next. On a hot roof or wall panel, shade the area if you can, because sun-heated metal can make some sealants smear more and solvents flash off too fast.
- Wash the area with mild soap and clean water, then dry it with a microfiber cloth.
- Lift any thick bead or ridge with a plastic razor blade held at a shallow angle.
- Dab a small hidden spot with the cleaner you chose, then wait a few seconds.
- Wipe the smear in short strokes, using only enough pressure to move the residue.
- Fold the cloth often so you are always using a clean face.
- Rinse the area with clean water, then dry and inspect it from the side.
If the smear is fresh, soap and water may be enough. If it is cured, a small amount of isopropyl alcohol or a paint-safe adhesive remover may do the rest. In both cases, work in small sections. A broad, wet wipe usually spreads the smear before it removes it.
Keep your hand flat and your blade shallow. That reduces the chance of cutting into the coating or catching a seam edge. If the residue rolls off in little balls, that is a good sign. If it starts to drag into a gray film, stop and switch methods.
Avoid the mistakes that dull painted panels
A few common shortcuts do more damage than the smear itself. Abrasive pads, steel wool, and scouring powders can leave a dull halo that shows up every time the light hits the panel. So can metal scrapers, putty knives, and screwdrivers.
Strong solvents deserve the same caution. Acetone, lacquer thinner, and similar products can soften or haze some painted finishes. Even when they do not leave a visible mark right away, they can change the sheen. That is a bad trade on SMP and PVDF-coated panels, especially on long, visible runs.
A few things are best left out of the cleanup bag:
- Abrasive pads, melamine sponges, and steel wool
- Metal blades or sharp tools
- Heavy pressure and repeated dry rubbing
- Heat guns or open flames
- Random solvents that are not approved for painted surfaces
If the panel starts to look chalky, stop. The finish may recover after a full wash, or it may need professional attention. Either way, keep going with more pressure is the wrong move.
The same caution applies when the smear sits near a fastener, a lap, or a trim fold. Those edges catch tools easily, and a small slip can leave a permanent line. When the spot is awkward, change the angle of approach before you change the pressure.
Clean up the area and keep the next repair cleaner
Once the residue is gone, wash the panel again with mild soap and clean water. That removes any leftover solvent film and keeps the finish even. Dry the area with a fresh microfiber cloth, then check it from different angles.
Side light shows haze better than straight-on light. Walk a few steps left and right. If the finish still looks uniform, the cleanup is done. If you can see a faint ring, wipe once more with the mildest safe cleaner, then stop.
After a repair, small habits keep sealant smears from coming back. Keep rag edges clean, trim nozzle tips neatly, and wipe squeeze-out before it skins over. On Florida jobsites, the work can move quickly, so it helps to have the cleanup cloth in your hand before the bead goes down.
Masking tape also helps on exposed trim and visible joints. A neat tape line gives you a smaller cleanup zone and a sharper edge when the sealant is tooled. For jobs where the sealant choice itself affects cleanup and adhesion, choosing between butyl tape and tube sealant can help match the product to the detail before the mess starts.
Conclusion
The safest way to remove sealant smears is plain and careful: identify the residue, test a hidden spot, and use the gentlest tool that will lift it. That approach protects the painted finish, which is the part everyone sees.
If the smear fights back, slow down before the coating pays the price. On painted panels, a clean edge is better than a rushed fix every time.
Share Our Metal Roofing News Articles
Related Posts