How to Correct Roof Panel Drift Before the Ridge
Panel drift usually starts as a small layout mistake, then shows up as a ridge problem you can't ignore. One panel creeps a little, the next one follows, and by the time the run reaches the top, the trim line tells the truth.
If you install metal roofing, the safest fix is to stop the drift early and reset the line before the error spreads. That means measuring from a fixed reference, correcting the fasteners, and keeping every course square as you move up the slope.
Read the warning signs before the ridge gets involved
Roof panel drift often shows up long before the last course goes on. The reveal may look slightly wider on one side, the ribs may stop lining up, or the panel edge may start leaning off the eave line. On a long run, even a small shift becomes obvious near the ridge.
A few signs show up again and again:
| What you see | What it usually means | First correction |
|---|---|---|
| Reveal changes from panel to panel | Layout is creeping | Recheck the control line, not just the exposed edge |
| Panel edge reaches the ridge at an angle | The first panel was out of square, or later panels were pulled sideways | Stop and reset the affected course |
| Fastener heads sit off center | Screws were placed inconsistently | Re-seat or replace the fasteners as needed |
| Last panel needs a strange ridge cut | Drift built across the full run | Correct the drift lower on the roof |
If the ridge is already forcing a weird cut, the drift started several panels earlier.
The real issue is usually one of three things, a first panel that was never square, fasteners that pulled the panel as they were tightened, or a layout line that stopped getting checked. For panel-specific fastening and alignment requirements, use the official metal roofing installation instructions before you make changes.
Once the ridge is close, the roof stops forgiving small mistakes. At that point, you are no longer chasing a seam, you are correcting a run.
Reset your control line before you loosen the wrong panel
The cleanest correction starts with a hard stop. Do not keep installing and hope the ridge trim will hide the problem. It usually won't.
Start by finding the last panel that still looks true. Then measure from a fixed point, such as the eave edge or another square reference, instead of measuring from the drifting panel edge. That simple choice keeps the correction tied to the roof, not to the mistake.
A good reset usually follows this sequence:
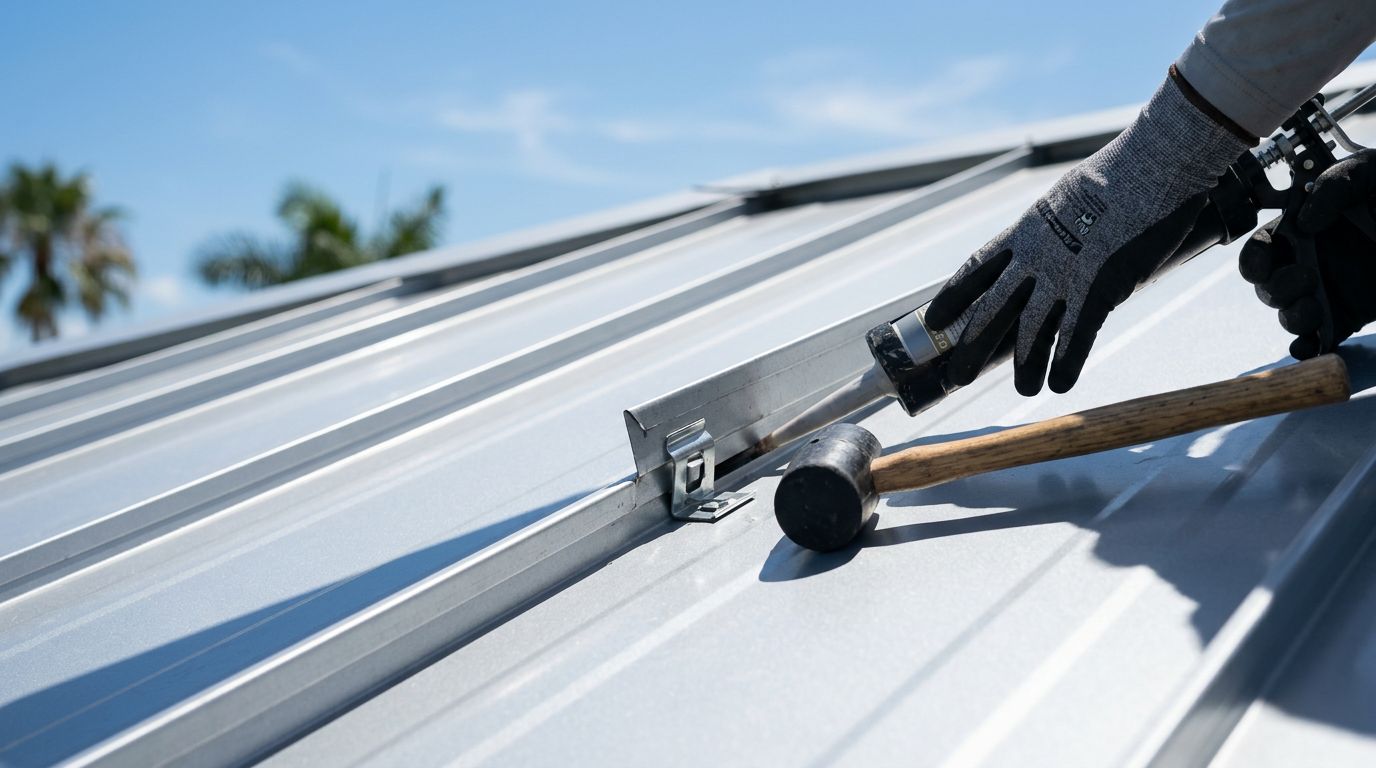
- Check the run against the same reference at both ends.
- Mark the point where the drift first becomes visible.
- Loosen the affected panel or panels just enough to shift them.
- Re-seat the panel so the ribs, lap, and reveal match the previous courses.
- Tighten the fasteners again, then re-measure before moving forward.
Use a chalk line, framing square, tape measure, or laser, depending on the job and the system. What matters is consistency. If you move the line, move the measurement too. If the first panel was wrong, fix the first panel. Don't ask the next five panels to carry the error.
On standing seam work, the first course matters even more because the clips and seams control the run. The step-by-step guide to installing standing seam panels is a useful reference when you need to check panel order and clip placement against the roof layout.
The goal is not to force everything into place. The goal is to restore a straight, repeatable path before the roof gets to the ridge.
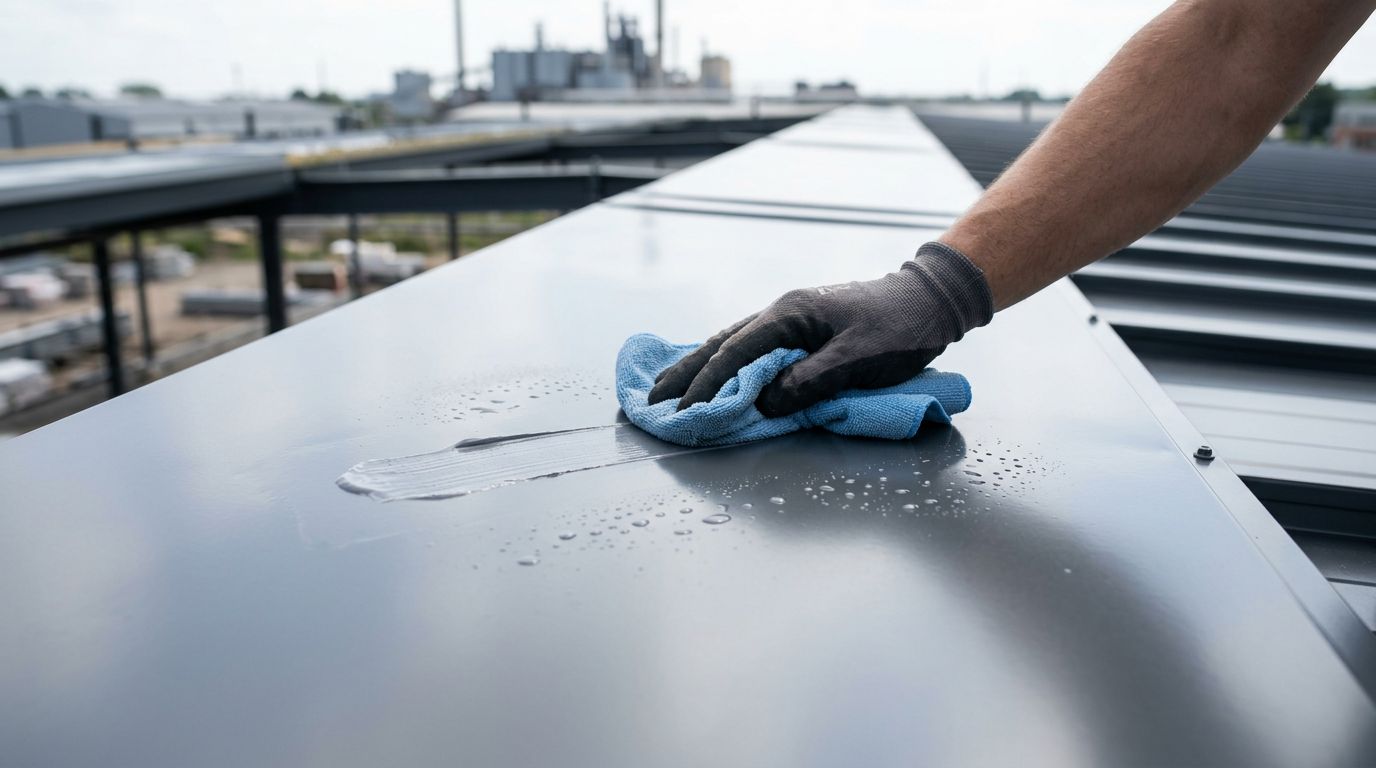
Correct the fastening pattern, not just the visible edge
A drifting panel often looks like an alignment problem, but the cause is usually in the fastening pattern. Overdriven screws can pull one side of a panel tighter than the other. Loose fasteners let the panel walk as the run grows. Misplaced clips can do the same thing on concealed-fastener systems.
That is why a visual nudge alone is not enough. If you push the edge back into place without fixing the fasteners, the panel will usually move again as soon as you tighten it.
On exposed-fastener systems, keep the screws centered where the manufacturer calls for them, and avoid overcompression of the washer. On concealed-fastener systems, keep the clips in line and at the correct spacing. If the panel profile has a specified attachment point, use it. Do not guess.
A twisted panel also creates trouble fast. If the seam or rib is already locked and the panel is fighting you, forcing it into position can leave a bow that shows up at the ridge. In that case, pull the panel back, reset it, and re-fastene it cleanly. That takes longer than a quick shove, but it saves the run.
Panel systems vary, so the fastening pattern has to follow the product, not a habit. A multi-rib panel, a PBR panel, and a standing seam panel do not all behave the same way. Verify the panel-specific alignment rules before you commit to a repair. Small differences in clip placement, lap engagement, or screw position can change the result.
A simple rule helps here. If the edge looks wrong because the panel moved, fix the fastener pattern. If the panel moved because the edge was forced, fix the panel before the next course goes on.
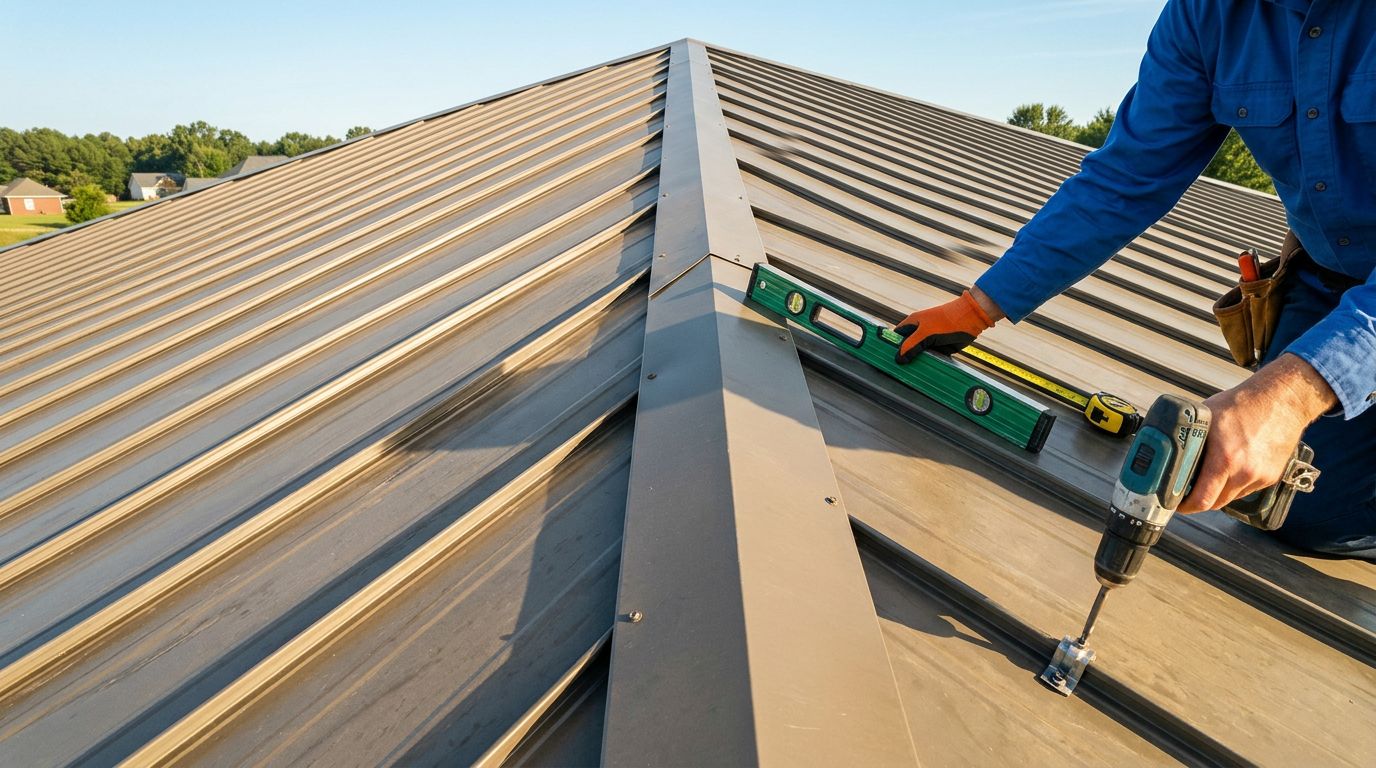
Keep the remaining courses aligned on the way up
Once the drift is corrected, the rest of the run needs steady checking. A roof does not stay straight because the first few panels looked good. It stays straight because every new course gets measured against the same reference.
Keep checking the reveal every few panels, especially after a correction. Measure from the same point, and confirm the ribs are staying parallel to the run. If the gap starts closing or opening, stop before the pattern gets out of hand again. A small check now is easier than a big reset later.
Thermal movement matters too. On a hot Florida roof, metal can shift during the day, so a panel that looked perfect in the morning can move by the afternoon. That does not mean the system is failing. It means the installer needs to verify alignment at the stage where the panel is still easy to adjust.
The last courses deserve the most attention. That is when drift becomes expensive, because the ridge trim and closure pieces have less room to hide anything. Leave yourself enough margin so the final panel can land cleanly without a forced cut or a crooked lock.
A good habit is to stop every few panels and look at the roof as a whole, not just the latest panel. If the run starts to wander, correct it right away. The longer you wait, the more the error travels.
Conclusion
Roof panel drift is easier to fix when it still looks small. Once it reaches the ridge, the mistake has already touched the layout, the fasteners, and the final trim.
The best repair is simple, measure from a fixed point, reset the panel that started the error, and keep checking the run as you go. A straight ridge starts with a straight layout long before the top course goes on.
Share Our Metal Roofing News Articles
Related Posts