Standing Seam Roof Line Set Flashing Options
A mini-split line set through a standing seam roof looks simple until thermal movement and runoff get involved. One poor penetration can lead to leaks, dented panels, or a warranty headache.
Standing seam roofs shed water well, but they do not forgive sloppy details. The flashing has to seal cleanly, leave room for movement, and match the roof system the way it was approved.
The right choice depends on the roof profile, the line-set size, and the path from the outdoor unit to the indoor head. A good detail protects the roof first, then the HVAC system.
Key Takeaways
- Standing seam roofs need approved penetration details , because the panels move and the seams are part of the water-shedding system.
- Non-penetrating routing is often the cleanest option when the line set can travel through a wall, soffit, attic, or chase instead of the roof.
- Retrofit boots work for small, simple penetrations , but they need careful support and a watertight base.
- Curb-style and custom sheet-metal flashings handle larger or trickier installs better than a basic boot.
- Roofing and HVAC crews should coordinate early , or the opening may end up in the wrong place.
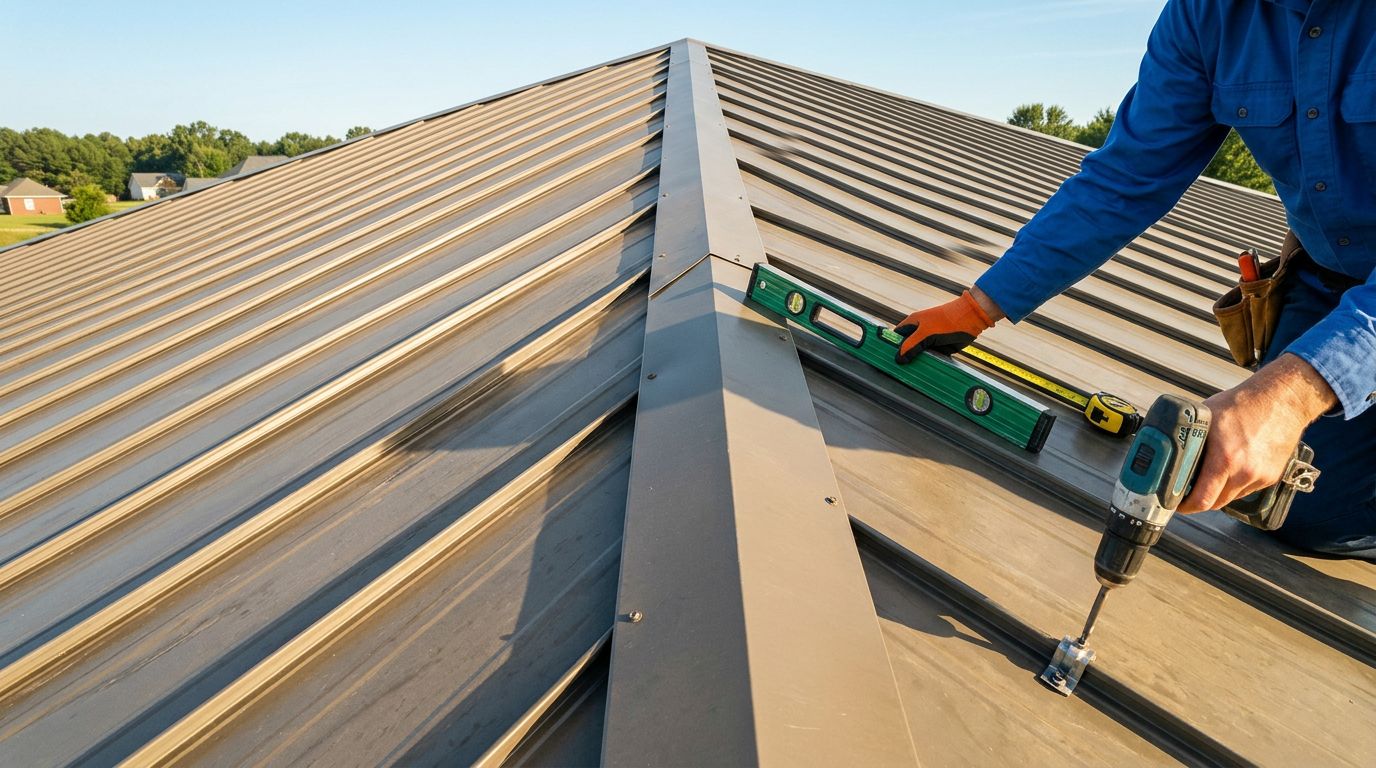
Why Standing Seam Roofs Need a Different Detail
Standing seam panels are built to move. That movement helps the roof handle temperature swings, but it also means a fixed penetration can become a problem. If a line set is run through the wrong spot, the panel can oil-can, the seal can crack, or a fastener can stress the metal over time.
That is why the roof system matters as much as the flashing itself. Start with the roof maker's metal roof installation guidelines, then confirm the approved penetration method before anyone cuts into the roof. A detail that works on shingles or exposed-fastener metal may be wrong for standing seam.
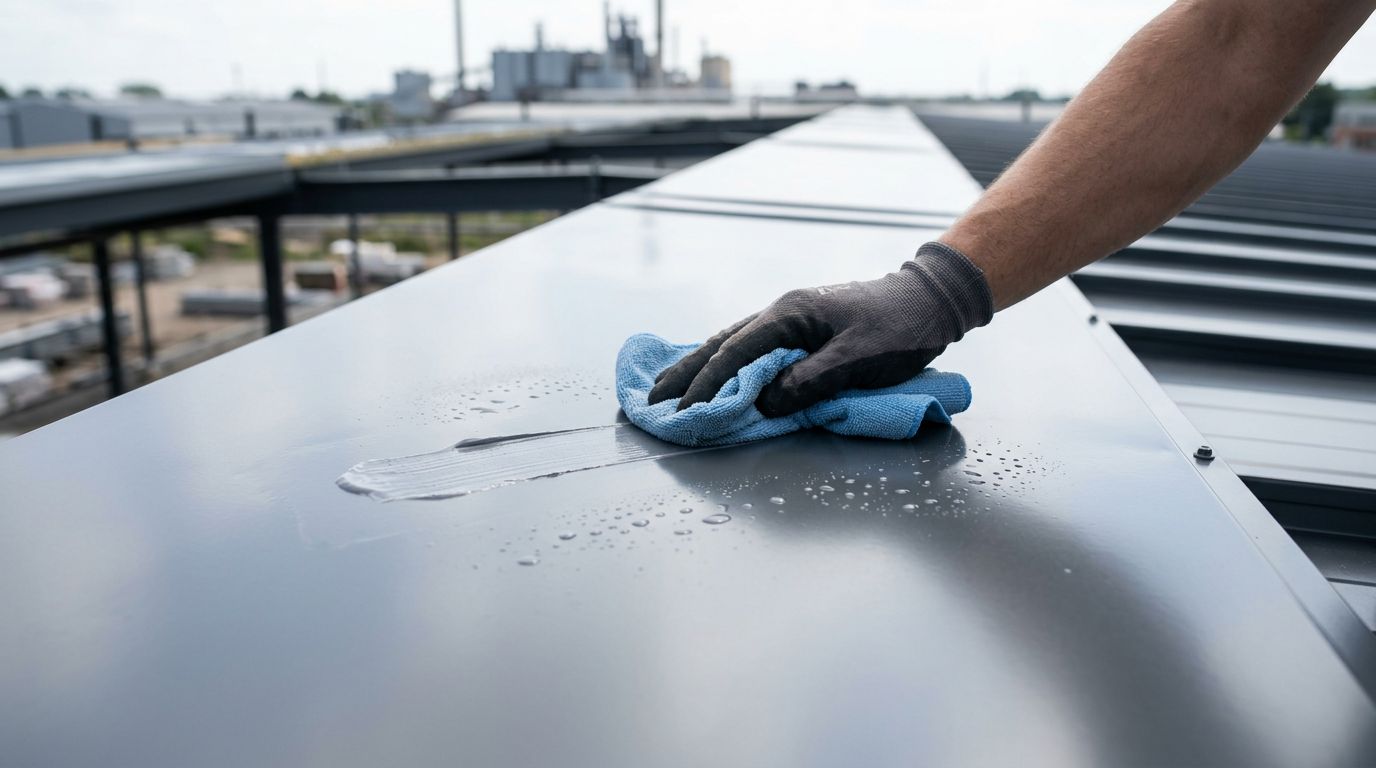
In Florida, the stakes get higher because wind-driven rain can push water into weak spots fast. Heat and UV also punish rubber parts and sealants. A clean-looking penetration is not enough if it traps movement or breaks the panel finish.
If the flashing locks the panel in place, it may fail later even when it looks perfect on day one.
Common Flashing Options for Mini-Split Line Sets
Here is a quick comparison of the most common approaches.
| Option | Best Use Case | Pros | Watch-Outs |
|---|---|---|---|
| Retrofit pipe or line-set boot | Small, simple penetrations | Quick, familiar, affordable | Needs a proper base and support |
| Curb-style flashing | Larger bundles or more exposed locations | Better water shedding, easier to seal | More labor, more visible |
| Non-penetrating routing | When the line set can avoid the roof | Preserves the roof, fewer leak points | May require a longer route |
| Custom sheet-metal solution | Complex roofs or precise fit needs | Clean look, better profile match | Higher cost, longer lead time |
The right answer usually depends on where the line set starts and ends. A short, well-planned route often beats a clever flashing detail that forces the roof to do too much.
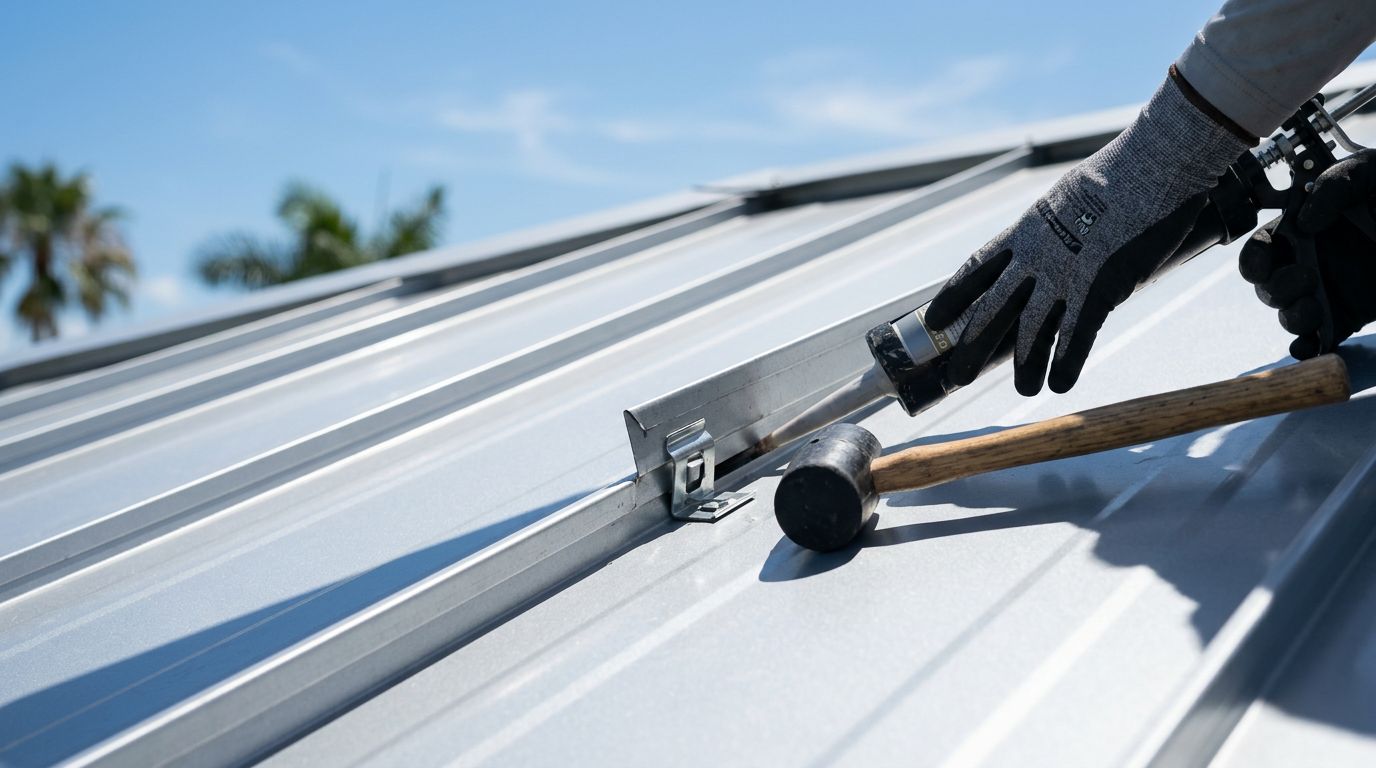
Retrofit Pipe or Line-Set Boots
A retrofit boot is the most familiar choice. It usually uses a flexible top section, such as EPDM or silicone, tied to a metal base or compatible flashing plate. For a mini-split, it can work well when the line set is small and the penetration stays away from seams, ribs, and high-flow water paths.
The appeal is obvious. It installs faster, costs less, and gives service crews a known maintenance point. Still, a boot on standing seam needs a solid base and careful sealing. If the boot sits on a moving panel without proper support, the detail can loosen over time.
This option fits simple retrofits, especially when the line set is small and the roof layout is forgiving.
Curb-Style Flashings
A curb-style detail raises the penetration above the roof plane. That helps because it moves the opening away from ponding water, runoff, and direct splash. It also gives installers more room to package a larger line-set bundle, insulation, or drain line.
Curb-style flashings are often the better choice when the route is exposed to weather or when the opening needs more structure than a soft boot can provide. The tradeoff is cost and complexity. The curb has to be flashed correctly, tied into the roof system, and placed where it won't fight the seam layout.
For contractors, this option is worth the extra effort when the line set is larger, the roof pitch is steep, or the roof has more than one service line in the same area.
Non-Penetrating Routing
The cleanest answer is often to avoid the roof penetration entirely. If the line set can travel through a wall, soffit, attic, chase, or gable end, the roof stays intact and the leak risk drops. That also reduces the chance of voiding a panel warranty because nothing cuts through the roof field.
This approach works well for new construction and for remodels where the HVAC location can shift. It does take more planning. The line set must stay protected, supported, and insulated, and the exterior route needs to look intentional rather than patched together.
When the layout allows it, non-penetrating routing is usually the most roof-friendly choice.
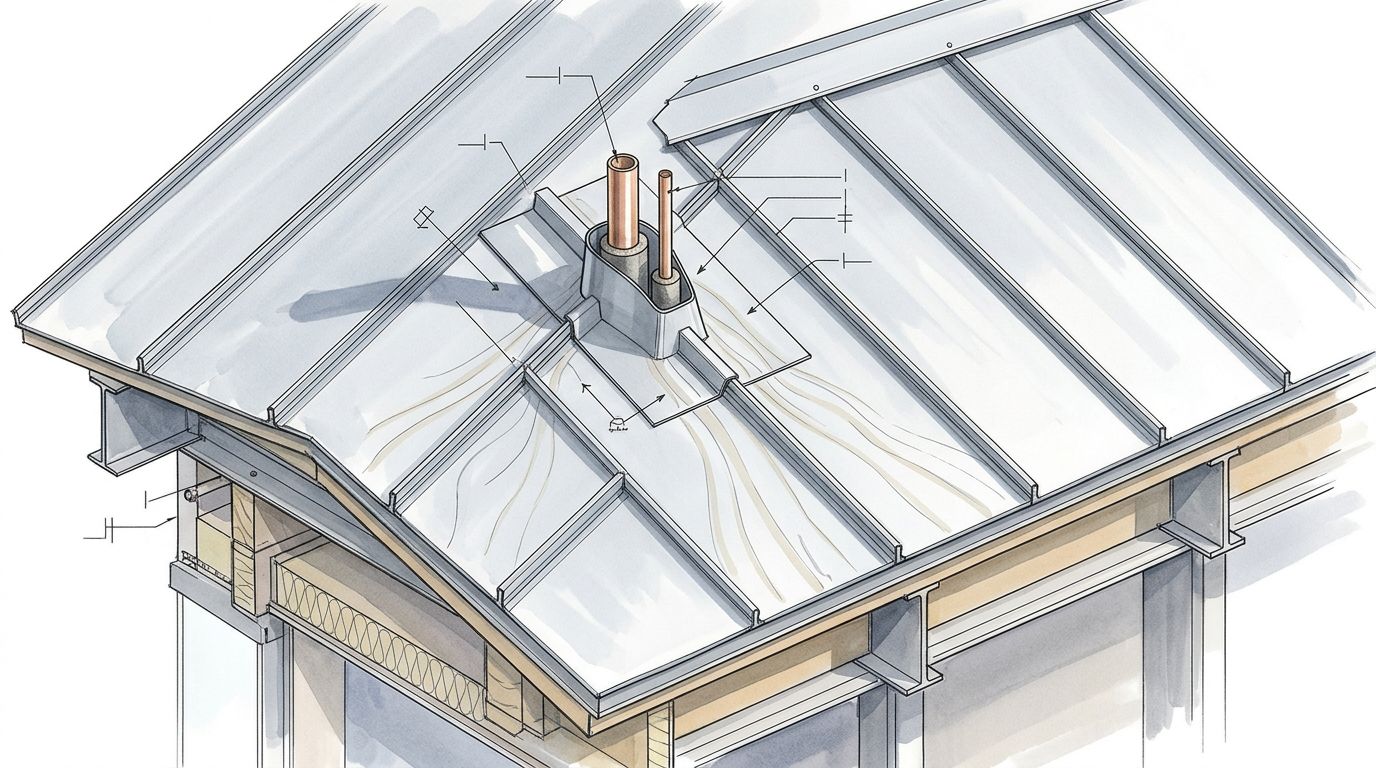
Custom Sheet-Metal Solutions
Custom trim is often the best fit for unusual roof conditions. A fabricated flashing can match the panel profile, clear the ribs, and leave room for movement. It also helps when the opening lands near a seam or when the roof geometry makes stock parts awkward.
The detail has to be built carefully. Custom pieces should use compatible metals, proper hemmed edges, and a sealing plan that matches the roof system. The same water-shedding logic used in sidewall flashing details matters here too. Layers need to lap in the right direction, and the assembly should move with the roof instead of against it.
Custom sheet metal is a smart choice when appearance matters, the roof is complex, or the HVAC team needs a precise opening.
Mistakes That Lead to Leaks
A few mistakes cause most of the trouble.
- Cutting through a seam or a rib without approval can weaken the panel and create a hard-to-seal edge.
- Fastening a boot or curb so tightly that it blocks thermal movement can crack sealant and stress the roof.
- Mixing metals without checking compatibility can start corrosion where water sits.
- Leaving the HVAC crew and roofing crew out of the same conversation can put the penetration in the wrong place.
- Using the wrong sealant, or too much of it, can hide a bad fit instead of fixing it.
The best details are simple, supported, and easy to inspect. They also leave room for maintenance, because mini-split systems do need service over time.
Conclusion
A standing seam roof line set flashing detail works best when it respects the roof first. That means planning the route early, choosing a penetration style that fits the panel system, and keeping every material compatible with the roof manufacturer's requirements.
When a non-penetrating route is possible, it often wins. When a penetration is necessary, a retrofit boot, curb, or custom sheet-metal solution can work, as long as the detail matches the roof and leaves room for movement.
The safest installs happen when the roofing manufacturer, the roofing installer, and the HVAC contractor agree on the opening before the work starts. That coordination protects the roof, the equipment, and the finished look.
Share Our Metal Roofing News Articles
Related Posts