How to Flash a Service Mast on a Metal Roof
A roof leak around a service mast can start as a tiny stain and turn into a bigger repair fast. On a metal roof, the fix has to do more than stop water for a week. It has to match the panel shape, handle movement, and stay tight through heat, rain, and wind.
That makes service mast flashing a job where small details matter. The mast also carries electrical service equipment, so the work can bring real shock and fire hazards. In many areas, the electrician side of the job needs a permit and inspection, and the roof side should follow the same code path.
If any part of the mast work touches energized conductors or the weatherhead, stop and bring in a licensed electrician.
Start with safety, code, and the right scope
Before a screw comes out, decide who is doing what. A roofer may handle the flashing and sealing, but the service side of the mast belongs with a licensed electrician when the system is live or needs changes.
That matters because the mast often passes through a roof opening near active service conductors. Pulling on the mast, loosening hardware, or changing its height can create a hazard in seconds. It can also void an inspection if the work does not match local code.
Check the roof area first. Look for burned sealant, rust around fasteners, lifted panel edges, or signs that water has been tracking along the mast. If the leak is active, protect the interior first, then plan the repair.
A clean flashing job starts with the right parts. For a similar look at roof penetration sealing, the metal roof pipe boot installation tips page shows why flat contact and compression matter so much.
Choose flashing that fits the panel, not just the mast
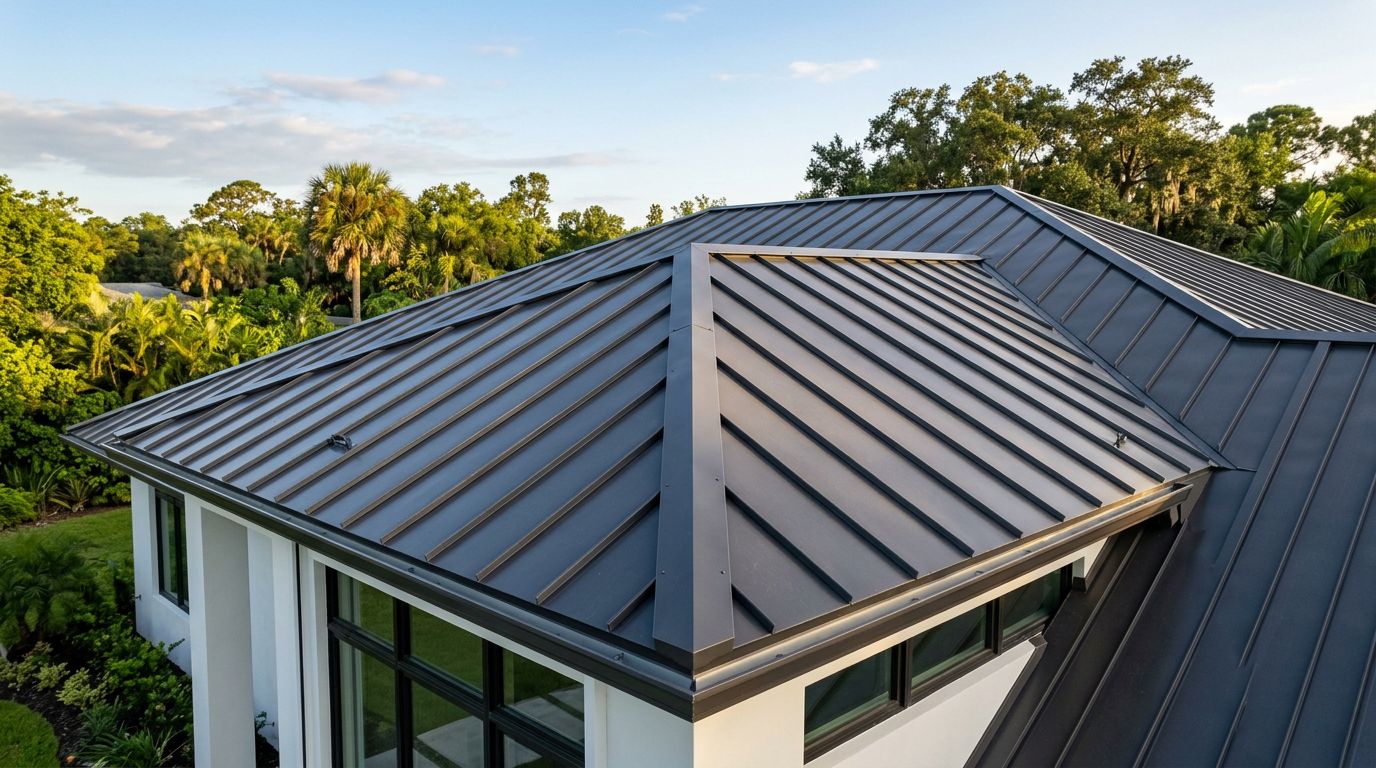
Metal roofs are not all the same. A boot that works on a flat panel may fail on a ribbed or standing seam roof. The flashing has to land on a surface that can actually seal.
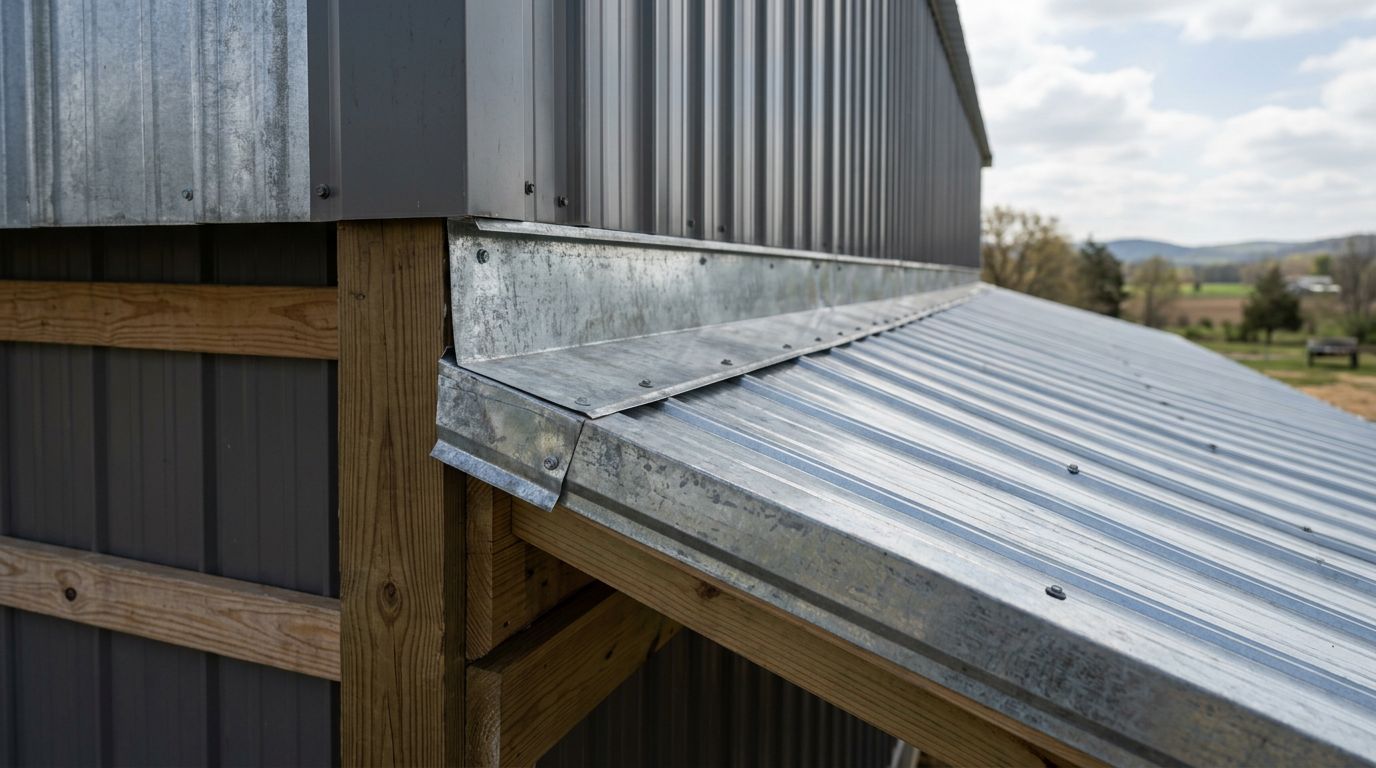
If the mast sits on an exposed-fastener panel, the base should sit on the flat between ribs when possible. If it lands on a rib or seam, water can pool at the edge and the boot may bridge gaps. That is where leaks start.
The material matters too. The flashing, screws, and sealant should be compatible with the roof finish and the boot material. Some sealants attack certain plastics, and mixed metals can corrode over time. A good detail uses a product made for roof penetrations, not a random tube of caulk from the toolbox.
For Florida roofs, heat and UV exposure are hard on soft materials. A boot with a flexible base and a strong compression collar usually lasts longer than a stiff, generic patch.
Flash the service mast in a watertight order
The best results come from a clear sequence. Rushing the order is how small gaps sneak in.
- Confirm the mast location and roof slope.
Make sure the opening sits where water can drain away from the penetration. If the mast is already set in a poor spot, the electrician and roofer may need to work together before the flashing goes on. - Measure the mast and the roof profile.
The flashing opening should match the mast size closely. The base also has to match the roof panel shape. On a ribbed panel, that may mean trimming or using a custom piece. - Prepare the surface.
Clean dirt, oil, and old sealant from the roof. Check the underlayment around the opening. If it is damaged, repair it before the flashing goes down. Water should have a path out, not just a patch on top. - Dry-fit the flashing first.
Set it in place without sealant and check how it sits. The base should lie flat. If it rocks, gaps will stay under the flange. - Add sealant and fasten it correctly.
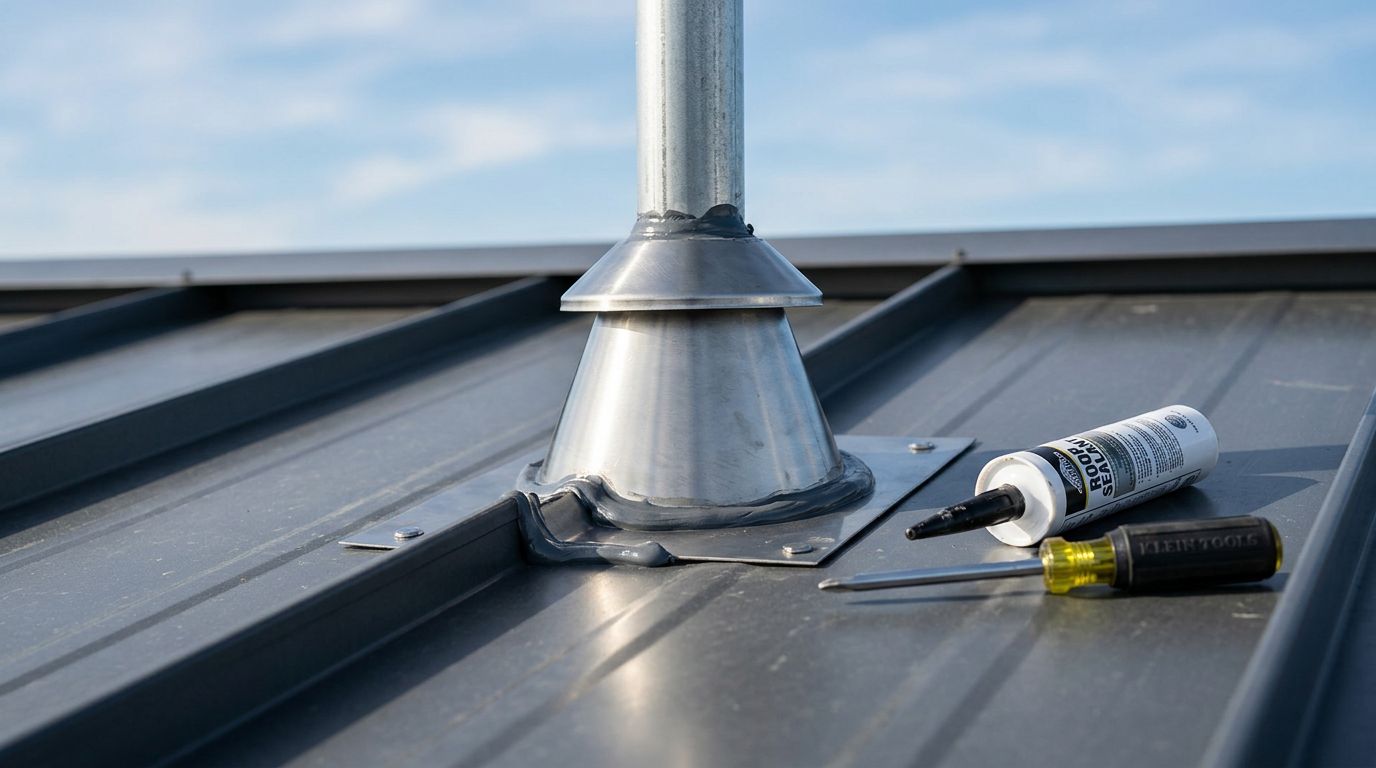
Use a continuous bead of compatible sealant or butyl where the flange meets the roof. Then drive fasteners into the right spots, usually on the flat portions of the panel, not on ribs or seam legs. Tighten them enough to compress the flange, but not so much that the metal bends. - Seal the upper collar around the mast.
The collar or clamp should close snugly around the mast so water cannot run down the shaft. Keep the seal smooth and even. If the product uses a storm collar, place it so it sheds water away from the boot. - Test the detail.
After the sealant sets, use a controlled water test from uphill to downhill. Then check the attic or ceiling space for drips or damp spots.
Avoid the mistakes that cause repeat leaks
Bad service mast flashing often fails for the same reasons as other roof penetrations. The fix may look fine from the ground, but the water path tells a different story.
A few common problems show up again and again:
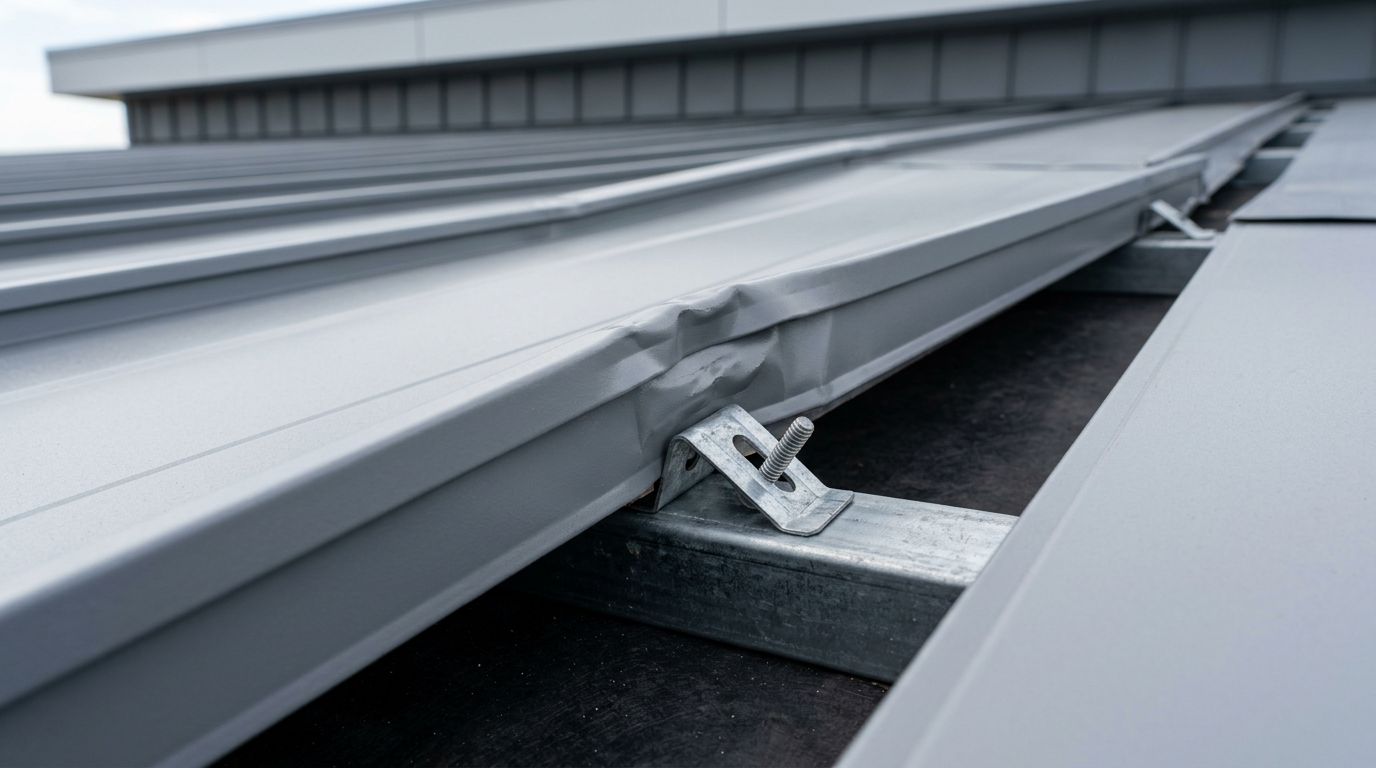
- Fasteners placed on ribs, seams, or other high points.
- Sealant used as the main water barrier instead of a support layer.
- A boot stretched too far to fit the mast.
- Overdriven screws that distort the flange.
- Mixed metals that start to rust or react.
- A flashing base that bridges uneven panel shapes.
If you want a wider look at how poor details fail, the article on avoiding common flashing installation errors is a useful reference. The main lesson is simple, sealant supports the detail, but the detail itself has to shed water.
Keep the mast flashing tight after the install
A good flashing job still needs a quick check now and then. Florida sun, wind, and heavy rain can dry sealant, loosen fasteners, and crack soft materials.
Inspect the mast after major storms and again during routine roof maintenance. Look for lifted edges, rust streaks, missing screws, and split collars. If the boot starts to harden or pull away from the mast, replace it before water finds the opening.
Keep debris off the area as well. Leaves and dirt hold moisture against the flashing, and that speeds up wear. If the roof coating or sealant needs touch-up, use a product that matches the original material.
Conclusion
Service mast flashing on a metal roof works best when the roof shape, fastener placement, and sealant all match the job. The flashing should sit flat, seal evenly, and leave no easy path for water.
Because the mast is part of the electrical service, safety comes first. When the work touches energized equipment or service conductors, use a licensed electrician and follow local permit and inspection rules. A careful detail today can save the roof, the ceiling, and the service entrance later.
Share Our Metal Roofing News Articles
Related Posts