Why Metal Roof Ridge Caps Leak on Exposed-Fastener Roofs
A small gap at the ridge can turn into a ceiling stain after one Florida storm. When a metal roof ridge cap leak starts, the water often enters in a place you can't see from the ground.
Exposed-fastener roofs are especially sensitive because the ridge cap depends on closures, laps, fasteners, and panel alignment working together. If one part is off, wind-driven rain can find a path inside. The first step is learning how that water actually moves.
How water gets past the ridge cap
A ridge cap is a cover, not a sealed bucket lid. On exposed-fastener roofs, the field panels stop at the peak, and the cap has to bridge the open rib ends below it. That means the system depends on the right profile, the right closure material, and a clean fit along the full ridge.
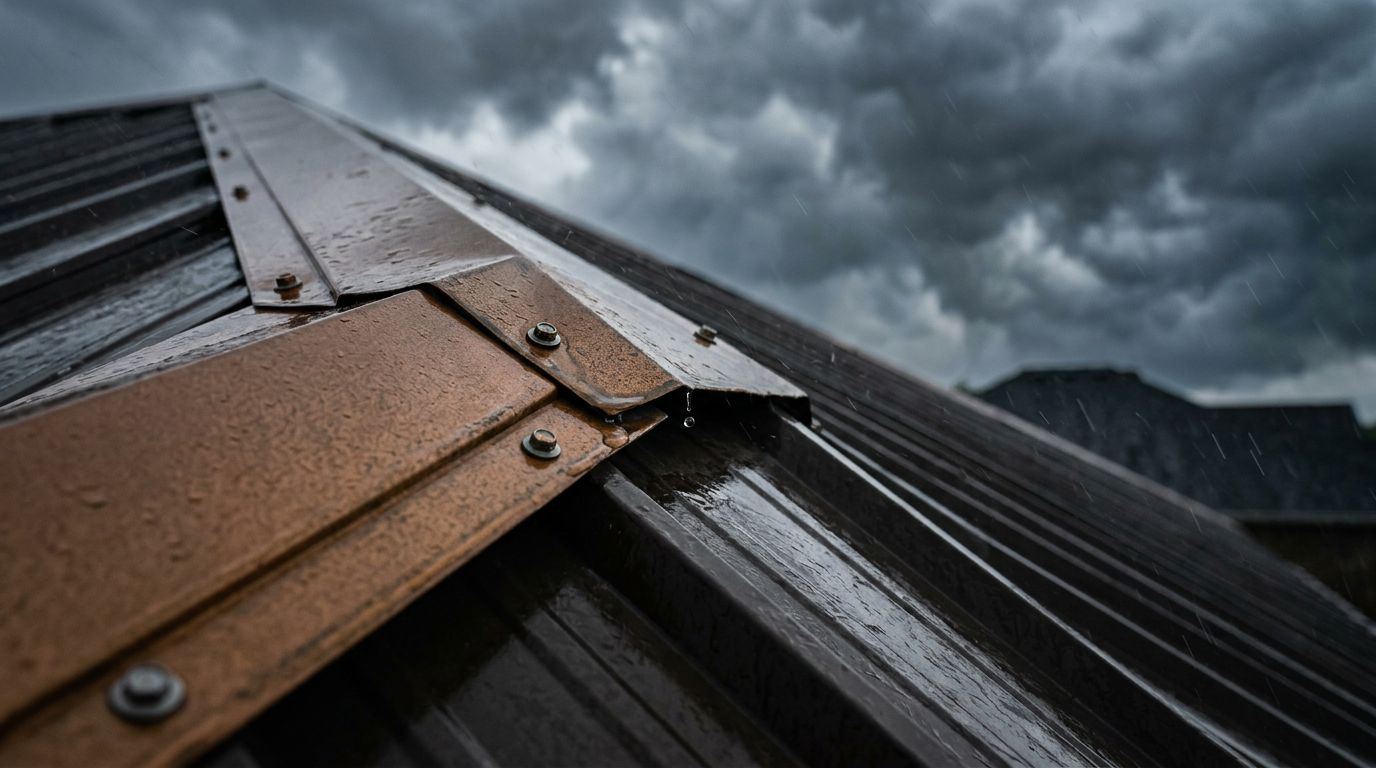
If the closure is missing or the wrong size, small voids stay open under the cap. In a calm rain, those gaps may stay dry. During a storm with strong gusts, though, water gets pushed sideways and upward. It can then slip under the ridge cap, run along a lap, and drip into the structure below.
Thermal movement makes this worse. Metal expands and contracts every day, and Florida heat gives that movement plenty of range. Over time, fasteners can loosen a little, sealant can harden, and laps can separate just enough for water to enter. A ridge cap leak often starts as a tiny mechanical mismatch, not a dramatic failure.
The install order matters too. If the panel layout is off, the ridge cap may have to bridge a crooked line or fight a bad overlap. The proper trim sequence for exposed-fastener panels helps keep the ridge from becoming the weak spot.
Installation mistakes that create a leak
The most common ridge problems come from small errors that stack up. One wrong choice may not leak right away, but several together usually do.
The wrong ridge cap profile is a frequent issue. If the cap does not match the rib shape and spacing of the panel, the closures will not seal cleanly. For that reason, selecting the right metal ridge cap style matters more than many owners realize.
A few other mistakes show up over and over:
- Missing or crushed closures leave open spaces under the cap.
- Short laps give wind a place to pry water into the seam.
- Overdriven fasteners crush washers and loosen the hold later.
- Too little sealant leaves gaps where the cap should compress.
- Sealant in the wrong place sits outside the compression path and does little good.
- Poor end treatment lets water track sideways at the ends of the ridge.
More caulk rarely fixes a poor fit. If the cap, closure, and panel rib do not line up, the water still finds a path.
Fastener placement matters too. Screws that are too high, too low, or too tight can distort the cap and open tiny channels along the seam. On an exposed-fastener roof, the ridge area is not forgiving. It needs the parts to sit flat and stay aligned.
Here's a quick way to think about the most common mistakes:
| Mistake | What it does |
|---|---|
| Wrong cap profile | Leaves rib gaps open |
| Missing closures | Lets wind push rain under the cap |
| Short overlap | Opens the seam under uplift |
| Loose or backed-out screws | Breaks the compression seal |
| Bad sealant placement | Creates a false seal that fails early |
If the leak keeps returning after a patch, the root cause is usually one of those items, not the ceiling stain below it.
How to tell the ridge cap is the source
A stain below the ridge does not always mean the ridge is the only entry point. Water can travel along framing, insulation, or the underside of the roof deck before it shows up inside. That is why ridge leaks get misread so often.
A leak near the top of the house can also come from backfeed. Wind pushes rain uphill, then the water enters at a lap, opening, or transition and moves downslope. That pattern is common enough that it deserves its own check, and the same logic used for diagnosing panel backfeed and ridge water entry applies here.
Use this simple comparison to narrow it down:
| What you notice | What to inspect first |
|---|---|
| Leak follows a windy storm | Ridge laps, closures, and end conditions |
| Stain is near the peak but not centered | Side laps and water travel paths |
| Rust streaks on the cap | Fasteners, sealant, and open laps |
| Leak appears lower than the stain | Framing, underlayment, or runoff travel |
A few inspection clues help separate the ridge from other roof leaks. Wet insulation directly below the ridge is a strong clue. So is rust at fastener heads on the cap. Loose ridge screws, lifted seams, and dried-out sealant also point toward the ridge area.
A basic inspection order
- Check the attic or underside right after rain if possible.
- Follow the wet path uphill to the highest damp point.
- Inspect ridge laps, cap ends, and fastener heads.
- Look for missing closures or gaps at the panel ribs.
- Check nearby penetrations and sidewalls before blaming the ridge alone.
A hose test can help, but use it carefully. Test one small area at a time so the water path stays clear. If you soak the entire ridge at once, you may create a false trail and chase the wrong leak.
Preventing ridge cap leaks during installation or replacement
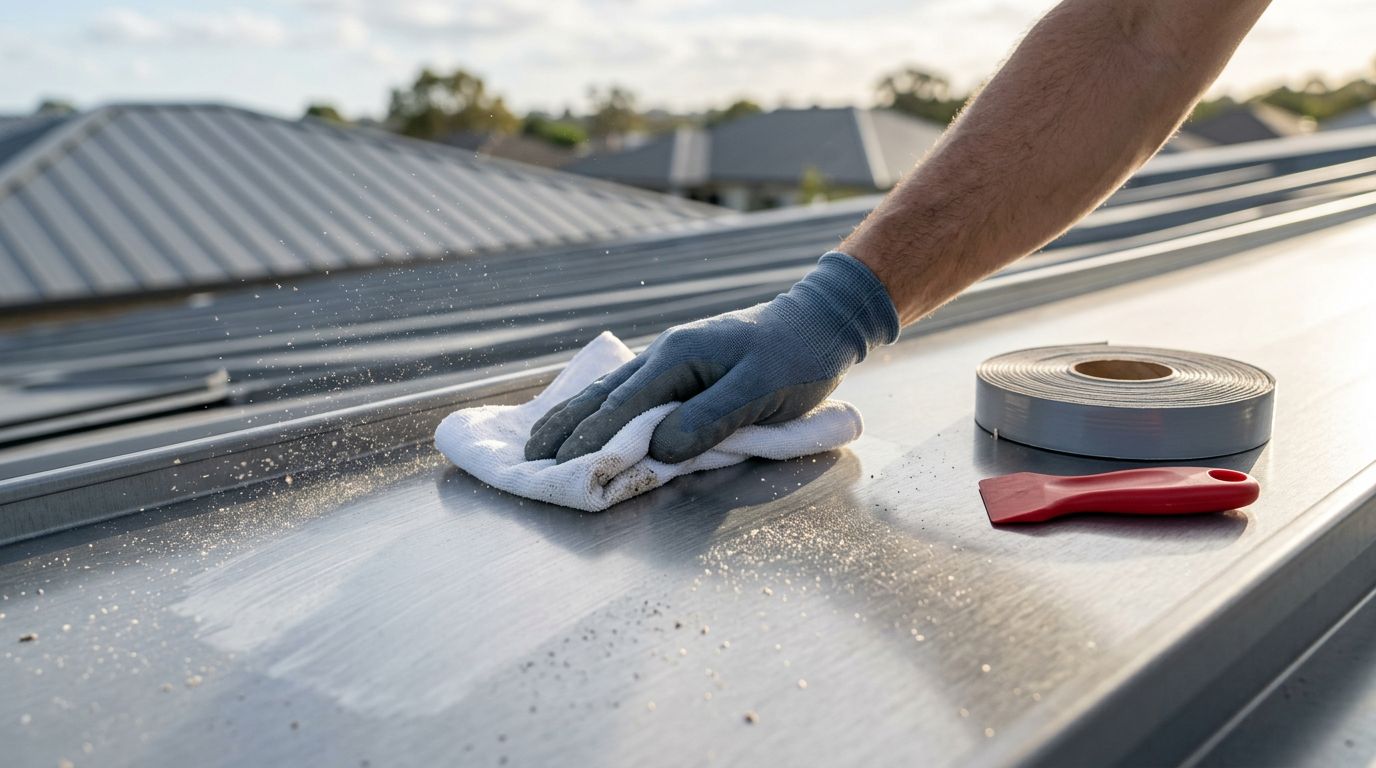
The best ridge repairs start before the cap goes on. A clean ridge line, the correct profile, and the right closure material do most of the sealing work. Fresh butyl tape, placed where the system calls for compression, holds up better than a smear of caulk on the outside edge.
Ridge panels should fit the roof, not force the roof to fit them. That means matching the cap profile to the panel type, keeping overlaps consistent, and fastening with the right spacing and torque. Fasteners should hold the metal tight without distorting the cap. If the cap ripples, the seal often fails later.
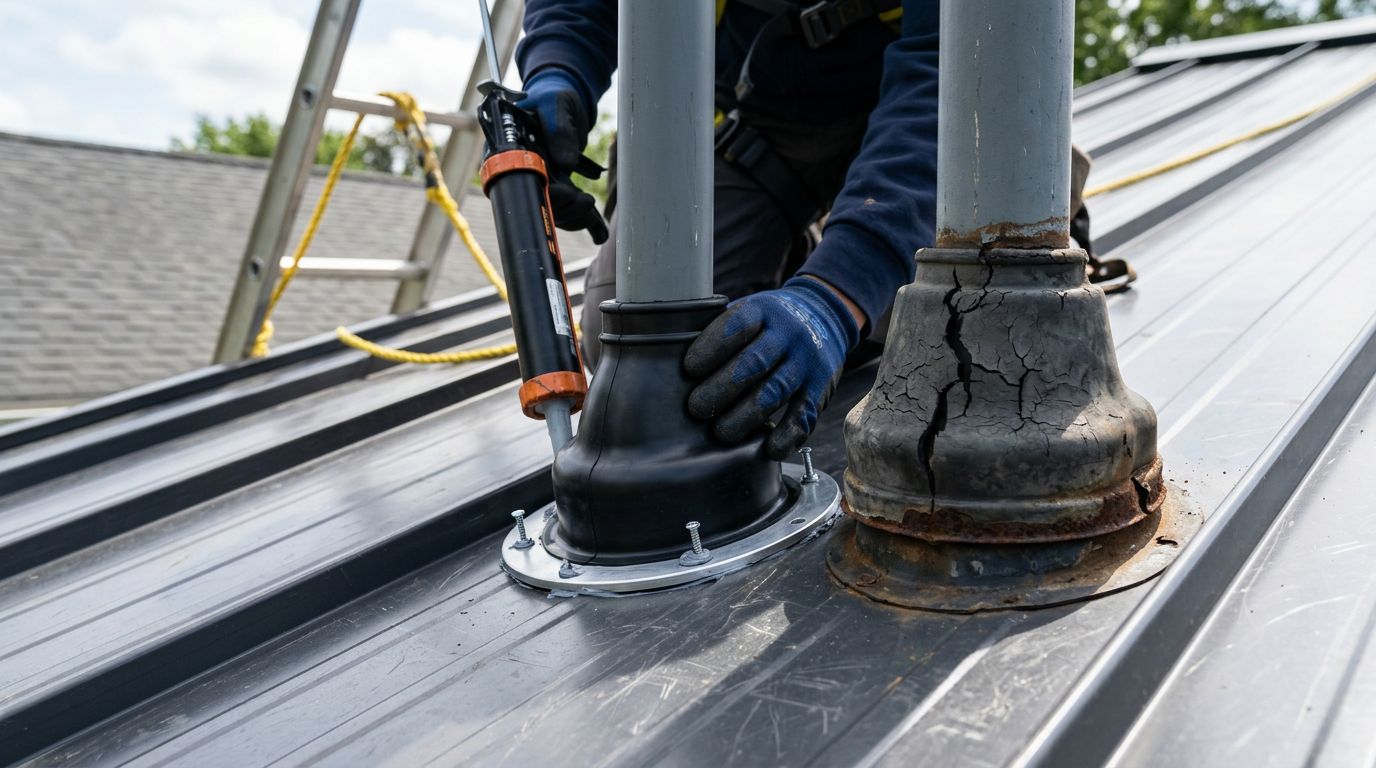
End treatment matters as well. Where the ridge terminates, water can run sideways and slip into the seam if the end is open or poorly sealed. A properly formed end closure or end dam helps stop that movement. So does good cut prep, because rough edges and metal shavings can interfere with the seal.
During replacement, old screws and worn washers should not be reused if they have lost grip. Closures that have been crushed, brittle, or mismatched need replacement too. If the roof uses a specific panel profile, the ridge details should match that profile instead of relying on a generic cap.
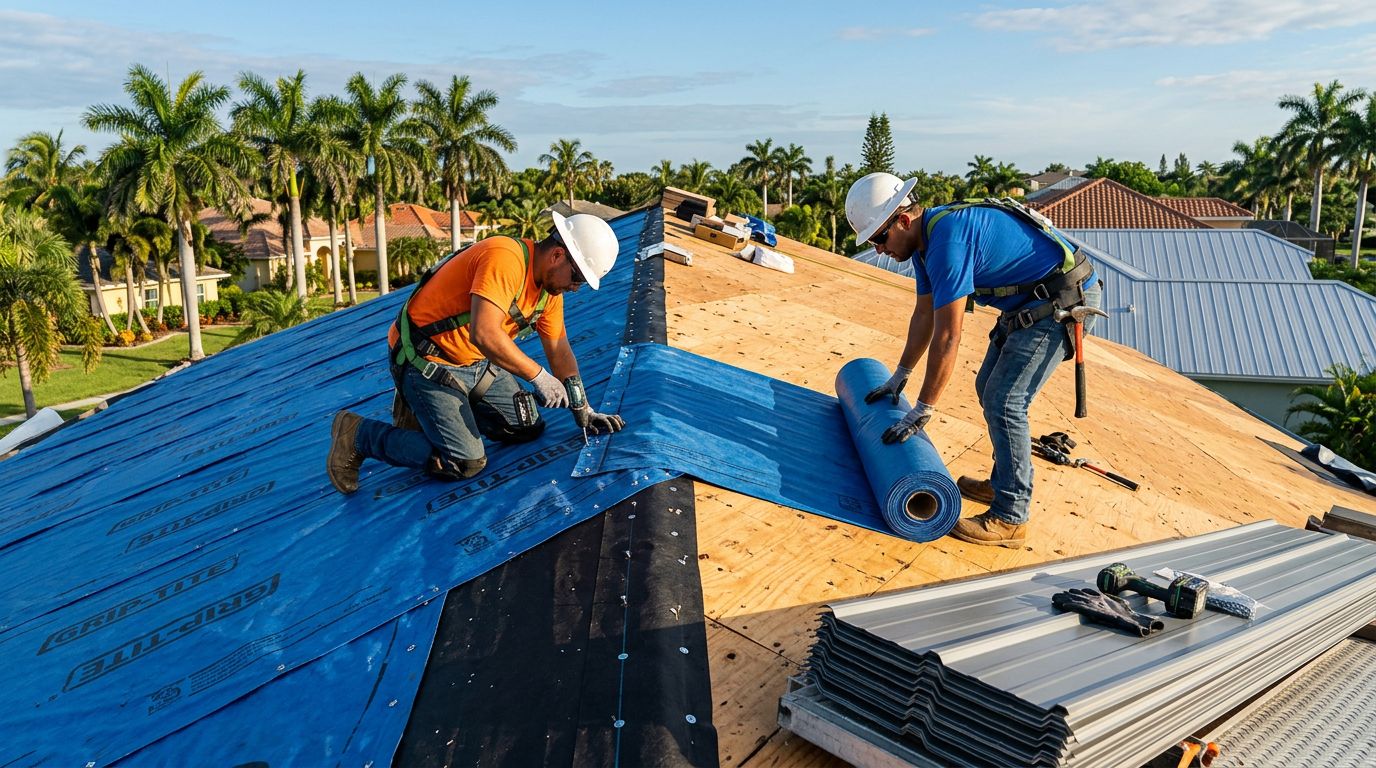
The sequence matters one more time. Panels need to be aligned, laps need to face the right direction, and the ridge should be the final piece that crowns a finished field. When the roof is built in the right order, the ridge cap does its job with much less drama.
Conclusion
A ridge cap leak on an exposed-fastener roof usually comes down to fit, compression, or movement. Water does not need a big opening, especially when wind pushes it uphill and metal parts expand in the heat.
If the leak keeps showing up near the ridge, look past the stain and inspect the system around it. The cap, closures, fasteners, laps, and end details all have to work together.
That is why the fix often starts with the roof mechanics, not another layer of caulk.
Share Our Metal Roofing News Articles
Related Posts