How To Square The First Metal Roof Panel On Site
Miss the first panel by half an inch, and the whole roof can drift by several inches before you reach the far end. That's why the first panel is the one that deserves the most patience.
Once panel one goes out of square, overhangs wander, seams fight each other, and the last cut at the gable often looks rough. The good news is that a clean start comes from layout, not luck.
Why the first panel controls the whole roof
The first panel is your reference line for every panel that follows. If it starts crooked, the error stacks up with each sidelap or seam. On a long run, even a small miss at the eave can turn into a big problem at the ridge or rake.
That problem shows up in a few ways. First, the eave overhang starts to change from rib to rib. Next, the panel line can drift so far that trim pieces no longer land cleanly. On low-slope areas, a bad start can also hurt drainage because the panel run no longer tracks straight from eave to ridge.
Florida roofs are less forgiving because wind-driven rain tests every detail. A wandering panel line may still look "close enough" on a dry day, yet storms can expose sloppy laps, uneven closures, and trim gaps. That's one reason many crews review metal roofing installation best practices before they start a field run.
There's another catch. Roof framing, rake boards, and old decking are not always square. So, don't trust the edge of the roof by sight alone. Treat the first panel like a layout tool, not just a piece of metal.
The first panel is not only roofing, it's the guide rail for the whole job.
If you want to square metal roof panel placement the right way, start from measured control lines. Don't start from a crooked edge and hope the rest works itself out.
How to square the first metal roof panel on site
Before any panel goes down, make the roof safe. Use fall protection, roof anchors, and stable footing. Also, wait for dry, calm weather because long metal panels can catch wind like a sail.
- Set a true baseline at the eave
Install the eave trim straight and tight first. Then mark the panel overhang at several points across the start area, based on the panel detail you're using. Don't guess the overhang. Use the approved trim detail for that profile. - Create a square line off the eave
The eave is usually the line that matters most visually and for water runoff. Use a framing square or the 3-4-5 method to snap a chalk line that runs upslope at a right angle to the eave. For a bigger roof, scale it up to 6-8-10 or 9-12-15 for better accuracy. - Lay out the panel track, not only the first edge
Measure the panel coverage width from your first chalk line at both the eave and the ridge. Mark those points, then snap a second line. Now you've created a layout box for the first panel run. Measure both diagonals of that box. If the two diagonal measurements match, your layout is square. - Dry fit the first panel before full fastening
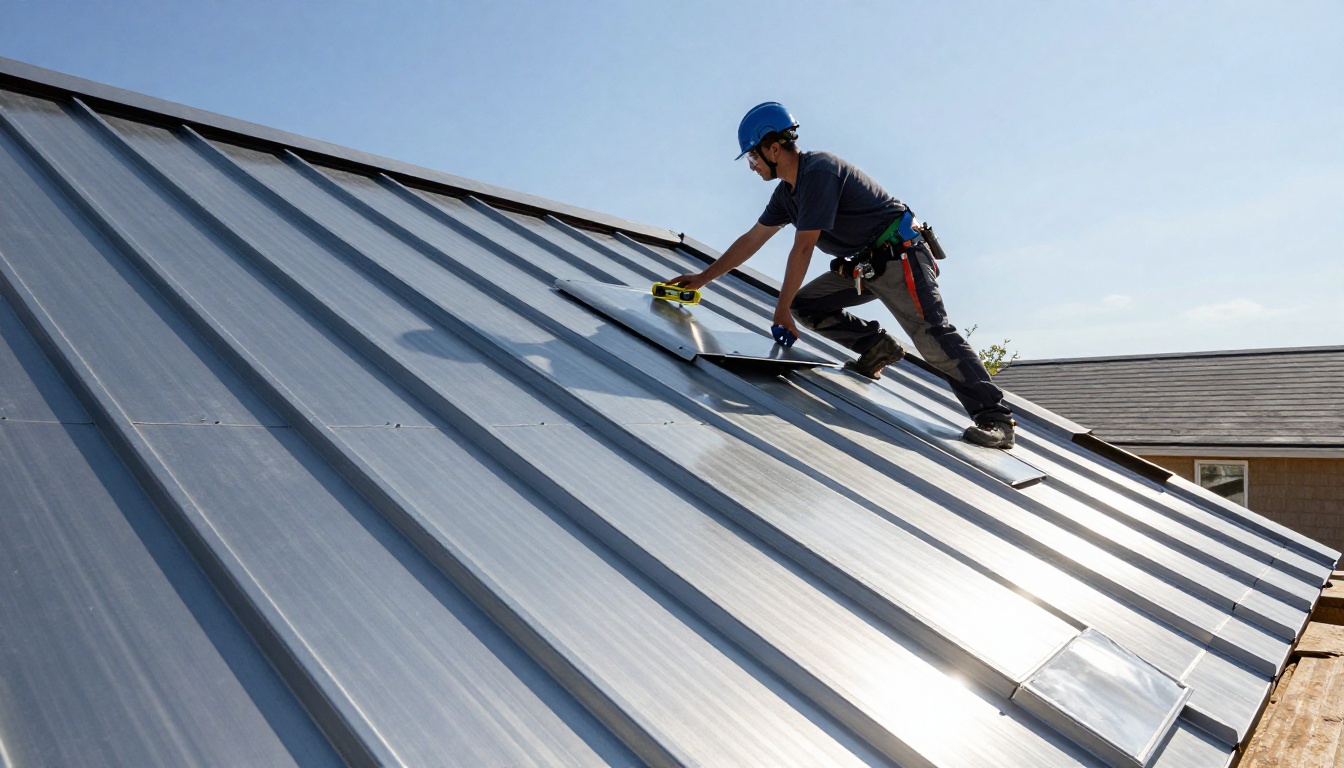
Set the panel in place and clamp it lightly. Line the panel edge, seam, or rib with the snapped control line, depending on the profile. Then check the eave overhang at both corners and at a middle rib. It should stay consistent, not taper. - Check eave-to-ridge alignment
Stand back and sight along the panel run. Then measure from a fixed reference point near the eave and again near the ridge. The panel should stay true to your chalk line from bottom to top. If the seam drifts off the line, stop and reset it before adding screws or clips. - Tack fasten, then measure again
Put in only a few fasteners or clips at first. Metal can shift while you're handling it. Recheck overhang, the chalk line, and the diagonal layout marks. If everything still lines up, finish fastening with the correct pattern and spacing for the system.
That process works for most profiles, but the details change by panel type. Snap-lock and mechanically seamed systems need a clean first seam line, so this standing seam panel installation guide is helpful. If you're installing exposed-fastener 5V, review these 5V crimp panel mistakes to avoid , because a bad start often shows up fast on that profile.
How to handle an out-of-square roof without ruining the panel run
Older roofs and re-roof jobs are rarely perfect. One rake may lean. The ridge may not run parallel with the eave. Deck sheets may also step out of line. When that happens, don't force the first panel to follow the crooked edge.
In most cases, square the first panel to the eave , not the rake. Why? The eye catches a bad eave line right away, and water sheds to the eave. A panel that runs clean from eave to ridge usually looks better and performs better, even if the cut at the far rake changes a little.
For a small error, you can often manage it across the first few panels, but only within the profile's allowed tolerance. That means checking your control line every few panels and watching the overhang closely. Don't push one panel far out of line to "fix" the whole roof. That usually makes the seam or sidelap fight you later.
If the diagonals are way off, stop and deal with the roof deck, trim layout, or framing issue before the field run grows. A bad substrate will not become square because you added more metal. It will only become harder to correct.
Safety matters here too. Don't wrestle long panels in gusty wind. Keep gloves on because cut edges are sharp, and avoid walking on loose panels before they're fixed in place. A careful reset is faster than a damaged panel or a fall.
The big idea is simple: build a true line, follow it, and verify it often. That ten-minute pause at the first panel can save hours of rework later.
A metal roof rarely goes bad all at once. It starts with small misses, and the first panel is where most of them begin. Keep that panel square, keep the overhang consistent, and keep checking from eave to ridge.
Before the next job, slow down on panel one. The rest of the roof will move a lot smoother because of it.
Share Our Metal Roofing News Articles
Related Posts