How to Replace a Cracked Pipe Boot Without Removing Panels
A cracked pipe boot can turn a small leak into stained ceilings, wet insulation, and rust spots fast. On a metal roof, the good news is that pipe boot replacement does not always mean tearing off panels.
With the right boot, a careful hand, and a little patience, you can often fix the leak by working around the opening. The key is to protect the roof surface, keep the seal tight, and avoid forcing anything that should move easily.
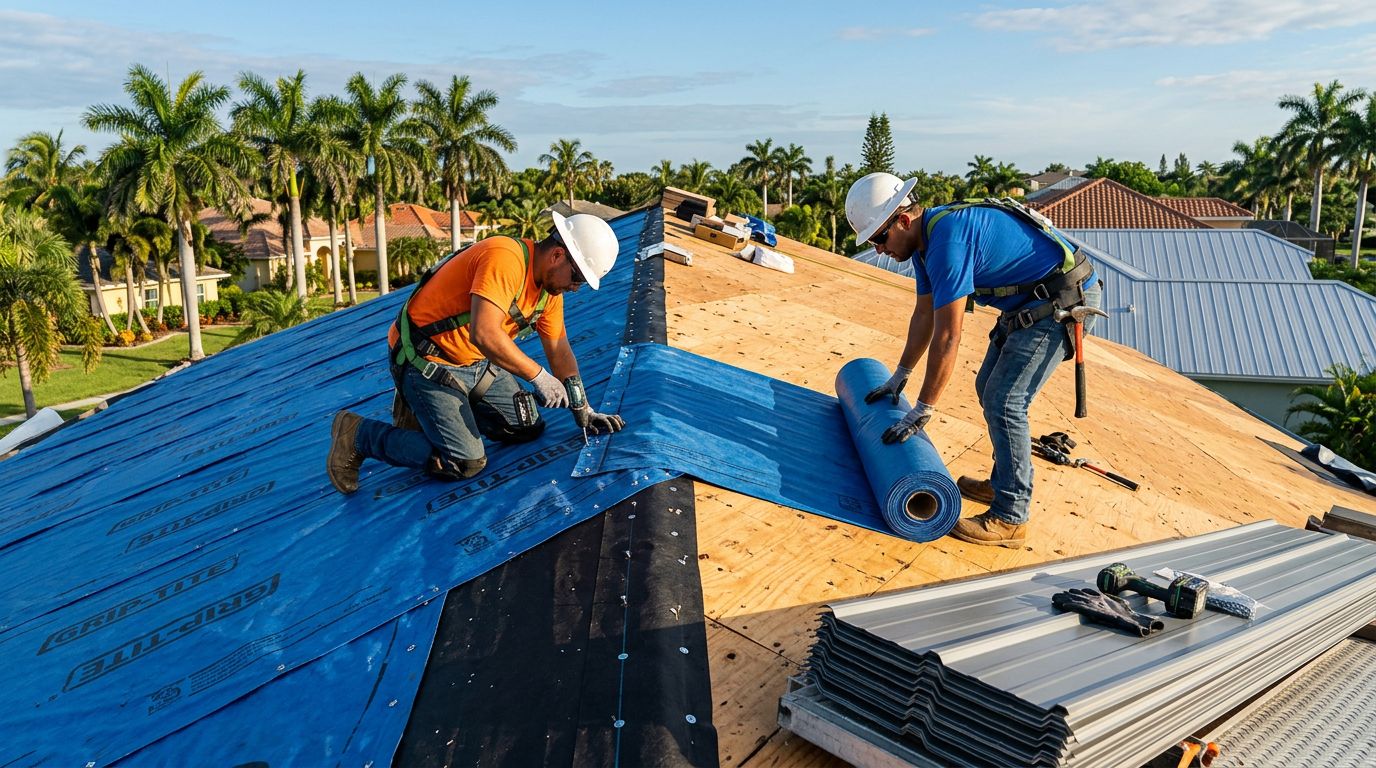
Start with a safe, dry roof inspection
Before touching fasteners, look at the roof in dry weather and from a safe ladder setup. Metal panels get slick in rain, and hot panels can make sealant behave poorly.
Check the boot from above and, if possible, from the attic or ceiling side. Stains, damp insulation, or rust around the penetration often point to more than one problem. A cracked rubber cone is common, but loose screws, failed washers, and damaged underlayment can ride along with it.
A new boot won't fix hidden rust or rotted material, so confirm the area is sound before you seal it back up.
If the pipe is stable, the roof panels are in good shape, and the damage is limited to the boot area, a no-panel-removal repair is usually realistic.
Choose the right replacement boot for the roof
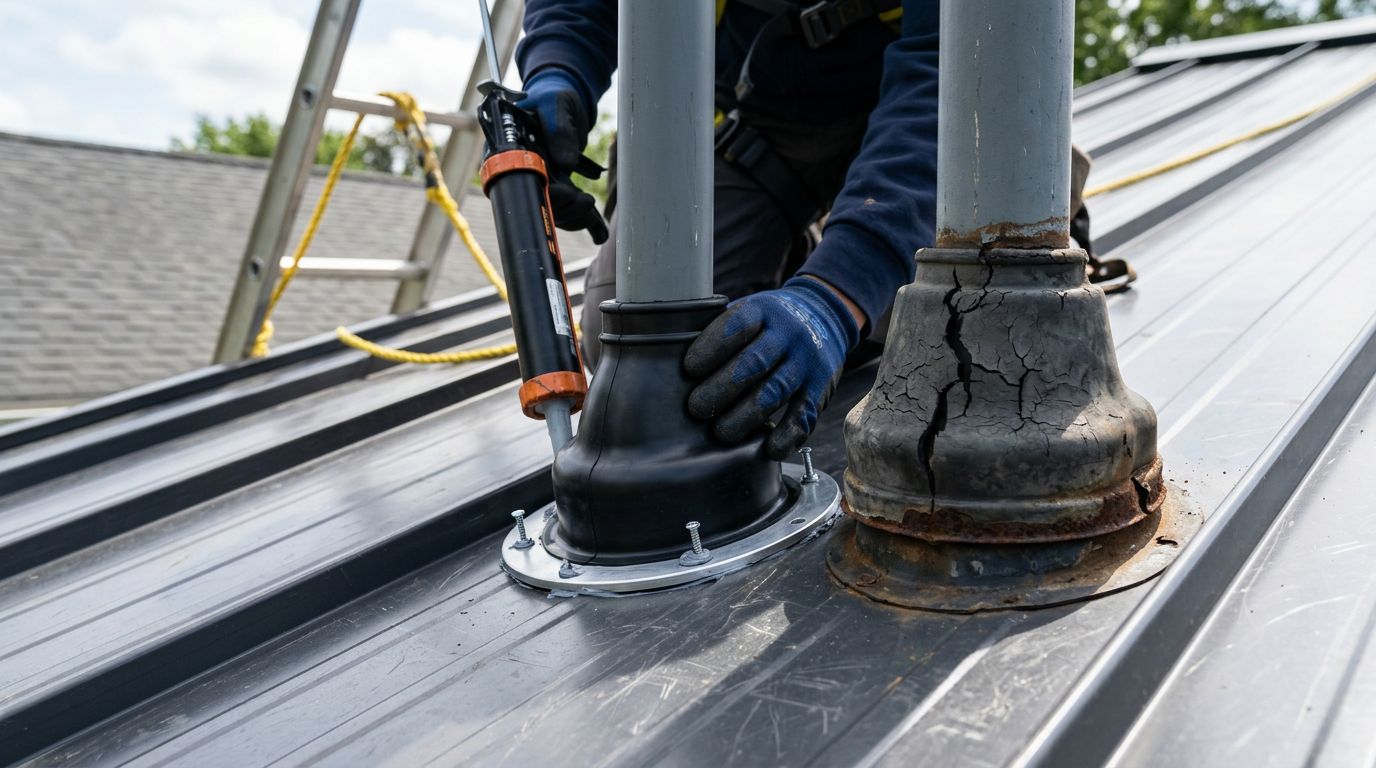
The boot matters as much as the install. On existing roofs, a split or retrofit boot is usually the best choice because it wraps around the pipe instead of needing the pipe to pass through a closed cone. That saves time and avoids larger roof work.
Standard one-piece boots still have a place, but they fit better during original installation or open-access repairs. On an existing metal roof, they can force you into more disassembly than you want.
Here's a quick comparison:
| Boot type | Best use | What to watch for |
|---|---|---|
| Standard one-piece boot | New installs or open-access repairs | Usually needs the pipe to pass through the cone |
| Split or retrofit boot | Repairs on an existing roof | The split seam must close tightly and stay sealed |
| Profile-matched boot | Exposed-fastener or ribbed metal panels | The base should sit flat on the panel shape |
For Florida roofs, UV exposure and heat are hard on rubber and sealants. Match the boot material to the roof conditions and choose a base that fits the panel profile. If you want a closer look at cone fit and fastening details, the metal roof pipe boot flashing guide walks through the basics clearly.
Replace the boot with minimal disassembly
The job goes smoother when you gather everything first. A drill or nut driver, screw remover, utility knife, tin snips, caulk gun, gloves, tape measure, and a putty knife are the usual basics. Have replacement gasketed screws, butyl tape, and a sealant made for metal roofing and the boot material.
- Expose only the area you need.
Remove the fasteners around the boot and, if needed, loosen only the nearby panel screws. You usually do not need to pull the full panel field apart. Work slowly so the panel edge does not kink. - Lift the boot area without forcing the metal.
If the flange sits under a panel edge, raise that edge just enough to free the old boot. A thin putty knife can help separate old sealant. If the panel resists, stop and look for hidden fasteners. - Remove the damaged boot and clean the surface.
Peel away old sealant, butyl, and cracked rubber. Scrape gently so you do not scar the coating on the panel. Dirt and old adhesive can keep the new boot from lying flat. - Test-fit the new boot before sealing it.
Set the replacement in place and confirm the cone fits the pipe without stretching hard. If trimming is needed, cut a little at a time. A boot that is too loose or too tight will fail sooner. - Set the flange and fasten it evenly.
Apply a continuous bead of butyl tape or approved sealant under the flange, then place the boot squarely on the panel. Drive screws snug, not crushed. Over-tightening can dish the flange and break the seal. - Seal the split, the cone, and the fasteners.
Close the split seam on retrofit boots tightly and seal it with compatible sealant if the product calls for it. Add a neat top bead where the cone meets the pipe, and touch any exposed fastener heads with sealant as needed.
A clean fit matters more than heavy sealant. Too much caulk can hide gaps for a while, but it will not fix a boot that rocks or a flange that sits unevenly.
Check for hidden damage before you call it done
A cracked boot often points to age, sun damage, or movement in the pipe. While the area is open, inspect the parts that like to fail with it.
Look for these signs:
- Rust streaks around fasteners or panel edges
- Soft spots in underlayment or visible water staining
- Loose screws or stripped holes
- Cracks in the pipe itself, especially near the penetration
- Dried, brittle sealant around the opening
- Panel dents that keep the flange from sitting flat
If you find a damaged vent pipe or a bigger flashing problem, stop and deal with that first. A boot can only do its job when the pipe is solid and the roof surface is clean. For more detail on sealing vent penetrations, the flashing detail for roof penetrations page gives a useful reference point.
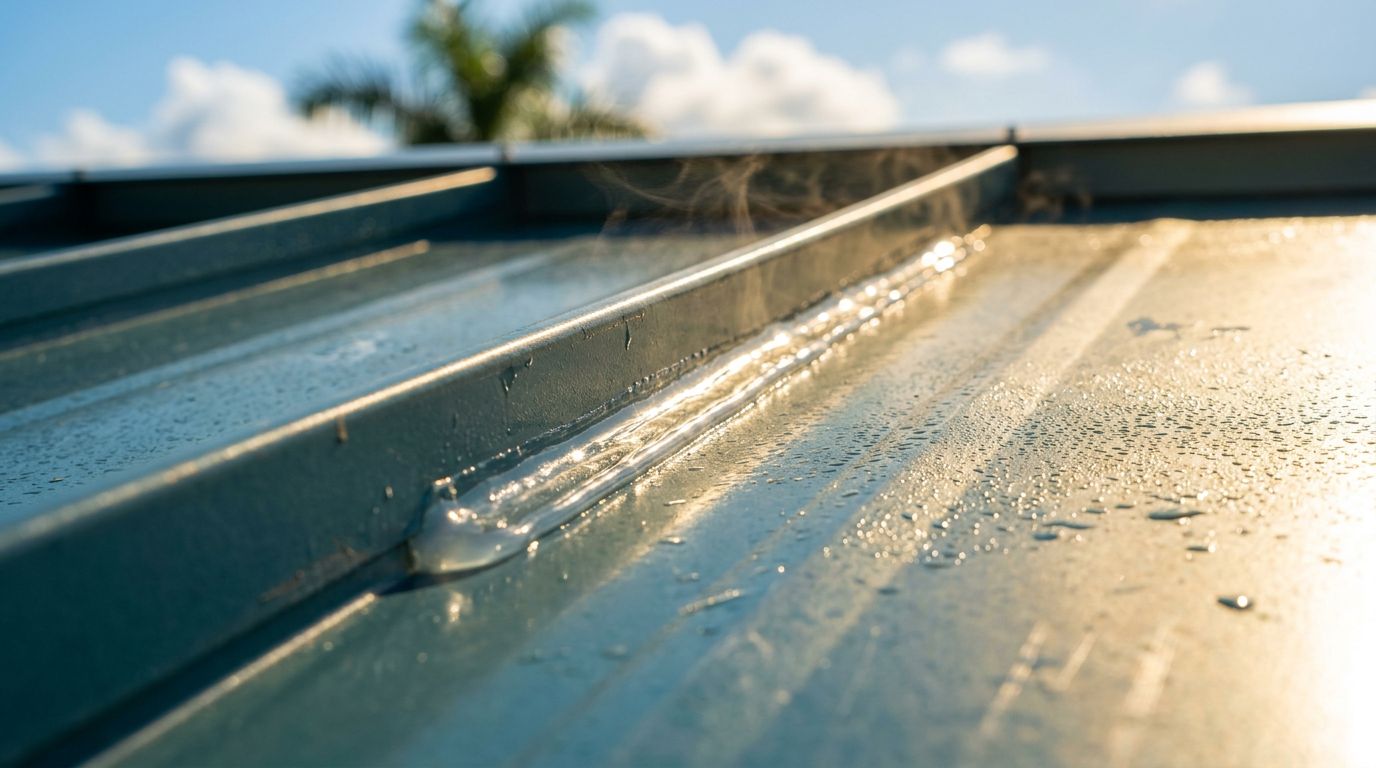
After the new boot is set, run a controlled water test from the uphill side. Keep the flow steady, not forceful, and watch the underside for drips or darkening. That test can catch a weak seam before the next Florida downpour does.
Conclusion
A cracked pipe boot does not always mean a major roof tear-off. With the right retrofit boot , careful access, and a clean sealing surface, you can replace the damaged part without removing panels.
The best repairs stay small because they respect the roof system. Match the boot to the panel, fasten it evenly, and check for hidden damage before you trust the new seal.
Share Our Metal Roofing News Articles
Related Posts