Where to Use Metal Roof End Dams on Roof Trim
A clean metal roof detail can still leak if water finds the open end of a trim piece. That's where metal roof end dams come in, they block sideways water flow and help keep rain where it belongs.
They matter most on trim that carries water, catches splash, or ends at a transition. On Florida roofs, where wind-driven rain can push water in odd directions, that small formed piece can save a lot of trouble later.
Water usually follows the easiest path. If trim gives it an exit, it will find it.
What end dams do on metal roof trim
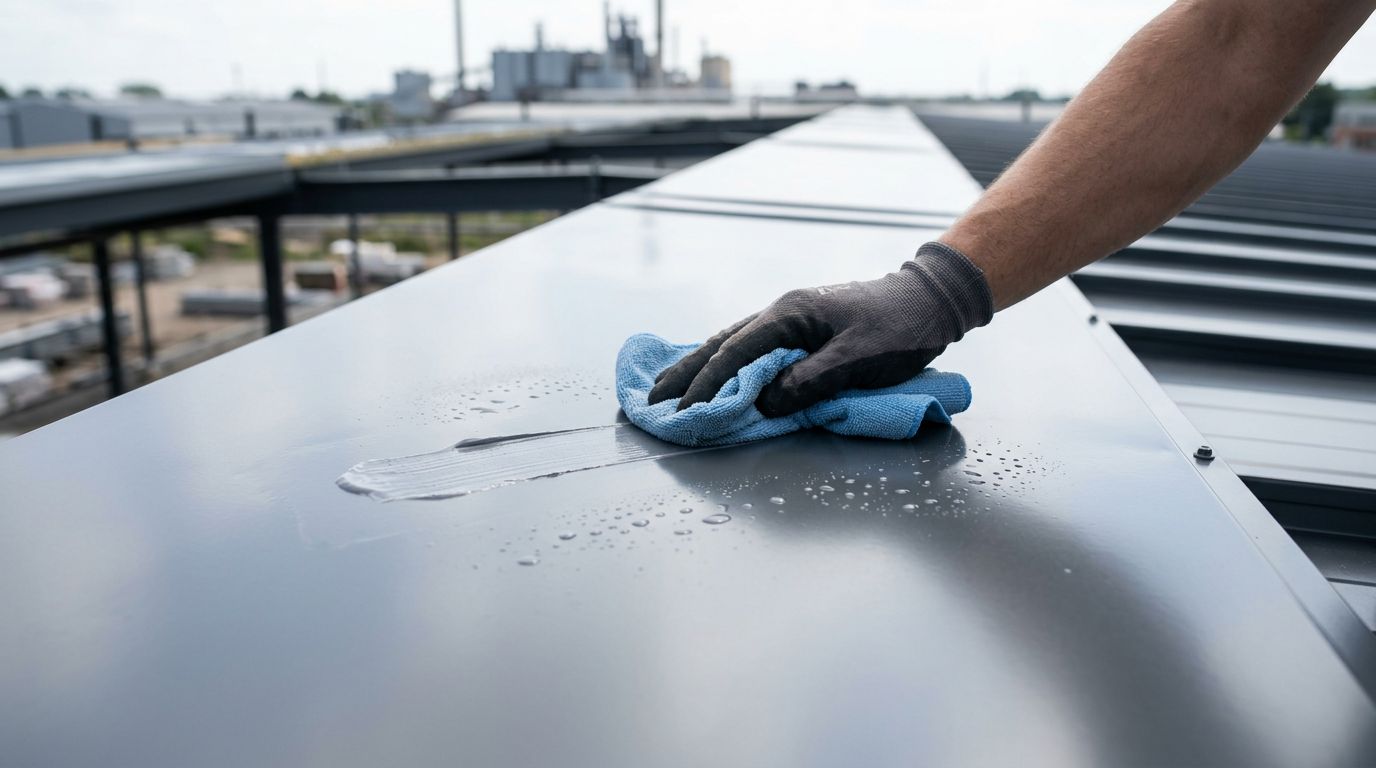
An end dam is a formed stop at the end of a trim piece. Its job is simple, it keeps water from running out the side of the trim or sneaking behind it.
That sounds small, but metal roofs move water fast. Rain can run along a drip edge, sidewall trim, apron, or transition flashing and then turn sideways at the end. Without a dam, water can spill into a wall line, fascia, soffit, or under another piece of flashing.
End dams are not used the same way on every roof. Some profiles rely on formed ends. Others use closures, sealant, hemmed edges, or a separate custom piece. The right answer depends on the panel shape, the trim profile, the roof pitch, and the manufacturer's details.
That is why the best starting point is the drawing for the exact trim piece. If the detail calls for a formed end, it should be built into the order and bent into the trim before installation. For custom jobs, the safest path is to follow the project paperwork and the supplier's ordering custom metal roof trim instructions before anyone cuts metal.
Trim spots where end dams usually belong
The main rule is simple, use end dams where trim collects water and then stops. The water needs a controlled path, not a surprise exit.
The table below shows common trim conditions and why end dams often matter there.
| Trim condition | Why water moves there | Typical end dam use |
|---|---|---|
| Eave or drip edge trim | Water runs along the lower edge and can spill off the side | Often needed at open ends or where trim stops before a corner |
| Sidewall or headwall trim | Rain can travel along the trim and move behind the end | Common at terminations that meet a wall or end point |
| Valleys or roof transitions | Water volume is higher and moves faster | Often needed where trim collects runoff at the edge |
| Custom trim with laps or corners | Seams, bends, and joints can create weak points | May need a formed end or sealed termination |
The takeaway is simple. If the trim acts like a gutter, it needs a stop at the end.
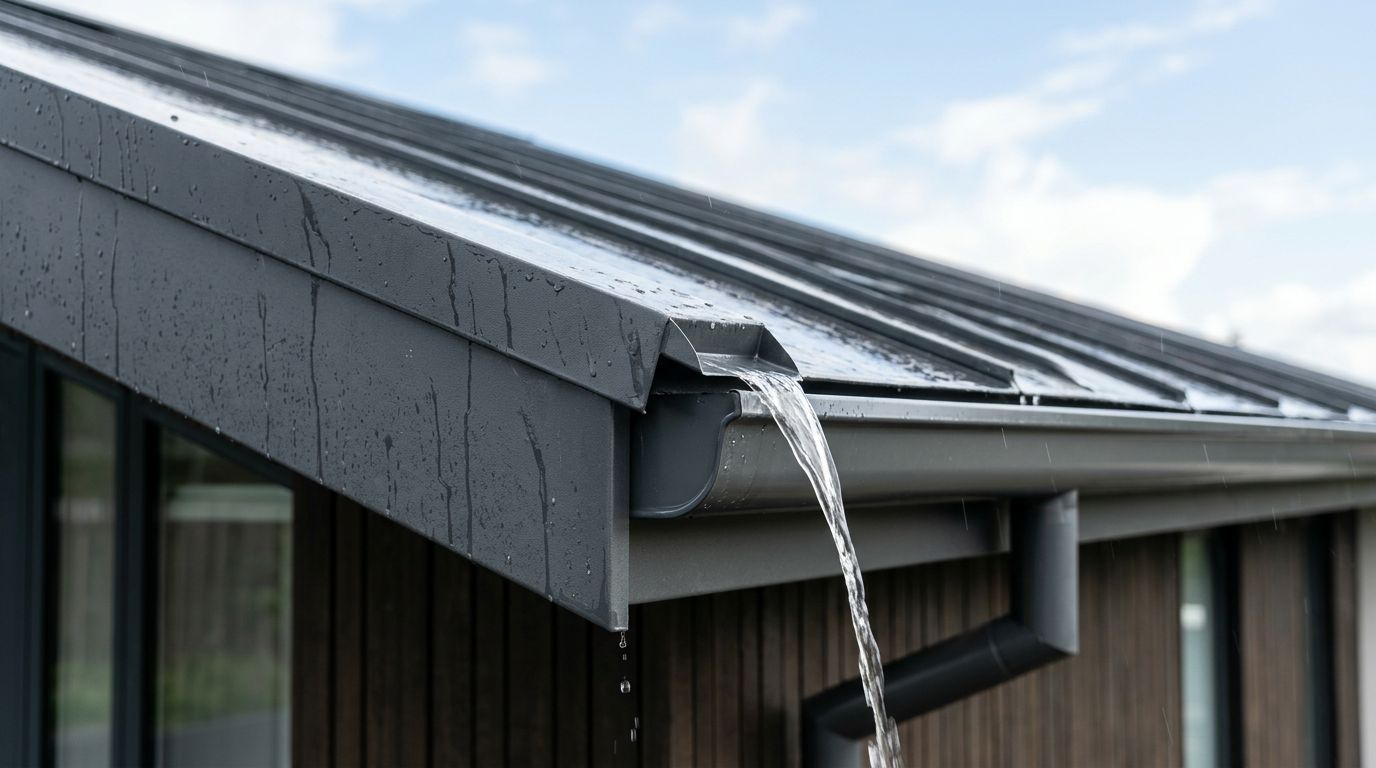
Eave and drip edge conditions
Eave trim is one of the most common places to think about end dams. Water runs down the roof, reaches the lower edge, and needs a clean exit.
If that trim ends at a side edge, gutter return, or fascia break, water can track sideways. A formed dam keeps the runoff from slipping behind the trim and into the edge assembly. On open ends, that detail matters even more because there is no wall or another piece to catch the water.
Sidewall and headwall intersections
Sidewall and headwall trims are where roof planes meet vertical surfaces. These details often look simple from the ground, but they are busy areas for water.
A sidewall trim can carry runoff toward the wall line. A headwall trim can catch water from above and send it toward the ends. End dams help control both cases when the trim ends in an exposed spot or turns into another detail.
When the trim is cut short or field-trimmed around a corner, the end needs extra care. A clean cut without a stop can become a leak path during heavy rain or wind-driven rain.
Valleys, transitions, and custom trim ends
Valleys, pitch changes, and trim transitions deserve close attention. Water moves faster there, and it often carries debris too.
A transition piece that shifts from one roof plane to another can act like a small channel. If the end opens into a low spot, water can spill where it shouldn't. End dams help seal that edge and guide runoff away from the vulnerable area.
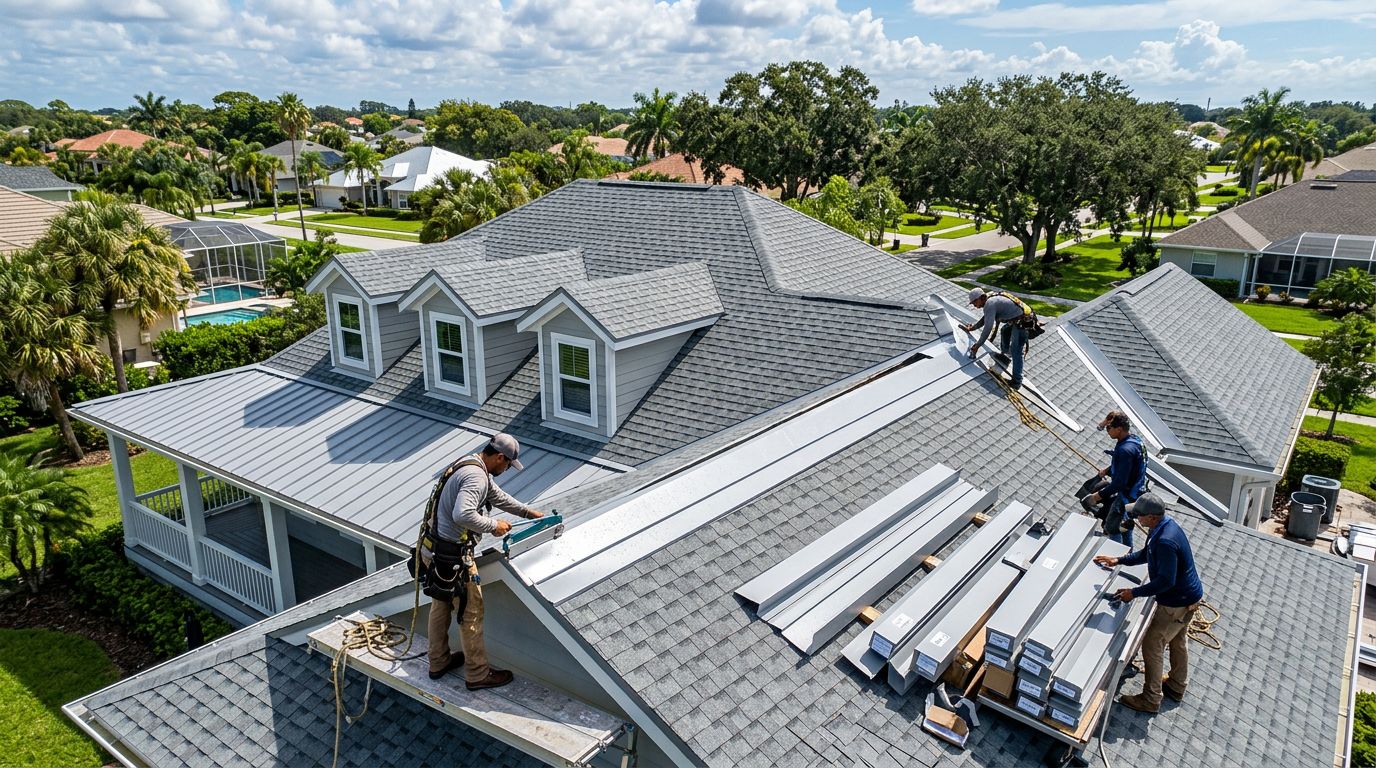
Custom trim ends are also common around porches, additions, bump-outs, and metal-to-wall details. These are the spots where standard trim often needs a custom return or formed closure. That's why the trim drawing matters so much. A good drawing tells the installer where water starts, where it exits, and where the end should be blocked.
How roof slope, panel profile, and trim design change the answer
Two roofs can look similar and still need different end dam details. The slope changes how fast water moves. The panel profile changes how much water the trim must handle. The trim design changes where the water can escape.
Low-slope roofs usually need more attention because water stays in the trim longer. Standing seam details may call for different closures and formed edges than exposed-fastener panels. AG, multi-rib, PBR, and 5V systems each have their own trim shapes, so the end detail is not one-size-fits-all.
A few factors change the call every time:
- Roof slope affects how long water sits in the trim.
- Panel profile affects how the edge of the roof closes.
- Trim depth and return affect how water travels inside the piece.
- Corner conditions affect whether water can run sideways before it exits.
- Manufacturer details decide whether a formed dam, closure, or alternate stop is required.
That is also why trim and accessory selection should be tied to the exact roof system. If you are matching closure shapes to the panel profile, the same careful check should happen at the trim ends too. The fit of the closures matters, and the trim should match that detail. The right foam closure strips for each profile help keep the end dam from becoming the only line of defense.
How installers check the detail before they cut
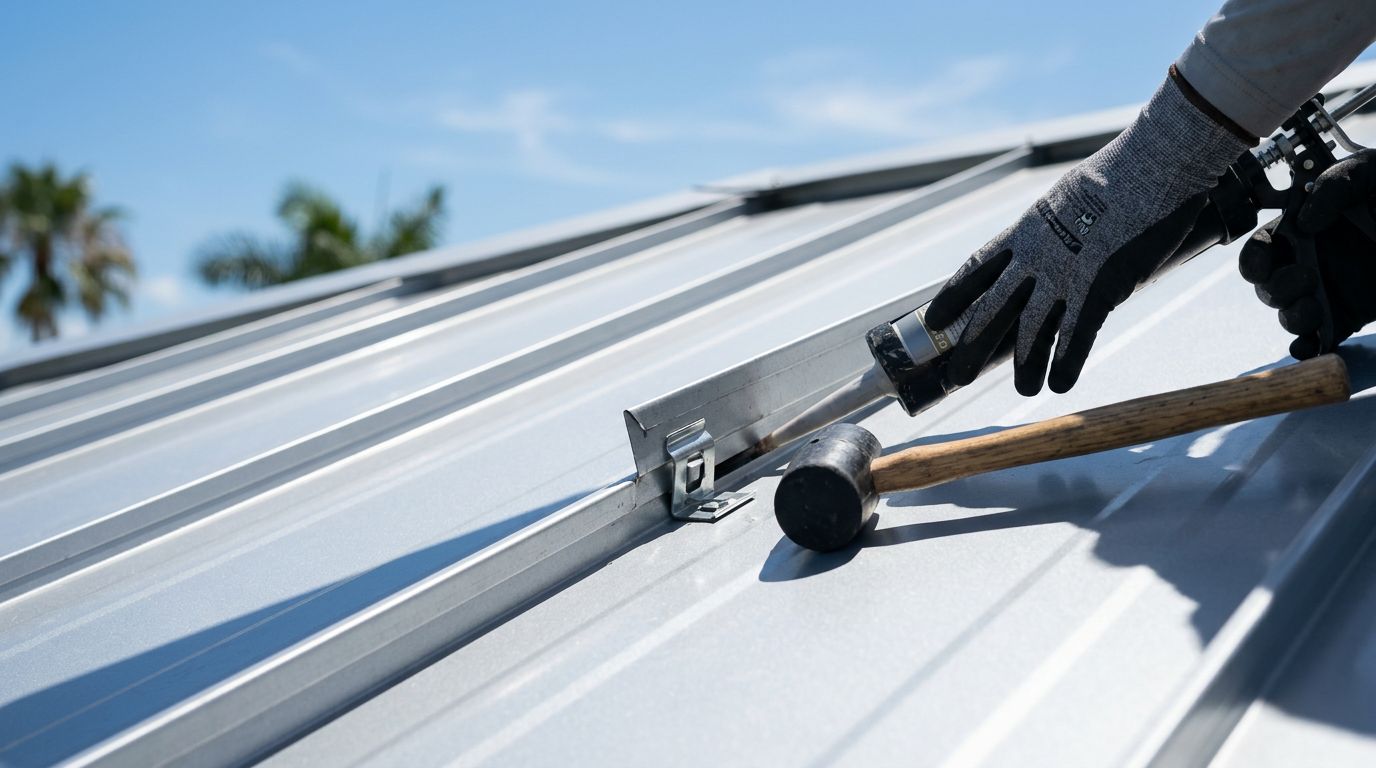
The best time to think about end dams is before the trim is formed or ordered. Once the piece is cut and bent, the options shrink fast.
A good check starts with the project drawings. Then the installer confirms the panel profile, the trim type, the roof slope, and the termination point. After that, the team checks whether the detail needs a formed end, a closure, a sealed lap, or a separate flashing return.
A short field check helps too:
- Find every point where trim ends at open air, a wall, a gutter, or a transition.
- Check whether water can run sideways before it leaves the trim.
- Match the trim to the exact panel profile and roof detail.
- Confirm any required closures, sealant, or hemmed edges.
- Compare the plan against the manufacturer's installation guidelines before fastening.
That final step matters. A trim piece that looks fine on paper may need a different end treatment once the slope, panel shape, and job-site condition are all considered.
Common mistakes that lead to leaks
Most end dam problems come from guessing. Someone assumes the trim end will be dry, or assumes a bead of sealant will do the whole job. Sometimes it works for a while. Then a storm shows the weak point.
Another common issue is mixing parts from different systems. A trim piece may fit the roof edge, but its end detail may not match the closure shape or the profile below it. That mismatch can leave a gap where water can move.
Field cuts can also cause trouble. If an installer trims a piece shorter than planned, the end dam may disappear with the cut. In other cases, the dam is placed too low or too far back, so water still finds a path around it.
The fix is not complicated. Slow down at every end condition, match the detail to the roof system, and check the drawings before the crew closes up the edge. Florida weather gives sloppy trim details plenty of chances to fail.
Conclusion
End dams belong wherever metal roof trim needs to stop water from running sideways or escaping at the end. That includes many eave, wall, valley, and transition details, but the exact answer depends on the panel profile, roof slope, trim shape, and manufacturer design.
If the trim can carry water, the end needs a plan. That plan should come from the drawings, the trim order, and the installation guide, not from a guess on the roof.
Share Our Metal Roofing News Articles
Related Posts