
Plan Roof Penetrations Before Ordering Metal Panels
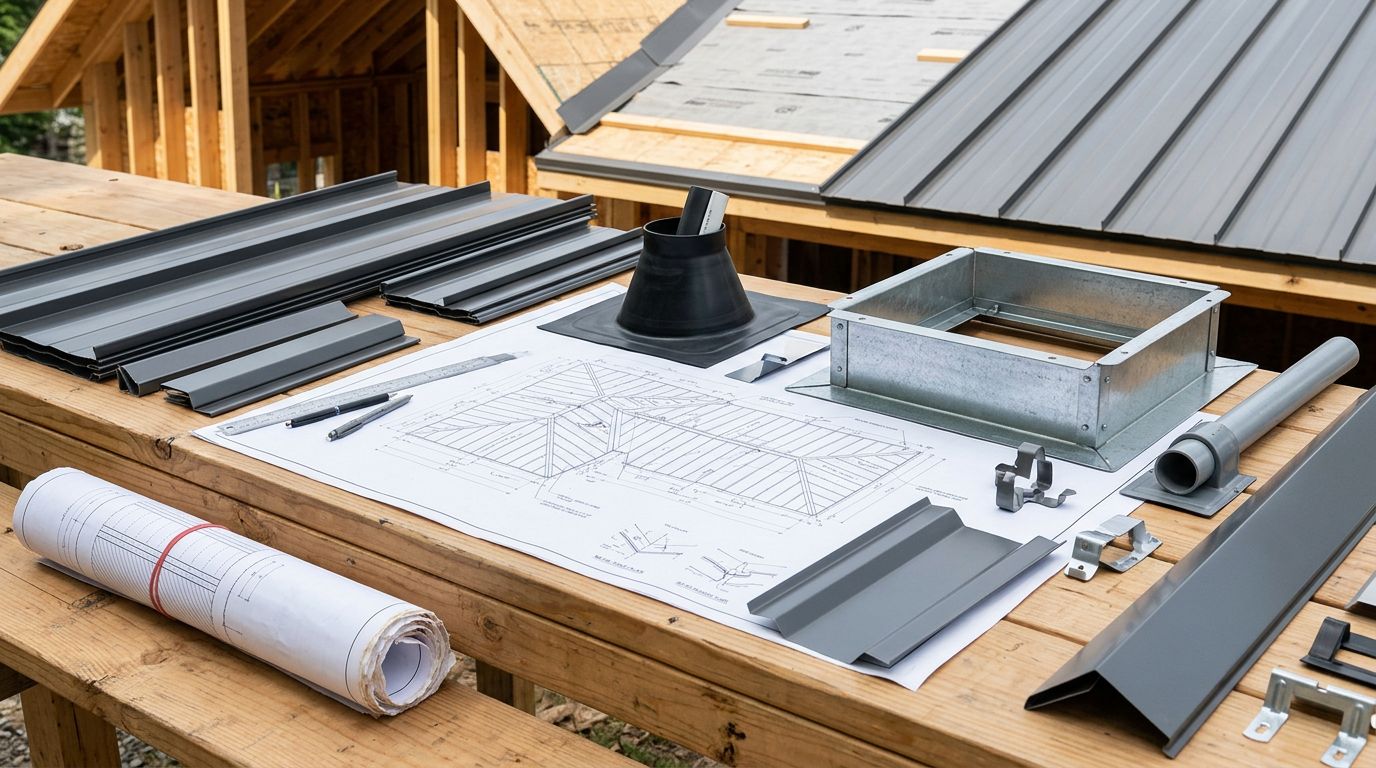
A misplaced pipe boot can force cuts into a new metal roof panel, delay installation, and create a leak risk. The problem usually starts before delivery, when the roof plan lacks accurate locations for plumbing, HVAC, electrical, and other openings.
Roof penetrations should be finalized on accurate drawings before panels are fabricated or ordered. Once the layout is complete, the panel profile, seam arrangement, flashing, trim, and structural details can be coordinated as one system.
Key Takeaways
- Mark every roof opening on a dimensioned roof plan before ordering panels.
- Measure each penetration from fixed roof features, not from another opening.
- Check how penetrations interact with panel seams, ribs, valleys, laps, and framing.
- Confirm manufacturer-specific flashing and installation requirements for the selected panel.
- Review the complete panel and accessory order before fabrication begins.
Start With an Accurate Roof Penetration Plan
Begin with the latest architectural, structural, plumbing, mechanical, and electrical drawings. A roof plan should show the roof outline, ridge, hips, valleys, eaves, wall lines, roof breaks, skylights, equipment curbs, and every planned opening.
Avoid relying on a general floor plan. Interior walls do not always line up with roof framing, and a plumbing vent shown in one drawing may shift when the mechanical layout changes. Compare the drawings before you mark the metal roof.
For a new building, ask the project team to finalize the locations of:
- Plumbing vent pipes and drains
- Bathroom and kitchen exhaust fans
- HVAC equipment, ducts, and curbs
- Chimneys, flues, and combustion vents
- Electrical conduits and service penetrations
- Skylights, roof hatches, and access doors
- Solar equipment and attachment locations
- Antennas, satellite equipment, and other mounted items
A remodel needs the same review, plus a field check. Walk the existing roof or attic, inspect visible pipes and equipment, and compare their locations with the drawings. Older buildings often contain abandoned vents, undocumented wiring, or framing that differs from the original plans.
Give every opening a clear identification number. Then record its size, purpose, roof slope, and required flashing type. For a large curb, include the outside dimensions, height, orientation, and the framing below it. For a pipe, record the actual outside diameter and whether the pipe is round, square, insulated, or part of a grouped installation.
Dimensions should come from permanent reference points. Measure each penetration horizontally from a gable end or wall line, then vertically from the ridge, eave, or another fixed roof line. If the roof includes multiple slopes, label the roof plane clearly.
A penetration schedule is only useful when another person can locate every opening without guessing.
Use a consistent drawing scale and mark dimensions in the same units. Photos can help with an existing roof, but they shouldn't replace a measured plan. A contractor, panel supplier, and installer must be able to read the same information.
Coordinate Openings With the Metal Panel Layout
Metal panels don't cover a roof as a blank, uninterrupted surface. Ribs, seams, fastener lines, panel ends, valleys, and trim all affect where an opening can go.
Exposed-fastener panels have ribs that can affect pipe flashing and the fit of a boot. Standing seam panels have raised seams and concealed clips that require different flashing details. A roof penetration located directly over a seam may need a compatible boot, clamp, curb, or another detail approved for that panel system.
Panel width also affects the layout. A pipe that looks clear on a broad roof plan may land near a rib after the panel coverage is established. A curb can cross several panels and may require added framing, additional trim, or a change in panel placement.
Review the roof plan with the panel profile selected. Mark the likely panel lines, seams, and direction of installation. Then check each opening against the layout. Pay close attention to areas near:
- Valleys and roof transitions, where water flow is concentrated
- Ridge and eave trim, where flashing must connect cleanly
- Panel end laps or splices, when the roof requires them
- Roof corners and rake edges, where trim clearances matter
- Structural members that support curbs, equipment, or large openings
This review doesn't mean every opening must move. It means the team should make a deliberate choice before materials arrive. A small pipe may work in several locations, while a large HVAC curb may need to stay aligned with interior equipment and framing.
Roof slope deserves equal attention. The same flashing product may not work on every pitch, and a curb or skylight may require a specific orientation. Water should drain around the penetration without collecting against uphill trim or panel ribs.
For Florida projects, also check the design pressures, attachment details, and approved assemblies that apply to the building location. Wind requirements can affect panel fastening, curb attachment, and the way accessories connect to the roof system. The roof plan should identify these design requirements before the order is released.
Confirm Manufacturer-Specific Flashing Requirements
A metal roof penetration isn't weatherproof because someone applied sealant around it. The flashing must match the panel profile, roof slope, pipe or equipment shape, and installation method.
Start by identifying the exact panel system. AG/Multi-Rib, PBR/R, 5V, standing seam, and Armored Coast standing seam panels don't all use the same details. The supplier's installation instructions should determine the correct pipe boot, curb flashing, closure, sealant, fastener, and seam attachment.
For round pipes, verify the pipe's outside diameter and the flashing's size range. EPDM and silicone boots have different temperature and weathering characteristics, and retrofit products may be appropriate when a pipe already exists. Some pipe flashings can be cut to fit marked diameters, but the final opening must follow the product instructions.
Review available roof penetration flashing accessories while the roof plan is still being developed. The right accessory may affect the opening size, clearance around the pipe, or the order of installation.
Large penetrations require more than a boot. HVAC curbs, roof hatches, chimneys, and skylights may need custom headwall, sidewall, endwall, or apron flashing. They can also require structural framing that carries the load without depending on the thin roof panel.
Custom trim should be planned with the opening, not added after the panels ship. Review the available metal roof flashing profiles and confirm which profiles suit the selected roof system. A trim piece that looks similar may have the wrong leg length, bend, width, or panel connection.
Ask the manufacturer or supplier to confirm these points in writing:
- The approved flashing detail for each penetration type
- The minimum and maximum roof slope for the flashing
- Required clearance from seams, ribs, laps, ridges, valleys, and edges
- Compatible sealants, closures, fasteners, and clamps
- Whether the detail applies to the selected panel profile and finish
- Any product approval or installation requirements for the project
Sealant still has a role, but it should support the flashing system rather than replace it. Use the sealant type and application method listed for the product. Mixing unapproved materials can affect adhesion, curing, and long-term performance.
Review the Order Package Before Fabrication
Before ordering panels, compare the final roof drawing with the material takeoff. The panel order should reflect the actual roof planes, lengths, colors, profiles, and trim details. Penetrations should appear on the drawings even when the panels will be cut in the field.
Field cutting is common for many roof openings, but it doesn't eliminate the need for planning. The installer still needs accurate locations, safe clearance, proper support, and the correct flashing. A field cut made without a coordinated detail can place an opening too close to a rib, seam, panel edge, or fastener line.
A complete review should include the following:
- Panel profile, gauge, finish, color, quantity, and cut lengths
- Roof slope and panel direction for every roof plane
- Ridge, rake, eave, valley, transition, and sidewall trim
- Pipe boots, curb flashing, chimney flashing, and skylight details
- Closures, sealants, fasteners, clips, clamps, and replacement parts
- Framing or blocking needed below large penetrations
- Delivery sequence and safe storage for panels and trim
Mark each penetration on the roof elevation or plan and match it to the accessory schedule. If the supplier fabricates custom trim, provide exact dimensions and a drawing that shows which edge faces uphill, downhill, toward the ridge, or toward the eave.
Hold the order when the drawings conflict. A missing dimension is easier to fix before fabrication than after a panel has been cut or delivered. The same applies when a plumber, electrician, HVAC contractor, or equipment supplier changes an opening.
After the order is placed, distribute the approved roof plan to every trade working near the roof. The crew installing pipes or equipment should know the agreed locations. If a field condition requires a change, document it and review the new location before cutting the panel.
The installer should also confirm conditions at the start of work. Check the roof plane, framing, pipe size, curb dimensions, and equipment position against the approved drawings. Small changes can have major effects when an opening sits near a seam or valley.
Conclusion
A metal roof order should follow the penetration plan, not precede it. Accurate drawings, fixed-point dimensions, panel layout coordination, and manufacturer-approved flashing details prevent many avoidable cuts and delays.
Before panels are fabricated or ordered, confirm every opening with the owner, designer, trades, supplier, and installer. When the roof plan and accessory schedule agree, the crew can install each penetration with the correct materials and a clear path for water.
Share Our Metal Roofing News Articles
Related Posts




