
How to Install Gutters on a Metal Roof Without Leaks
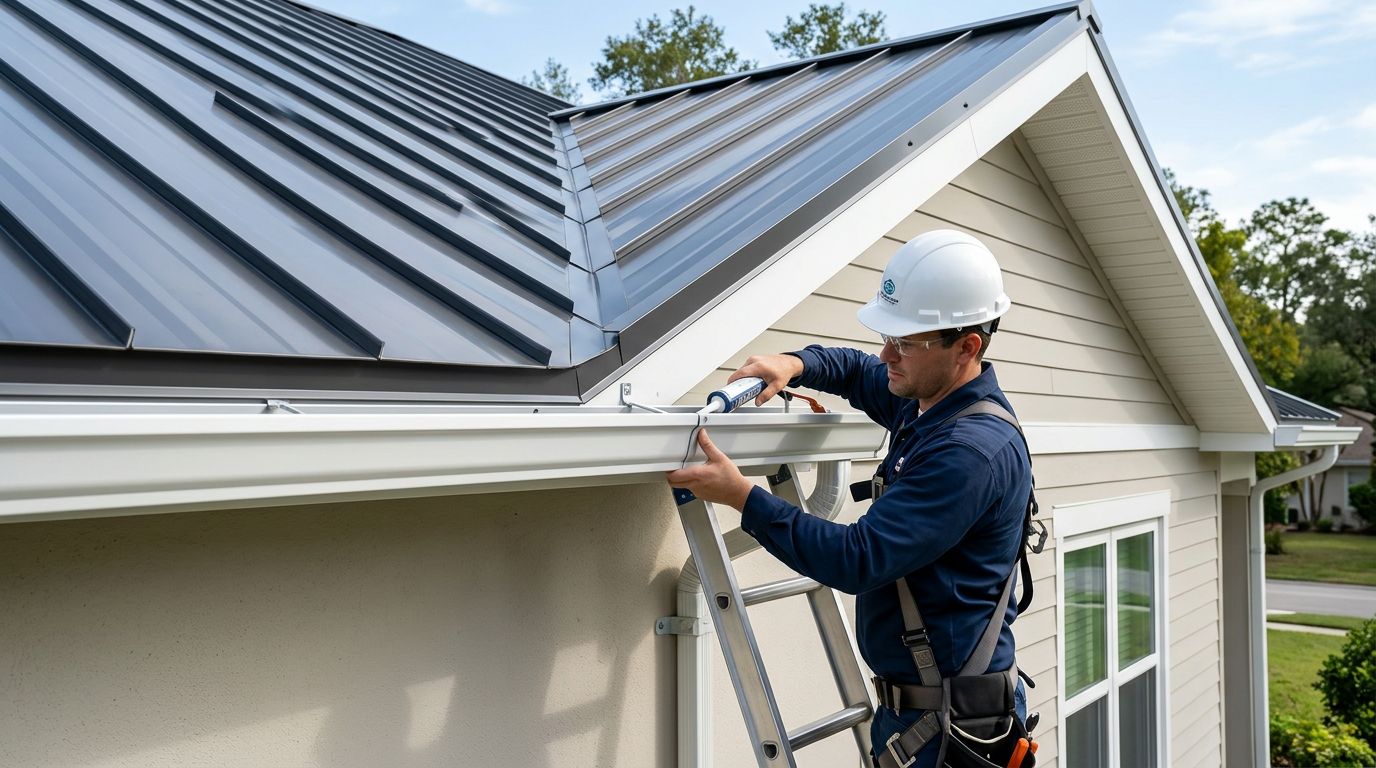
Metal roof panels shed water quickly, so a small gutter mistake can send a large amount of runoff behind the fascia or into the wall. One misplaced screw through a panel can also create a leak that is difficult to find.
When you install gutters on a metal roof, attach the gutter system to the fascia or structural framing whenever possible. Keep fasteners out of the roofing panels, protect the eave trim, and seal every gutter joint before heavy Florida rain tests the work.
Key Takeaways
- Attach gutters to sound fascia or rafter-tail framing, not through metal roof panels.
- Use a planned slope, properly spaced hangers, and corrosion-resistant fasteners.
- Treat eave trim and roof flashing as part of the water-shedding system.
- Seal gutter joints, end caps, outlets, and fastener penetrations with compatible products.
- Use safe ladder practices and follow the metal panel manufacturer's roof-walking guidance.
Why Metal Roof Gutter Installation Can Leak
Metal roof panels move slightly as temperatures change. Florida's hot sun can heat a panel quickly, while evening storms cool it just as fast. A fastener that penetrates the panel must allow for that movement and remain sealed. A gutter screw installed in the wrong location can loosen, enlarge its hole, or damage the protective coating.
The safest standard approach keeps the gutter separate from the roof surface. Gutter hangers belong on the fascia , which is the vertical board beneath the roof edge. When the fascia is sound, hidden hangers or external brackets can support the gutter without touching the panels.
If the fascia is missing, rotten, or too thin, attach brackets to rafter tails or install solid backing first. Do not depend on a thin metal fascia cover. It may look strong, but it often cannot hold a loaded gutter during a hard rain.
Roof-mounted components are different. Snow guards, solar attachments, pipe boots, and other roof accessories connect to the roofing system because their purpose requires a roof connection. A gutter usually doesn't need that type of attachment. Avoid using roof-mounted gutter brackets unless the panel manufacturer approves the system. Some clamp-on brackets fit standing seam profiles without penetrating the metal, but they still require correct spacing and compatibility.
The eave trim also needs attention. It directs water off the lower edge of the panel and into the gutter. Bending it, cutting it, or forcing the gutter behind it can create a path for water to reach the roof deck or wall.
A gutter should catch water at the roof edge, not hold the roof edge in place.
Plan the Gutter Run Before Drilling
Begin by inspecting the fascia, soffit, eave trim, and roof edge. Replace damaged wood before installing gutters. If you find staining, soft wood, or loose trim, fix the underlying problem first.
Measure each gutter run and identify where downspouts can discharge water safely. Place outlets where they won't interfere with doors, windows, walkways, electrical equipment, or air-conditioning units. Long runs may need expansion provisions based on the gutter material and manufacturer's instructions.
Gutters need a slight slope toward each outlet. A common layout uses about 1/4 inch of fall over 10 feet, but follow the gutter manufacturer's instructions and local requirements. Mark the high point and outlet point on the fascia, then snap a chalk line between them. Check the line before attaching any brackets.
Choose gutters, hangers, outlets, and fasteners that work together. Aluminum and coated steel can react when they remain in direct contact in wet conditions, especially near Florida's coast. Use compatible metals and corrosion-resistant fasteners suited to the local exposure.
Have the main tools ready before climbing:
- Tape measure, chalk line, level, and snips
- Drill or driver with the correct bit
- Structural screws for fascia or framing
- Gutter sealant approved for the gutter material
- Ladder stabilizer, work gloves, and eye protection
Keep the roof panel manufacturer's installation guide available. The correct eave trim, closures, sealants, and fastener details can vary by panel profile.
Install Gutters Without Fastening Through Metal Panels
Follow this sequence to keep the gutter attachment independent from the roof panels.
-
Mark the gutter slope. Transfer the planned high and low points to the fascia. Use a level to confirm the fall. A gutter that looks level may still need a small slope, while excessive slope can leave water standing at one end.
-
Prepare outlets and end caps on the ground. Cut outlet openings with snips, then secure the outlet according to the gutter system instructions. Install end caps and seal the joints before lifting the gutter. Use a gutter sealant, not ordinary household caulk.
-
Install fascia hangers or brackets. Position the hangers along the chalk line and fasten them into solid wood. Many systems call for spacing in the range of 24 to 36 inches, with closer spacing near corners, outlets, and downspout connections. Follow the product instructions, especially in areas exposed to strong wind or heavy runoff.
Use screws long enough to reach sound framing. A screw that holds only the thin front edge of the fascia can pull out when the gutter fills with water and debris. If necessary, align brackets with rafter tails or add backing behind the fascia.
-
Set the gutter into the hangers. Keep the back edge below the eave trim unless the gutter manufacturer provides a different detail. The gutter should sit close enough to catch water leaving the trim, but it must not press against or deform the metal panel.
-
Join gutter sections carefully. Keep seams away from corners and outlets when the layout allows. Overlap sections in the direction of water flow, then secure and seal the joint. Wipe away excess sealant before it cures. Avoid mixing fasteners that can corrode the gutter material.
-
Handle the roof edge without puncturing panels. If water jumps over the gutter, use a purpose-made gutter apron or compatible eave flashing. Do not solve overflow by driving screws through the panel. A new apron may require careful removal and replacement of eave trim, so follow the roofing system instructions or hire a metal roofing professional.
-
Connect the downspouts. Secure each downspout to the wall with appropriate straps. Add elbows and extensions that carry water away from the foundation. Keep the discharge path clear so water does not back up into the gutter during a storm.
A fascia-mounted installation keeps the load on the building framing and leaves the roof panels intact. It also makes future gutter repairs easier because the roofing system doesn't need to be disturbed.
Seal Joints, Test the System, and Fix Problems Early
Gutter sealant works best on clean, dry surfaces. Remove oil, dust, and loose coating before sealing a joint. Apply sealant to the overlap and around outlet connections, end caps, inside corners, and outside corners. Follow the product's cure time before testing the system.
Fastener penetrations in the fascia can still admit water if they pass through a flashing layer or enter an exposed location. Use fasteners and washers approved for the material, then seal any exposed penetration where the gutter system calls for it. Sealant cannot compensate for a loose bracket, poor overlap, or incorrect slope.
Test the completed run with a garden hose. Start at the high end and use a moderate flow. Watch for water leaking at seams, backing up at the outlet, spilling over the front edge, or running behind the gutter. Correct those issues before the first major storm.
After a heavy rain, inspect the fascia and wall below the gutter. Look for dark staining, wet soffit material, loose sections, or water pooling near the foundation. Clean leaves and roof debris before they block the outlets.
Work Safely Around a Metal Roof
Use a stable ladder on firm, level ground. A ladder stabilizer can keep the rails away from gutters and reduce pressure on the roof edge. Keep three points of contact while climbing, and have another person steady the ladder when conditions require it.
Metal panels become slippery when wet, dusty, or coated with algae. Work in dry weather, wear shoes with clean, non-marking soles, and avoid stepping on the panel unless the manufacturer permits it. Standing seam ribs, eave edges, skylights, and translucent panels need special care.
For roof work, use the fall protection required by local regulations and your equipment instructions. Stay clear of overhead electrical lines, and stop work when lightning, strong wind, or rain moves into the area. If the project requires removing panels or eave trim, a qualified metal roofing contractor can protect the roof assembly while completing the gutter detail.
Conclusion
A leak-free gutter installation starts with keeping the gutter attachment on the fascia or structural framing. Avoiding screws through the metal panels protects the roof's water-shedding surface and reduces movement-related problems.
Plan the slope, use compatible materials, preserve the eave trim, and seal each joint before testing the system. With sound fascia and careful roof-edge work, your gutters can manage Florida's heavy rainfall without turning a simple installation into a roof leak.
Share Our Metal Roofing News Articles
Related Posts




